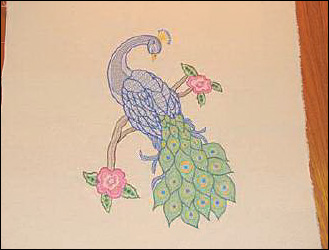
1. The completed peacock
design measures 11.56” high and 16.01” wide. The four sections are to be
done in order. AIPC130A, AIPC130B, AIPC130C, and then AIPC130D.
2.
Open the designs in your software for printing. We highly recommend
that the designs should be prined on transparent (acetate) that is made
for printers. Purchase the correct one for your printer – Inkjet or
Laser. The acetate is expensive, but can be saved and reused.
3.
To print from within your embroidery software go to Print Setup, choose
Landscape not Portrait for the page setup. Under Information to print
click on the box None. Click on the boxes: current color way 1.0 (This
is the scale to print in at actual size.)
Outlines
Stitches
Extents box around design
To create a template you want to
print the design at actual size with the start and end points clearly
visible. If they are too faint you can go over them with a fine tip
permanent marker.
4. The first color of the first file embroiders
a cross. This will come down where you have marked the center of the
complete design and is also the placement mark for the beginning of the
second file.
5. Hoop the fabric. Use the template to position the
fabric within the hoop. Each time you re-hoop for subsequent files B, C
and D, you must make sure the fabric is totally straight so the parts
will align properly.
We suggest you draw crosshairs the length
and width of your fabric so you always have a guide. Use the grids that
come with your machine to make sure it is lined up.
Step 1:
(Click Image to Enlarge)
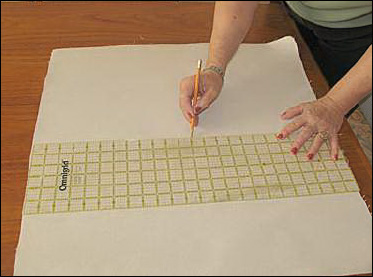
Cut your
fabric. Cut fabric larger than finished embroidery size for hooping.
Mark the center of the fabric which will be the center of your finished
peacock design.
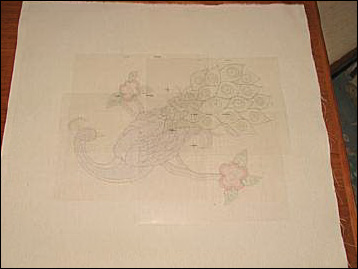
Step 2:
(Click Image to Enlarge)
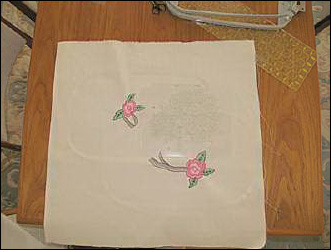
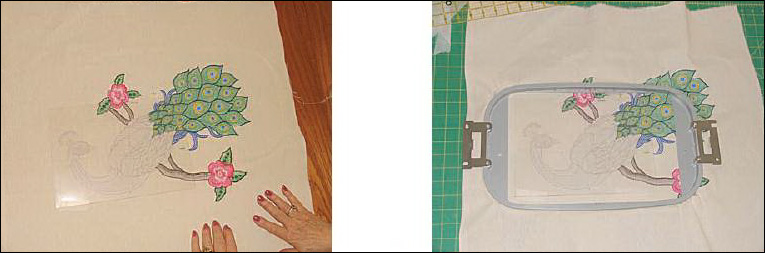
Place the acetate sheets – file A through D on the fabric so that you can see how they will line up when completed.
Step 3:
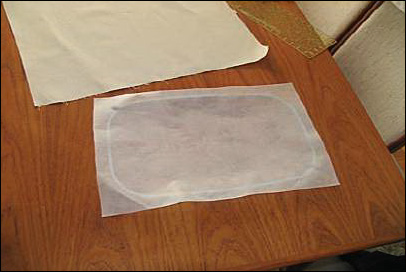
Use a no-show mesh backing when hooping fabric.
Step 4:
(Click Image to Enlarge)
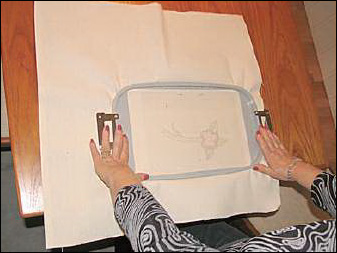
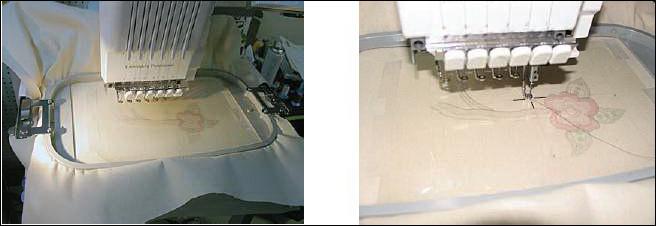
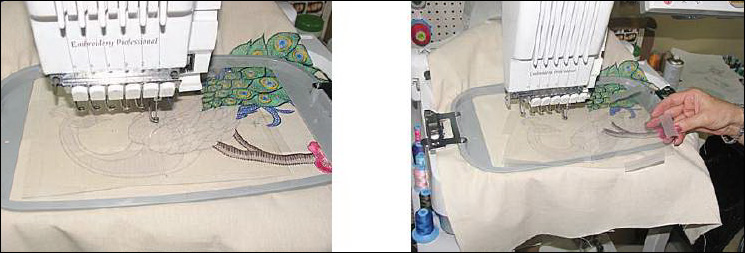
Place first acetate
sheet (file A) on the fabric matching the cross on the upper left side
with the center of the finished design that was marked on the fabric.
Use transparent tape to secure acetate to fabric, and then hoop. The
acetate sheet should be within the hoop to ensure that the embroidered
design has been placed correctly.
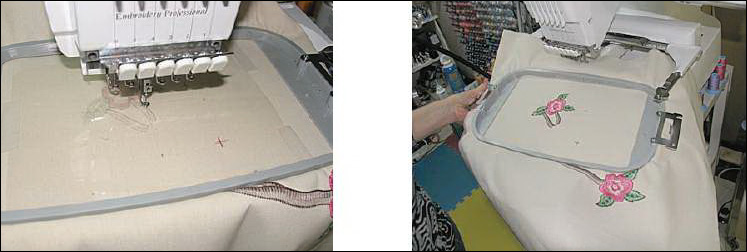
Step 5:
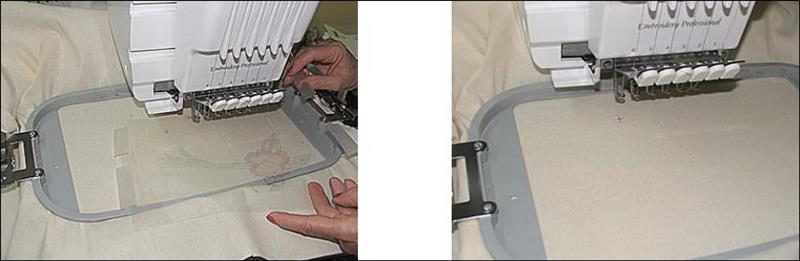
Place hoop into machine. In order that embroidery starts in correct
place you will have to drop your active needle in the exact center of
the design that you are running. This should show on your acetate as a
cross hair in the middle of the design.
(Click Image to Enlarge)
Step 6:
Once you are assured
that the active needle is in the correct position remove the acetate
from hoop and start the machine. Embroidery will start and place A small
cross where you have marked the center of the complete design. Proceed
to embroider the remainder of file A.
(Click Image to Enlarge)
Step 7:
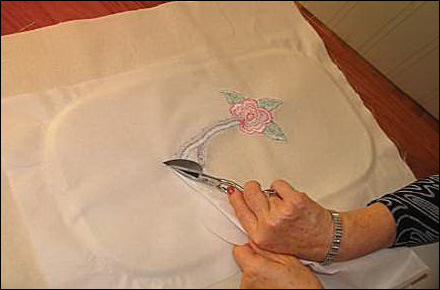
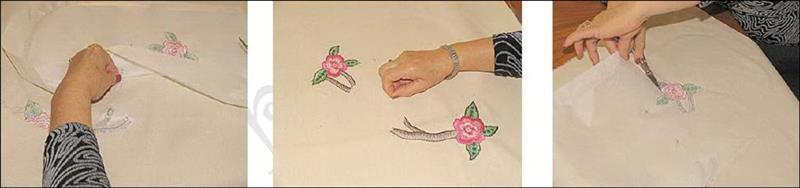
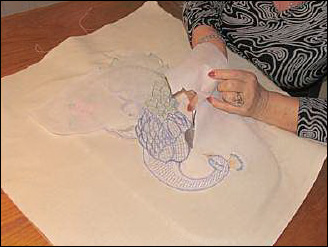
Remove fabric from hoop. Turn over and trim the no-show mesh around embroidery.
Step 8:
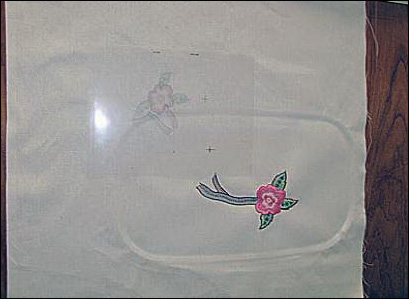
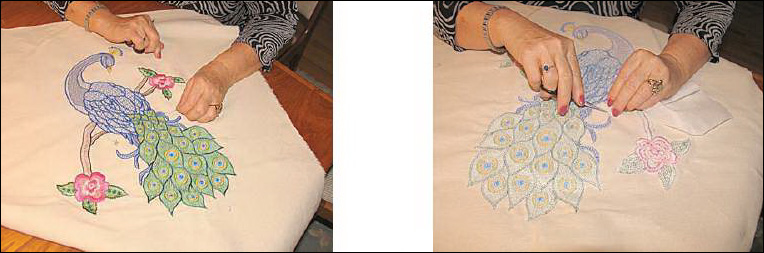
Turn fabric right side up and place acetate sheet (file B) over the
fabric. Match up the embroidered cross with the lower cross on the
acetate. Tape into place and hoop.
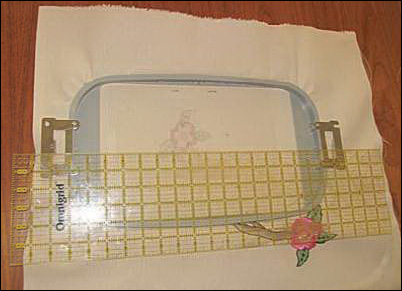
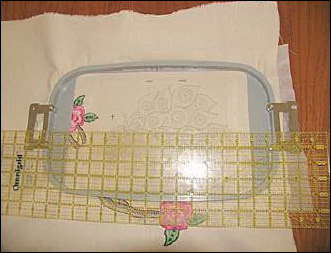
Step 9:
Once you have hooped your fabric, use a large ruler to ensure that your
design remains straight through all the steps. Use the horizontal line
of the cross hair as a guide. Use grid provided with machine to ensure
design remains straight.
Step 10:
Place hoop into machine. In order that embroidery
starts in correct place you will have to drop your active needle in the
exact center of the design that you are running. This should show on
your acetate as a cross hair in the middle of the design. Remove the
acetate and commence embroidery for file B. Embroidery will start and
place a small cross exactly where there was a cross embroidered in file
A. If you notice that it is slightly off within the first few stitches
adjust accordingly manually. Keep this in mind when running the
remaining files. The last color in file B will place a small cross,
which will be the placement for file C.
(Click Image to Enlarge)
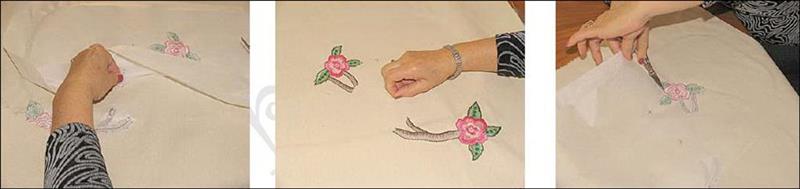
Step 11:
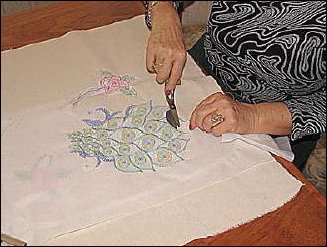
Remove from hoop and
remove the first cross that was embroidered (be careful that you do not
remove the last cross embroidered). Trim the no-show mesh from back of
design.
(Click Image to Enlarge)
Step 12:
(Click Image to Enlarge)
Turn fabric right side up and place acetate sheet (file C) over the
fabric. Match up the embroidered cross with the upper cross on the
acetate. Tape in place and hoop.
Step 13:
Once you have hooped your fabric use a large ruler to ensure that your
design remains straight through all the steps. Use the horizontal line
of the cross hair as a guide. Use grids provided with machine to ensure
design remains straight.
(Click Image to Enlarge)
Step 14:
(Click Image to Enlarge)
Place hoop into machine. In order
that embroidery starts in correct place you will have to drop your
active needle in the exact center of the design that you are running.
This should show on your acetate as a cross hair in the middle of the
design. Remove acetate and complete embroidery of file C. The last color
of file C will place a cross which will be for placement of file D.
Step 15:
(Click Image to Enlarge)
Remove fabric from hoop. Turn over and trim no-show mesh around embroidery.
Step 16:
Turn fabric right side up and place acetate sheet (file D) over fabric.
Match up the embroidered cross with the cross on the acetate. Tape into
place and hoop. Once you have hooped your fabric use a large ruler to
ensure that your design remains straight. Use horizontal line of the
cross hair as a guide. Use grids provided with machine to ensure design
remains straight.
(Click Image to Enlarge)
Step 17:
Place hoop into machine. In order that embroidery starts in correct
place you will have to drop your active needle in the exact center of
the design that you are running. This should show on your acetate as a
cross hair in the middle of the design. Remove acetate and complete
embroidery of file D.
(Click Image to Enlarge)
Step 18:
(Click Image to Enlarge)
Remove fabric from hoop. Turn over and trim no-show mesh around embroidery.
Step 19:
Remove the remaining two crosses that were used for placement.
John Deer is owner of Punch Perfect/Art-Sew-Perfect, a digitizing, stock design and educational firm. He is a third-generation embroiderer with 19 years of digitizing experience and has personally won 30 awards in trade publications.