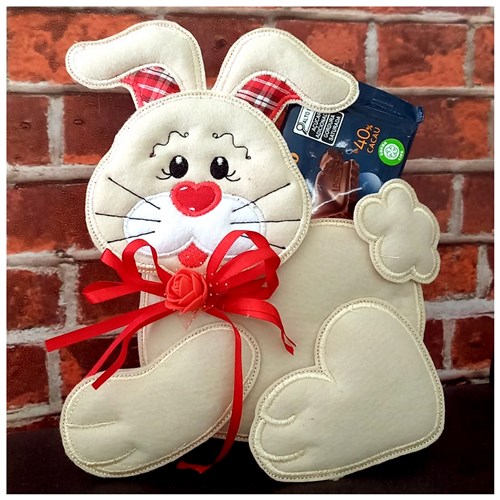
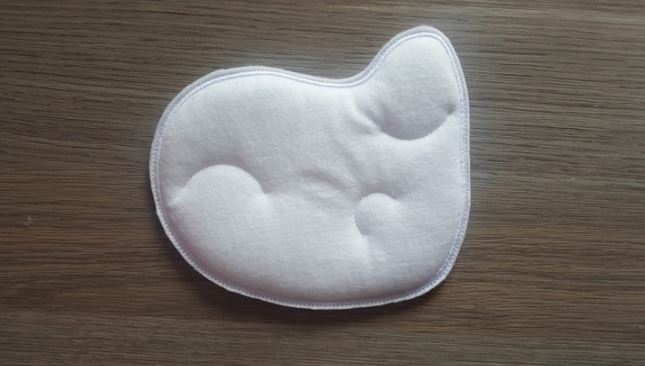
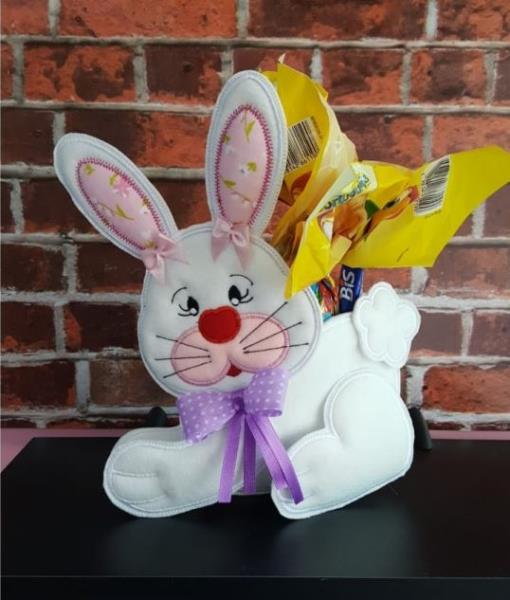
This adorable ITH bunny chocolate holder embroidery design is perfect for Easter and sweet handmade gifts.Featuring a cute bunny face with floppy ears and a ribbon detail, it stitches fully in the hoop and neatly holds chocolate bars or treats for gifting
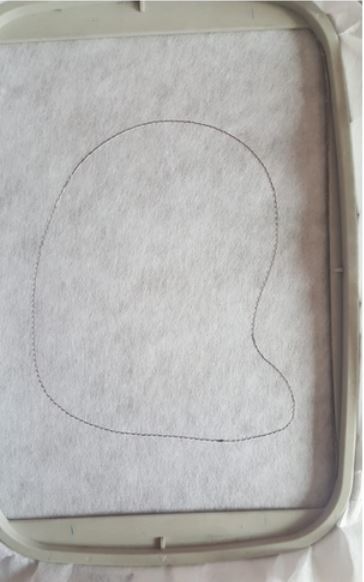
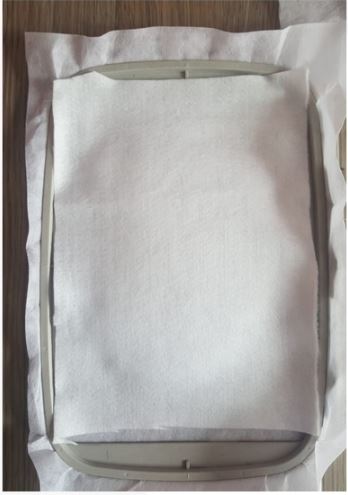
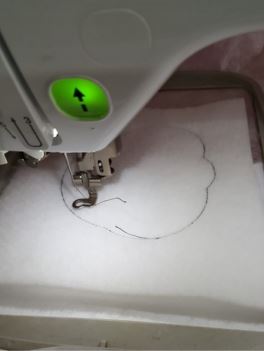
Place the stabilizer in the frame or fabric that is very light, make the first mark that the machine will present.
Step 2:
(Click Image to Enlarge)
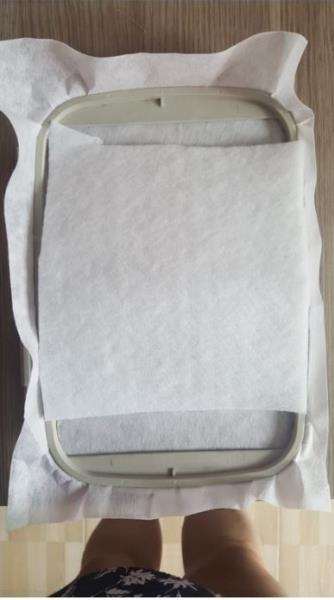
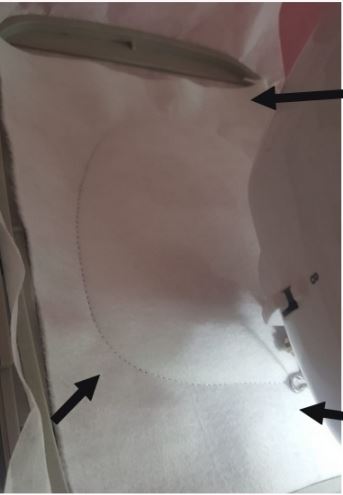
Place the acrylic blanket overthe frame marking
Step 3:
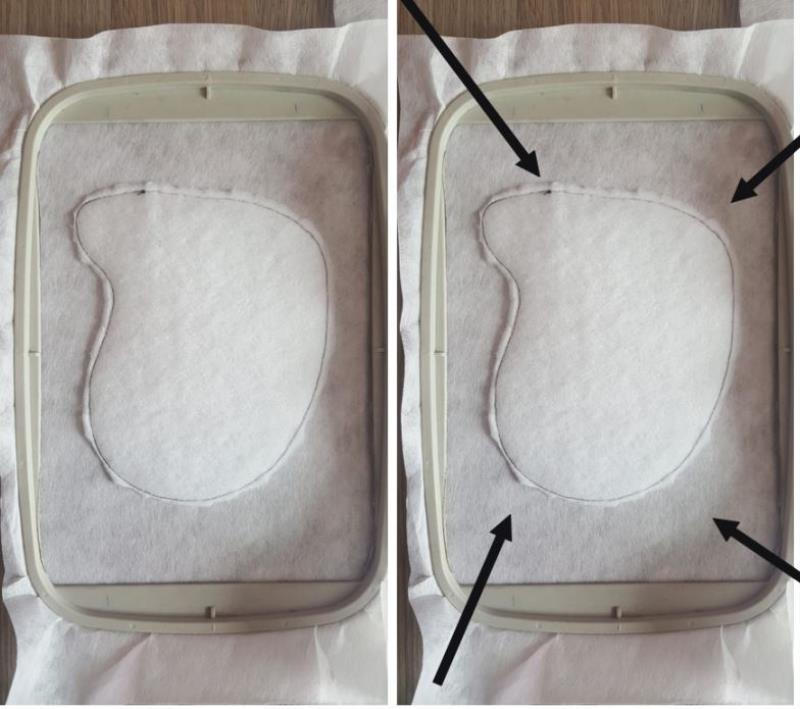
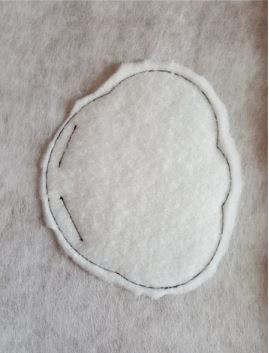
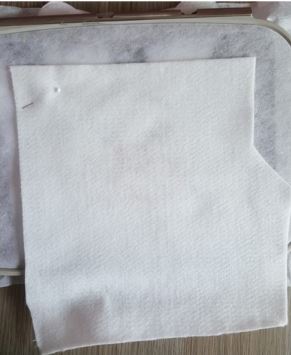
use the R2 blanket,sew the next step and cut off the excess embroidery border.
(Click Image to Enlarge)
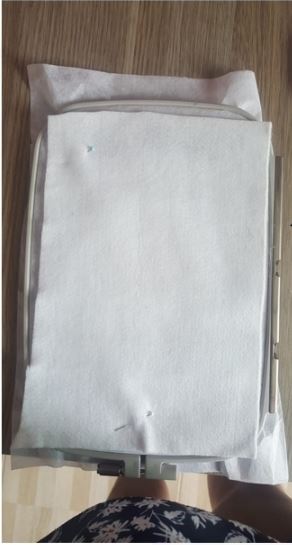
Step 4:
(Click Image to Enlarge)
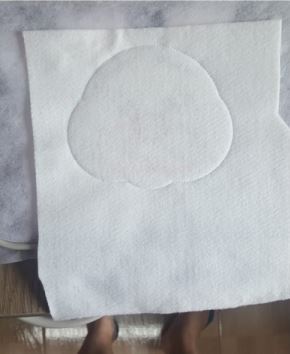
Position the fabric,at that moment we use the felt that will be the base.I always choose white felt or skin color.
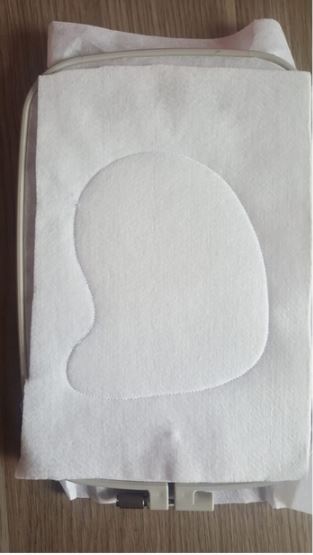
Step 5:
(Click Image to Enlarge)
The felt you do not cut the excess.
Step 6:
(Click Image to Enlarge)
From now on,the machine steps will show the appliques that you will sew,you can use different fabrics according to your creativity.
Step 7:
(Click Image to Enlarge)
In the penultimate step of the machine, you will remove
Step 8:
(Click Image to Enlarge)
the frame from it and place the felt behind the frame to finish your pattern
Step 9:
Okay,now just cut and it's over.
(Click Image to Enlarge)
Step 10:
(Click Image to Enlarge)
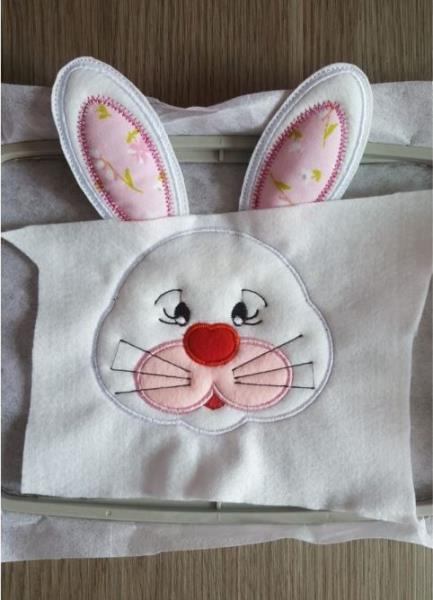
After sewing all parts of the project,you wil paste and assemble your project according to the photo.
Step 11:
(Click Image to Enlarge)
Steps to make the rabbit's head
First you start by sewing the ears, follow the steps in the previous instruction
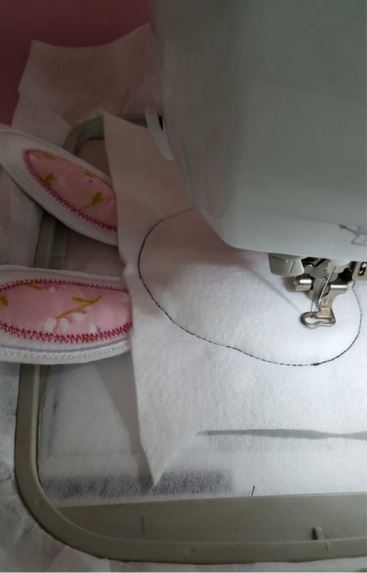
Place the head matrix in the machine and let's start with the mark on the stabilizer
Step 12:
(Click Image to Enlarge)
aceheaccnsendcutheletovers
Step 13:
(Click Image to Enlarge)
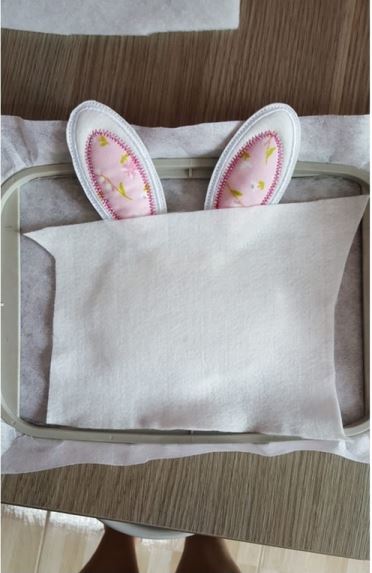
Stil on top of the acrylic blanket,
the machine will sew the third step which will be marking the ears
Step 14:
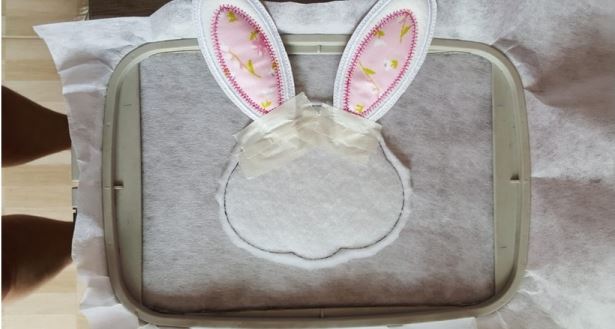
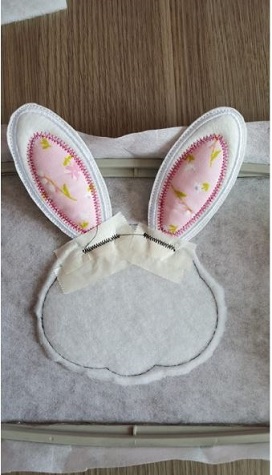
Remove the frame from the machine and secure the ears securely with tape
(Click Image to Enlarge)
Step 15:
(Click Image to Enlarge)
Return the embroidery frame to the machine and carefully sew the ears
Step 16:
(Click Image to Enlarge)
Remove the frame from the machine
Step 17:
(Click Image to Enlarge)
place the felt,return to the machine and sew.
Step 18:
Continue with the steps the machine asks for until you reach the last step
(Click Image to Enlarge)
Step 19:
(Click Image to Enlarge)
Before performing the last step, remove the frame from the machine
Step 20:
(Click Image to Enlarge)
attach a felt to the back of the frame, go back to the machine and sew the last step.
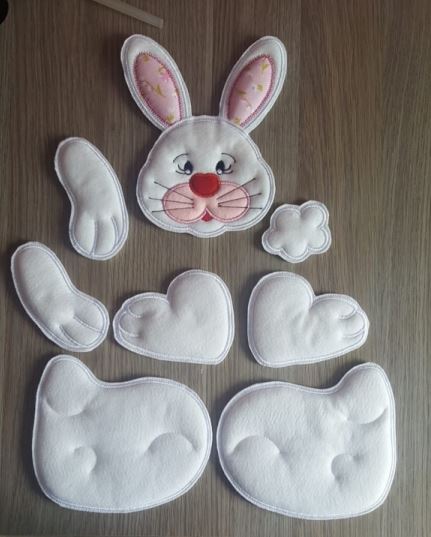
Step 21:
This is the total number of pieces that the basket has