Border OptionsHugging border, circle, square, or rectangle — with a 3mm satin stitch.
Backing OptionsAvailable with iron-on, sew-on, or velcro backing.
Fast ShippingShipped quickly from the USA.
Free Online Tools
Powerful embroidery utilities that save time and prevent costly mistakes.
Stitch AssistantRECOMMENDED
Get the exact stabilizer, machine settings, needle, and thread color sequence for every embroidery design you purchase — based on that design's stitch density, dimensions, and color count.
Brother embroidery card # 47—motifs #5, #11, and #15
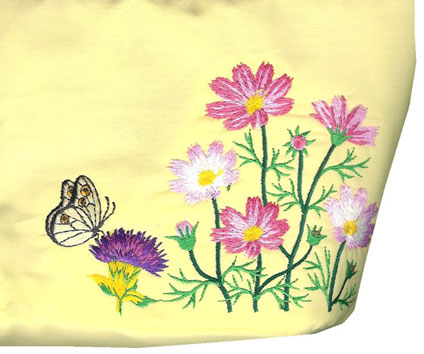
October Brother flower of the month design--large
½ yd. pastel yellow fabric-cut two front panels, one back panel, and two handles
½ yd. piece pastel pink fabric—cut one top panel and lining
1 piece pastel lavender fabric—7” by 10”
½ yd. batting—from this you will cut- 1 back piece, 1 bottom piece, 1 each of the top left, top right, bottom left, and bottom right.
Tear away stabilizer
Grid paper or tracing paper
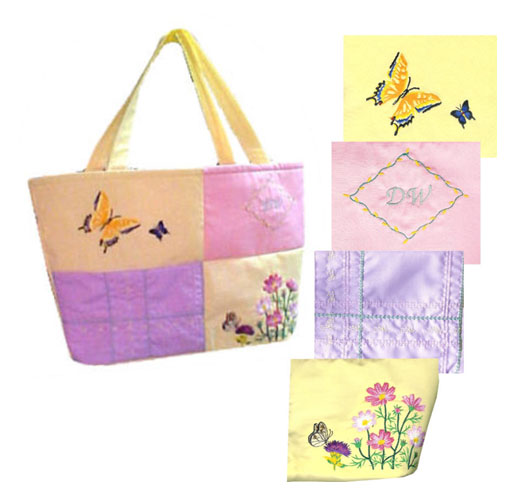
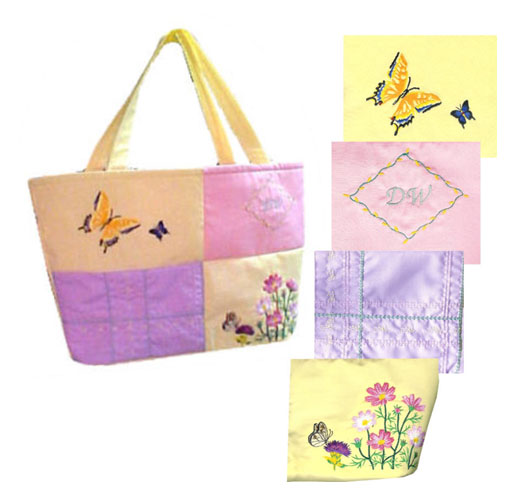
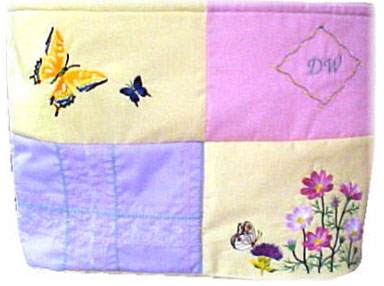
Final Product: What You Will Create
Preface:
Pattern
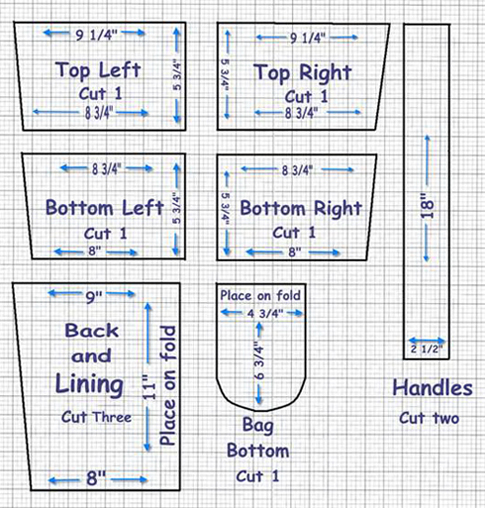
Pattern pieces needed to assemble the Embroidered Quilted Bag were
designed using a 1” grid with ¼” intervals. Copy the pattern piece
markings to one inch grid paper or tracing paper. Cut out and set aside for now.
Step 1:
Set up the embroidery machine
Attach the embroidery arm and embroidery foot to the machine. Insert your card and select the first design. Thread the machine.
Step 2:
(Click Image to Enlarge)
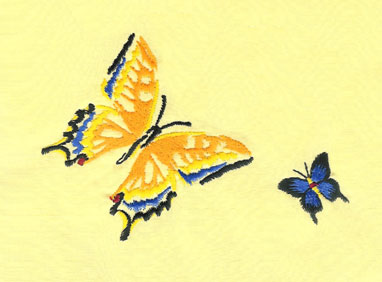
Embellish the front of the bag
Choose an appropriate hoop size for your
machine and hoop the stabilizer and fabric together. Center your design
and stitch out the design. Remove the design from the hoop and cut the
threads if necessary. Set aside for now.
Step 3:
Repeat these steps for the remaining embroidered piece. Combine a design
from a card with another design to make a larger motif (optional).
Remove the stabilizer after embroidering.
Step 4:
(Click Image to Enlarge)
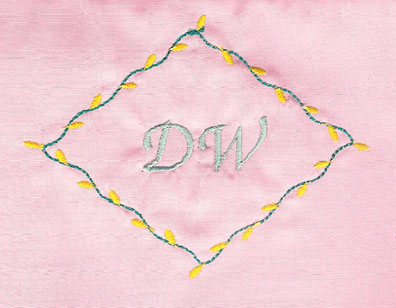
Using the built-in lettering, add your initials or logo to the center of
one of the blocks. Frame it by adding a built in frame design built
into your machine.
Step 5:
Set up your machine for regular sewing. Thread the machine with an accent embroidery thread.
Step 6:
(Click Image to Enlarge)
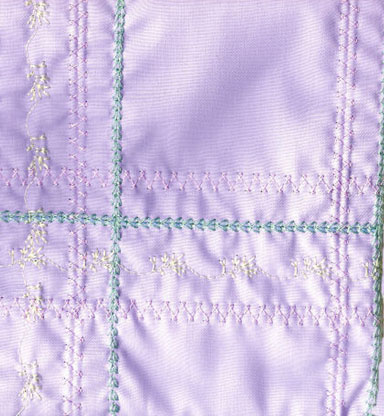
Bottom left of bag
Draw a line across the center lengthwise.
Place the batting piece under the fabric block. Choose a decorative
stitch and sew the length of the block. Change thread color, choose a
new stitch pattern and sew alternating directions of the decorative
stitch. Continue in the same manner until you have filled the block as
desired.
Step 7:
Cutting out the fabric pieces
Place the fabric pieces you traced and
cut out earlier onto the fabric, centering the embroidery design
underneath. Pin them in place and cut them out. Cut the pattern pieces
Top Left, Bottom Right, Bag bottom, handles, Bag back. and lining from
the yellow fabric. Cut Top Right from the pink fabric and Bottom Left
from the lavender fabric. Cut corresponding batting pieces for each of
the above, except for the handles (optional).
Step 8:
(Click Image to Enlarge)
Assembly of the bag
Thread your machine with regular sewing
thread and install the sewing foot. After all the embellishment is
finished, sew the top left to the bottom left, with right sides
together, using a ¼ “ seam allowance. Repeat this step with the top
right and bottom right.
Open both sets of blocks and with right sides together sew ¼” seam nestling the seams together to form the bag front.
Step 9:
(Click Image to Enlarge)
Place the lining piece face down on top of the bag front. Stitch both
the left and the right sides. Pin the bottom piece, matching the notched
marks to the side seams. Find the center of the front and back of the
bag. Pin the bottom in place at these points and stitch the entire
bottom to the bag.
Step 10:
Turn the bag right side out. To create the handles, fold each piece in
half lengthwise, with right sides together, stitch the length of the
handle. Turn right side out. Center the finished seam and top stitch
down both sides of the handles. Place the handle 4” from the side seam
of the front of the bag. Stitch in place to secure. Repeat this step on
the back of the bag.
Step 11:
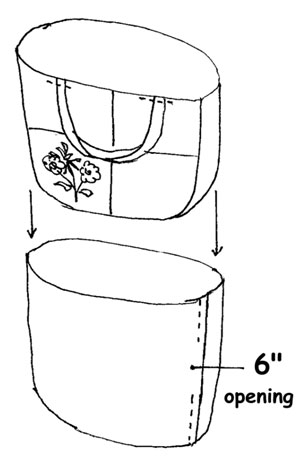
To make the lining, follow step 11. Leave a 6” opening on one side for
turning later. Leave inside out. Place the bag inside the lining with
right sides together.
Step 12:
(Click Image to Enlarge)
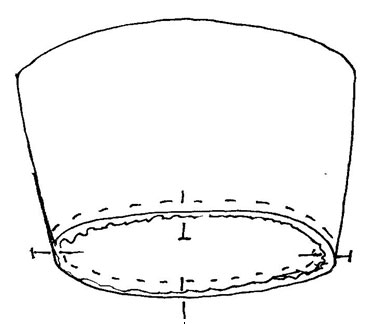
Stitch the top lining to the top of the bag, creating one unit. Turn
right side out using the 6” opening created earlier. Stitch the opening
closed either by hand or by machine. Slip the lining into the bag and
top stitch at the opening of the bag.