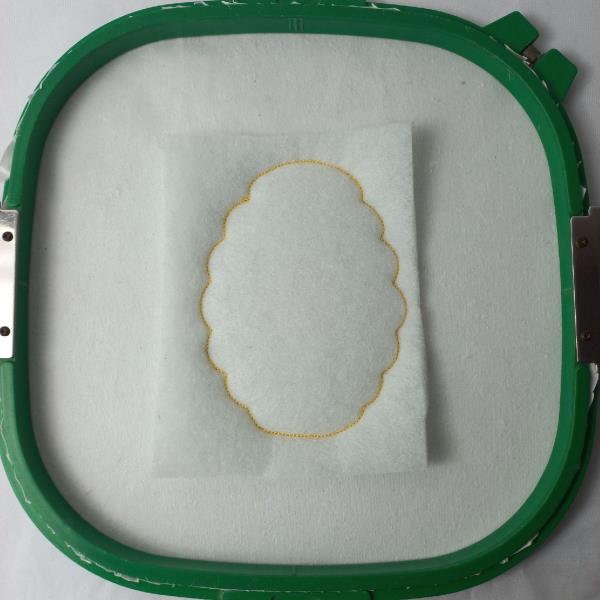
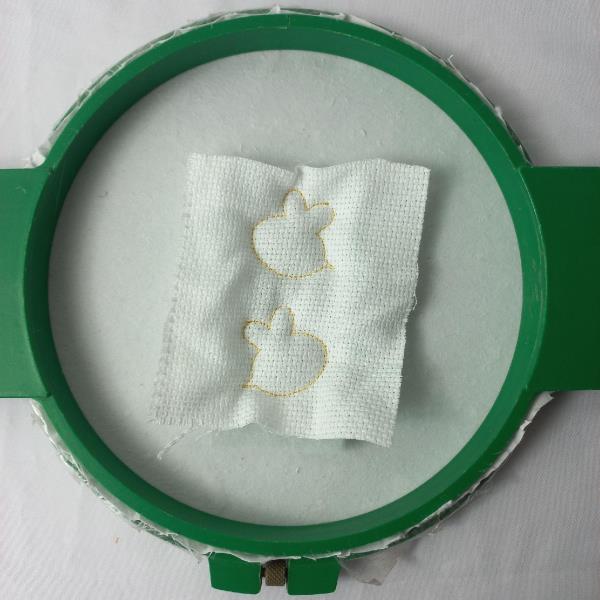
For the A01 part tautly hoop 2.5-ounce cutaway stabilizer in your embroidery hoop, run color-stop 1 as a placement line.
Remove the hoop from the machine, do not unhoop. Cover the placement line with batting with the help of the repositionable adhesive spray, and run color-stop 2 and 3.
(Click Image to Enlarge)
Step 2:
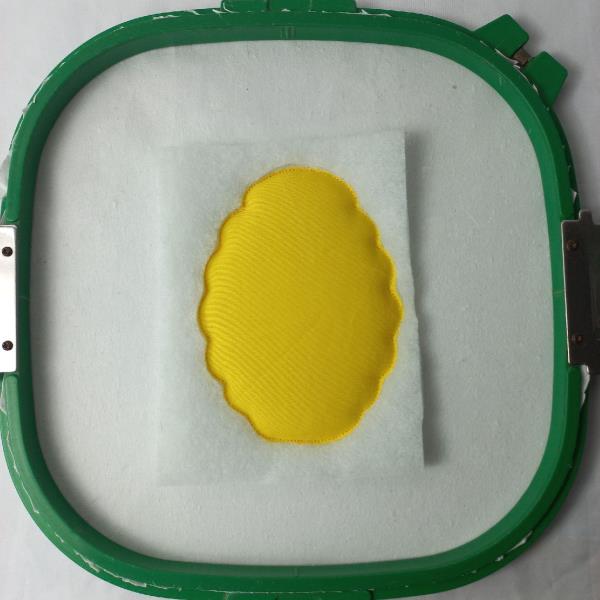
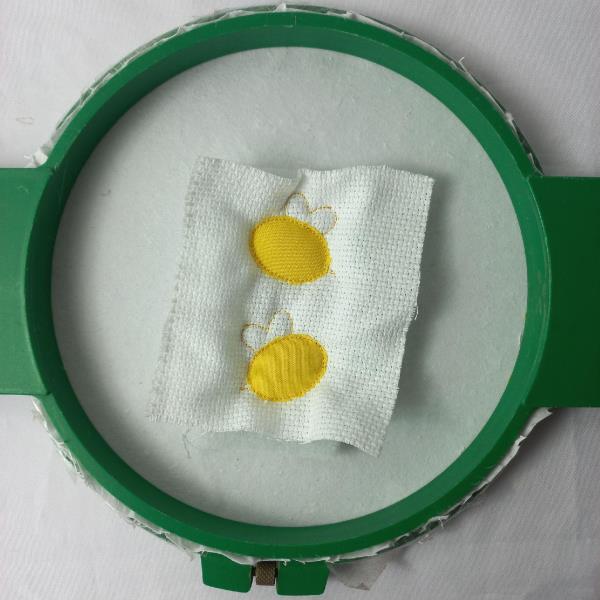
Cover the placement line with yellow fabric with the help of the repositionable adhesive spray, and run color-stop 4. Cut the excess fabric.
(Click Image to Enlarge)
Step 3:
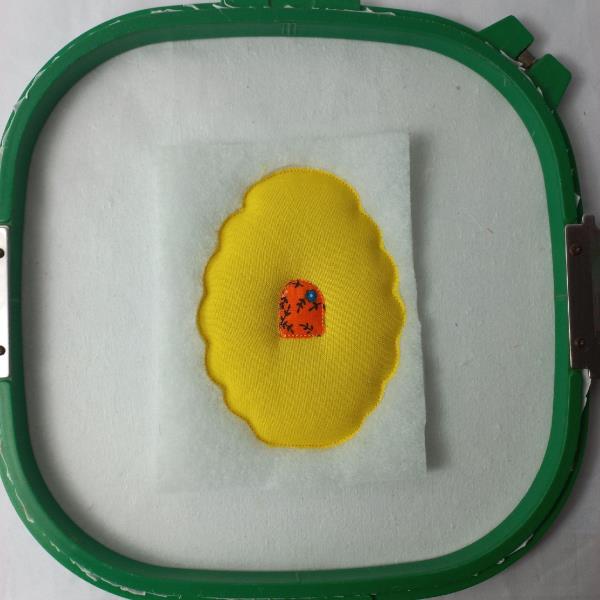
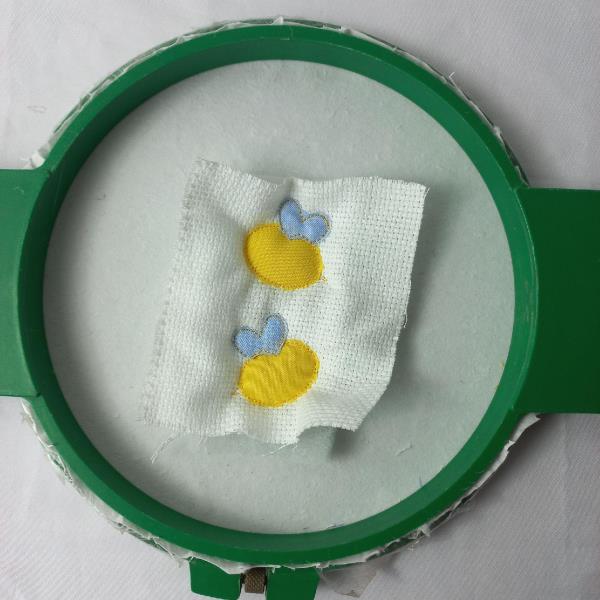
Run color-stop 5 as a placement line. Cover the placement line with printed fabric with the help of the repositionable adhesive spray, and run color-stop 6. Cut the excess fabric.
(Click Image to Enlarge)
Step 4:
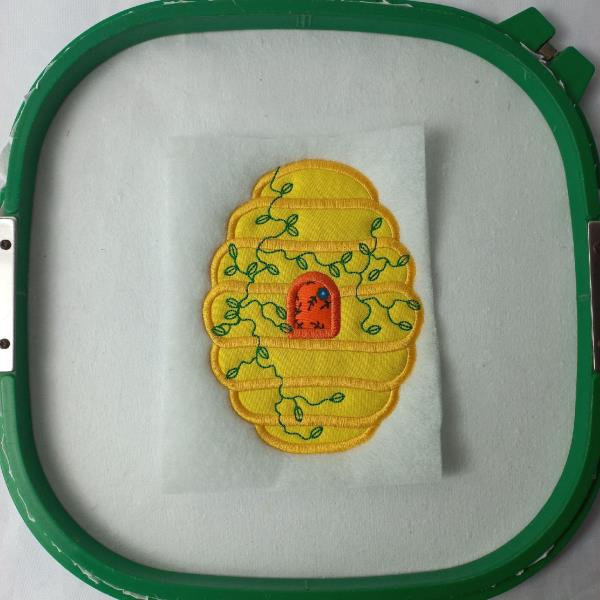
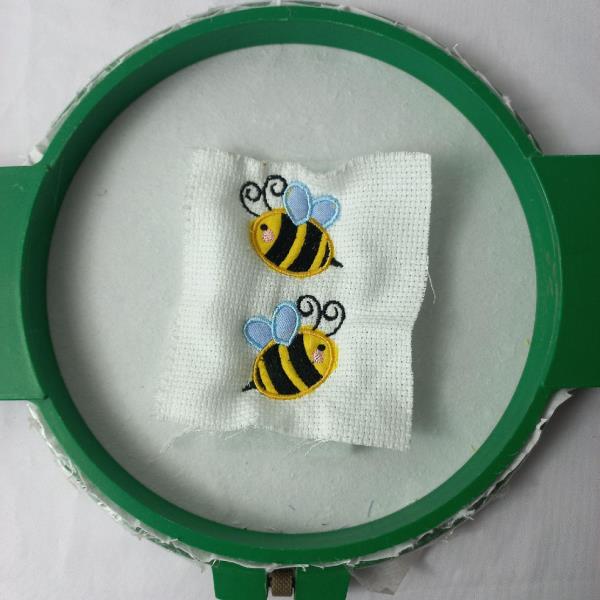
Run color-stop 7 through color-stop 9
(Click Image to Enlarge)
Step 5:
Remove the hoop from the machine, do not unhoop. Cover the back of the hoop with white fabric with the help of the repositionable adhesive spray and run color-stop 10.
(Click Image to Enlarge)
Step 6:
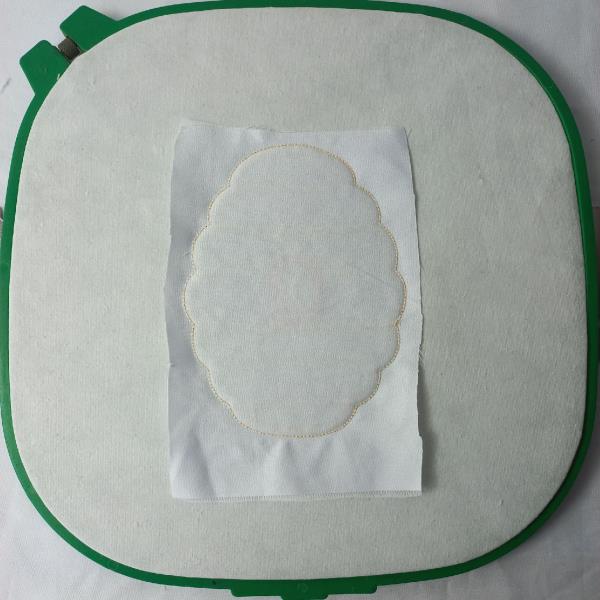
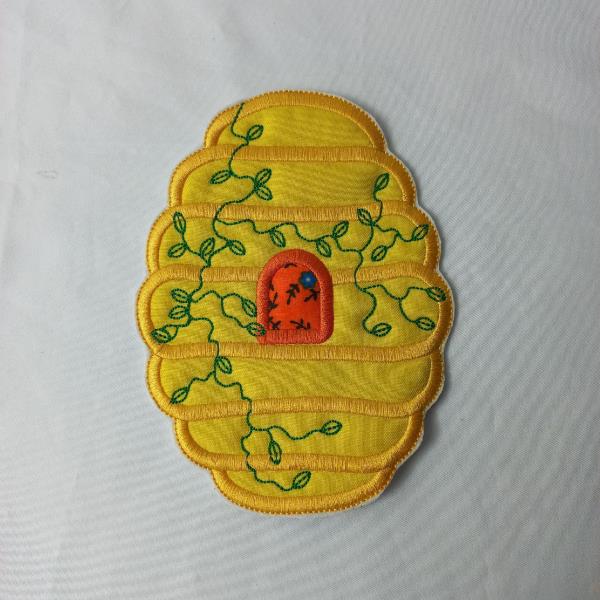
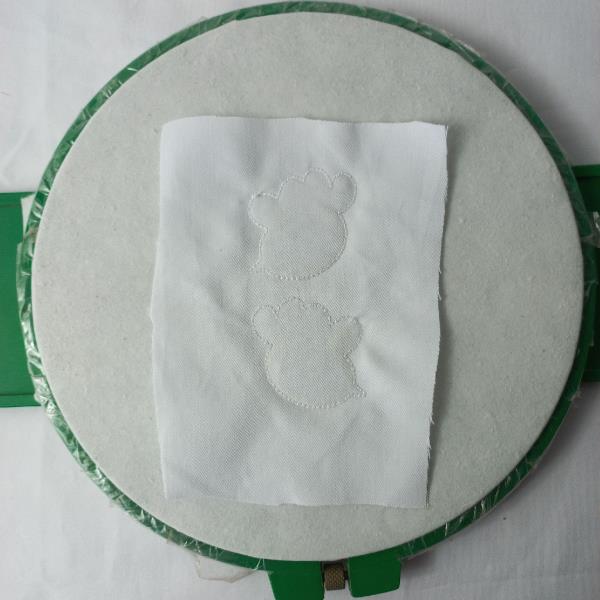
Remove the project from the hoop. Cut out the outline of the design, with sharp scissors, and save it for later.
(Click Image to Enlarge)
Step 7:
For the A02 part tautly hoop 2.5-ounce cutaway stabilizer in your embroidery hoop, run color-stop 1 as a placement line.
Remove the hoop from the machine, do not unhoop. Cover the placement line with batting with the help of the repositionable adhesive spray, and run color-stop 2.
(Click Image to Enlarge)
Step 8:
Cover the placement line with white fabric with the help of the repositionable adhesive spray, and run color-stop 3.
(Click Image to Enlarge)
Step 9:
Run color-stop 4 as a placement line. Cover the placement line with yellow fabric with the help of the repositionable adhesive spray, and run color-stop 5. Cut the excess fabric.
(Click Image to Enlarge)
Step 10:
Run color-stop 6 as a placement line. Cover the placement line with sky blue fabric with the help of the repositionable adhesive spray, and run color-stop 7. Cut the excess fabric.
(Click Image to Enlarge)
Step 11:
Run color-stop 8 through color-stop 12.
(Click Image to Enlarge)
Step 12:
Remove the hoop from the machine, do not unhoop. Cover the back of the hoop with white fabric with the help of the repositionable adhesive spray and run color-stop 13.
(Click Image to Enlarge)
Step 13:
Remove the project from the hoop. Cut out the outline of the design, with sharp scissors, and save it for later.
(Click Image to Enlarge)
Step 14:
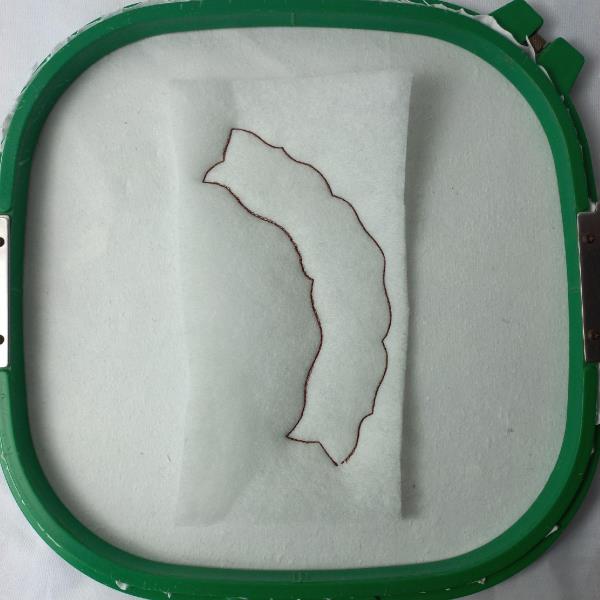
For the A03 part tautly hoop 2.5-ounce cutaway stabilizer in your embroidery hoop, run color-stop 1 as a placement line.
Remove the hoop from the machine, do not unhoop. Cover the placement line with batting with the help of the repositionable adhesive spray, and run color-stop 2 and 3.
(Click Image to Enlarge)
Step 15:
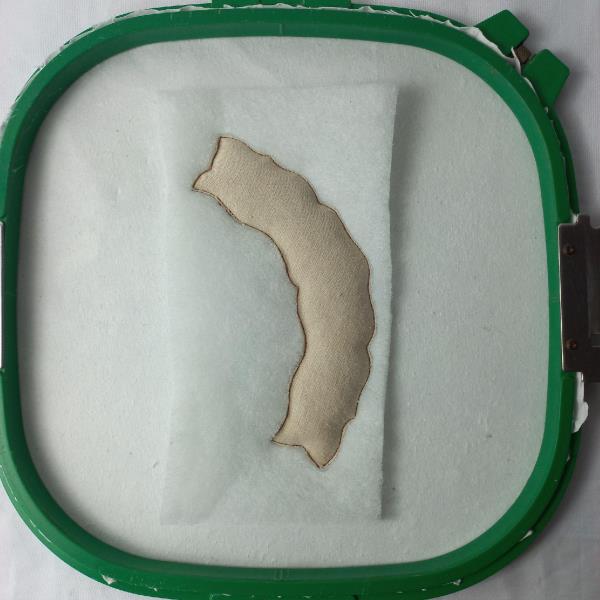
Cover the placement line with khaki fabric with the help of the repositionable adhesive spray, and run color-stop 4. Cut the excess fabric.
(Click Image to Enlarge)
Step 16:
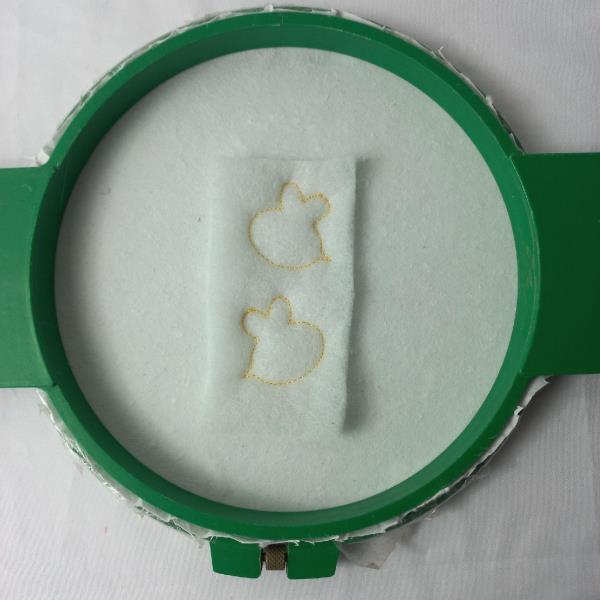
Run color-stops 5 and 6.
(Click Image to Enlarge)
Step 17:
Remove the hoop from the machine, do not unhoop. Cover the back of the hoop with white fabric with the help of the repositionable adhesive spray and run color-stop 7.
(Click Image to Enlarge)
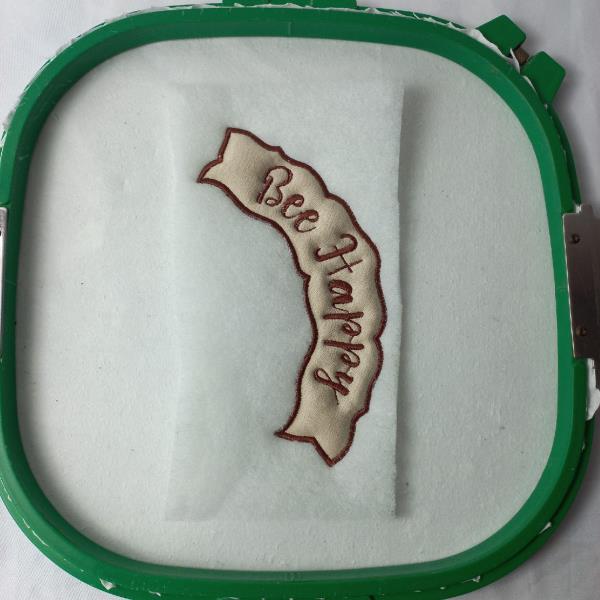
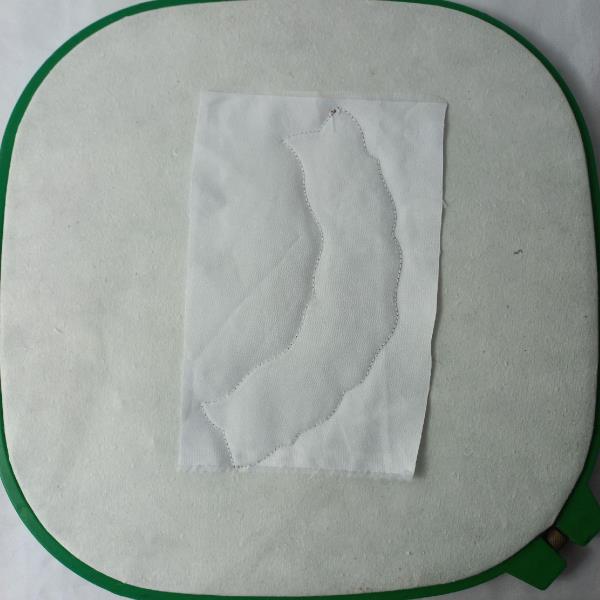
Step 18:
Remove the project from the hoop. Cut out the outline of the design, with sharp scissors, and save it for later.
(Click Image to Enlarge)
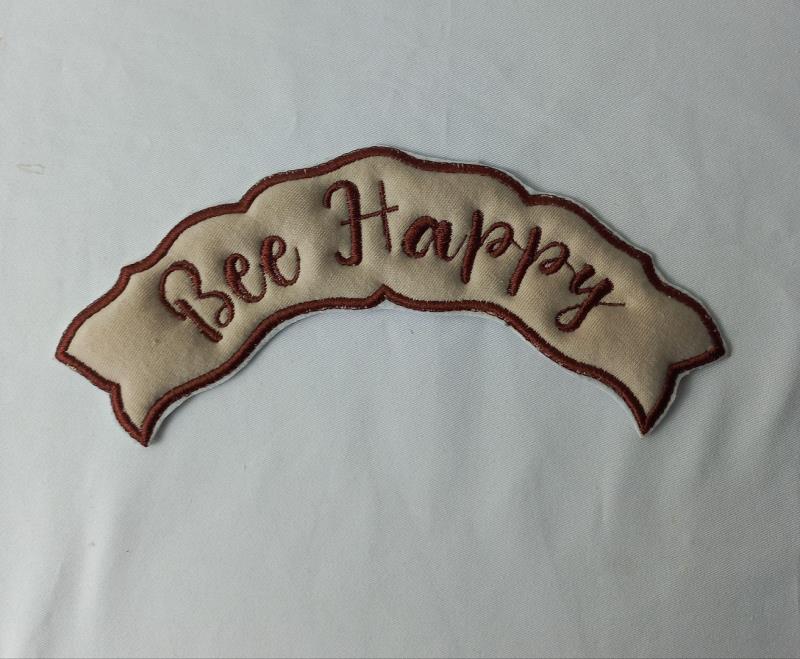
Step 19:
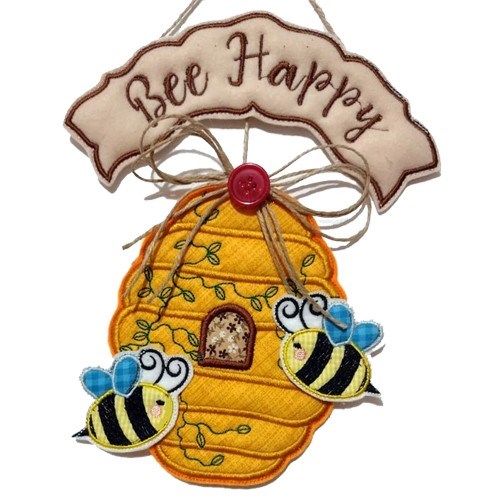
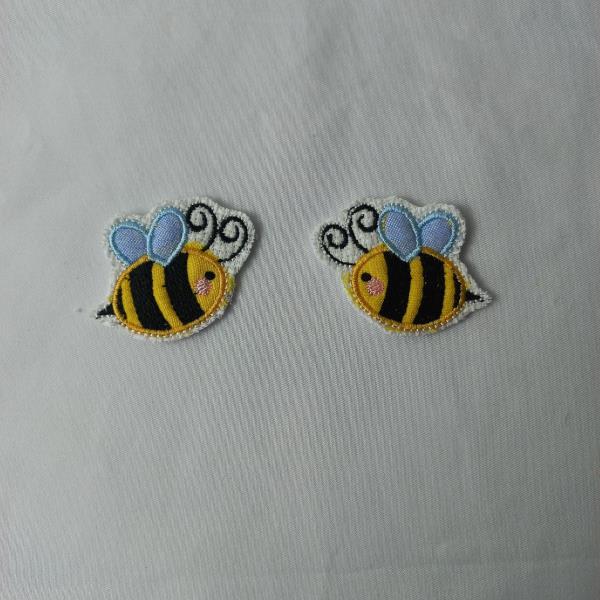
We put all the pieces together.
(Click Image to Enlarge)
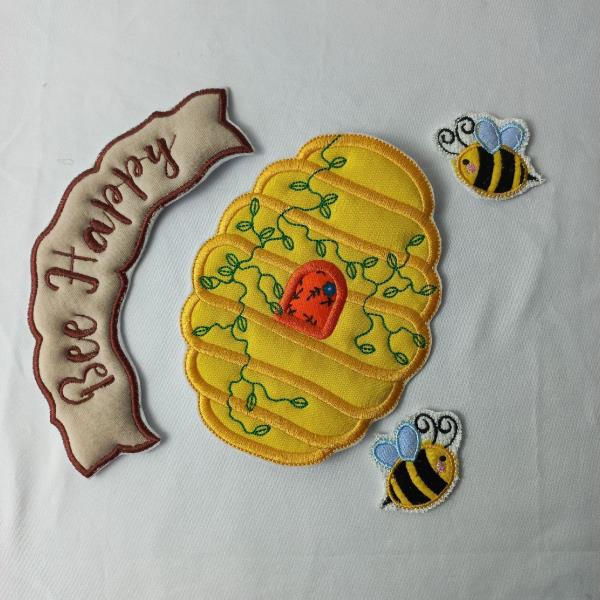
Step 20:
With the help of a needle and thread or some type of textile glue, The honeycomb part will be the lower center part, in the same way, the banner will be the upper center part. The bees will be in different parts of the honeycomb at the height you prefer. Join the part of the banner and the honeycomb part with a cordon at the height you prefer.