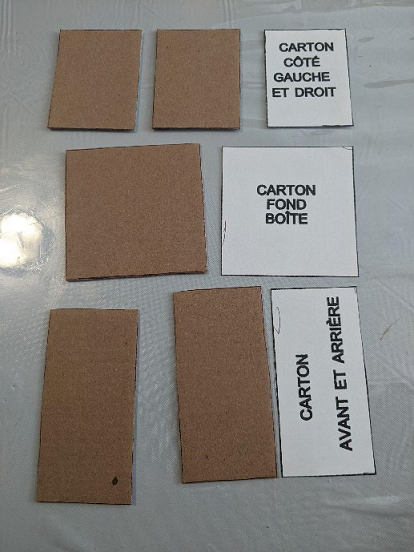
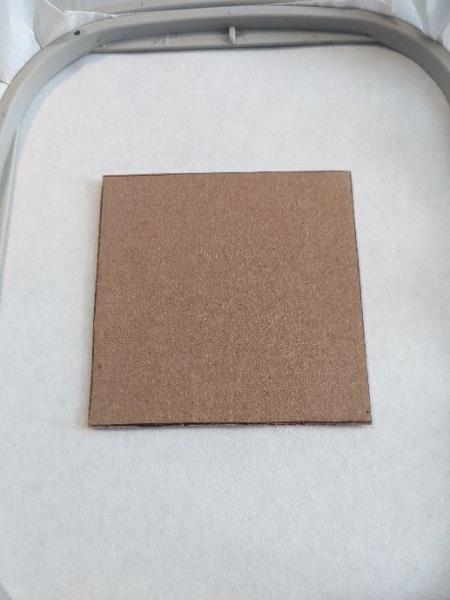
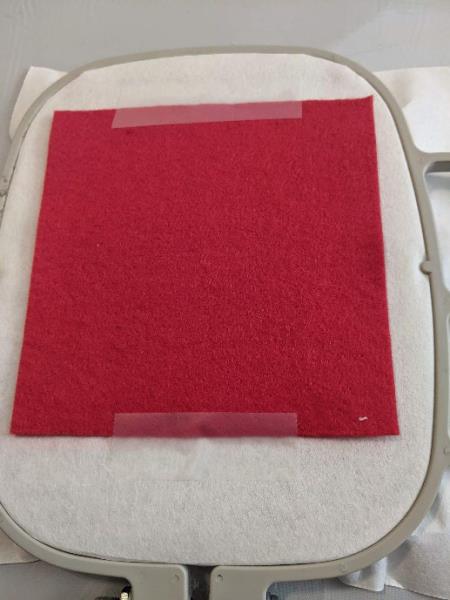
Glue the cardboard taking care to position it on the seams
(Click Image to Enlarge)
Step 5:
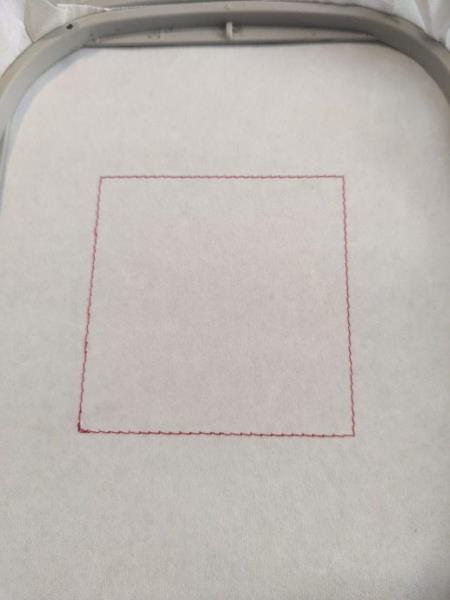
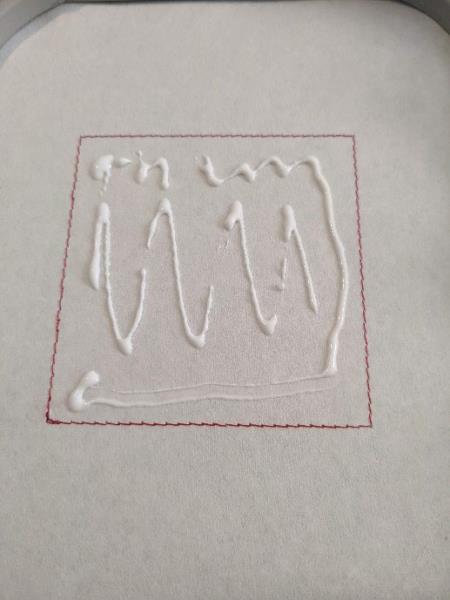
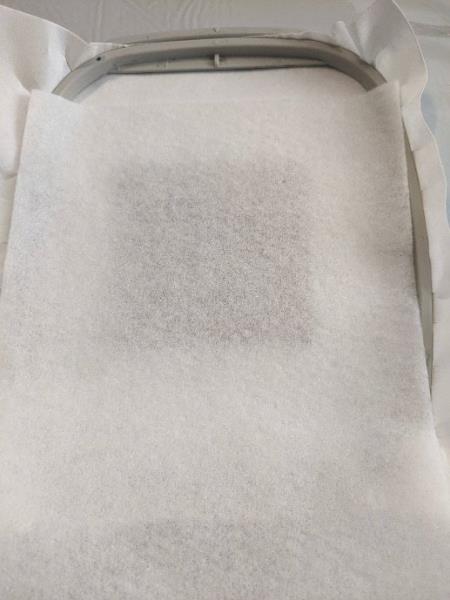
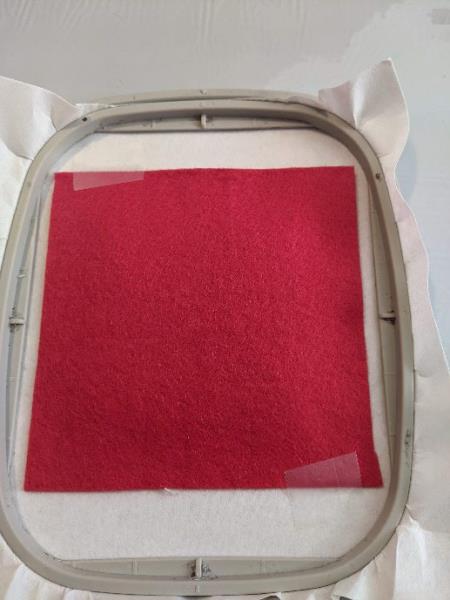
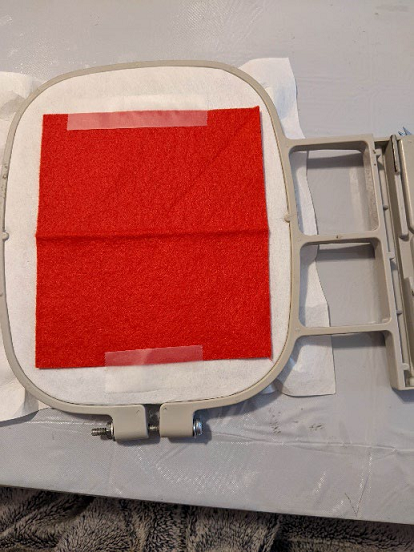
Take your fleece, position it in the center, the seam will be larger than that of the cardboard so you will need to put your piece of 10x10cm
(Click Image to Enlarge)
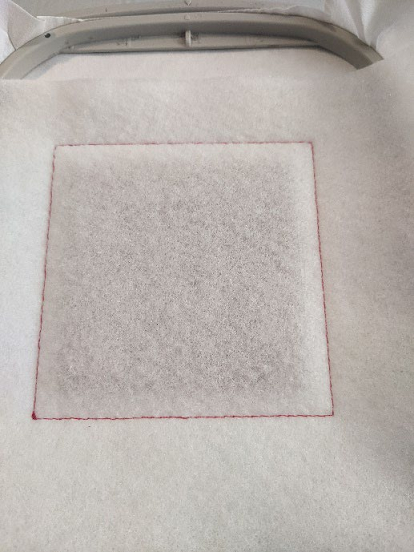
Step 6:
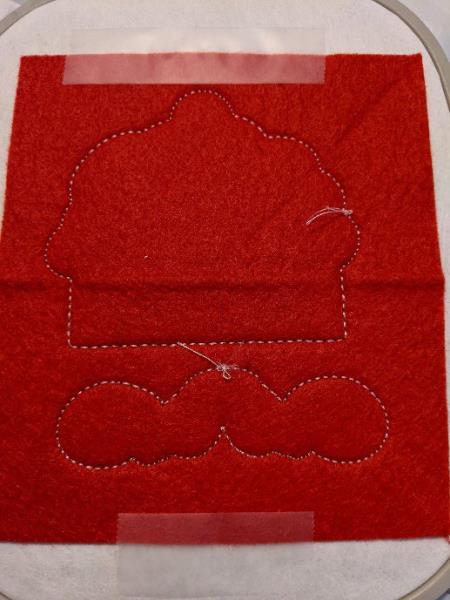
this seam will hold your fleece in place
(Click Image to Enlarge)
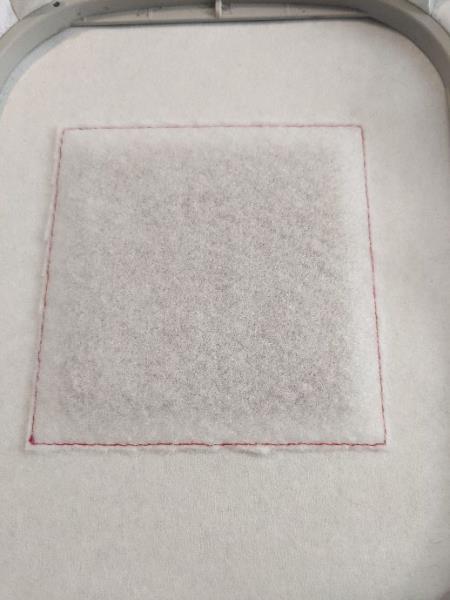
Step 7:
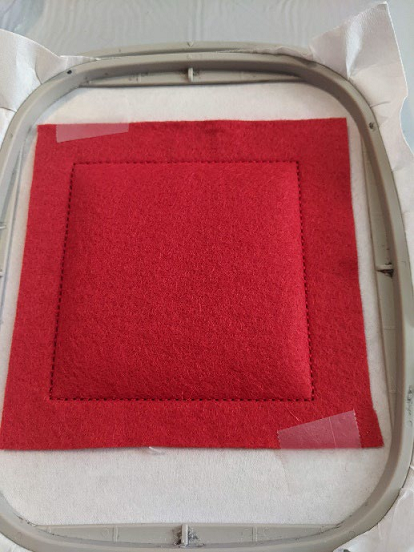
Cut the excess all around
(Click Image to Enlarge)
Step 8:
Put your felt on the front of your work (front of your frame), keep in place
(Click Image to Enlarge)
Step 9:
Put your felt on the back of your work (back of the frame), keep well in place
(Click Image to Enlarge)
Step 10:
this sewing will join your 2 felt together.
Exit the frame and cut the excess felt all around Do all other sides in the same way.
(Click Image to Enlarge)
Step 11:
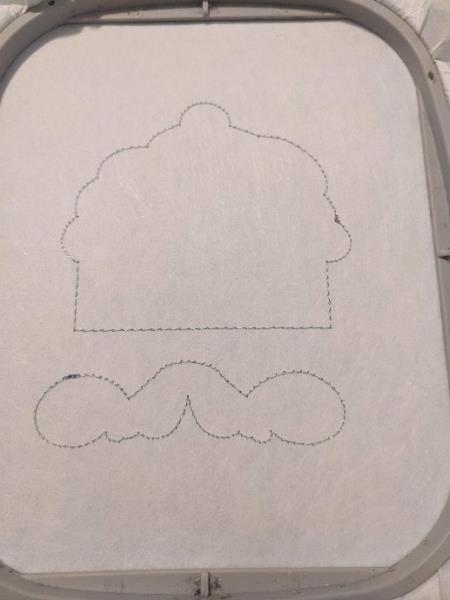
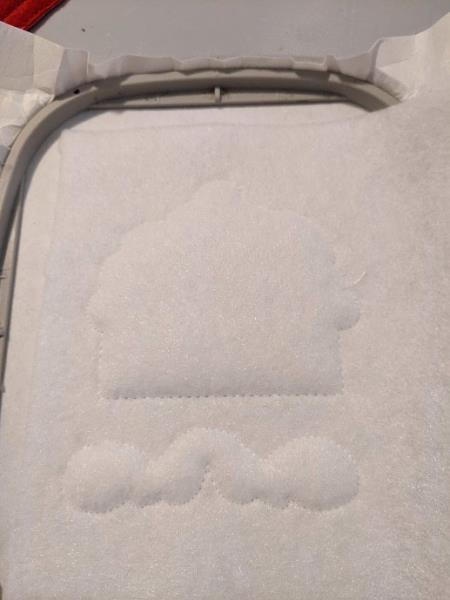
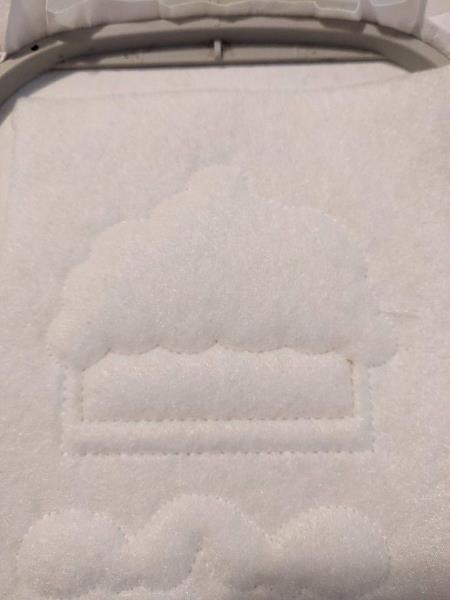
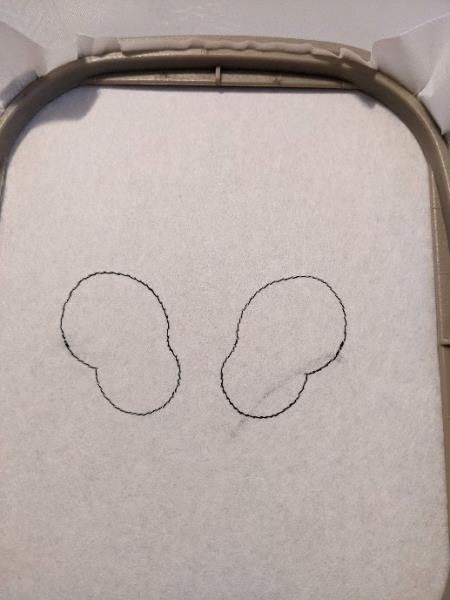
this seam is done on your stabilizer to tear to indicate the location of your fleece
(Click Image to Enlarge)
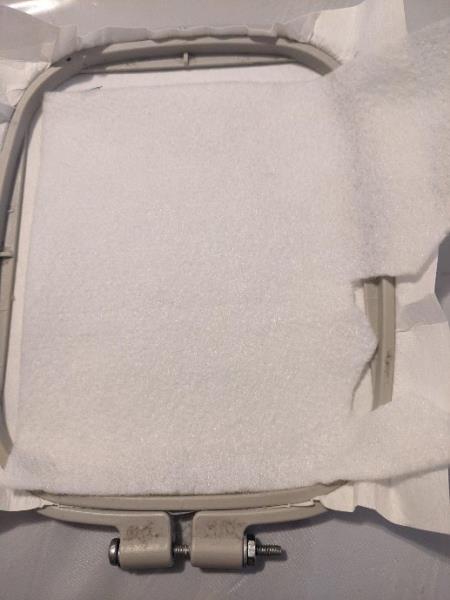
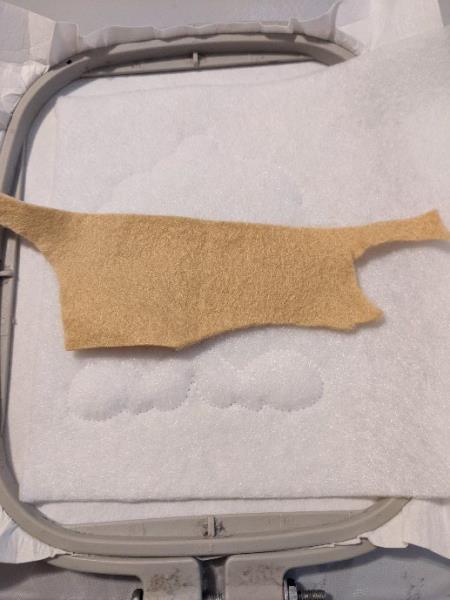
Step 12:
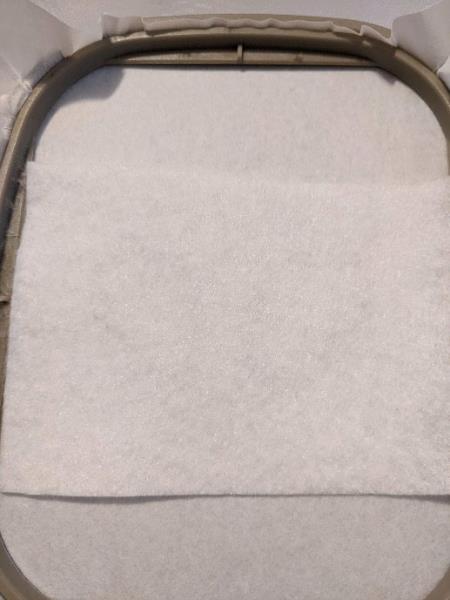
Put your fleece so as to cover all the seams
(Click Image to Enlarge)
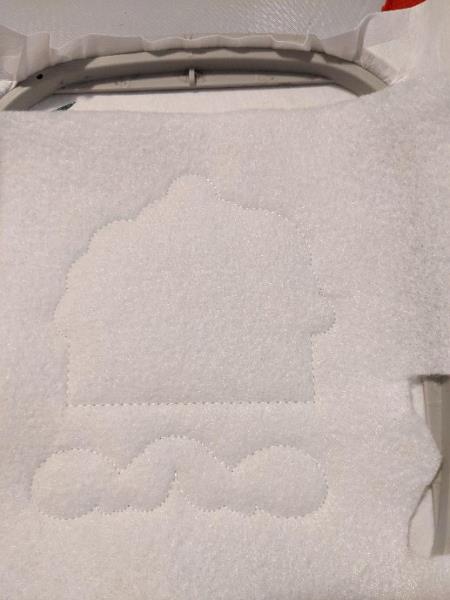
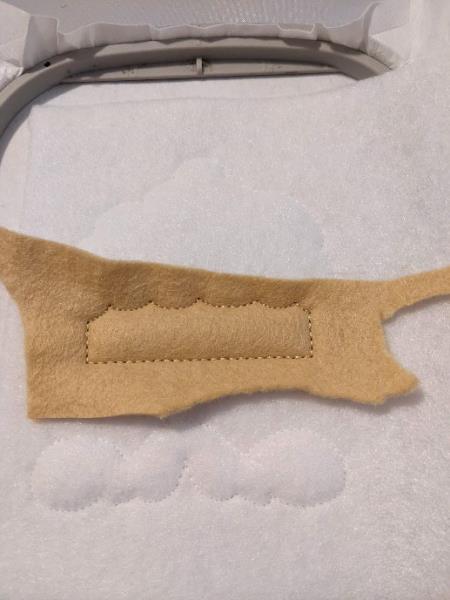
Step 13:
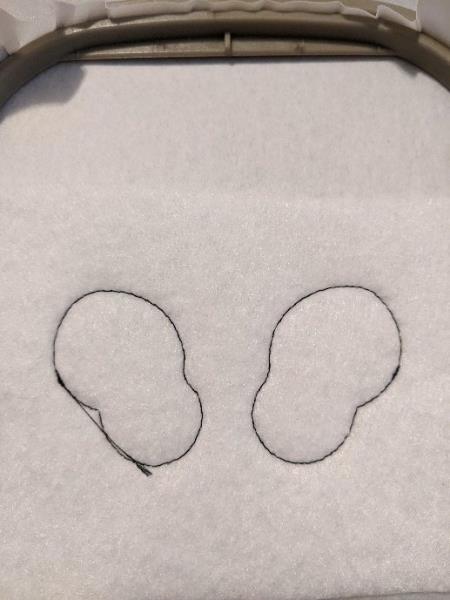
this seam will hold your fleece in place
(Click Image to Enlarge)
Step 14:
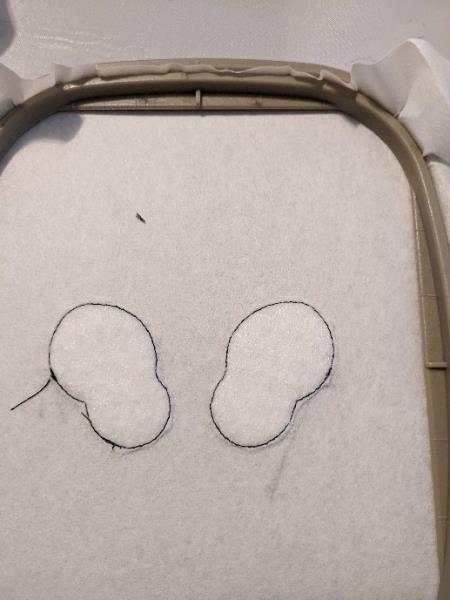
Cut the excess all around
(Click Image to Enlarge)
Step 15:
Put your white felt to cover your fleece
(Click Image to Enlarge)
Step 16:
this seam will hold your felt in place
(Click Image to Enlarge)
Step 17:
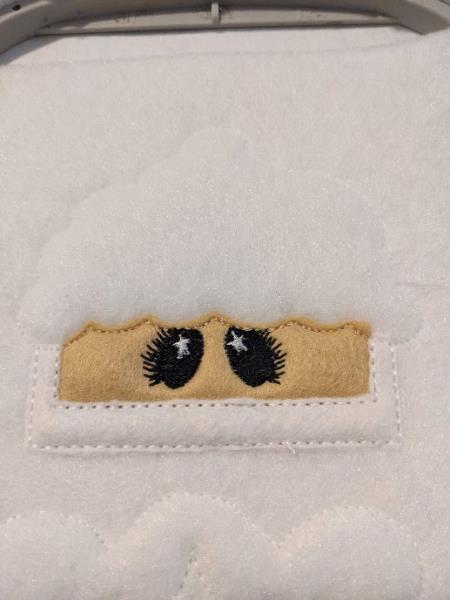
this seam tells you the location for your face felt
(Click Image to Enlarge)
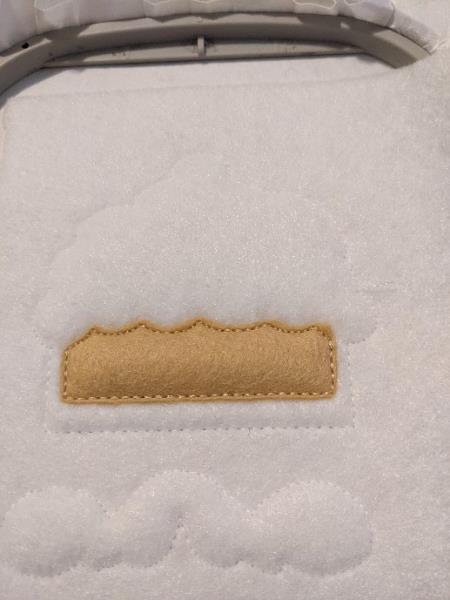
Step 18:
Put your felt to cover the entire seam
(Click Image to Enlarge)
Step 19:
Seam 5: this seam will hold your felt in place
(Click Image to Enlarge)
Step 20:
Cut the excess all around
(Click Image to Enlarge)
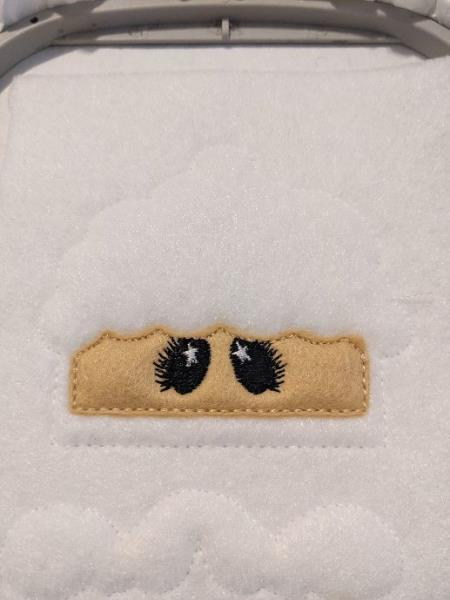
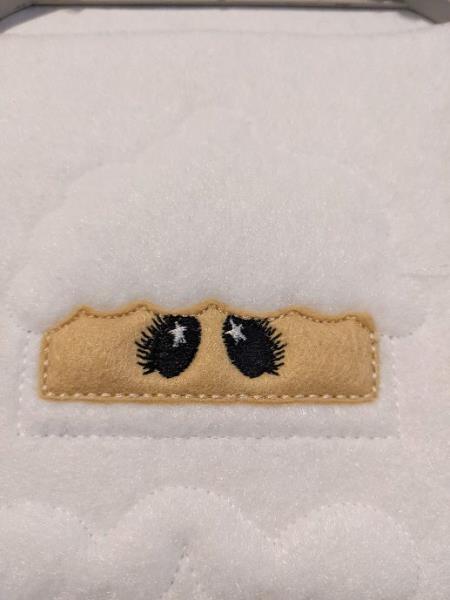
Step 21:
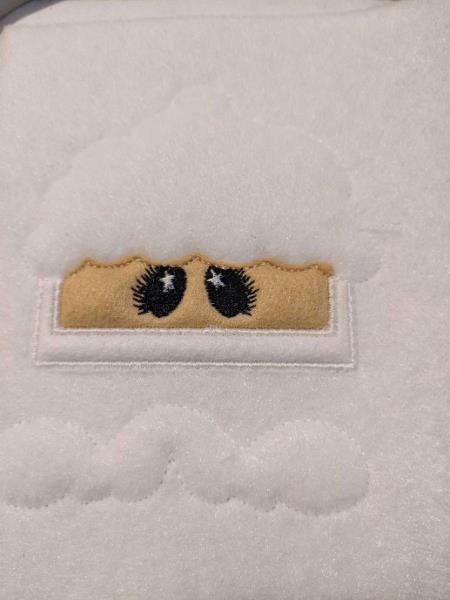
Sewing 6- 7: embroidery stitches
(Click Image to Enlarge)
Step 22:
this seam tells you the location for the felt around the face
(Click Image to Enlarge)
Step 23:
Put your felt to cover the entire seam
(Click Image to Enlarge)
Step 24:
this seam will hold your felt in place
(Click Image to Enlarge)
Step 25:
Sewing 10: Bumblebee Stitches
(Click Image to Enlarge)
Step 26:
this seam tells you the location for the hat
(Click Image to Enlarge)
Step 27:
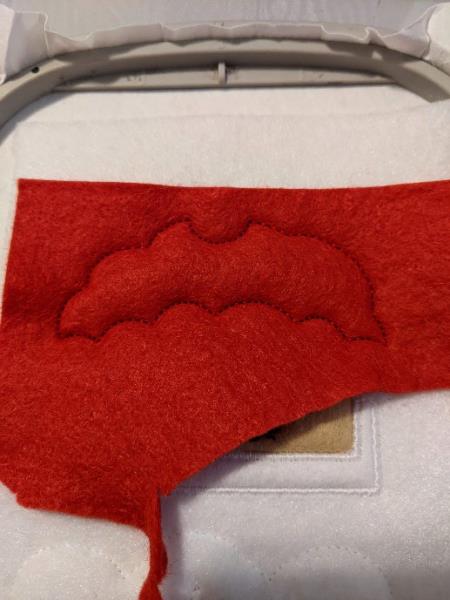
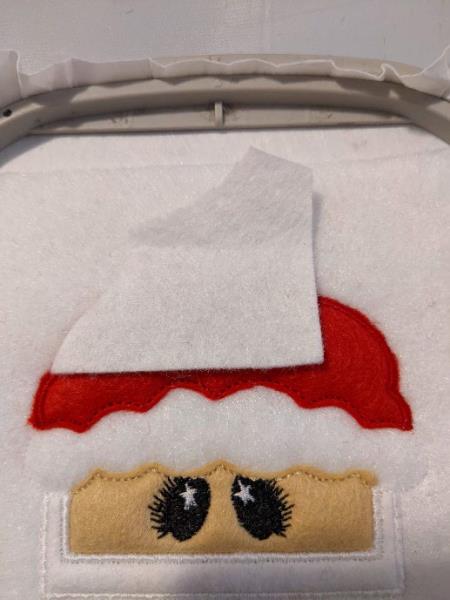
Put your felt to cover the entire seam
(Click Image to Enlarge)
Step 28:
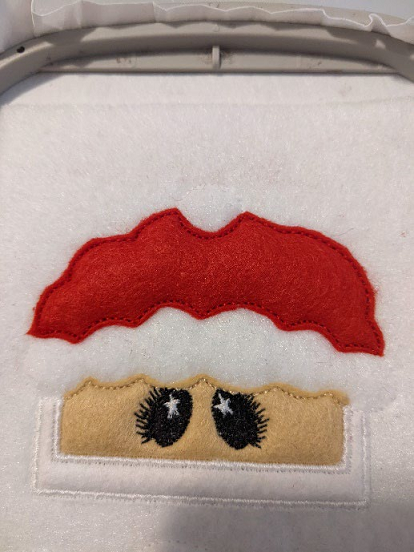
this seam willhold your felt in place
(Click Image to Enlarge)
Step 29:
Cut the excess all around
(Click Image to Enlarge)
Step 30:
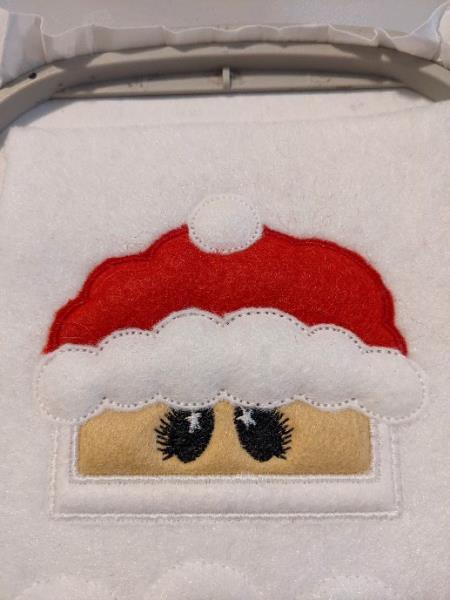
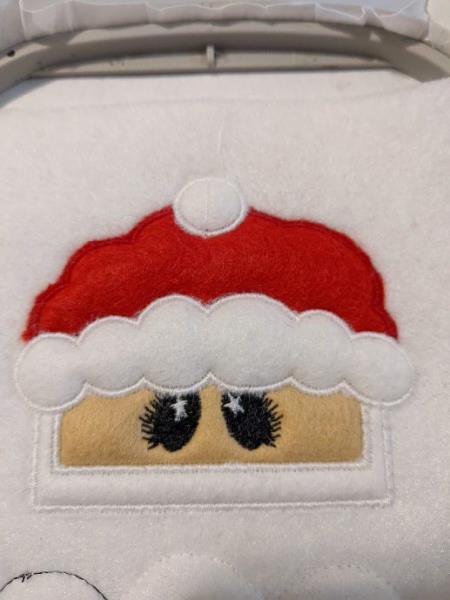
bumblebee stitches in hat
Seam 14: this seam tells you the location for the pompom
(Click Image to Enlarge)
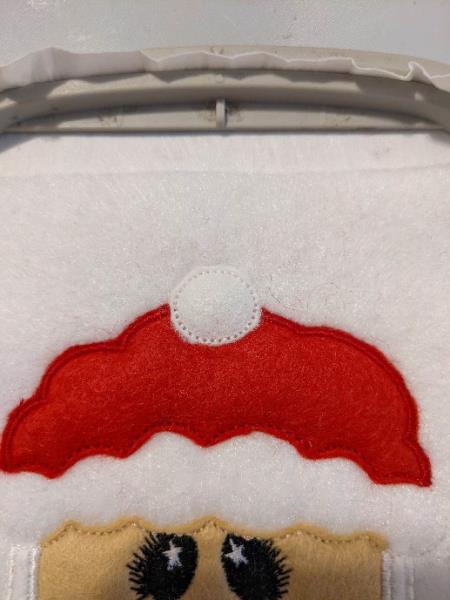
Step 31:
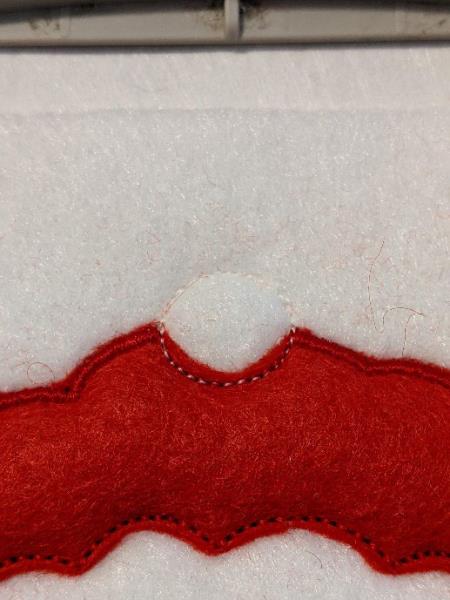
Put your felt to cover the entire seam
(Click Image to Enlarge)
Step 32:
this seam will hold your felt in place
(Click Image to Enlarge)
Step 33:
Cut the excess all around
(Click Image to Enlarge)
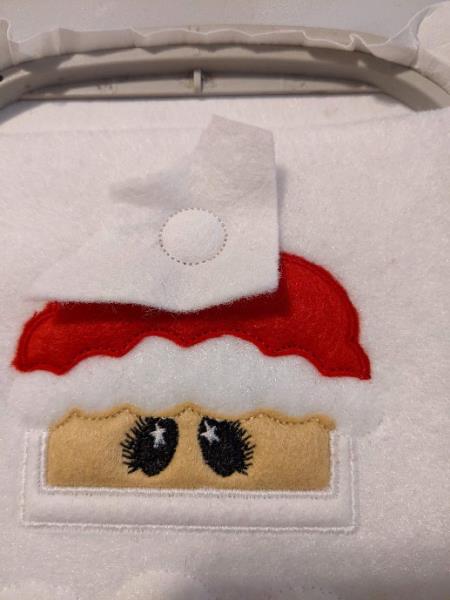
Step 34:
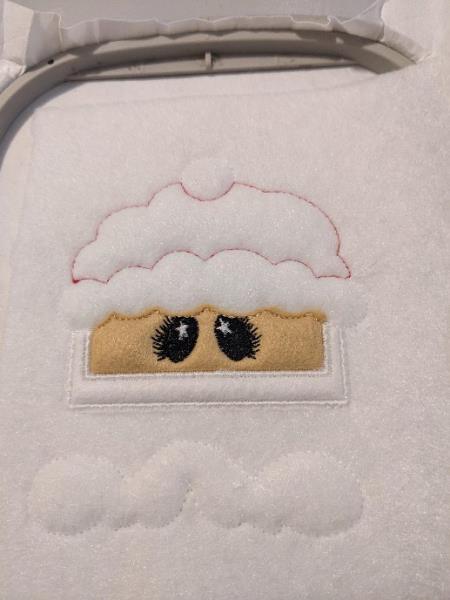
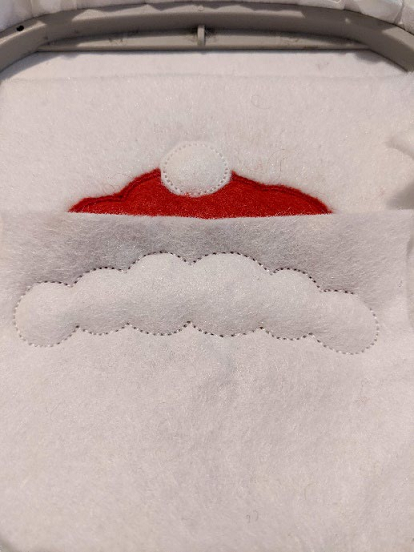
this seam shows you the location of the hat rim
(Click Image to Enlarge)
Step 35:
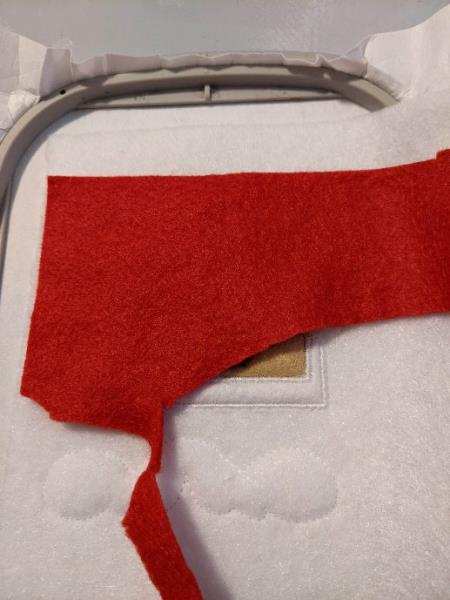
Put your felt to cover the entire seam
(Click Image to Enlarge)
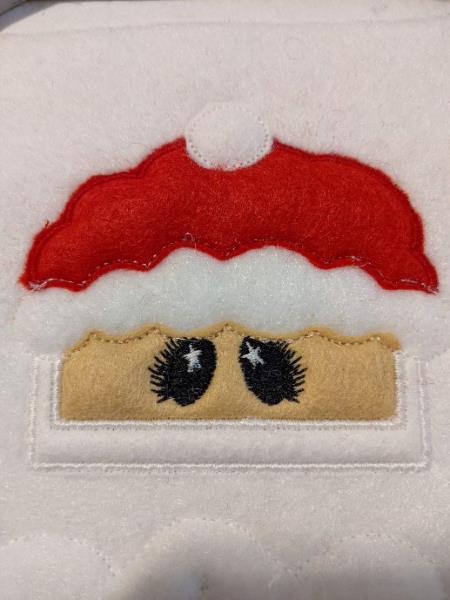
Step 36:
this seam will hold your felt in place
(Click Image to Enlarge)
Step 37:
Cut the excess all around
(Click Image to Enlarge)
Step 38:
Sewing 18: Bumblebee Stitches
(Click Image to Enlarge)
Step 39:
Sewing 19: this sewing tells you the location of the first mitten
(Click Image to Enlarge)
Step 40:
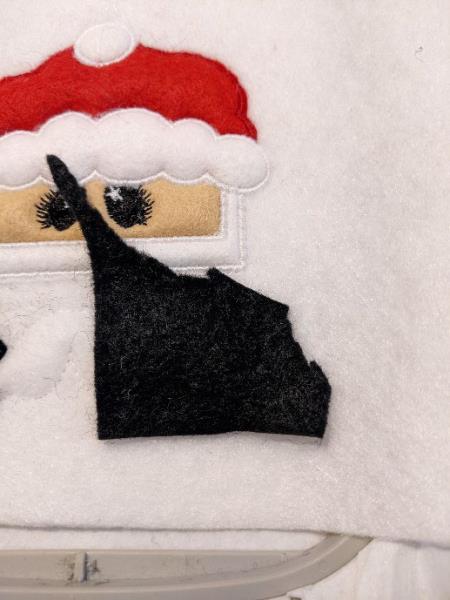
Put your felt to cover the entire seam
(Click Image to Enlarge)
Step 41:
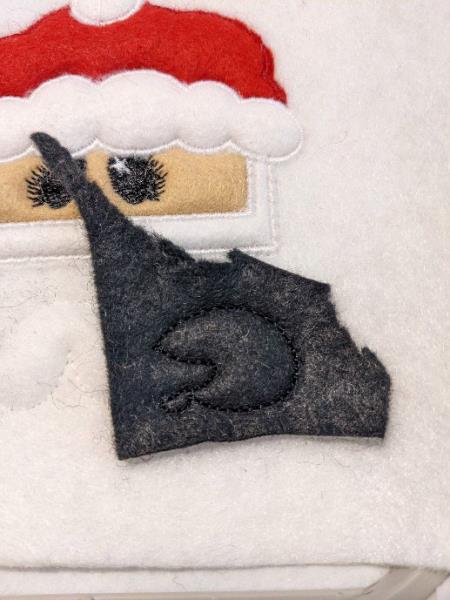
this seam will hold your felt in place
(Click Image to Enlarge)
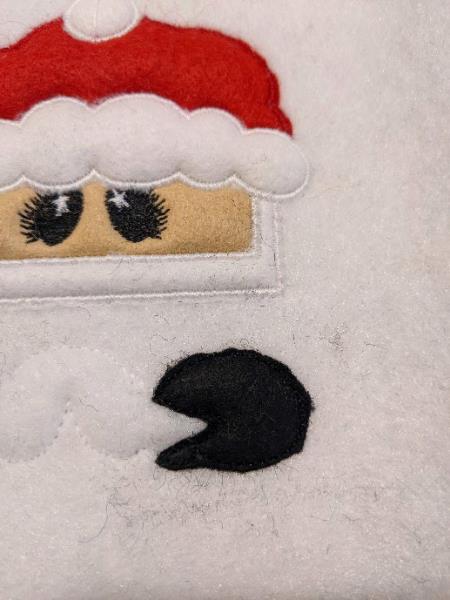
Step 42:
Cut the excess all around
(Click Image to Enlarge)
Step 43:
this seam shows you the location of the second mitten
(Click Image to Enlarge)
Step 44:
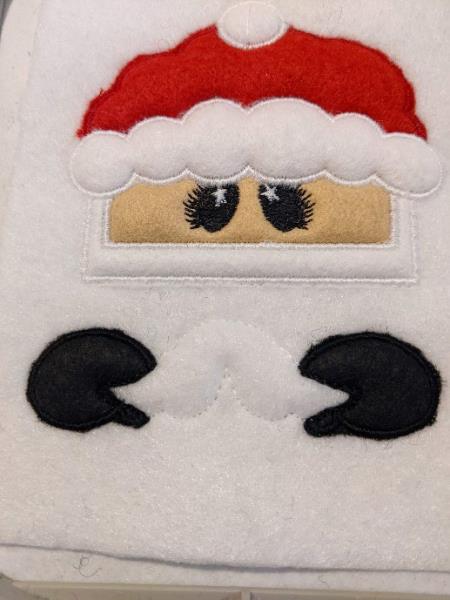
Put your felt to cover the entire seam
(Click Image to Enlarge)
Step 45:
this seam will hold your felt in place
(Click Image to Enlarge)
Step 46:
Cut the excess all around
(Click Image to Enlarge)
Step 47:
Sewing 23: Bumblebee Stitches
(Click Image to Enlarge)
Step 48:
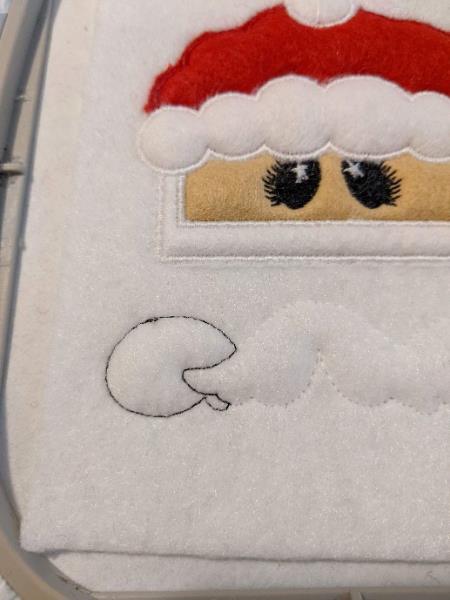
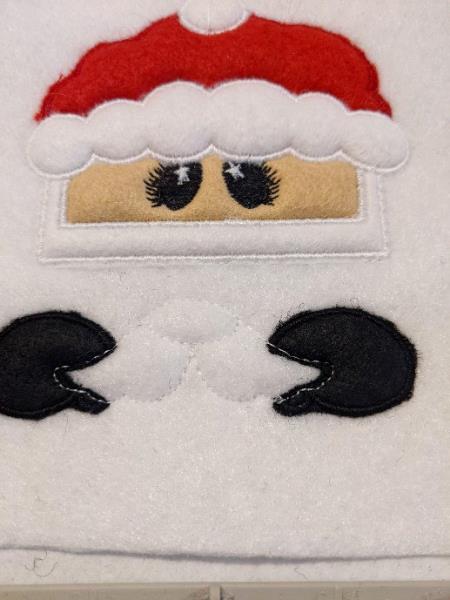
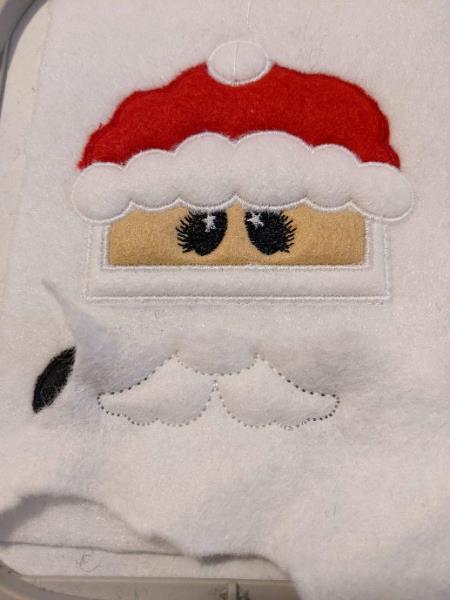
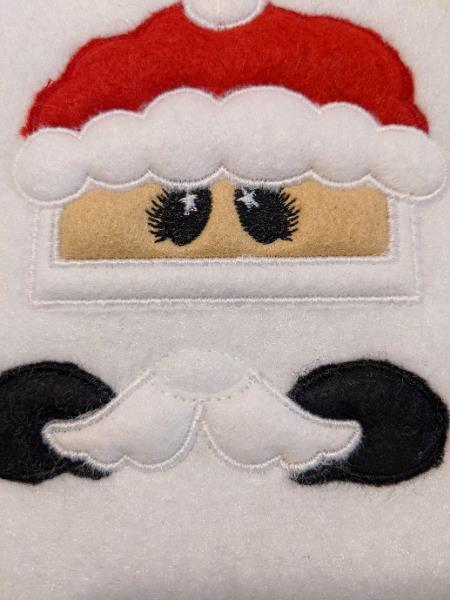
this seam tells you the location for your beard
(Click Image to Enlarge)
Step 49:
Put your felt to cover the entire seam
(Click Image to Enlarge)
Step 50:
this seam will hold your felt in place
(Click Image to Enlarge)
Step 51:
Cut the excess all around
(Click Image to Enlarge)
Step 52:
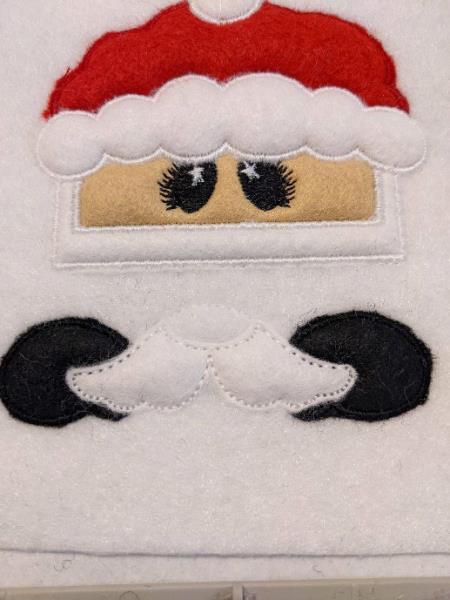
bumblebee stitches
(Click Image to Enlarge)
Step 53:
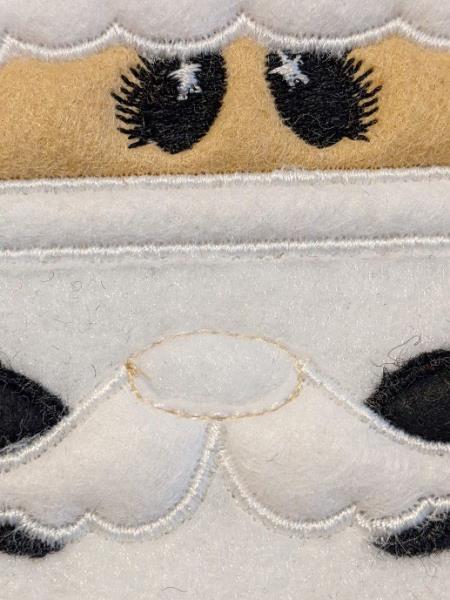
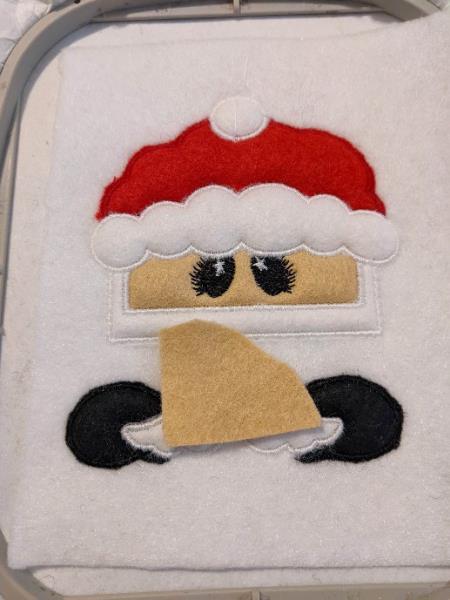
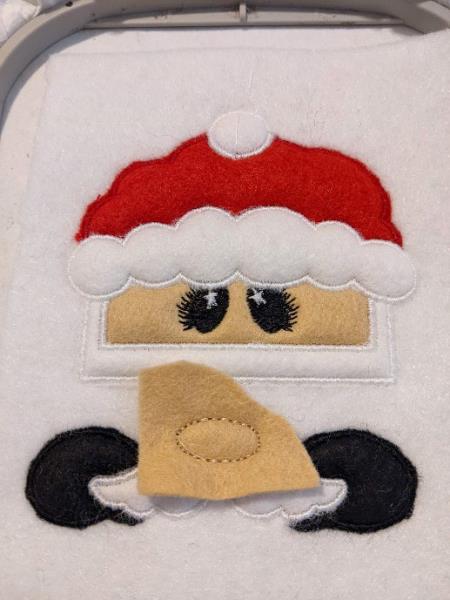
this seam tells you the location for the nose
(Click Image to Enlarge)
Step 54:
Put your felt to cover the entire seam
(Click Image to Enlarge)
Step 55:
this seam will hold your felt in place
(Click Image to Enlarge)
Step 56:
Cut the excess all around
(Click Image to Enlarge)
Step 57:
Sewing 29: Bumblebee Stitches
(Click Image to Enlarge)
Step 58:
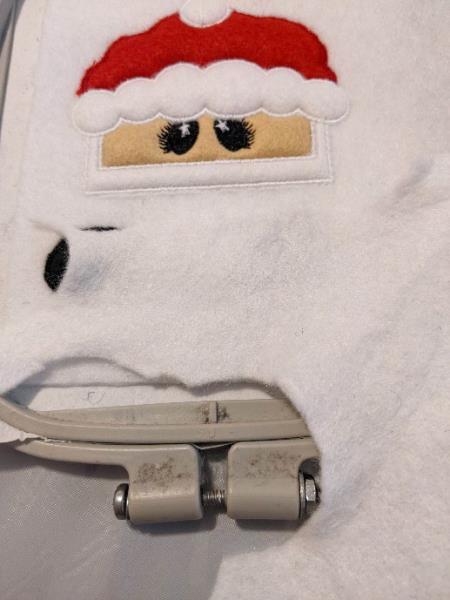
Put your felt on the back of your frame, keep well in place
(Click Image to Enlarge)
Step 59:
this seam will join your front with your back
Get out of the frame, cut the excess all around
(Click Image to Enlarge)
Step 60:
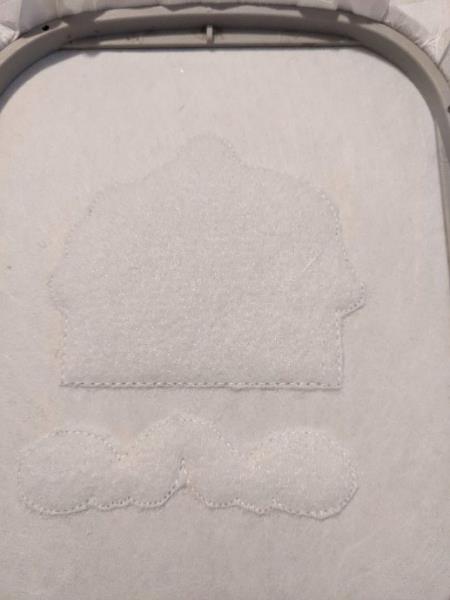
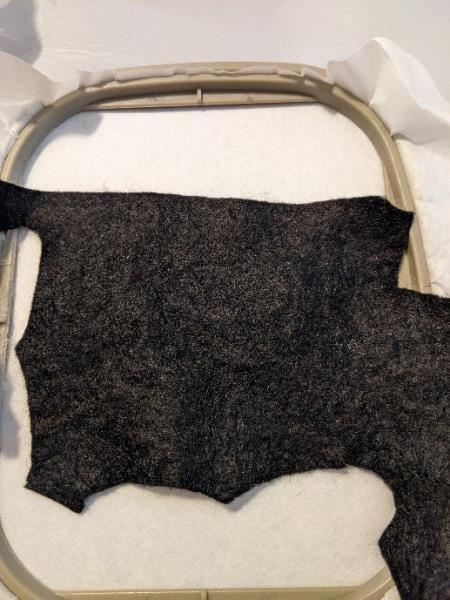
this fact on your tearable stabilizer to indicate the location of your fleece
(Click Image to Enlarge)
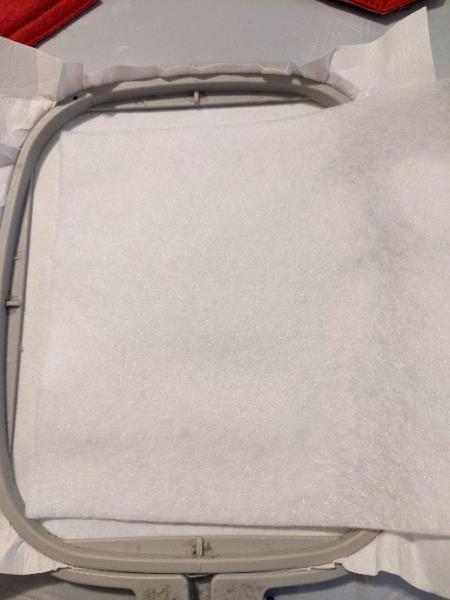
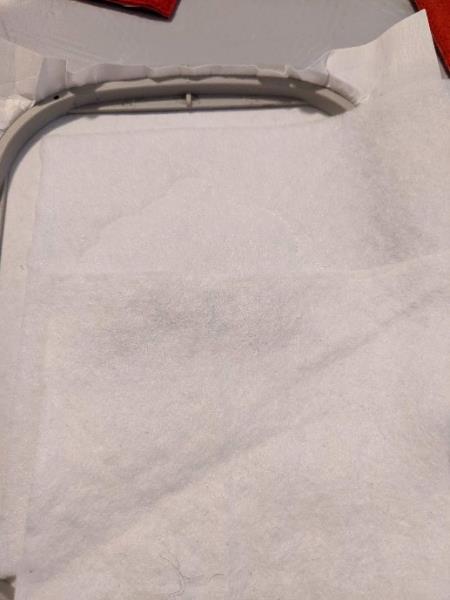
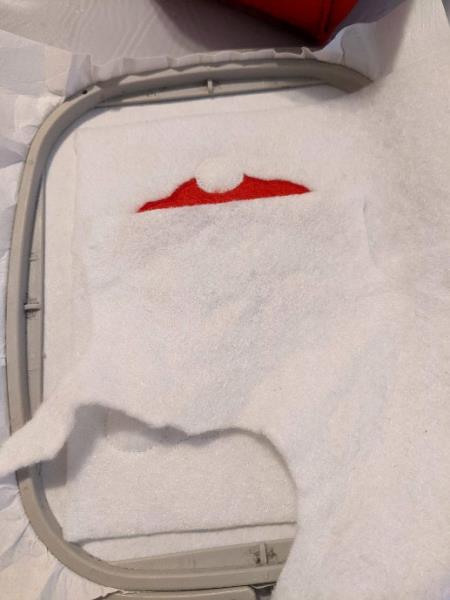
Step 61:
Put on your fleece
(Click Image to Enlarge)
Step 62:
seam your fleece in place
(Click Image to Enlarge)
Step 63:
cut the excess all around
(Click Image to Enlarge)
Step 64:
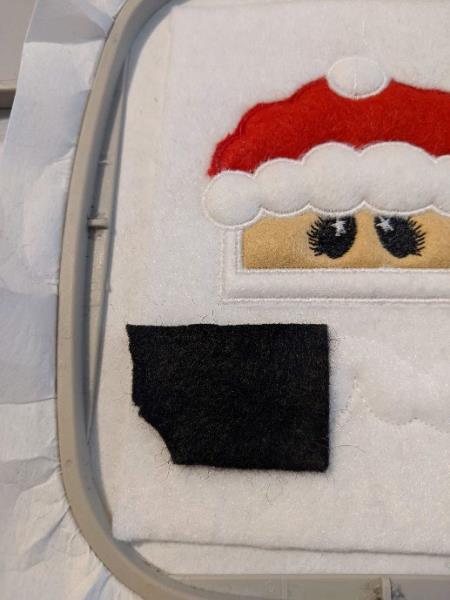
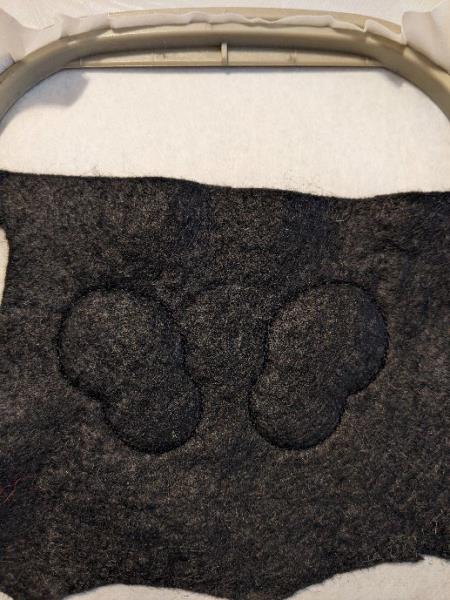
Put on your black felt
(Click Image to Enlarge)
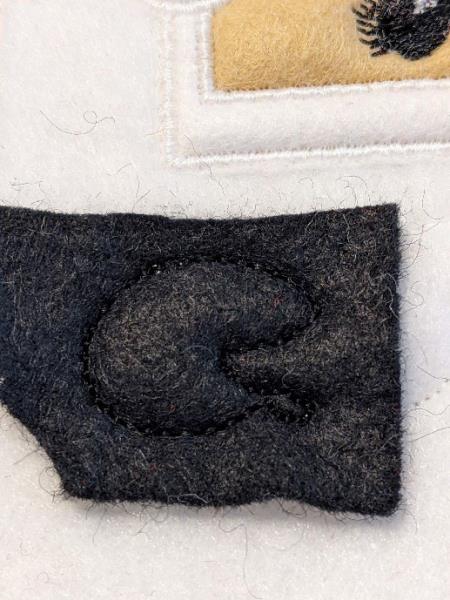
Step 65:
this seam will hold your felt in place
(Click Image to Enlarge)
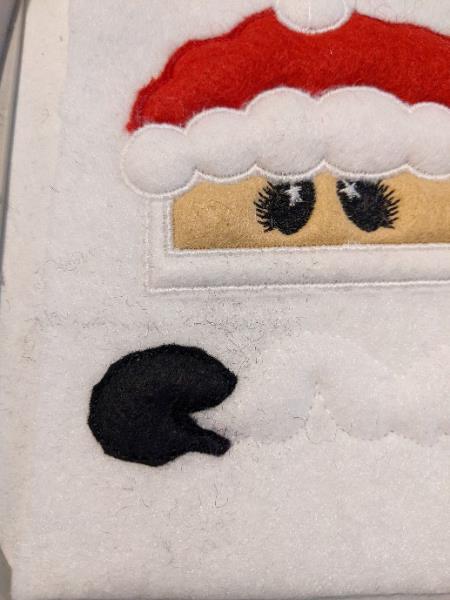
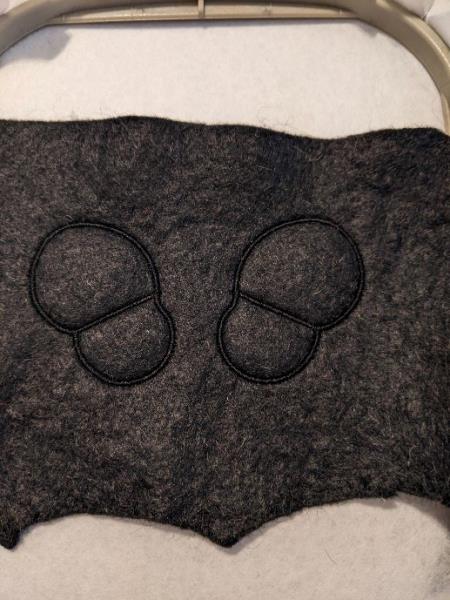
Step 66:
Bumblebee Stitches
(Click Image to Enlarge)
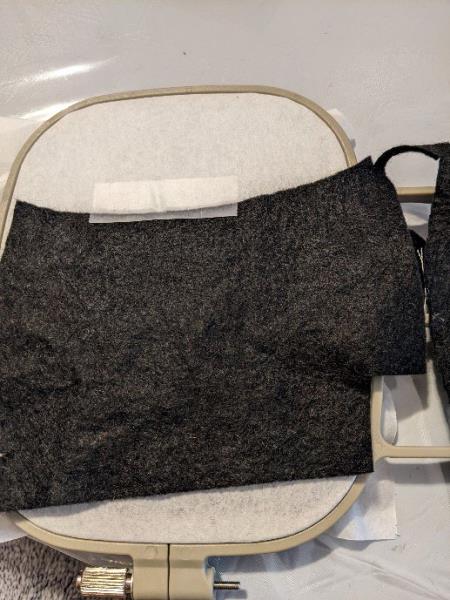
Step 67:
Put your black felt on the back of your frame
Sewing 5: this sewing will join your 2 felt together
Make the last knife that will litter your top felt with that of the bottom. Get out of the frame and cut the excess all around
(Click Image to Enlarge)
Step 68:
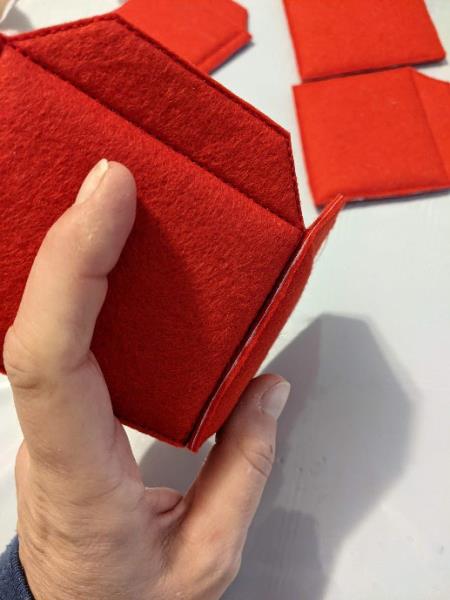
Take each side of the box and stick them together
(Click Image to Enlarge)
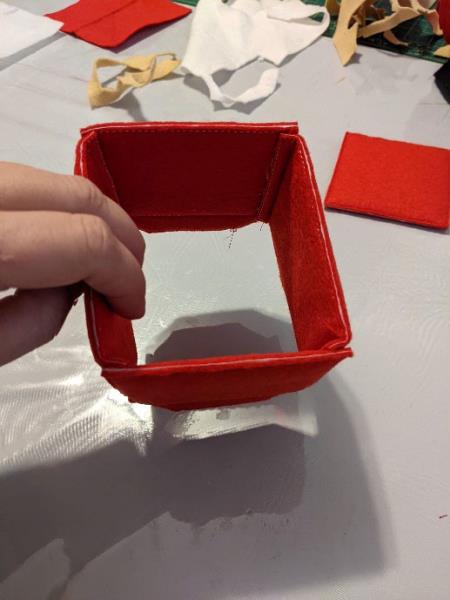
Step 69:
You should have this
(Click Image to Enlarge)
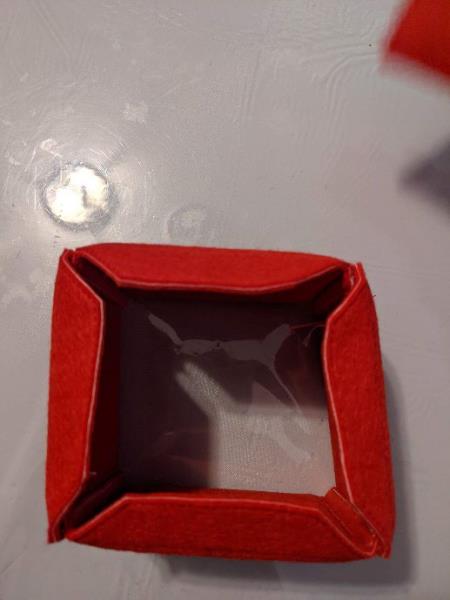
Step 70:
Apply the bottom edges on each side
(Click Image to Enlarge)
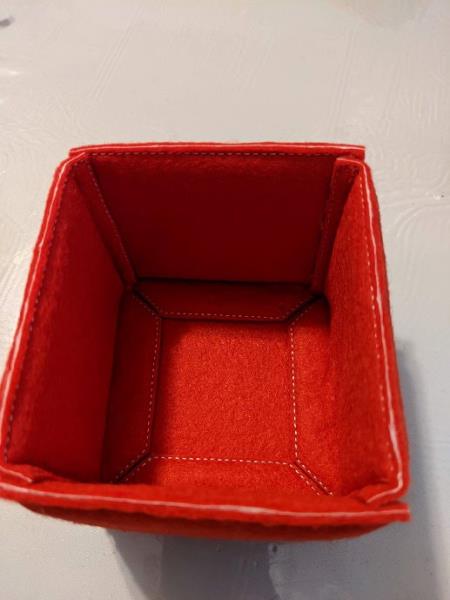
Step 71:
Glue the bottom of the box to each edge of the sides
(Click Image to Enlarge)
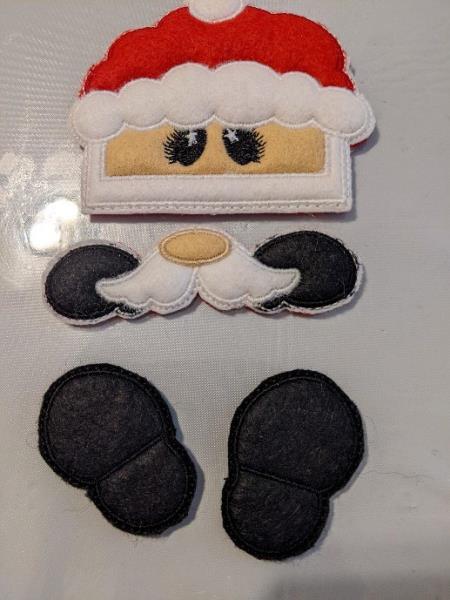
Step 72:
take your pieces of the snowman
(Click Image to Enlarge)
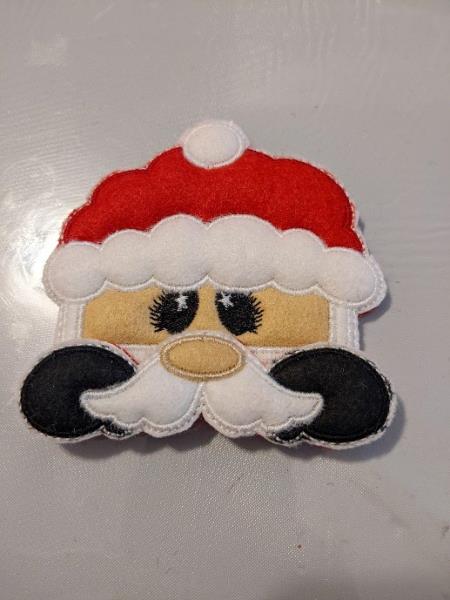
Step 73:
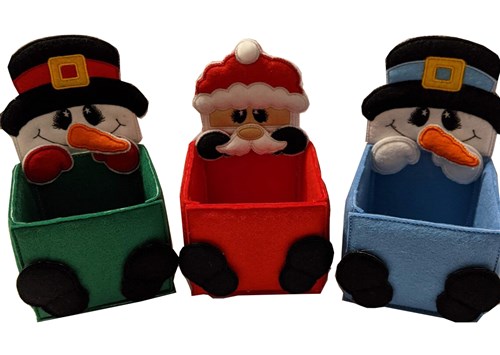
Stick the mustache with the stockings on the bottom of the head
(Click Image to Enlarge)
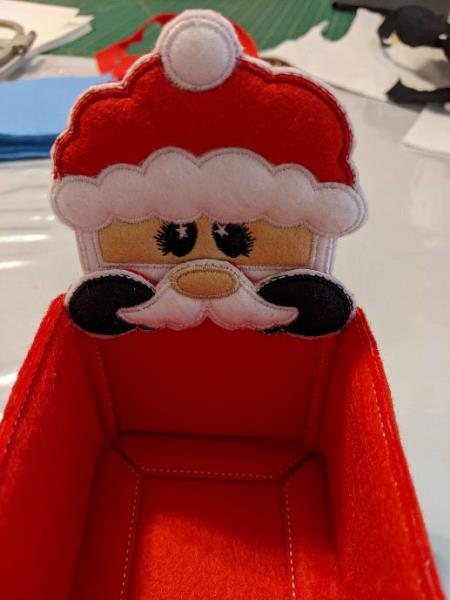
Step 74:
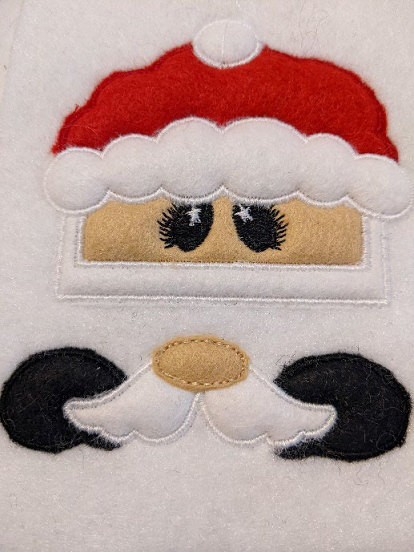
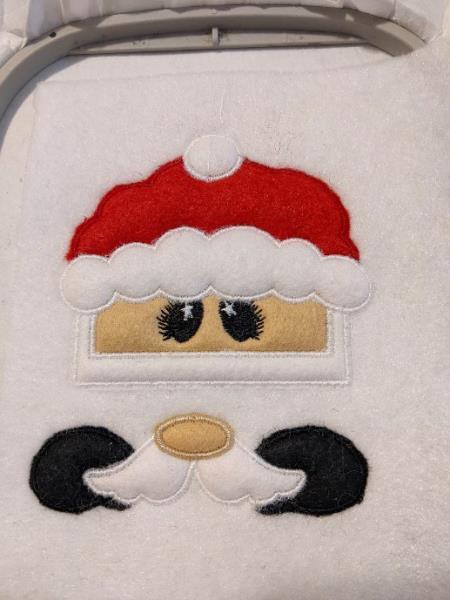
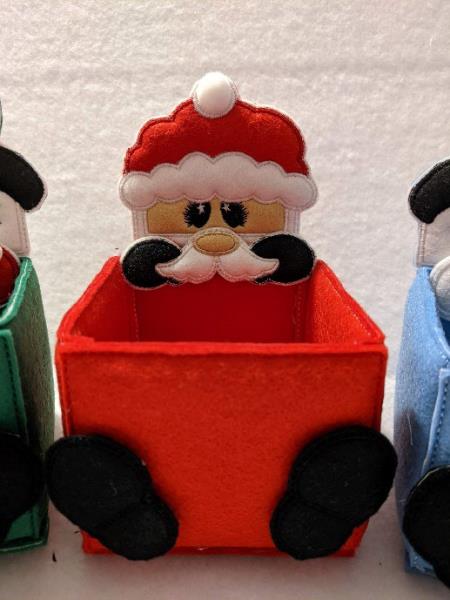
Come stick the head of Santa Claus on the box, the head is glued on the extéreiur of the back of the box while the arms go on the inside back of the box
(Click Image to Enlarge)
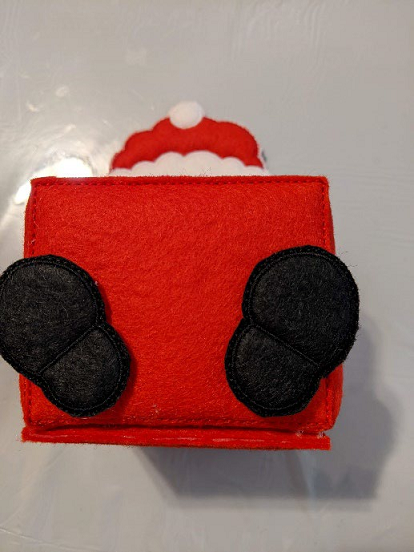
Step 75:
Come stick the boots on the front of the box
(Click Image to Enlarge)
Step 76:
If you resize or modify this design in any way, I cannot guarantee a quality point.








 Embroidery Circle Membership