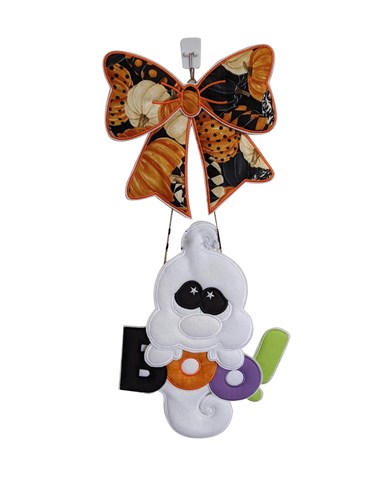
ITH Cute Ghost Bow Door Hanger
Zoom Watch Video View Larger
View Project Instructions
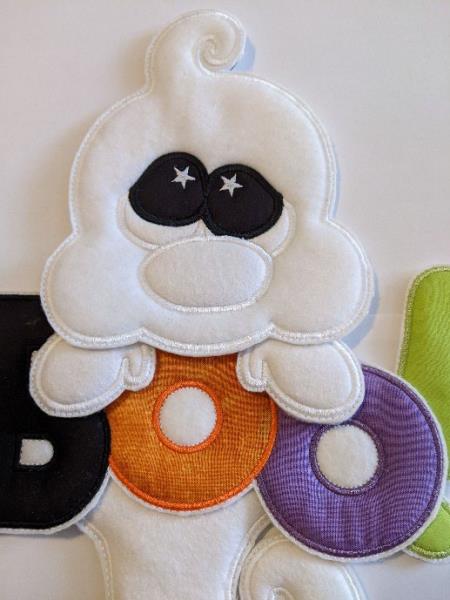
ITH Cute Ghost Bow Door Hanger Embroidery Project
PROJECT DETAILS
Description
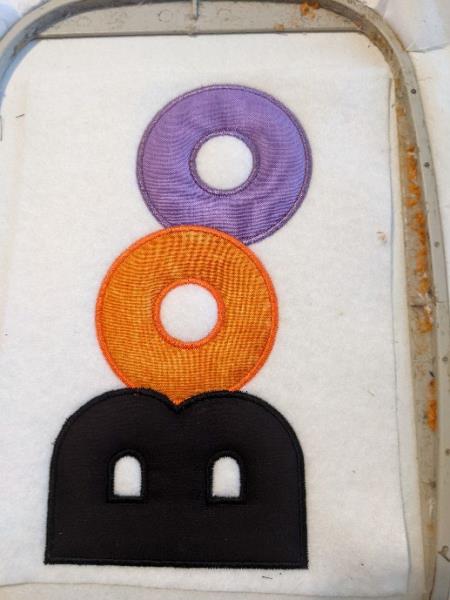
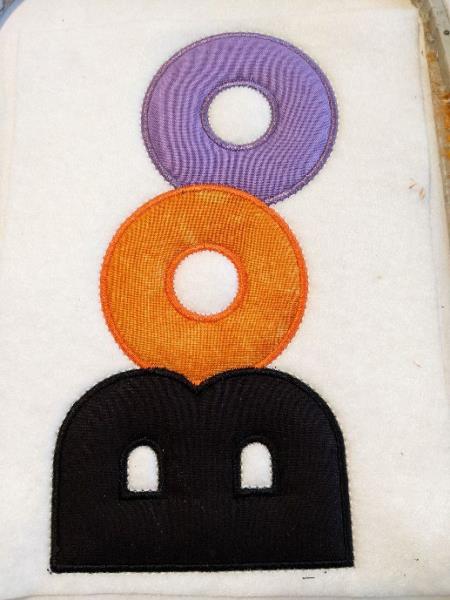
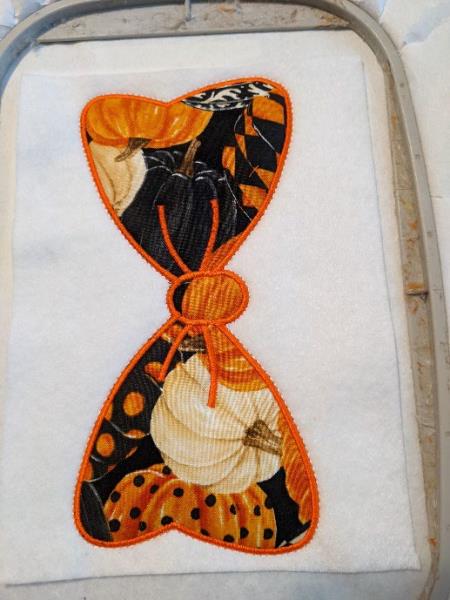
This ITH Cute Ghost Bow Door Hanger features a playful ghost with bold stitched details and a festive patterned bow. Perfect for Halloween doors, seasonal décor, or party displays. Designed as an in-the-hoop project for easy stitching and assembly.
Materials 5 pieces of 11x17cm of basic felt for the back of the
rooms
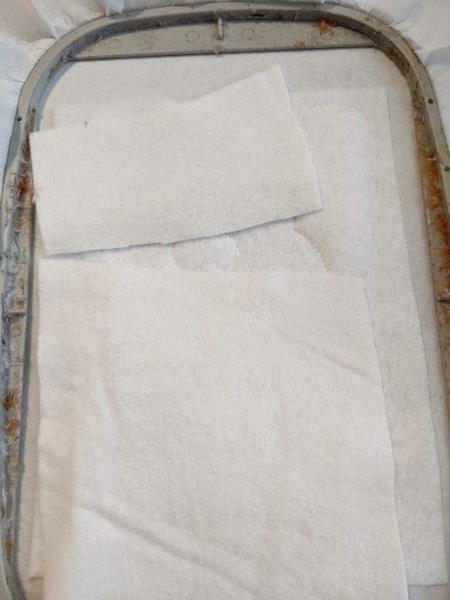
5 pieces of fleece of 11x17cm
1 sheet of good quality white felt 20x30cm high For the BOO I used leftover cotton, about 8x8cm
for the o and 7x10cm high for the B
The buckle: 1 piece of 17x10cm of cotton for the top of the buckle
Bottom of the buckle: 1 piece of 17x11cm high cotton
Cord or ribbon, rifle to glue
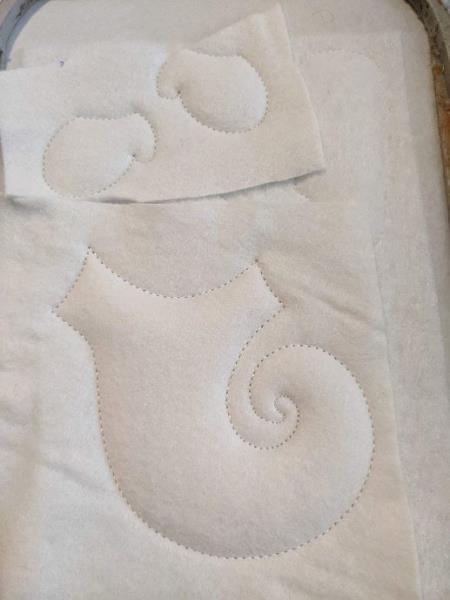
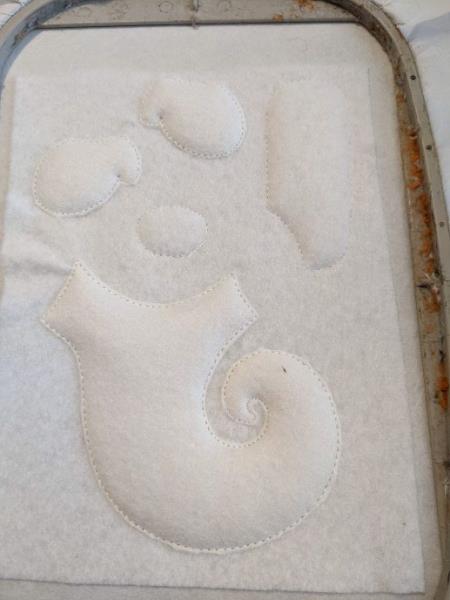
Designs used in this project
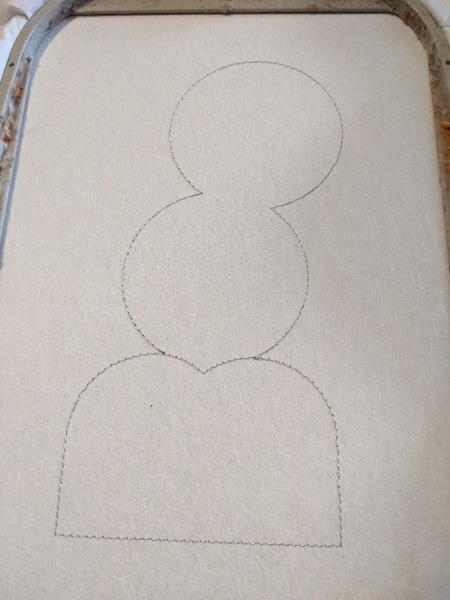
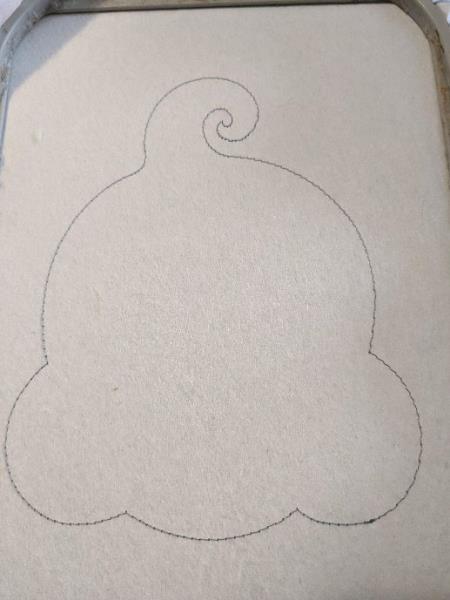
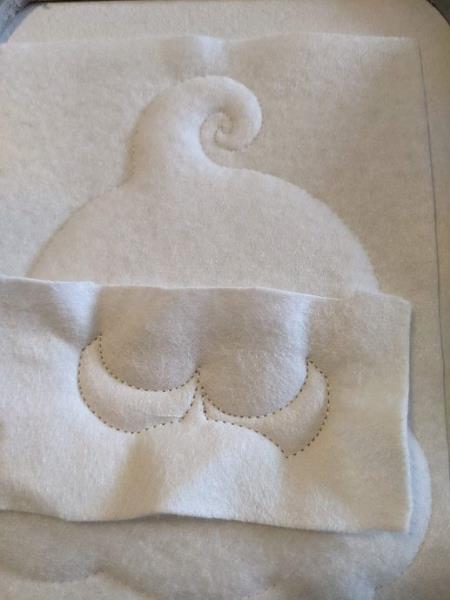
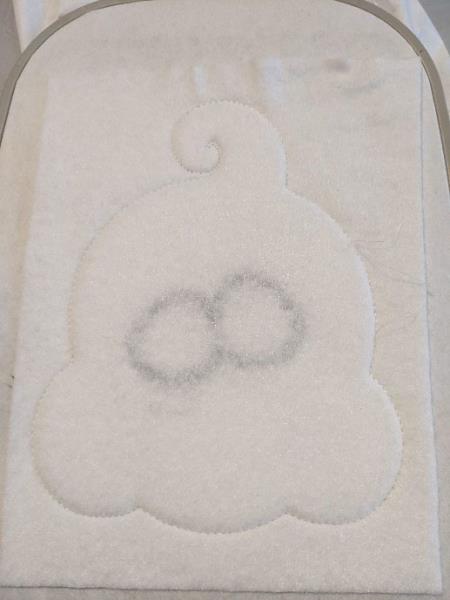
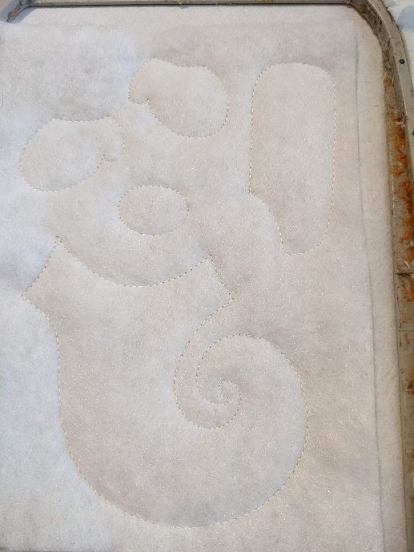
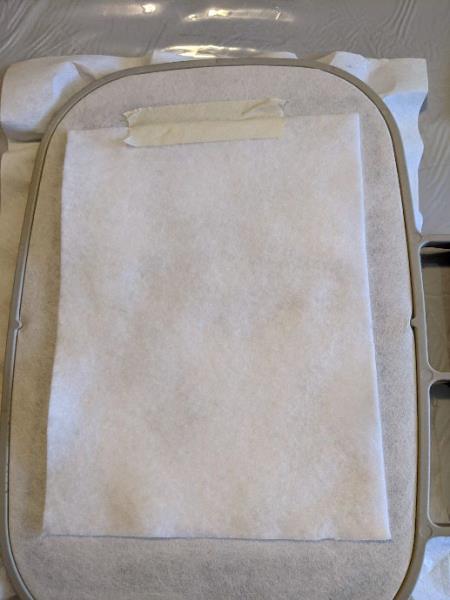
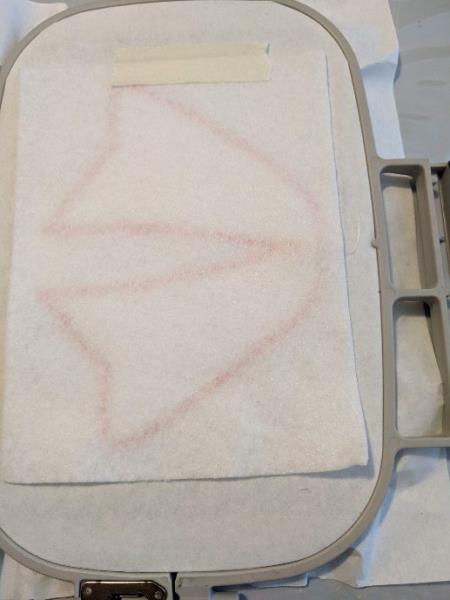
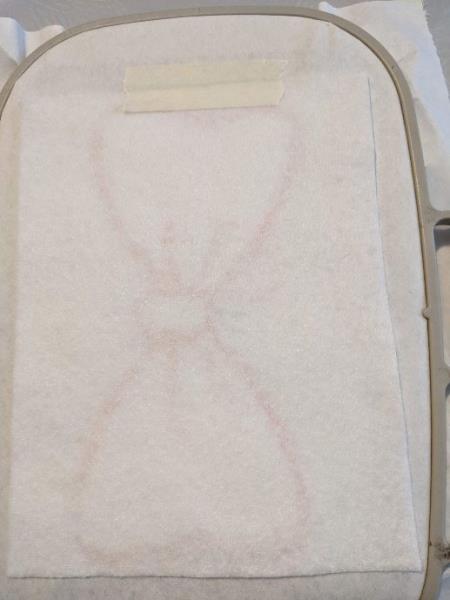
Step 1: The first seam is done on your support to tell you the location of your fleece
(Click Image to Enlarge)
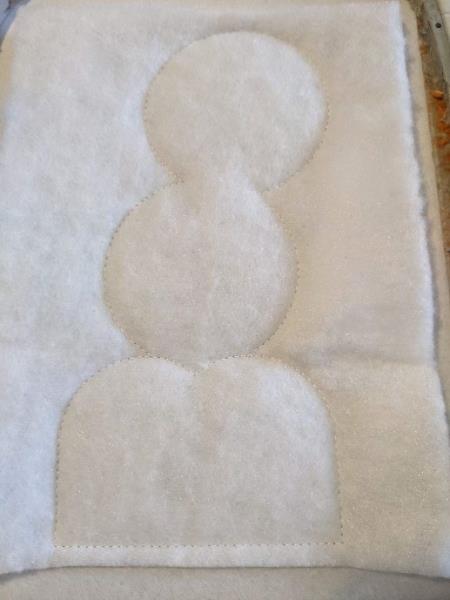
Step 2: Put your fleece on the seam, taking care to hide the entire seam
(Click Image to Enlarge)
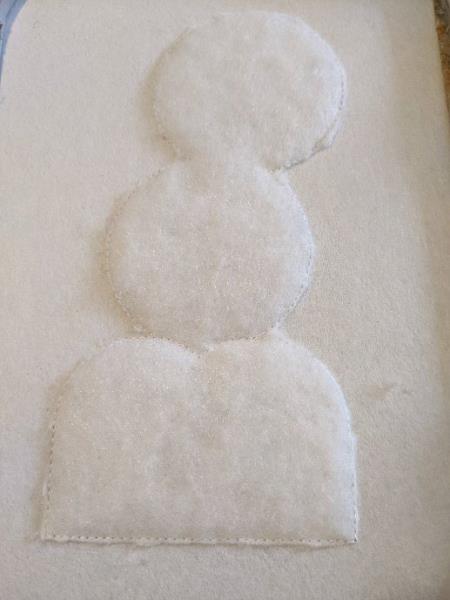
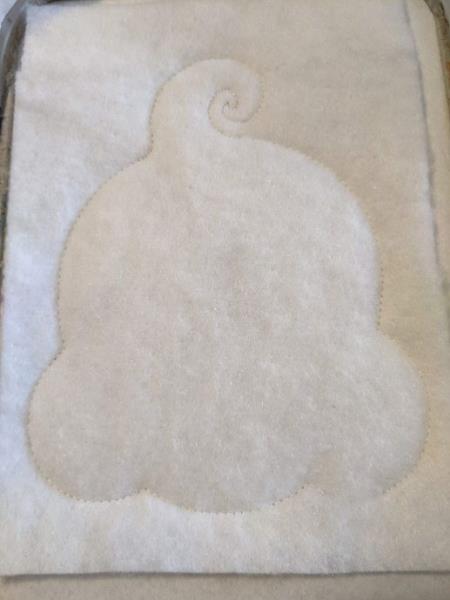
Step 3: Sewing your fleece onto your support
(Click Image to Enlarge)
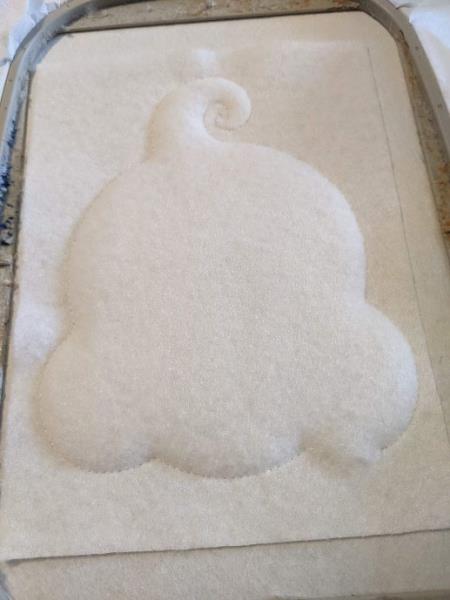
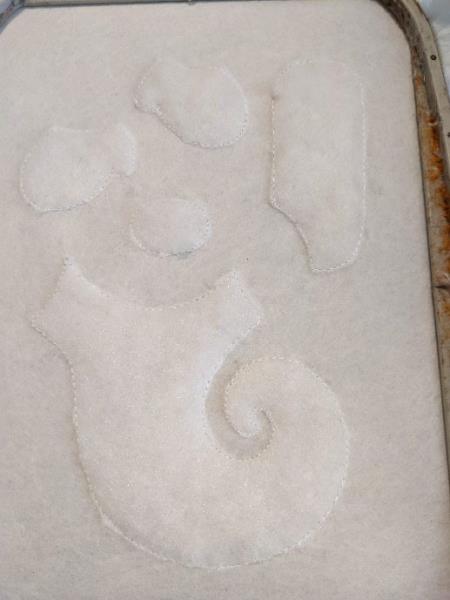
Step 4: Cut off excess fleece all around
(Click Image to Enlarge)
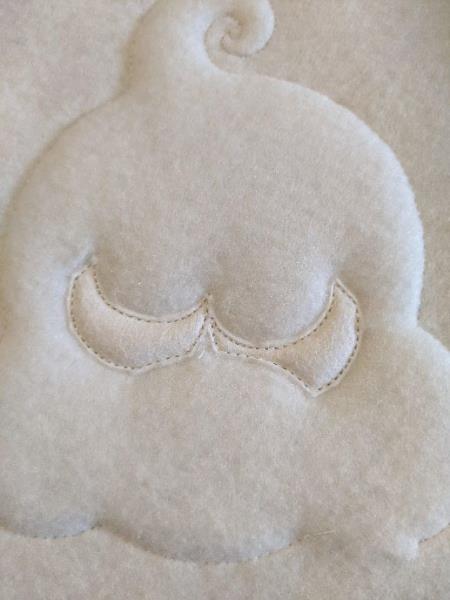
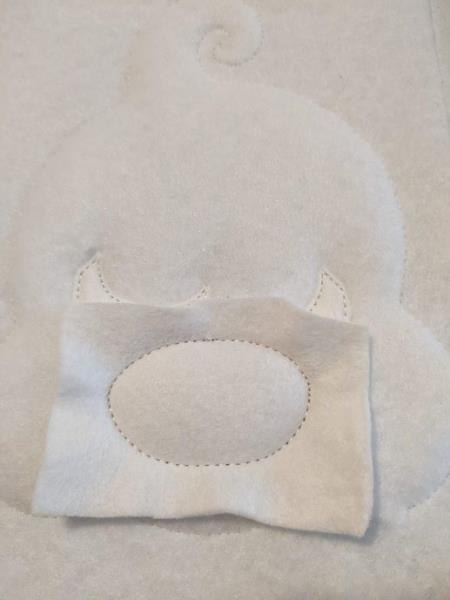
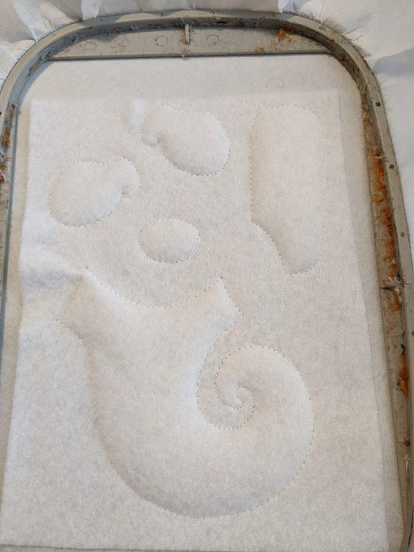
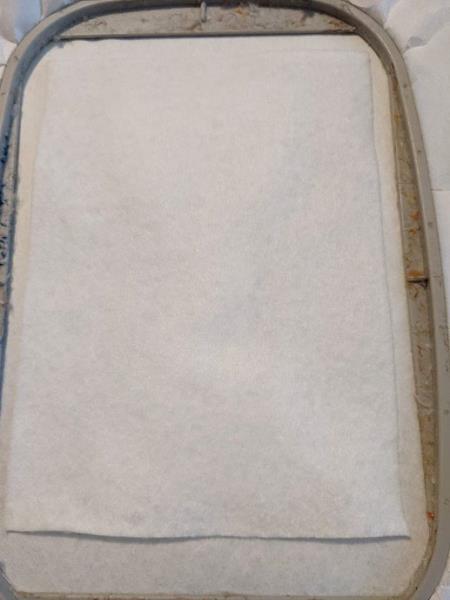
Step 5: Put your base felt on the fleece, taking care to hide the entire fleece
(Click Image to Enlarge)
Step 6: Sewing your felt on the support
(Click Image to Enlarge)
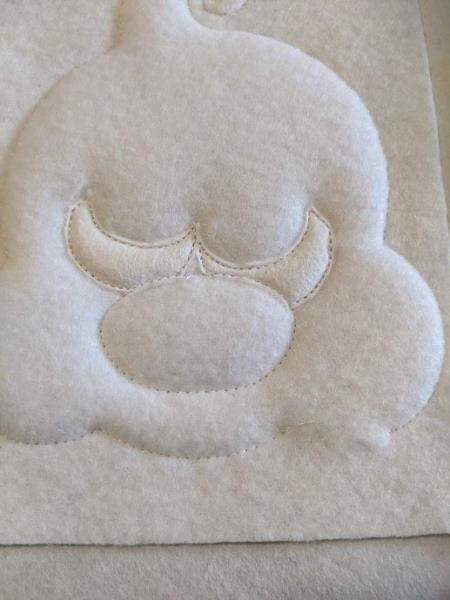
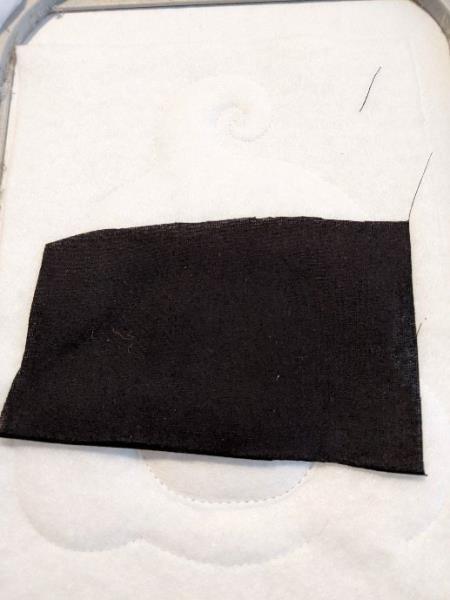
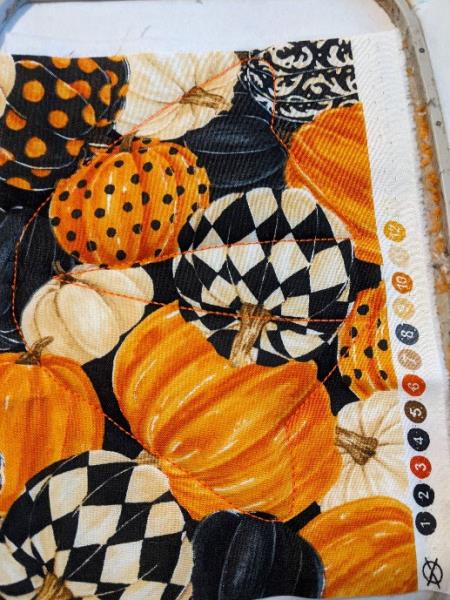
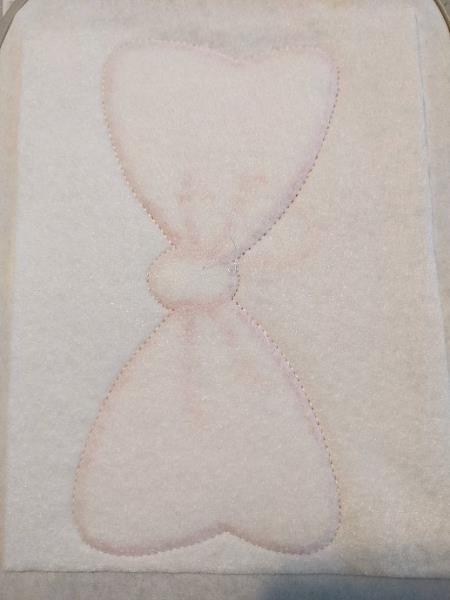
Step 7: Seam that tells you the location of your fabric
(Click Image to Enlarge)
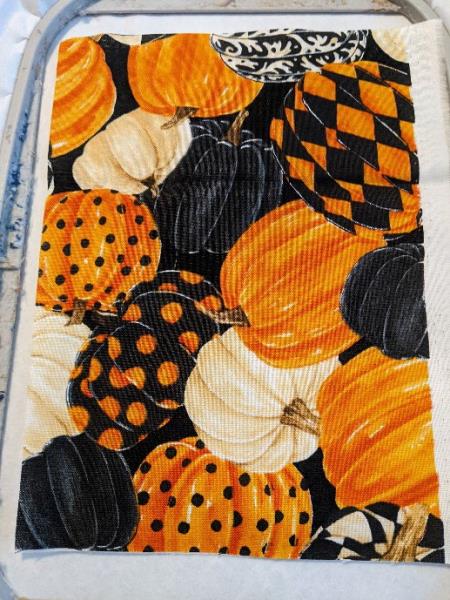
Step 8: Put your fabric on the seam
(Click Image to Enlarge)
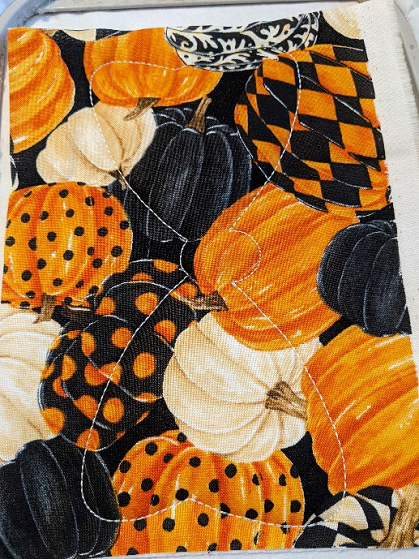
Step 9: Sewing your fabric on your felt
(Click Image to Enlarge)
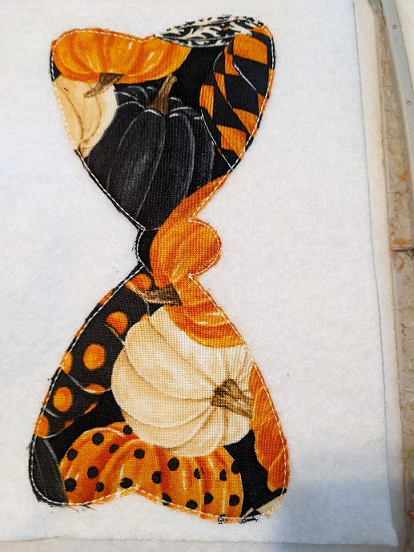
Step 10: Remove the excess all the way around
(Click Image to Enlarge)
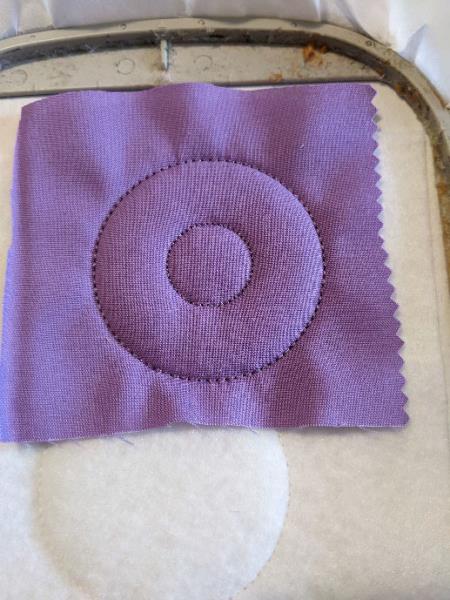
Step 11: Seam that tells you the location of your fabric
(Click Image to Enlarge)
Step 12: Put your fabric on the seam
(Click Image to Enlarge)
Step 13: Sewing your fabric on your felt
(Click Image to Enlarge)
Step 14: Remove the excess all the way around
(Click Image to Enlarge)
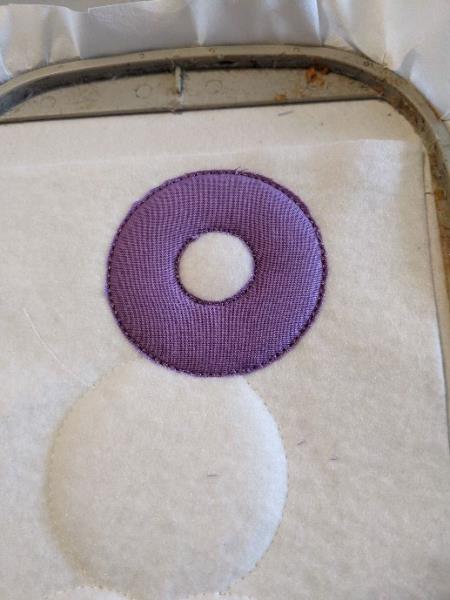
Step 15: Seam that tells you the location of your fabric
(Click Image to Enlarge)
Step 16: Put your fabric on the seam
(Click Image to Enlarge)
Step 17: Sewing your fabric on your felt
(Click Image to Enlarge)
Step 18: Remove the excess all the way around
(Click Image to Enlarge)
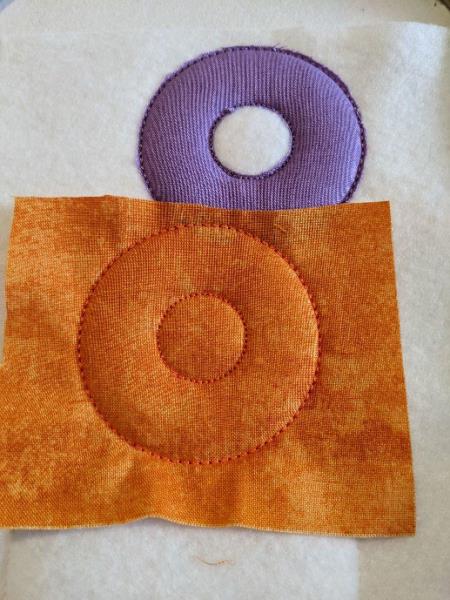
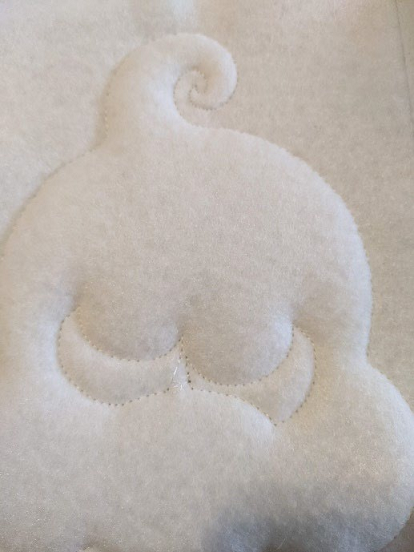
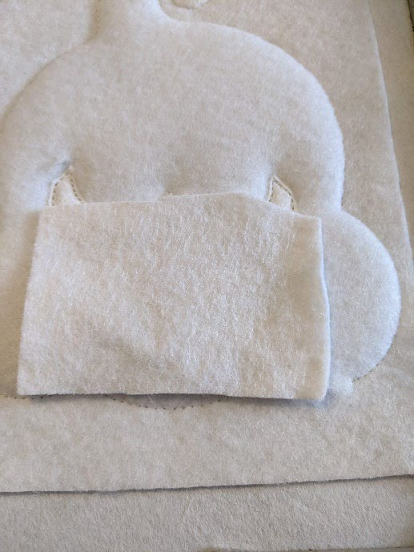
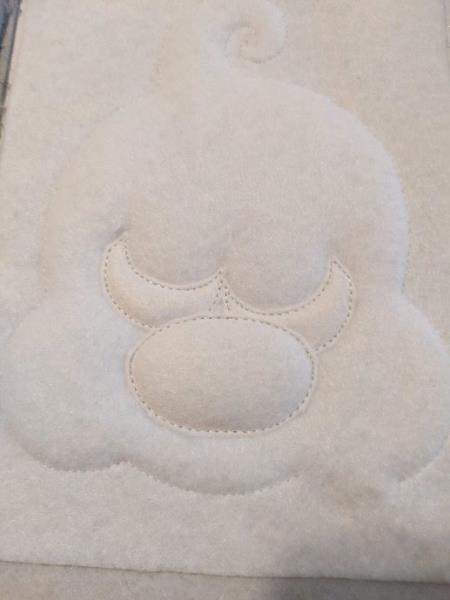
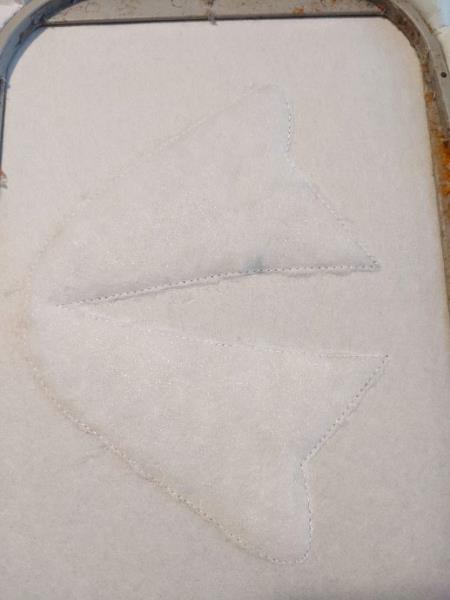
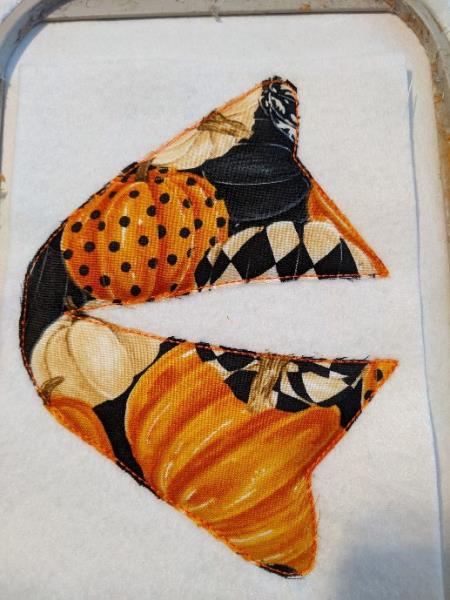
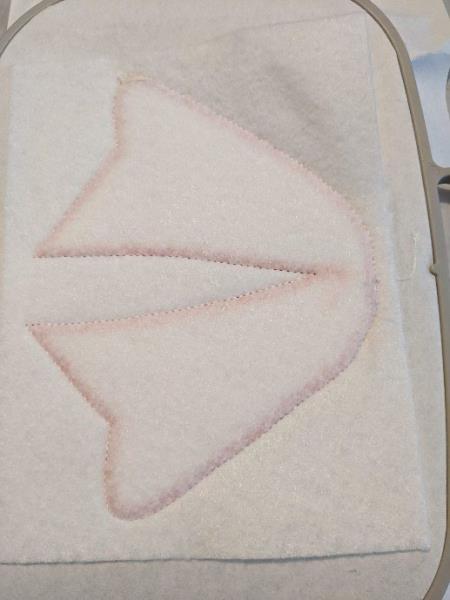
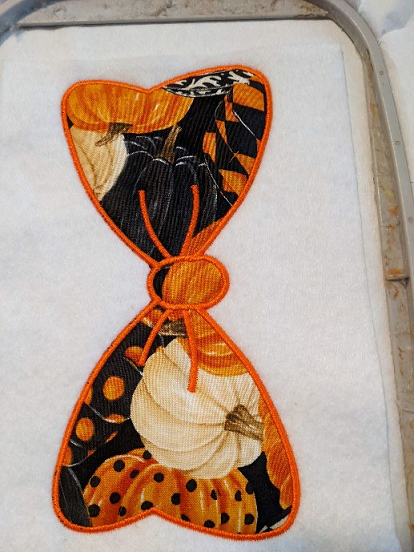
Step 19: Make the bumblebee points
(Click Image to Enlarge)
Step 20: Put your basic felt piece on the back of your frame, taking care to hide the seams well
(Click Image to Enlarge)
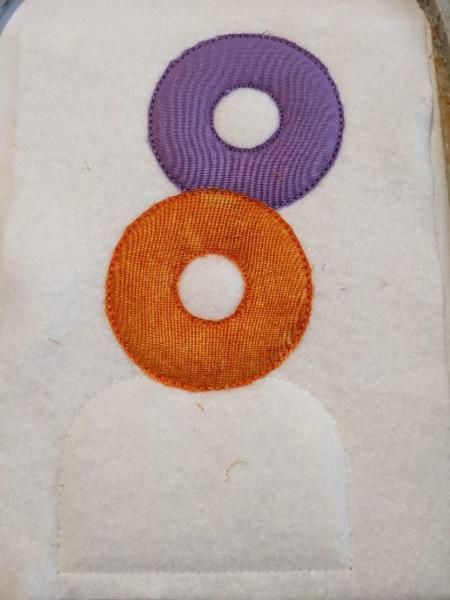
Step 21: Sewing your 2 pieces of felt together
(Click Image to Enlarge)
Step 22: You should have this on the back of your frame
Get out of your frame, cut the excess all the way.
(Click Image to Enlarge)
Step 23: The first seam is done on your support to tell you the location of your fleece
(Click Image to Enlarge)
Step 24: Put your fleece on the seam, taking care to hide the entire seam
(Click Image to Enlarge)
Step 25: Sewing your fleece onto your support
(Click Image to Enlarge)
Step 26: Cut off excess fleece all around
(Click Image to Enlarge)
Step 27: Put your quality felt on the fleece, taking care to hide all the fleece well
(Click Image to Enlarge)
Step 28: Sewing your felt on the support
(Click Image to Enlarge)
Step 29: Seam that tells you the location of your fabric
(Click Image to Enlarge)
Step 30: Put 1 piece of premium felt on your seam
(Click Image to Enlarge)
Step 31: This seam will sew your fabric on your felt
(Click Image to Enlarge)
Step 32: Remove the excess all the way around
(Click Image to Enlarge)
Step 33: Seam that tells you the location of your fabric
(Click Image to Enlarge)
Step 34: Put your fabric on your seam
(Click Image to Enlarge)
Step 35: This seam will sew your fabric on your felt
(Click Image to Enlarge)
Step 36: Remove the excess all the way around
(Click Image to Enlarge)
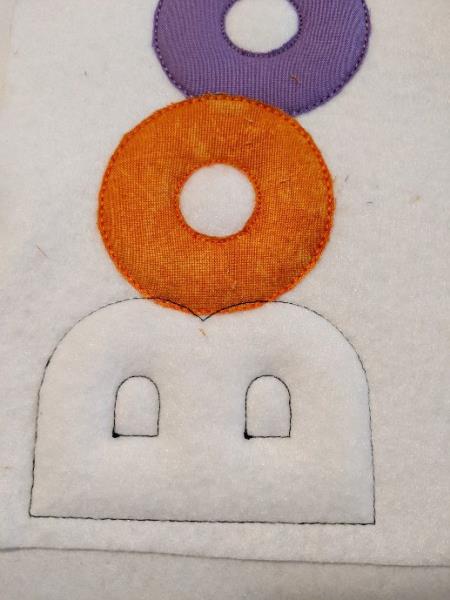
Step 37: Seam that tells you the location of your fabric
(Click Image to Enlarge)
Step 38: Put your fabric on your seam
(Click Image to Enlarge)
Step 39: This seam will sew your fabric on your felt
(Click Image to Enlarge)
Step 40: Remove the excess all the way around
(Click Image to Enlarge)
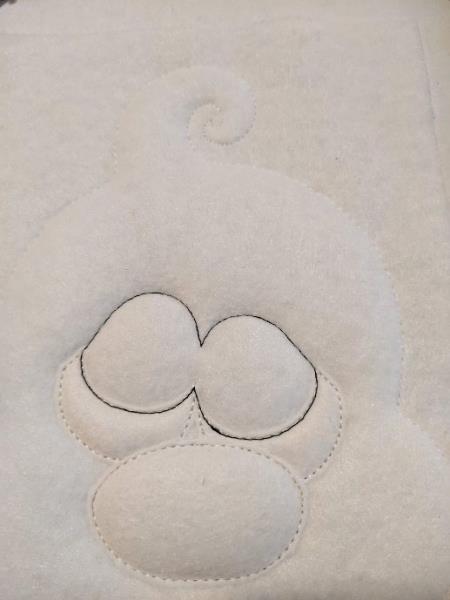
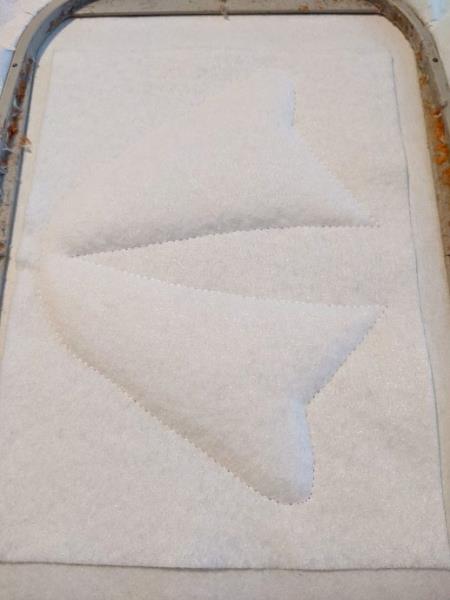
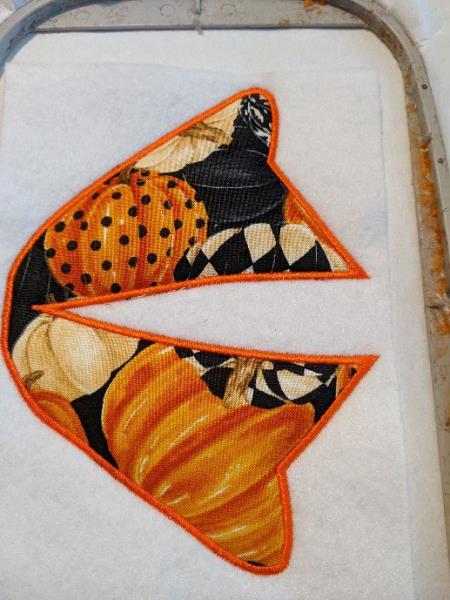
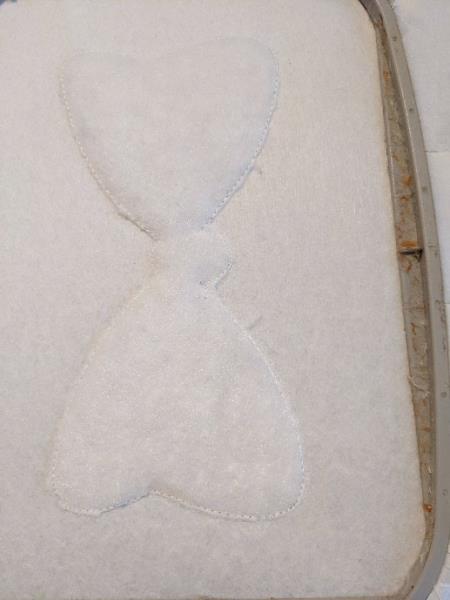
Step 41: Make the bumblebee points
(Click Image to Enlarge)
Step 42: Put your basic felt piece on the back of your frame, taking care to hide the seams well
(Click Image to Enlarge)
Step 43: Sewing your 2 pieces of felt together
(Click Image to Enlarge)
Step 44: You should have this on the back of your frame
Get out of your frame, cut the excess all the way.
(Click Image to Enlarge)
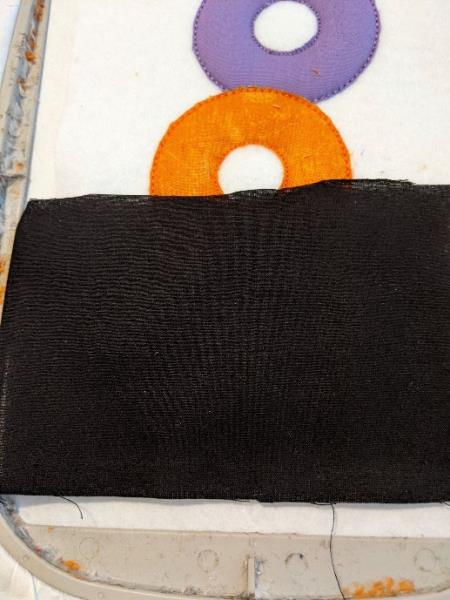
Step 45: The first seam is done on your support to tell you the location of your fleece
(Click Image to Enlarge)
Step 46: Put your fleece on the seam, taking care to hide the entire seam
(Click Image to Enlarge)
Step 47: Sewing your fleece onto your support
(Click Image to Enlarge)
Step 48: Cut off excess fleece all around
(Click Image to Enlarge)
Step 49: Put your base felt on the fleece, taking care to hide the entire fleece
(Click Image to Enlarge)
Step 50: Sewing your felt on the support
(Click Image to Enlarge)
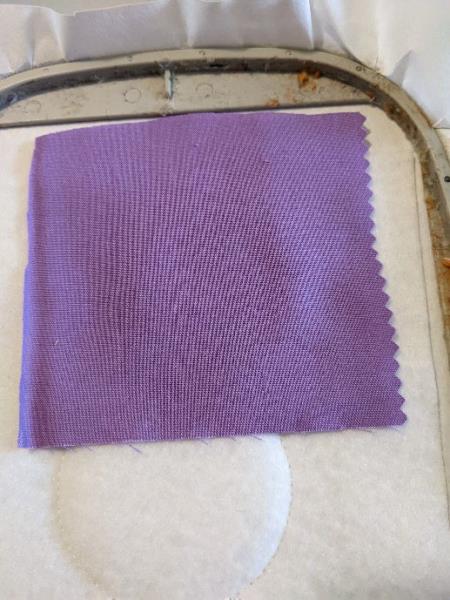
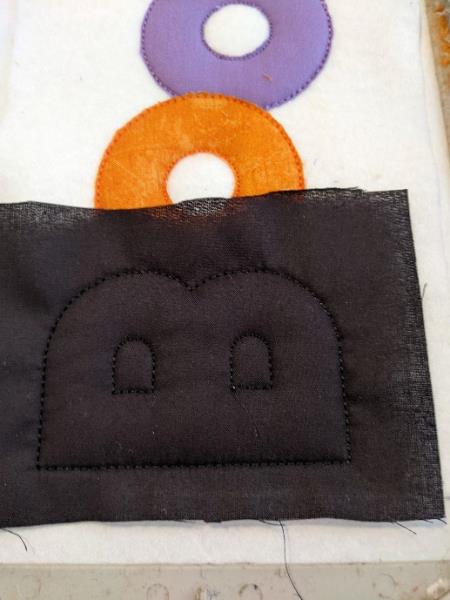
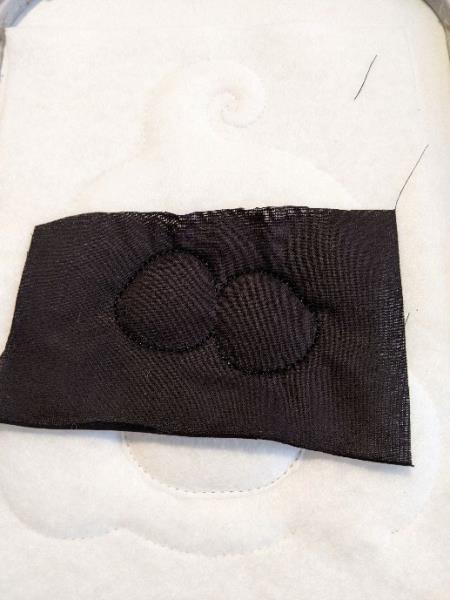
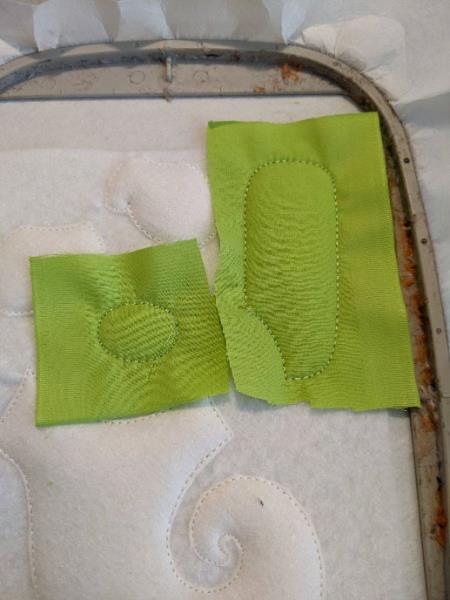
Step 51: Put your fabric on your seam of the white part
(Click Image to Enlarge)
Step 52: This seam will sew your fabric on your felt
(Click Image to Enlarge)
Step 53: Remove the excess all the way around
(Click Image to Enlarge)
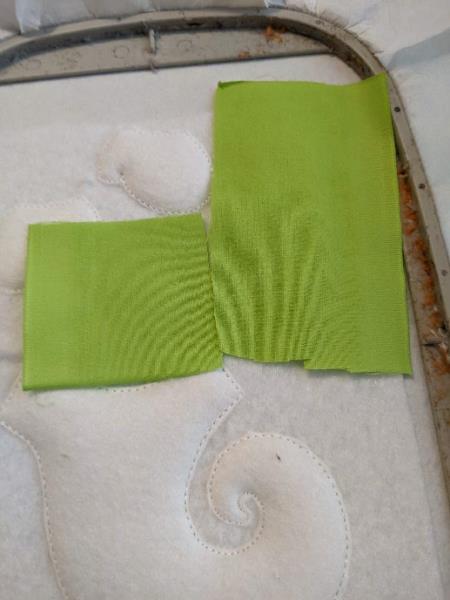
Step 54: Put your fabric on your seam of the green part
(Click Image to Enlarge)
Step 55: This seam will sew your fabric on your felt
(Click Image to Enlarge)
Step 56: Remove the excess all the way around
(Click Image to Enlarge)
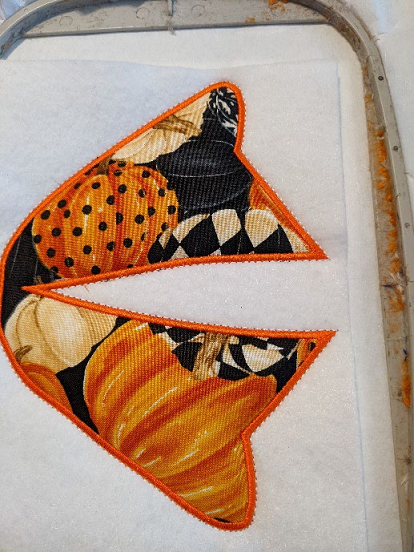
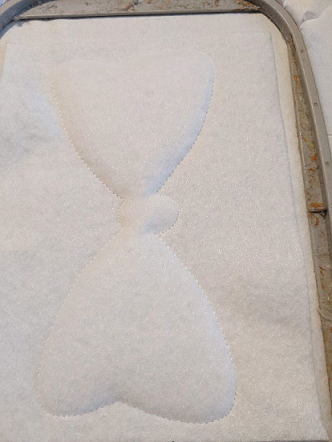
Step 57: Make the bumblebee points
(Click Image to Enlarge)
Step 58: Put your basic felt piece on the back of your frame, taking care to hide the seams well
(Click Image to Enlarge)
Step 59: Sewing your 2 pieces of felt together
(Click Image to Enlarge)
Step 60: You should have this on the back of your frame
Get out of your frame, cut the excess all the way.
(Click Image to Enlarge)
Step 61: The first seam is done on your support to tell you the location of your fleece
(Click Image to Enlarge)
Step 62: Put your fleece on the seam, taking care to hide the entire seam
(Click Image to Enlarge)
Step 63: Sewing your fleece onto your support
(Click Image to Enlarge)
Step 64: Cut off excess fleece all around
(Click Image to Enlarge)
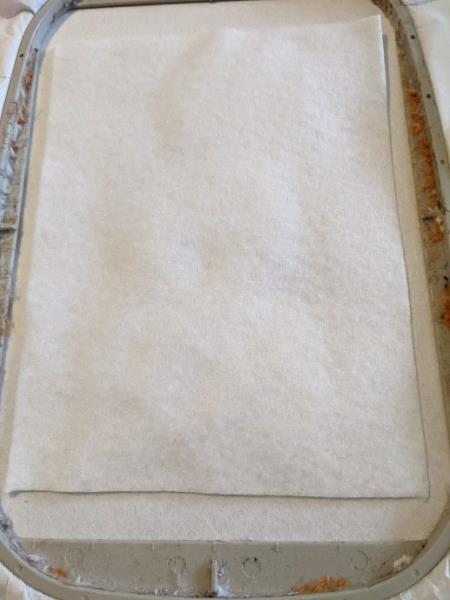
Step 65: Put your base felt on the fleece, taking care to hide the entire fleece
(Click Image to Enlarge)
Step 66: Sewing your felt on the support
(Click Image to Enlarge)
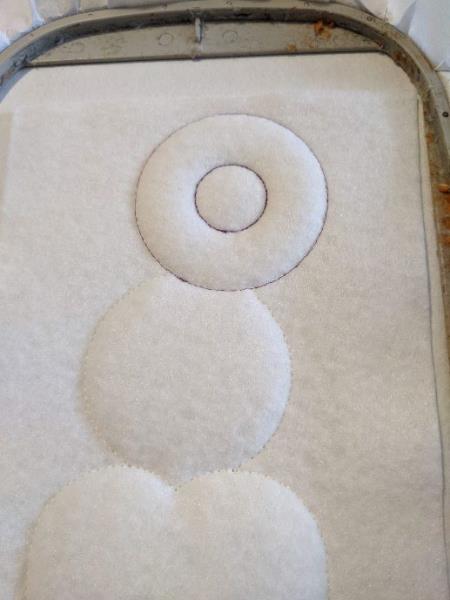
Step 67: (Click Image to Enlarge)
Step 68: This seam will sew your fabric on your felt
(Click Image to Enlarge)
Step 69: Remove the excess all the way around
(Click Image to Enlarge)
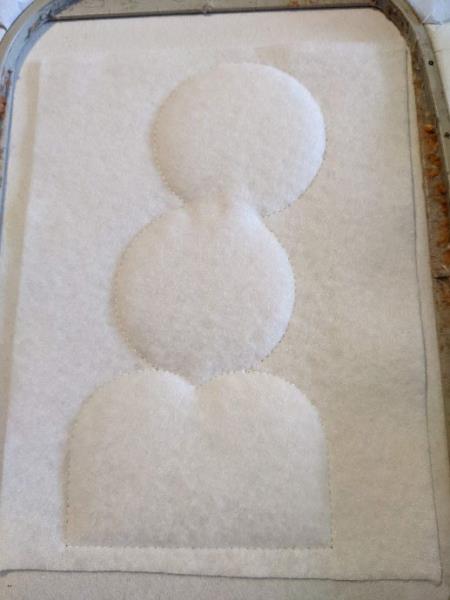
Step 70: Make the bumblebee points
(Click Image to Enlarge)
Step 71: Put your basic felt piece on the back of your frame, taking care to hide the seams well
(Click Image to Enlarge)
Step 72: Sewing your 2 pieces of felt together
(Click Image to Enlarge)
Step 73: You should have this on the back of your frame
(Click Image to Enlarge)
Step 74: The first seam is done on your support to tell you the location of your fleece
(Click Image to Enlarge)
Step 75: Put your fleece on the seam, taking care to hide the entire seam
(Click Image to Enlarge)
Step 76: Sewing your fleece onto your support
(Click Image to Enlarge)
Step 77: Cut off excess fleece all around
(Click Image to Enlarge)
Step 78: Put your base felt on the fleece, taking care to hide the entire fleece
(Click Image to Enlarge)
Step 79: (Click Image to Enlarge)
Sewing your felt on your support
Step 80: (Click Image to Enlarge)
Step 81: this seam will sew your fabric on your felt
(Click Image to Enlarge)
Step 82: Remove the excess all the way around
(Click Image to Enlarge)
Step 83: Make the bumblebee points
(Click Image to Enlarge)
Step 84: Put your basic felt piece on the back of your frame, taking care to hide the seams well
(Click Image to Enlarge)
Step 85: Sewing your 2 pieces of felt together
(Click Image to Enlarge)
Step 86: You should have this on the back of your frame
Get out of your frame, cut the excess all the way.
(Click Image to Enlarge)
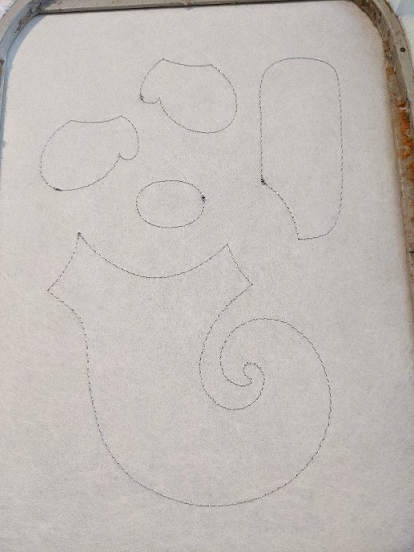
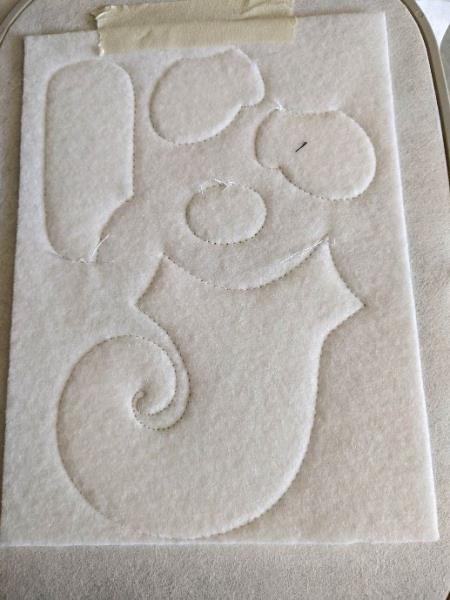
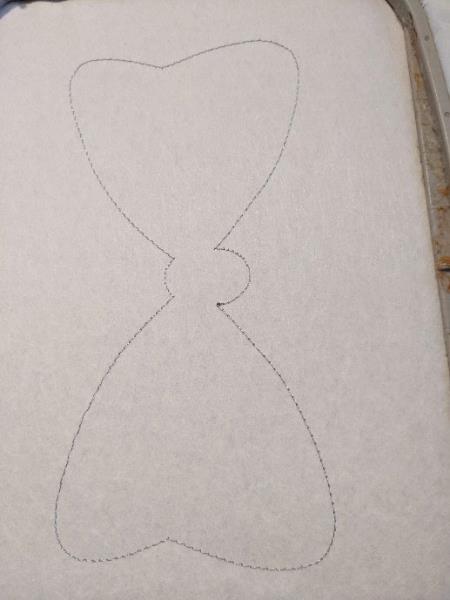
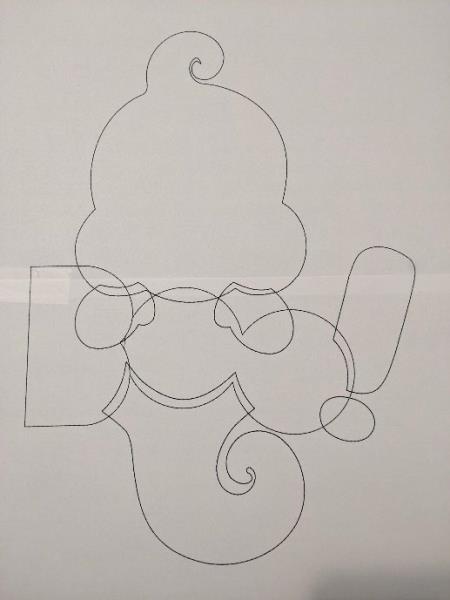
Step 87: Print your mounting pattern
(Click Image to Enlarge)
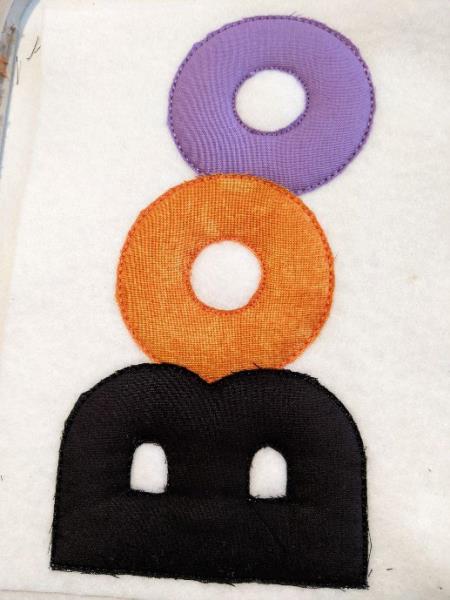
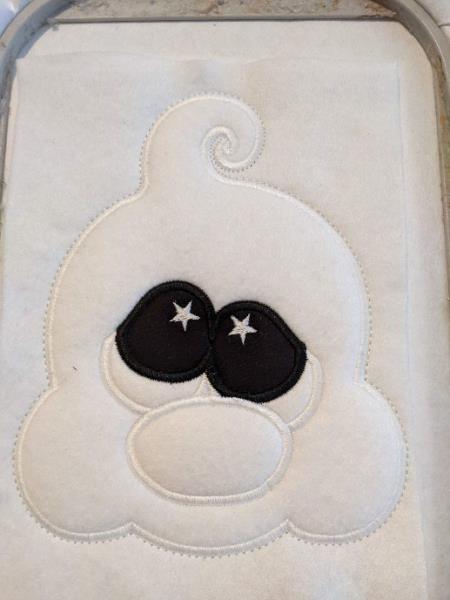
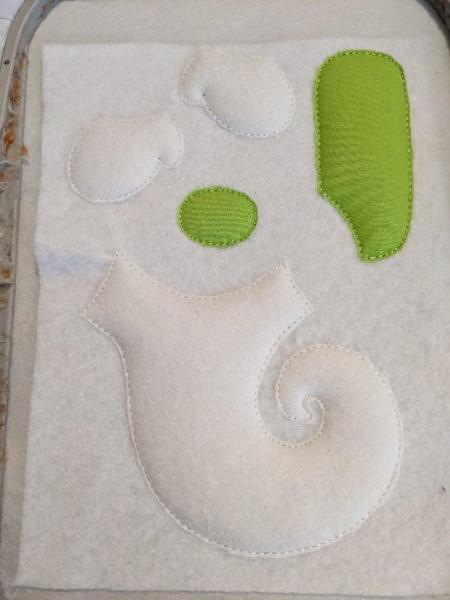
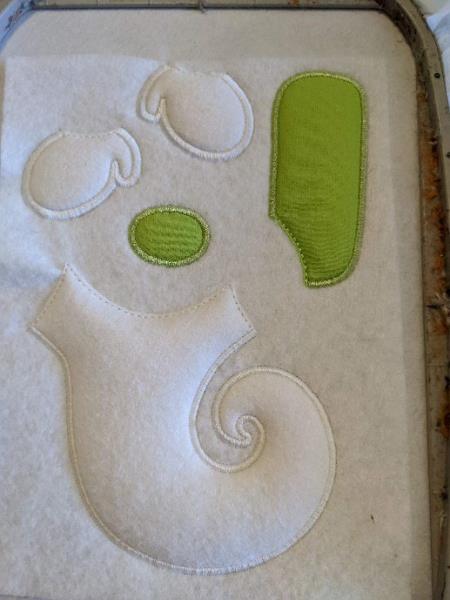
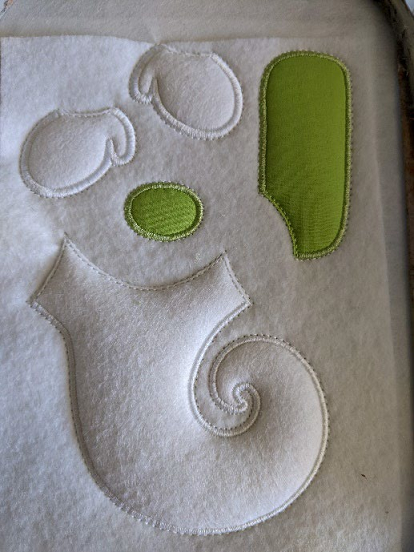
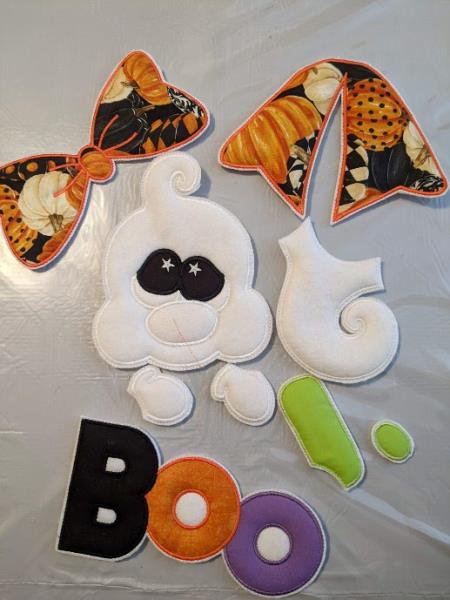
Step 88: You should have all these parts before doing the assembly
(Click Image to Enlarge)
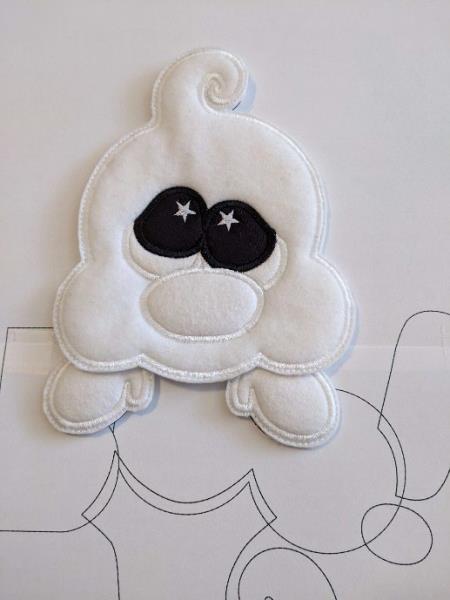
Step 89: Put your hands on the mounting plan, stick your head on your hands, put aside
(Click Image to Enlarge)
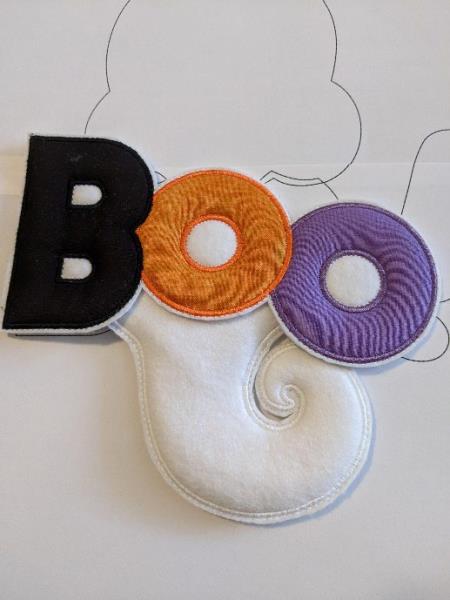
Step 90: Take the lower body and position it on the mounting plane, stick the Boo on the lower body
(Click Image to Enlarge)
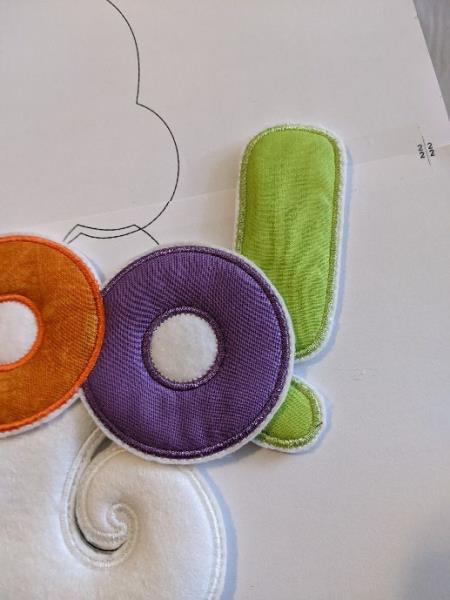
Step 91: Paste your exclamation mark
(Click Image to Enlarge)
Step 92: Take the head with your hands and come and stick it on the Boo Do the same process for the loop
(Click Image to Enlarge)
Step 93: (Click Image to Enlarge)
You can take ribbon I took rope that I stuck on the back of the ghost and on the back of the loop
If you resize or modify this design in any way, I can't guarantee a quality point.
Feedback
Please Login to Submit a Feedback
Invalid Characters, Please enter a valid Comment
Please enter a valid Comment
LOG IN
Submit
Link is Broken, Please check the URL