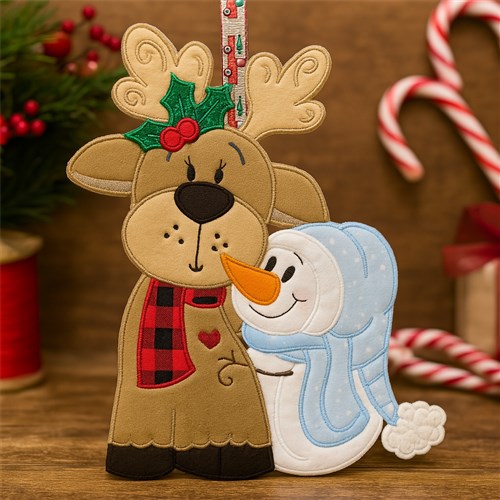
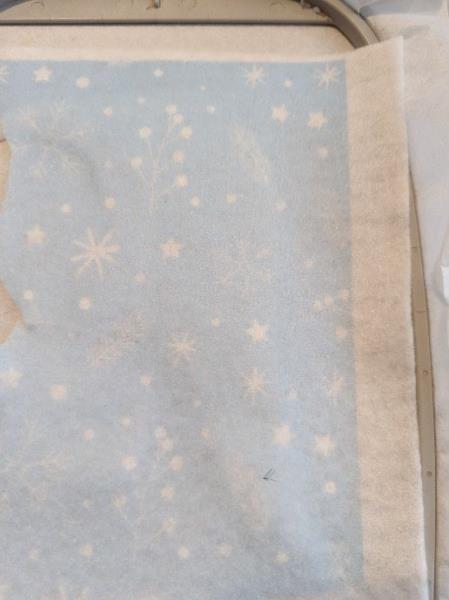
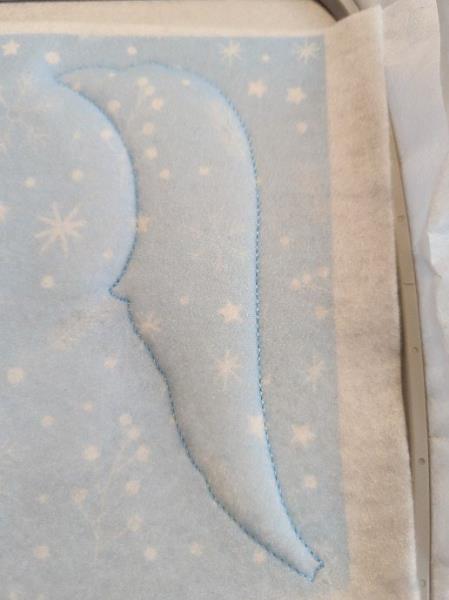
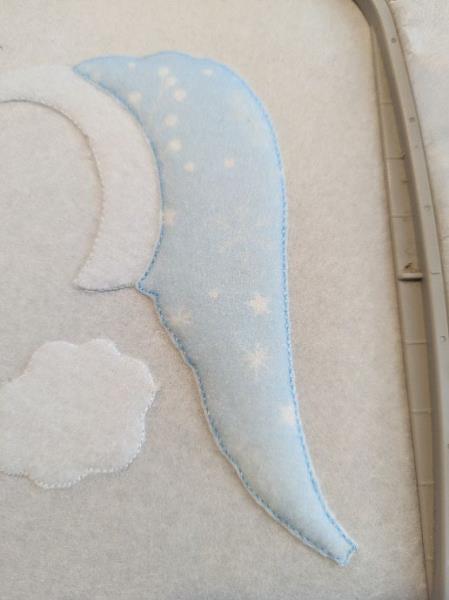
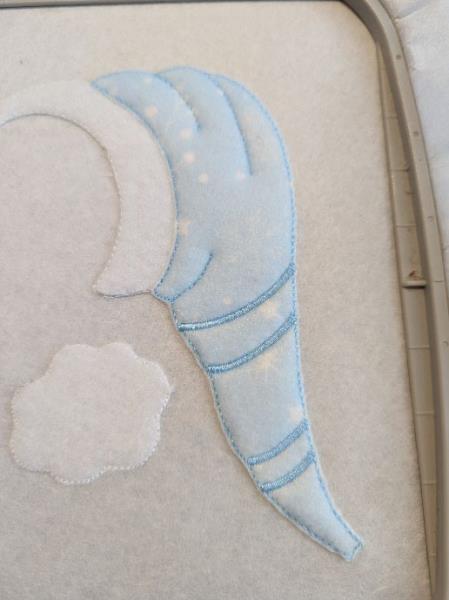
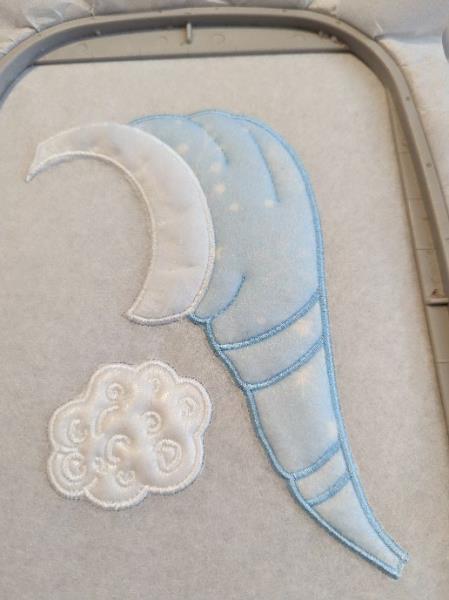
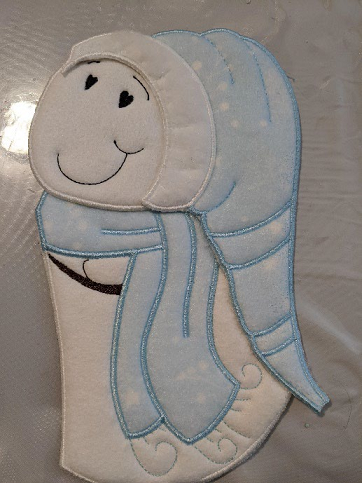
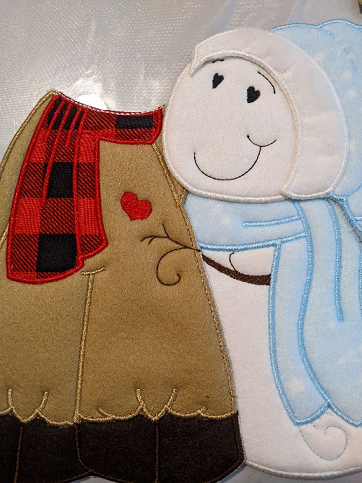
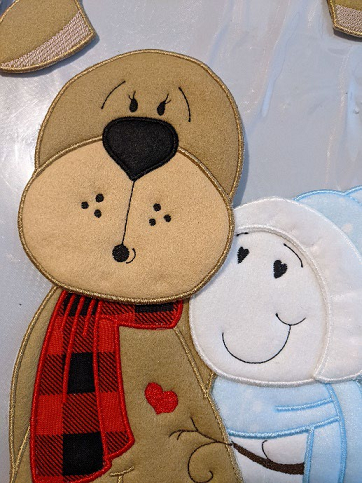
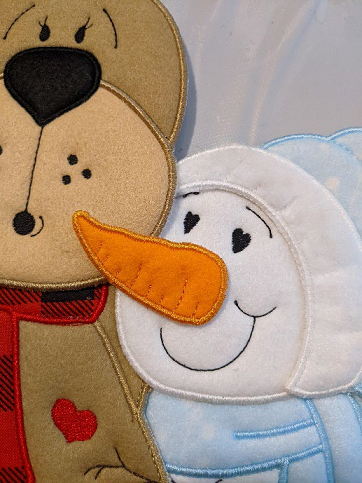
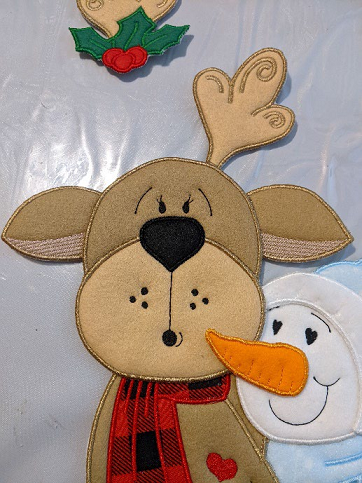
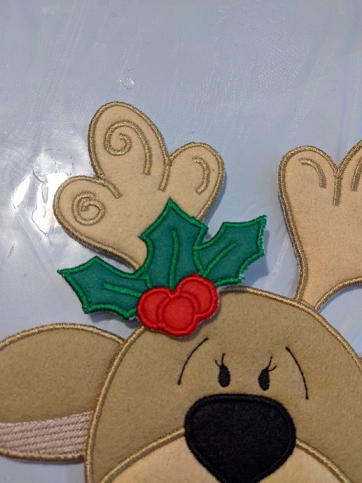
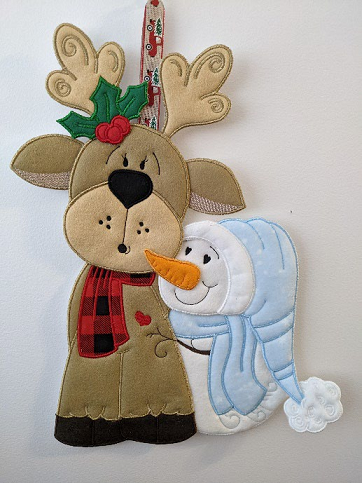
Bring warmth to your holiday décor with this adorable ITH design featuring a hugging reindeer and snowman. Perfect for festive ornaments, gift tags, or wall hangings. Add charm and cheer to your Christmas projects with this heartwarming duo!
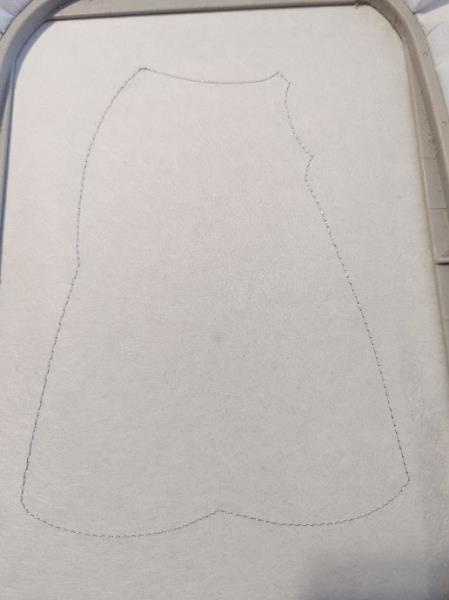
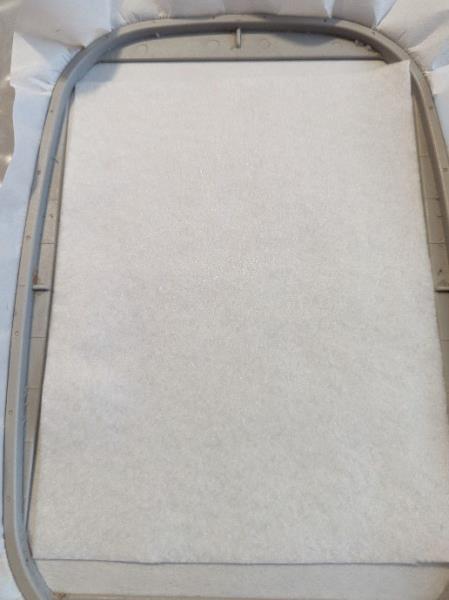
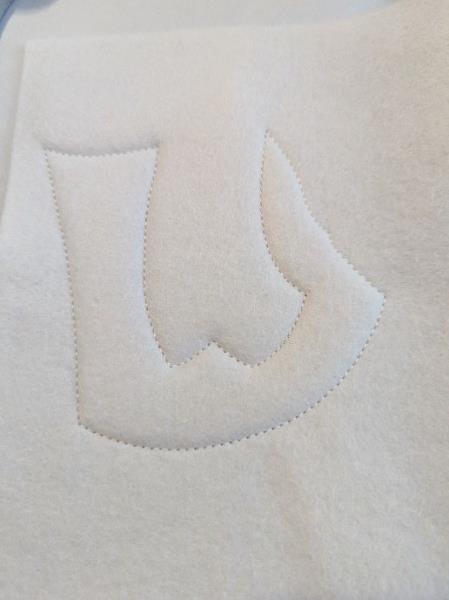
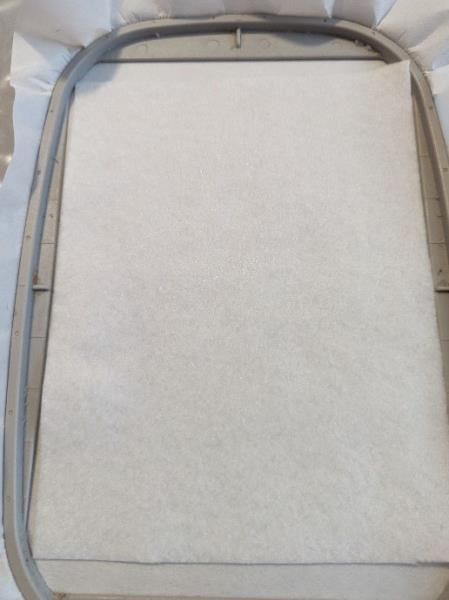
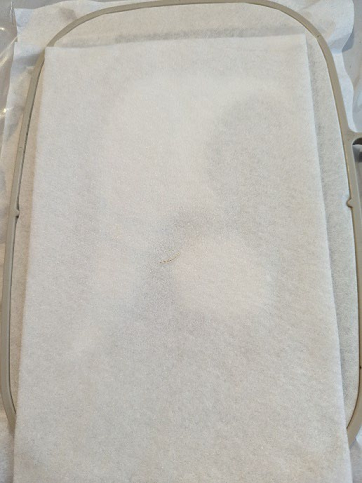
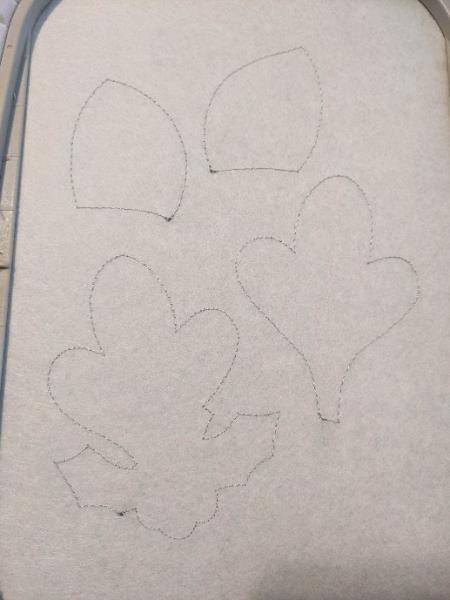
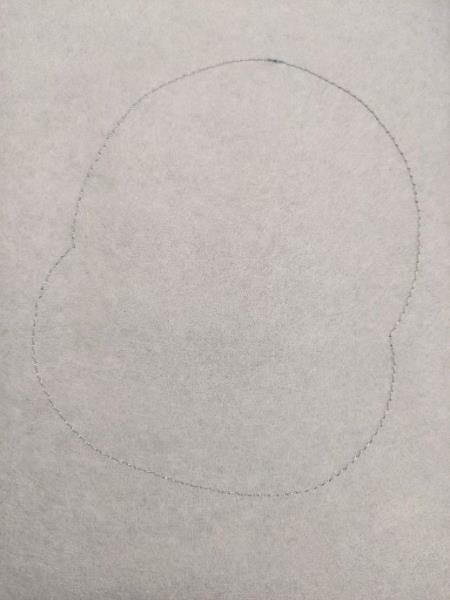
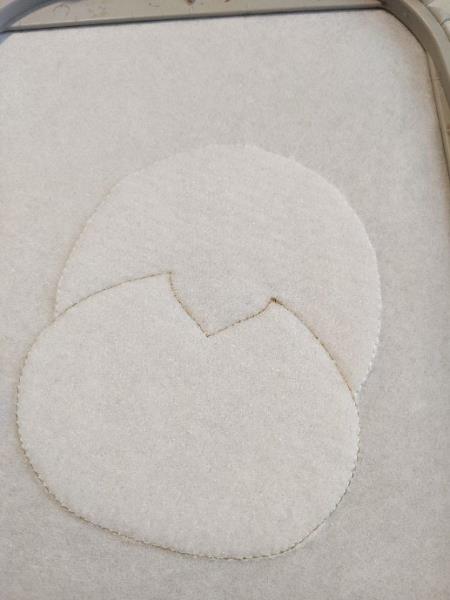
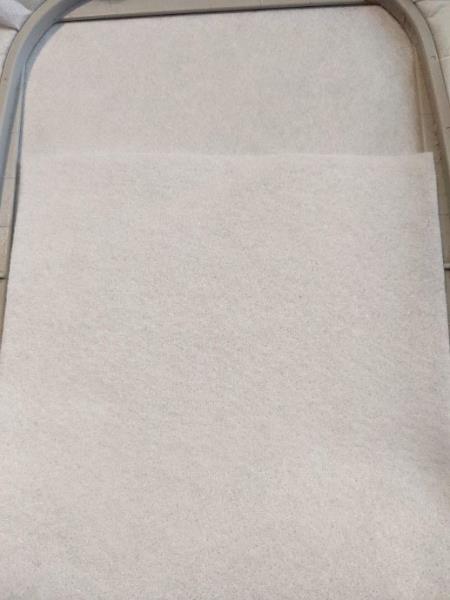
The first sewing is done on your stabilizing to tear
(Click Image to Enlarge)
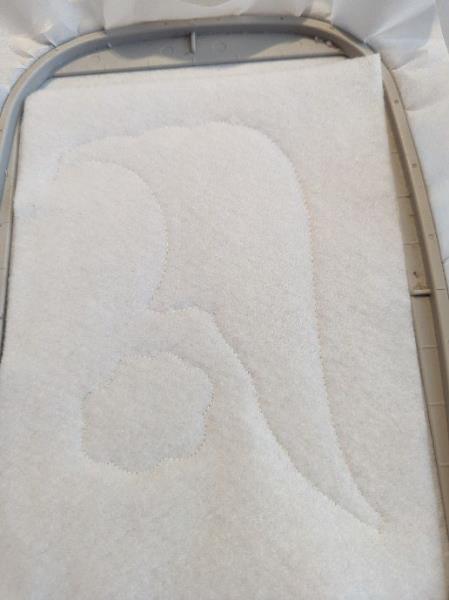
Step 2:
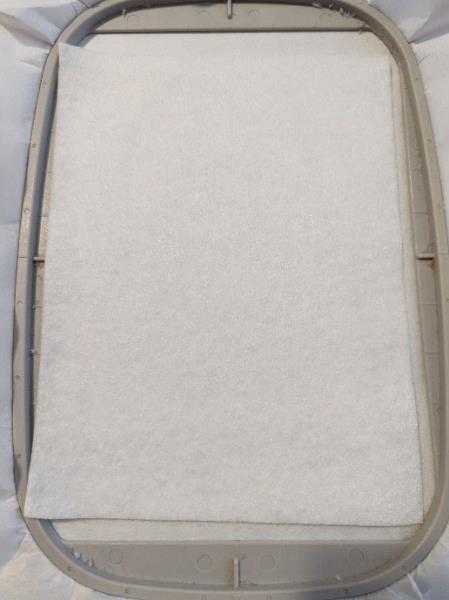
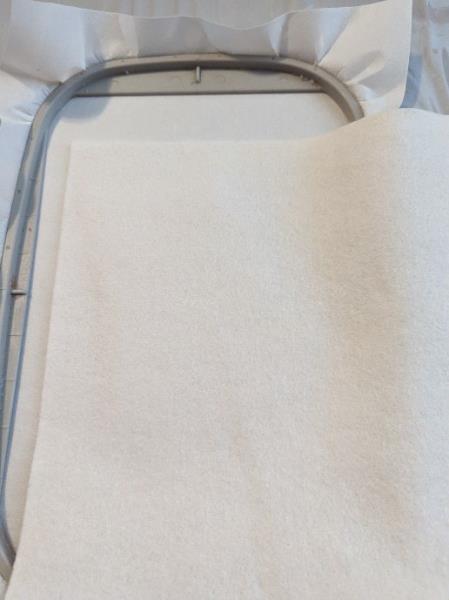
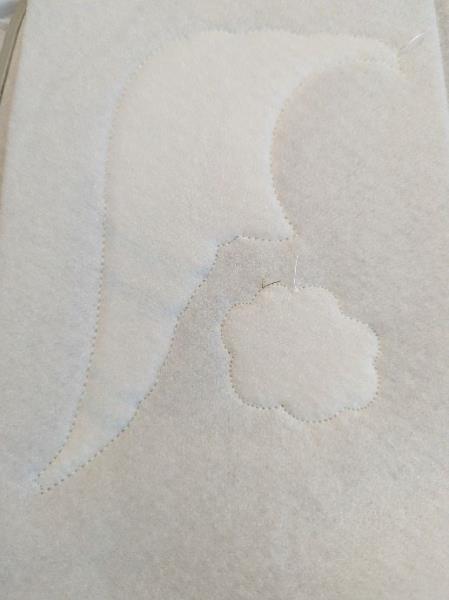
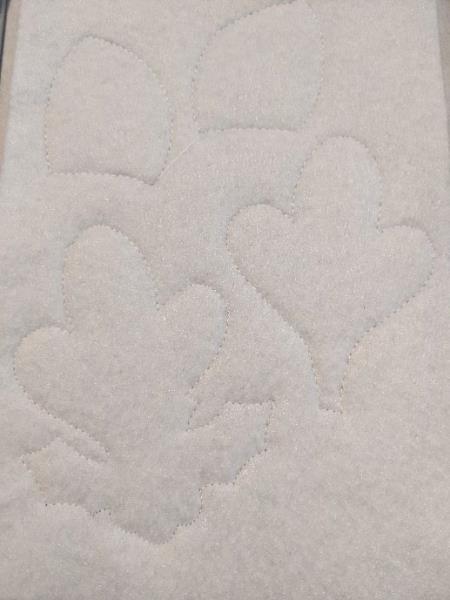
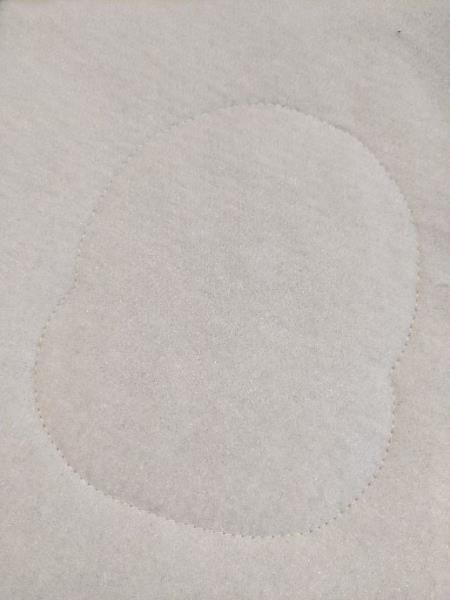
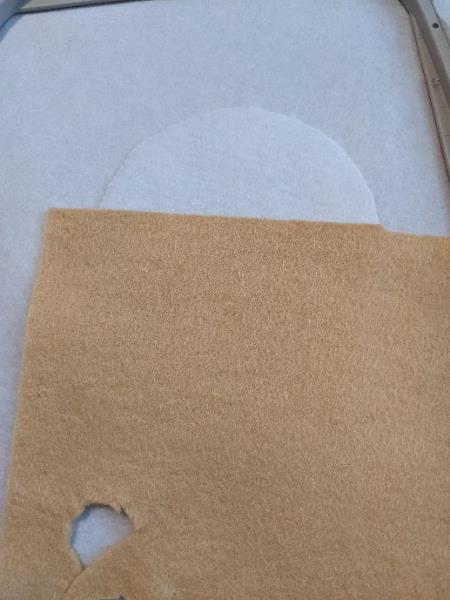
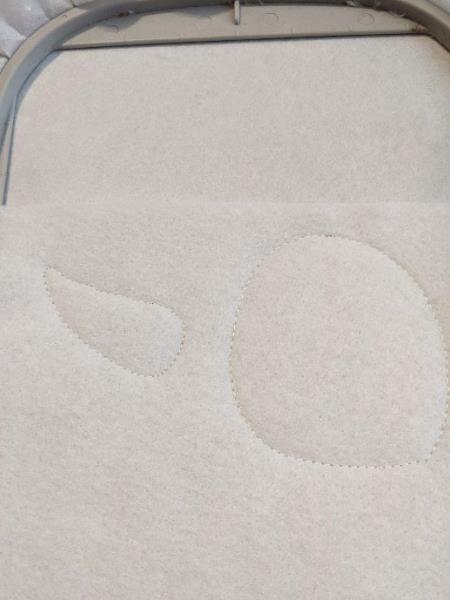
Put your fleece on to cover the seam
(Click Image to Enlarge)
Step 3:
(Click Image to Enlarge)
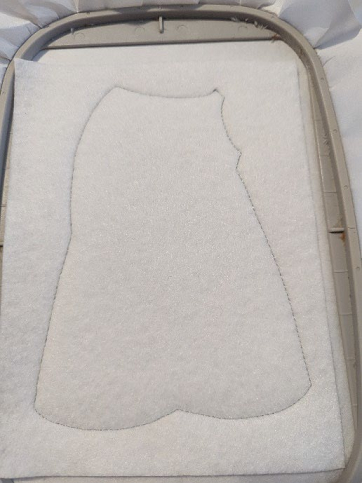
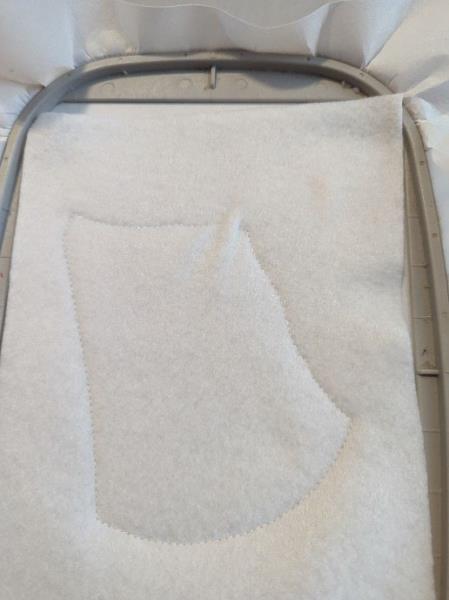
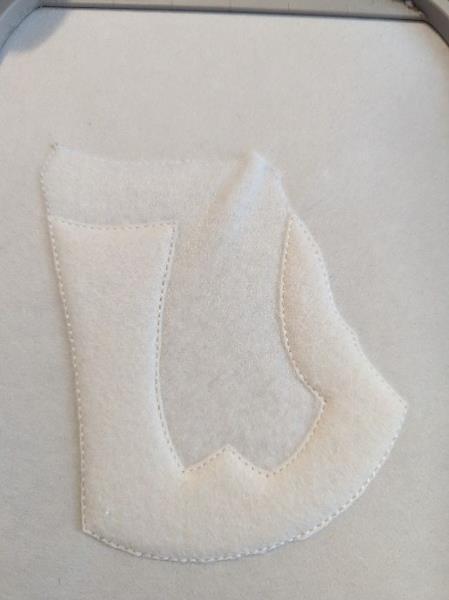
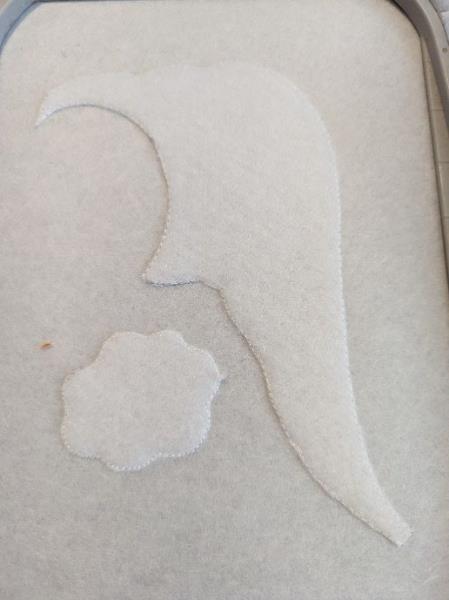
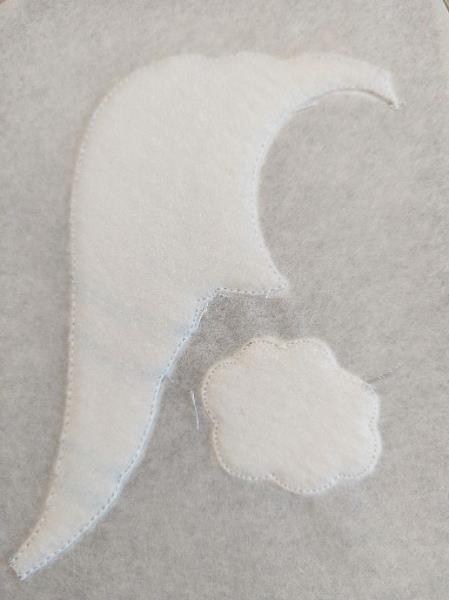
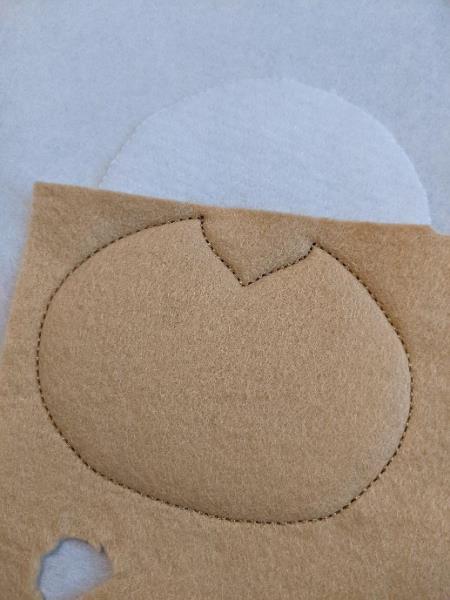
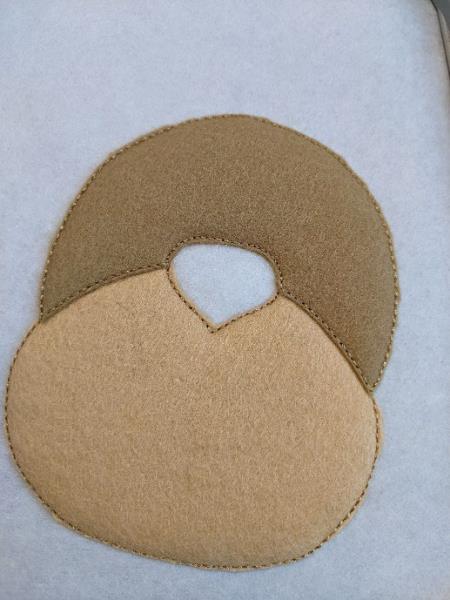
Seam 2: This seam will hold your fleece on your stabilizer
Step 4:
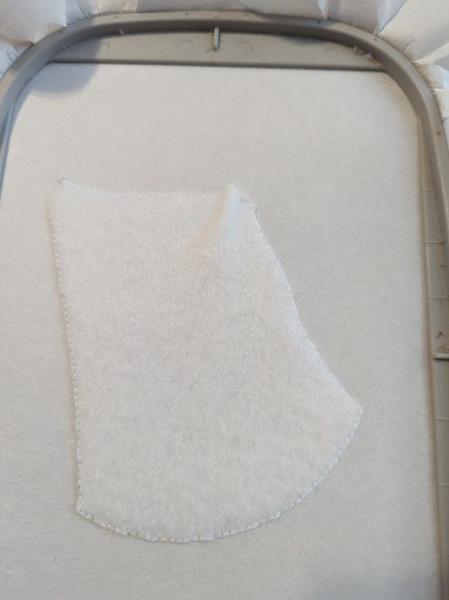
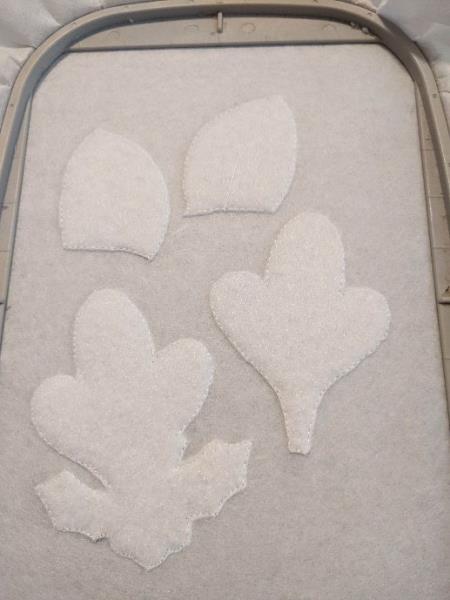
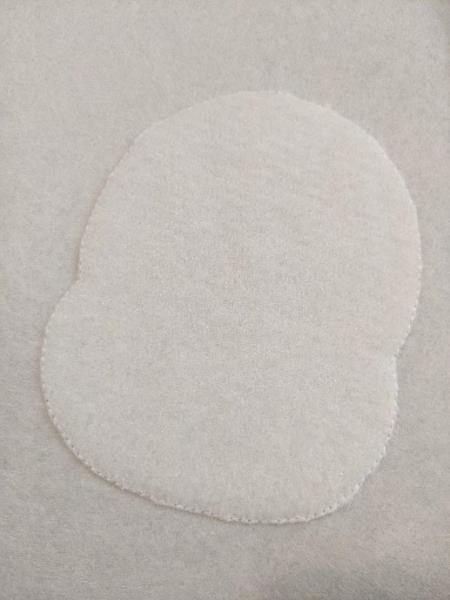
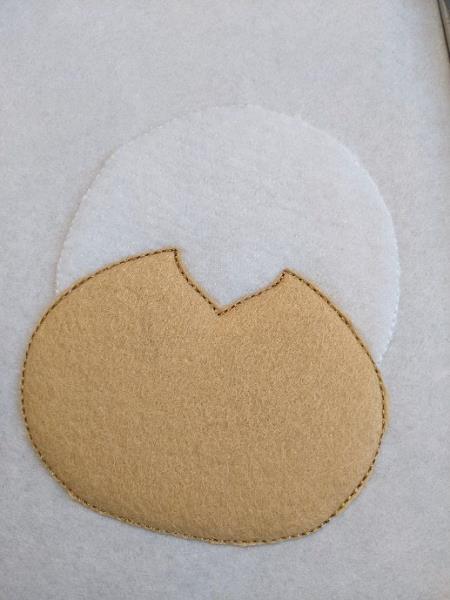
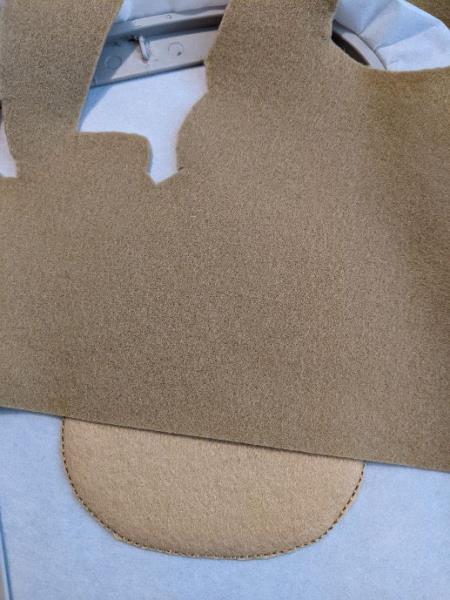
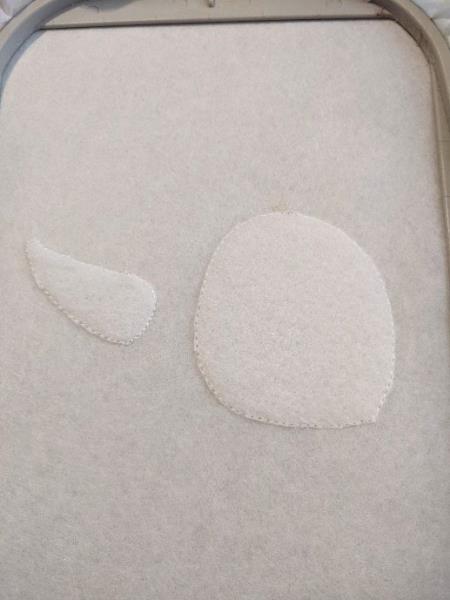
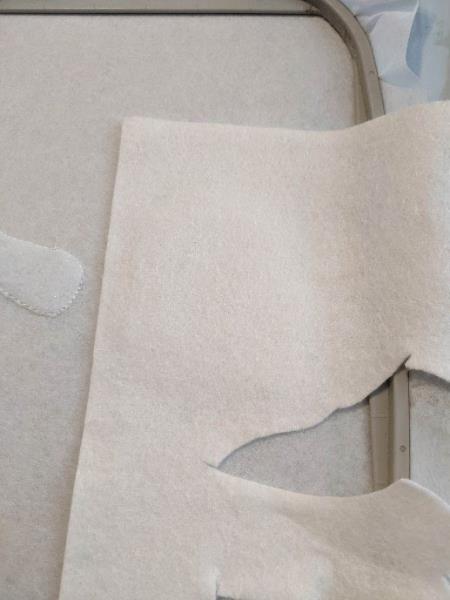
Cut the excess fleece all the way
(Click Image to Enlarge)
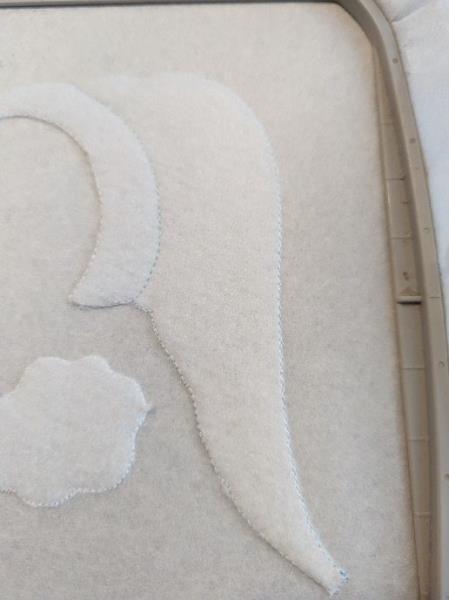
Step 5:
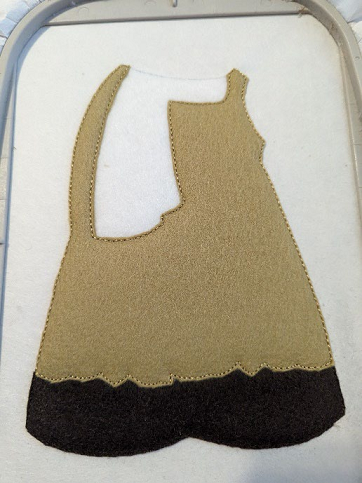
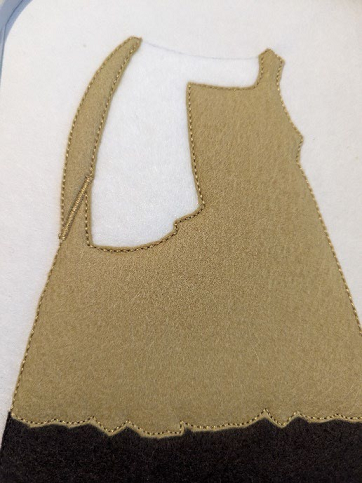
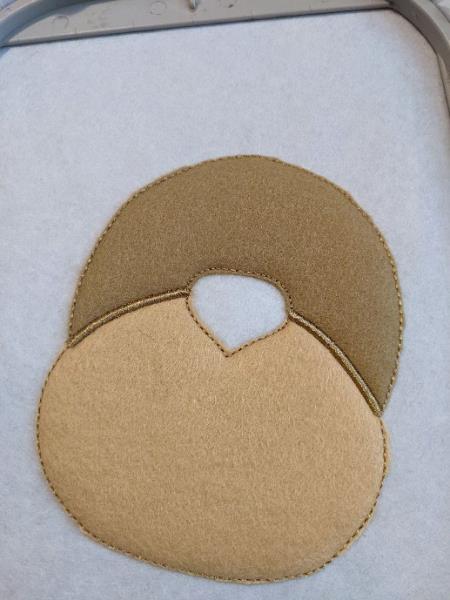
Seam 3: this seam shows you the location of your fabric for the wood legs
(Click Image to Enlarge)
Step 6:
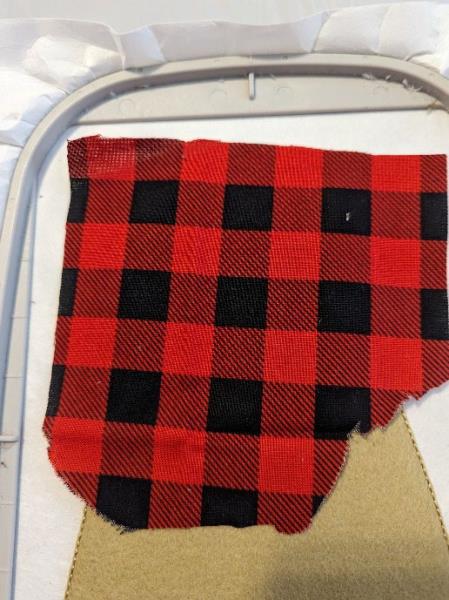
Put your fabric on the seam taking care to hide all the seam
(Click Image to Enlarge)
Step 7:
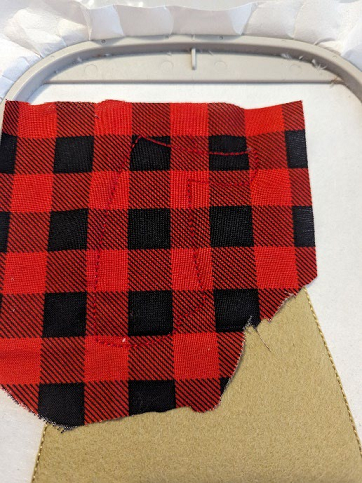
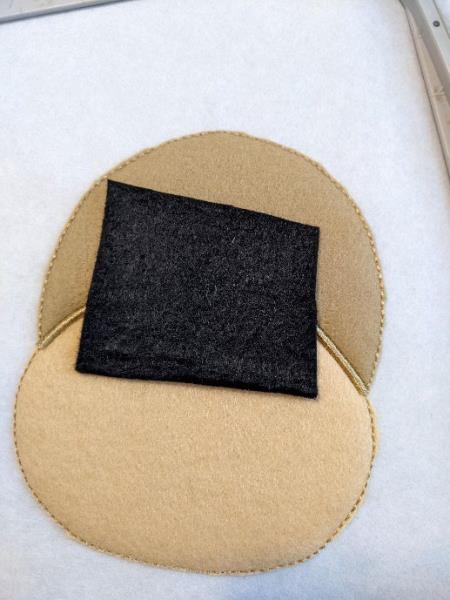
Seam 4: This seam will keep your fabric in place
(Click Image to Enlarge)
Step 8:
Cut excess fabric all the way
(Click Image to Enlarge)
Step 9:
Seam 5: This seam shows you the location of your body fabric
(Click Image to Enlarge)
Step 10:
Put your fabric on the seam
(Click Image to Enlarge)
Step 11:
Seam 6: This seam will keep your fabric in place
(Click Image to Enlarge)
Step 12:
(Click Image to Enlarge)
Cut excess fabric all the way
Step 13:
(Click Image to Enlarge)
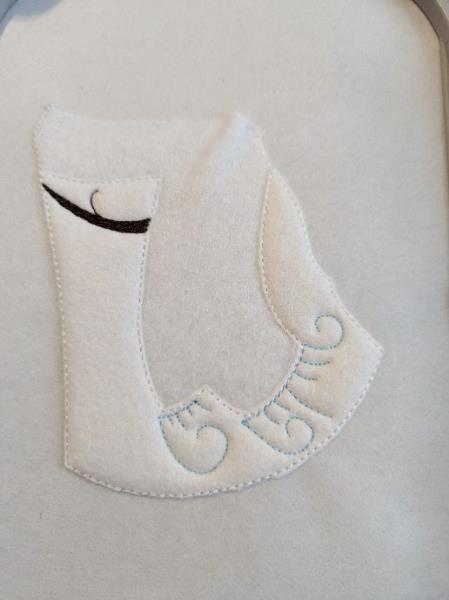
Sewing 7: embroidery stitches
Step 14:
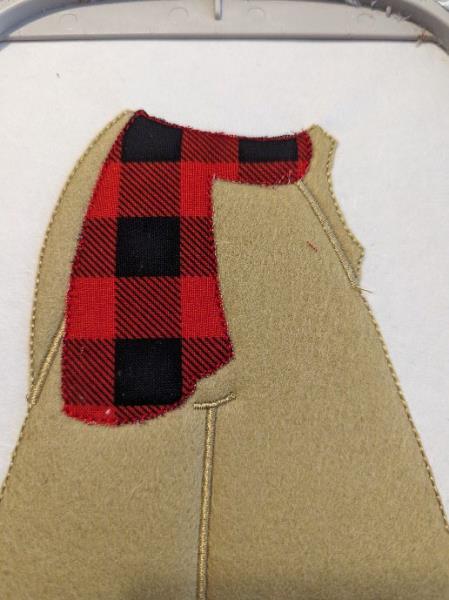
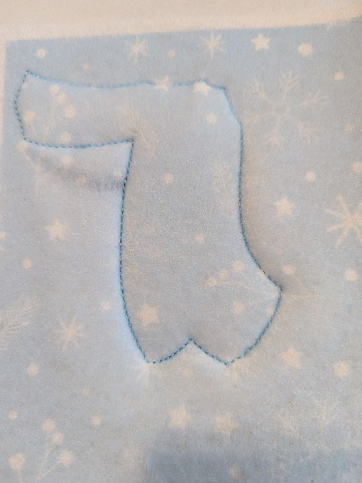
Put your fabric for the scarf on the part of the scarf
(Click Image to Enlarge)
Step 15:
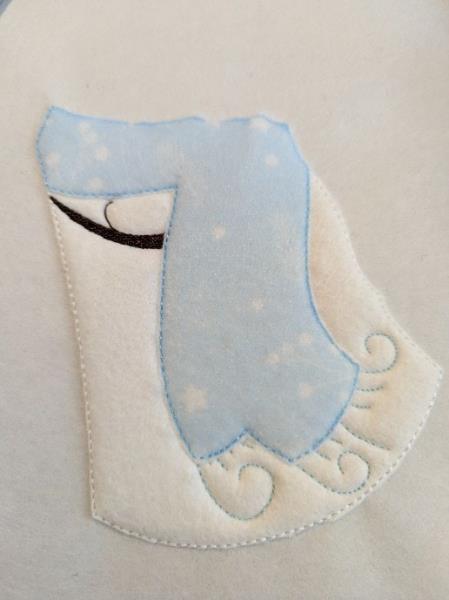
(Click Image to Enlarge)
Seam 8: This seam will keep your fabric in place
Step 16:
Cut excess fabric all the way
(Click Image to Enlarge)
Step 17:
(Click Image to Enlarge)
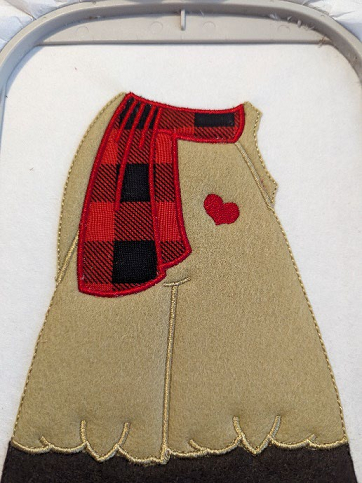
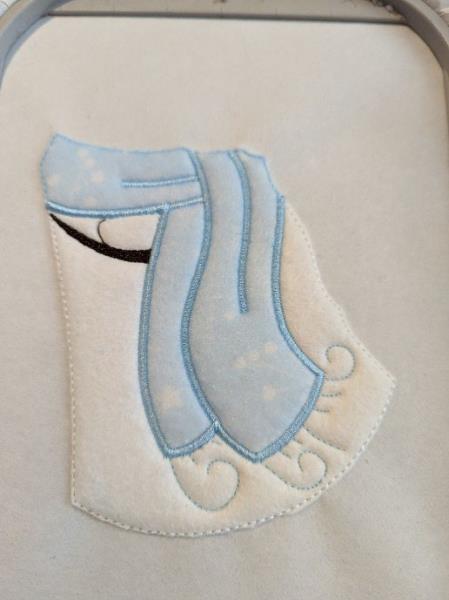
Sewing 9: embroidery stitches in the scarf
Step 18:
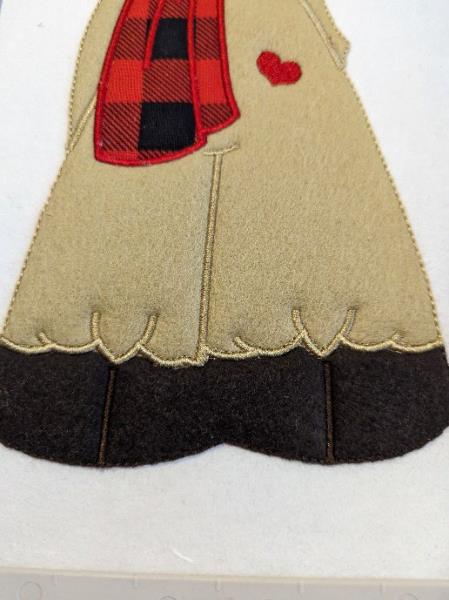
Sewing 10: embroidery stitches in the legs
(Click Image to Enlarge)
Step 19:
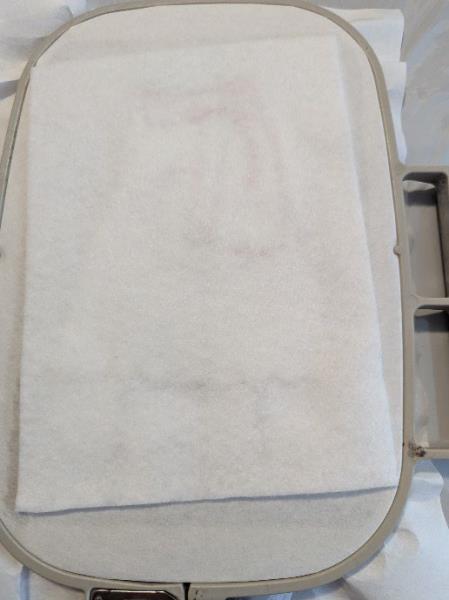
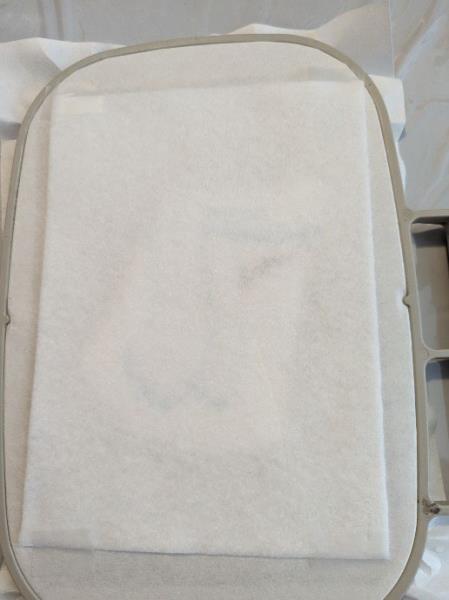
Put your felt piece on the back of your work (back of the frame)
(Click Image to Enlarge)
Step 20:
Seam 11: This seam will join your front with your back frame fabric
(Click Image to Enlarge)
Step 21:
Cut excess fabric all the way
(Click Image to Enlarge)
Step 22:
Sewing 12-13-14: embroidery stitches
(Click Image to Enlarge)
Step 23:
THE BODY OF THE SNOWMAN
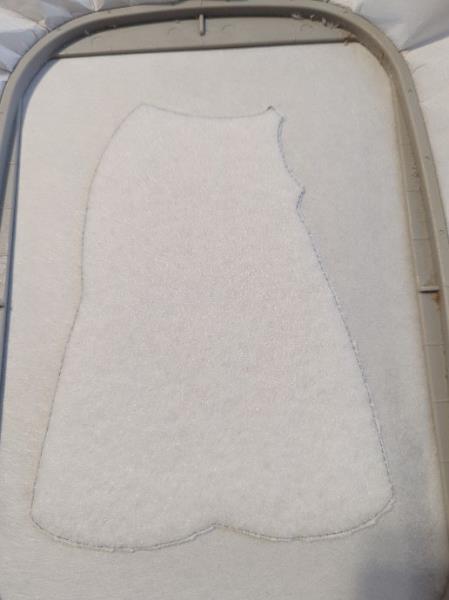
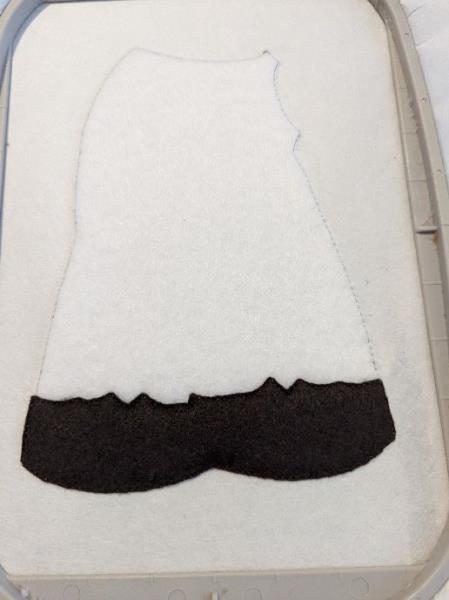
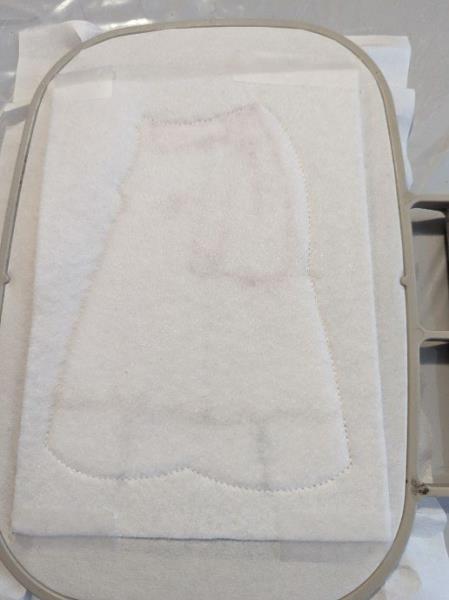
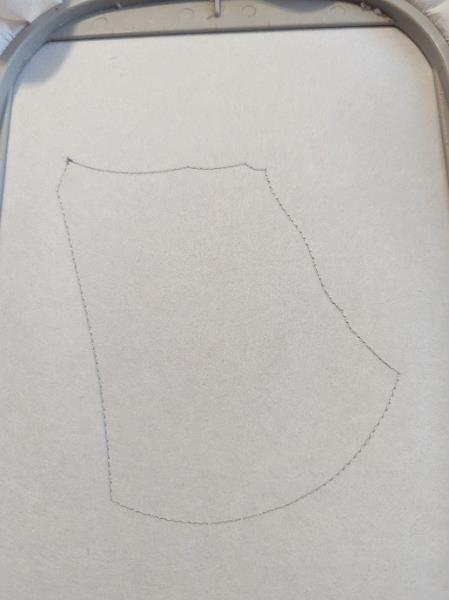
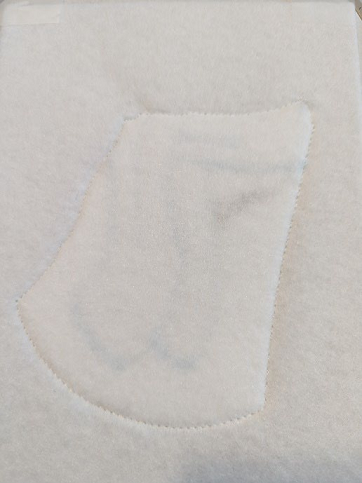
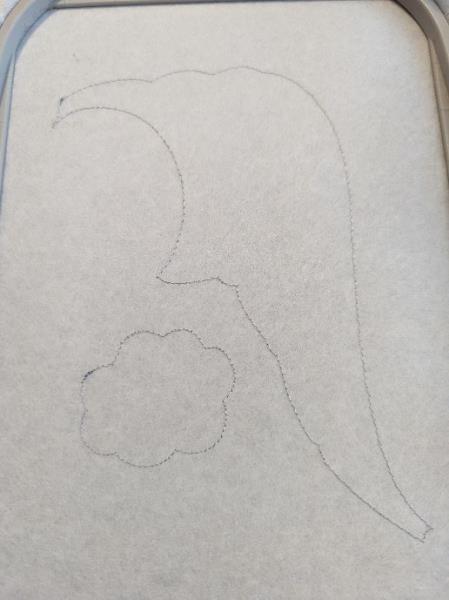
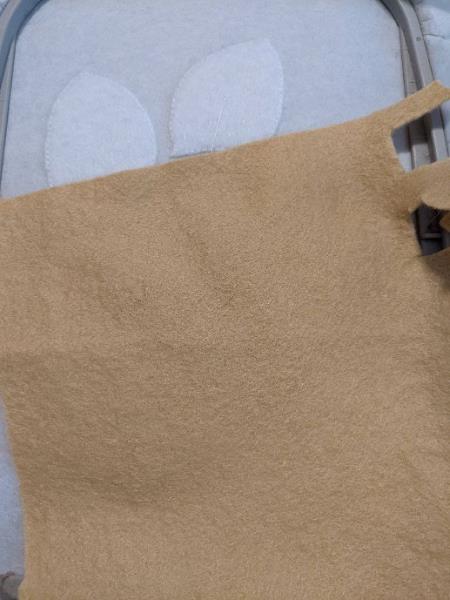
The first sewing is done on your stabilizing to tear
(Click Image to Enlarge)
Step 24:
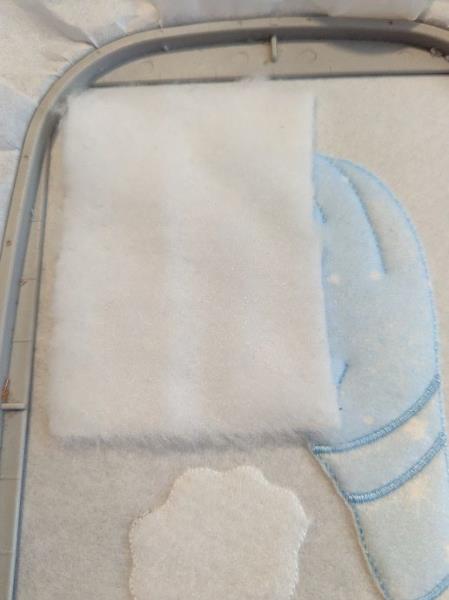
Put your fleece on to cover the seam
(Click Image to Enlarge)
Step 25:
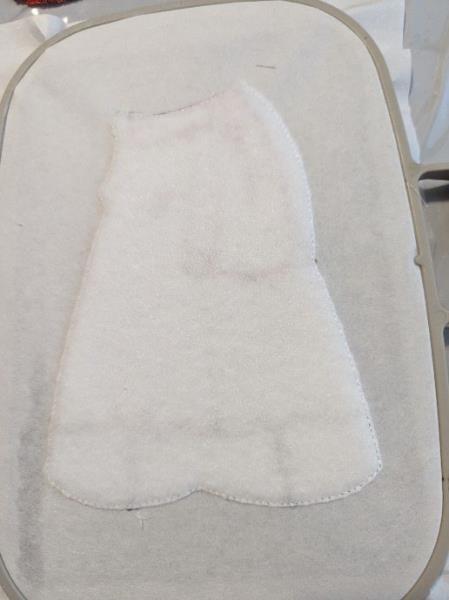
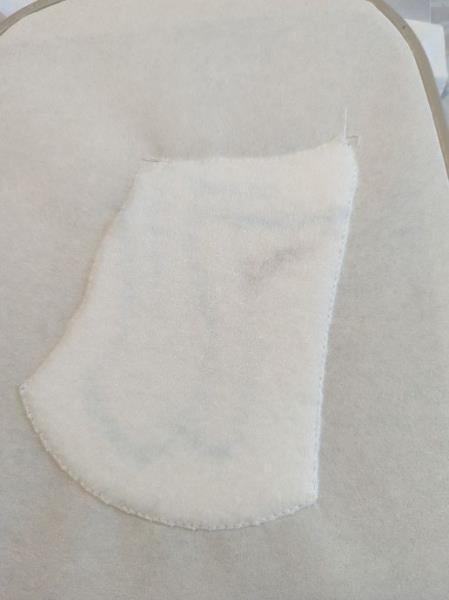
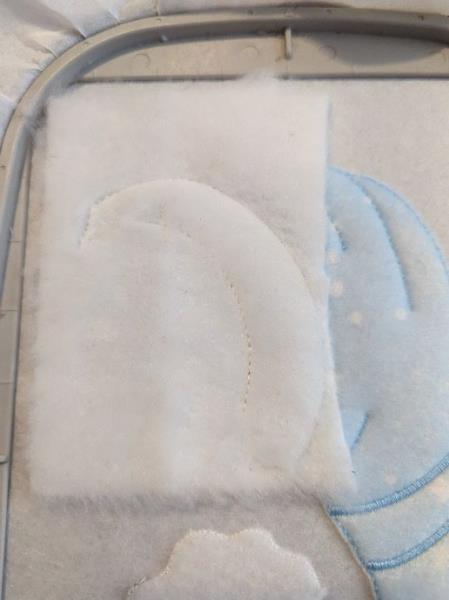
Seam 2: This seam will hold your fleece on your stabilizer
(Click Image to Enlarge)
Step 26:
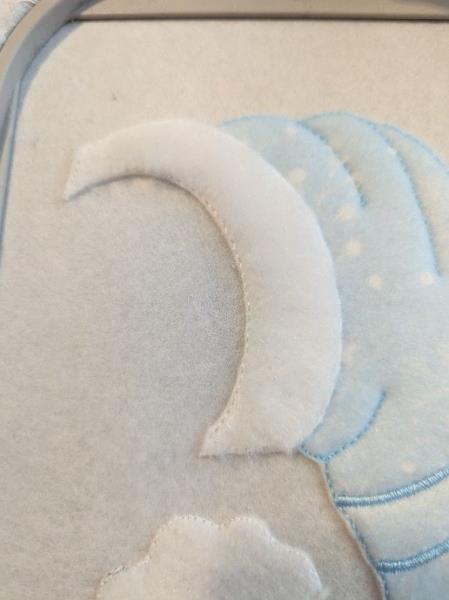
Cut the excess fleece all the way
(Click Image to Enlarge)
Step 27:
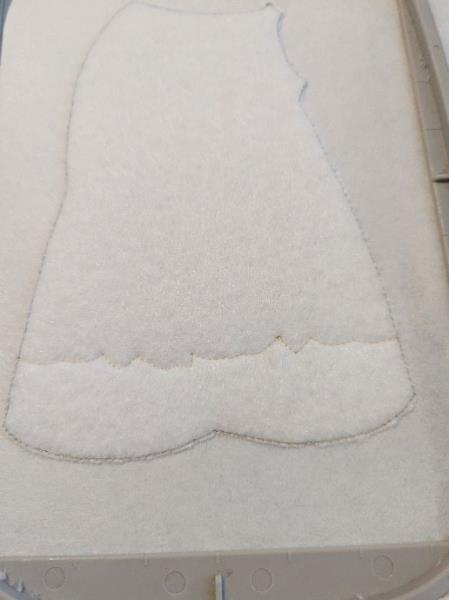
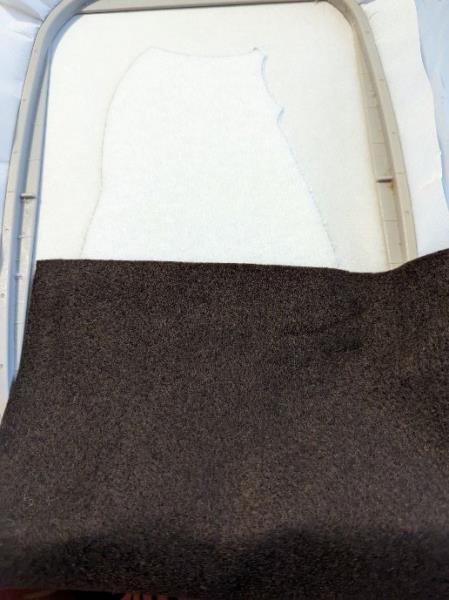
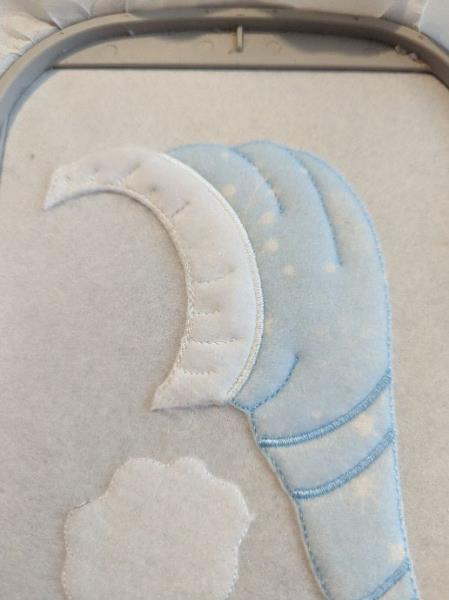
Put your white fabric on your snowman’s body
(Click Image to Enlarge)
Step 28:
Seam 3: This seam will keep your fabric in place
(Click Image to Enlarge)
Step 29:
Cut excess fabric all the way
(Click Image to Enlarge)
Step 30:
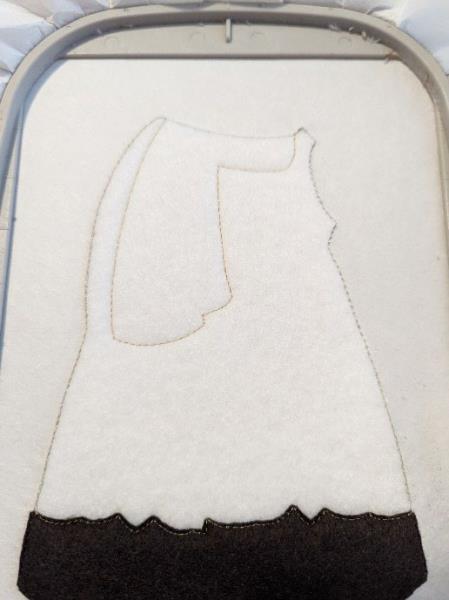
Sewing 4-5: Embroidery stitches
(Click Image to Enlarge)
Step 31:
(Click Image to Enlarge)
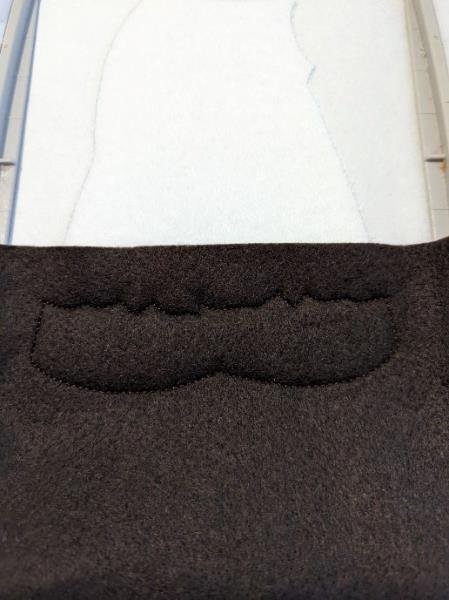
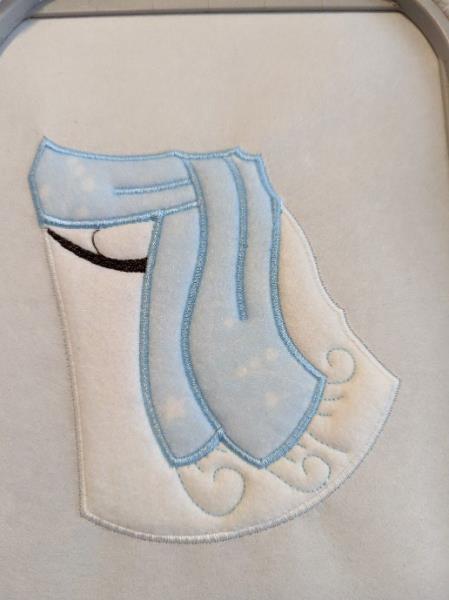
Put your fabric on the part of the scarf
Step 32:
(Click Image to Enlarge)
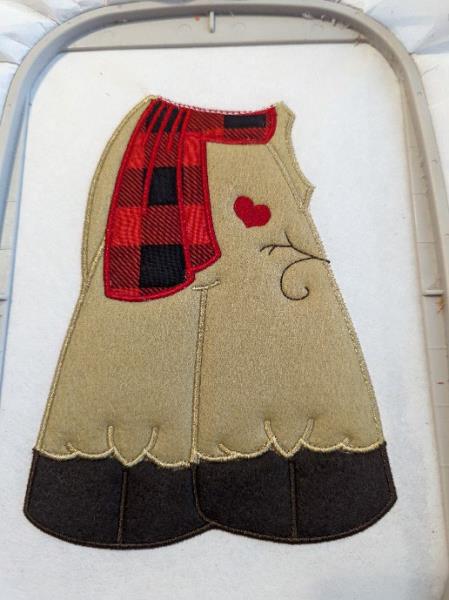
Seam 6: This seam will keep your fabric in place
Step 33:
Cut excess fabric all the way
(Click Image to Enlarge)
Step 34:
Sewing 7: embroidery stitches
(Click Image to Enlarge)
Step 35:
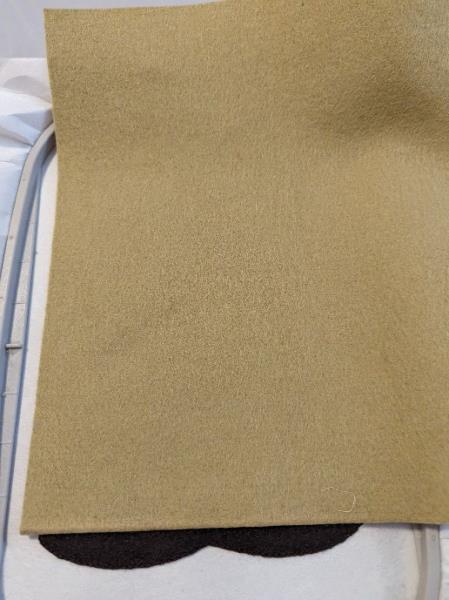
Put your felt piece on the back of your work (back of the frame)
(Click Image to Enlarge)
Step 36:
(Click Image to Enlarge)
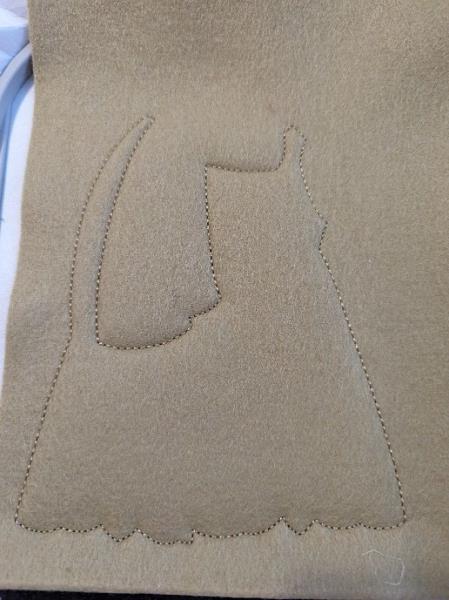
Seam 8: This seam will join your front with your back frame fabric
Step 37:
Cut excess fabric all the way
(Click Image to Enlarge)
Step 38:
Sewing 9-10: embroidery stitches
(Click Image to Enlarge)
Step 39:
THE SNOWMAN’S HAT
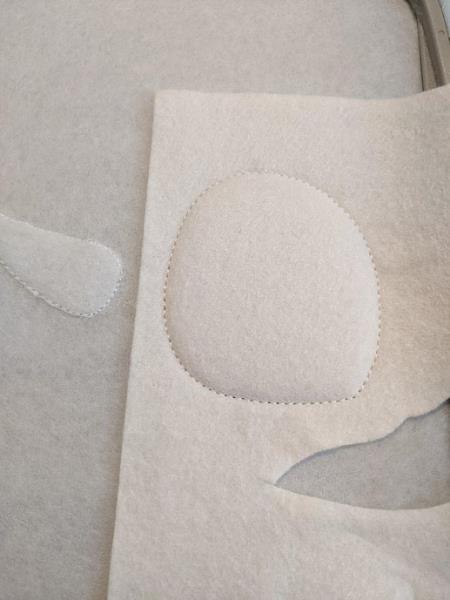
The first sewing is done on your stabilizing to tear
(Click Image to Enlarge)
Step 40:
Put your fleece on to cover the seam
(Click Image to Enlarge)
Step 41:
Seam 2: This seam will hold your fleece on your stabilizer
(Click Image to Enlarge)
Step 42:
Cut the excess fleece all the way
(Click Image to Enlarge)
Step 43:
Seam 3: this seam shows you the location of your hat
(Click Image to Enlarge)
Step 44:
Put your fabric on the seam taking care to hide all the seam
(Click Image to Enlarge)
Step 45:
Seam 4: This seam will keep your fabric in place
(Click Image to Enlarge)
Step 46:
Cut excess fabric all the way
(Click Image to Enlarge)
Step 47:
Sewing 5: embroidery stitches
(Click Image to Enlarge)
Step 48:
Put your fabric on the back of the hat
(Click Image to Enlarge)
Step 49:
Seam 6: This seam will keep your fabric in place
(Click Image to Enlarge)
Step 50:
Cut excess fabric all the way
(Click Image to Enlarge)
Step 51:
Sewing 7: embroidery stitches in the back of the hat
(Click Image to Enlarge)
Step 52:
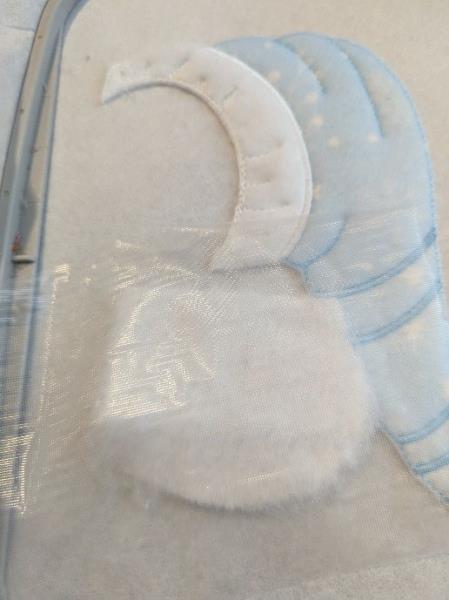
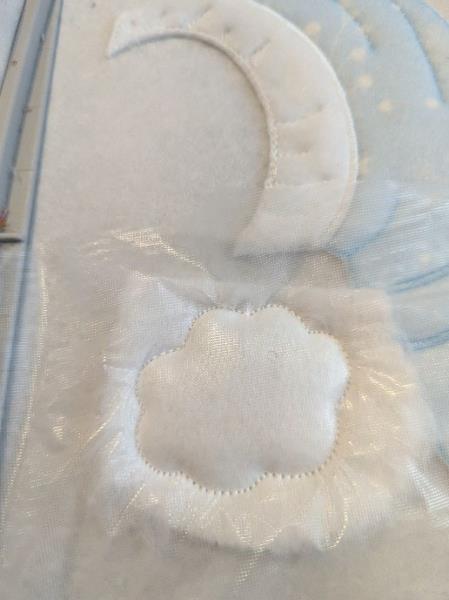
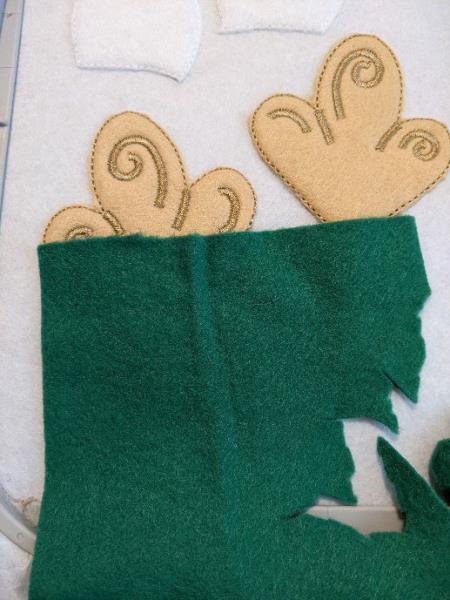
Put your piece of fabric on the pompon, if you work with a plush fabric, put a hydrosolyblle stabilizer
(Click Image to Enlarge)
Step 53:
Seam 8: This seam will keep your fabric in place
(Click Image to Enlarge)
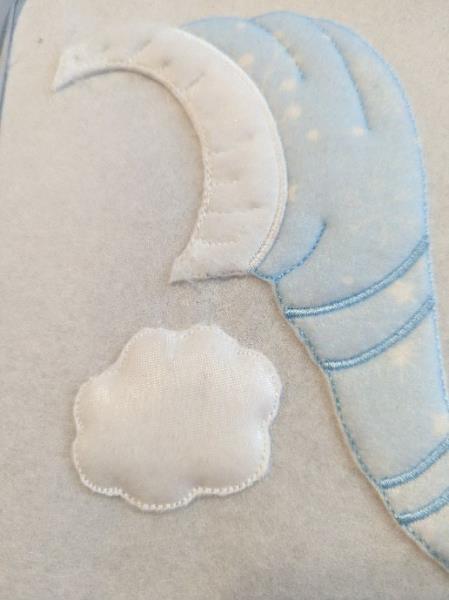
Step 54:
Cut excess fabric all the way
(Click Image to Enlarge)
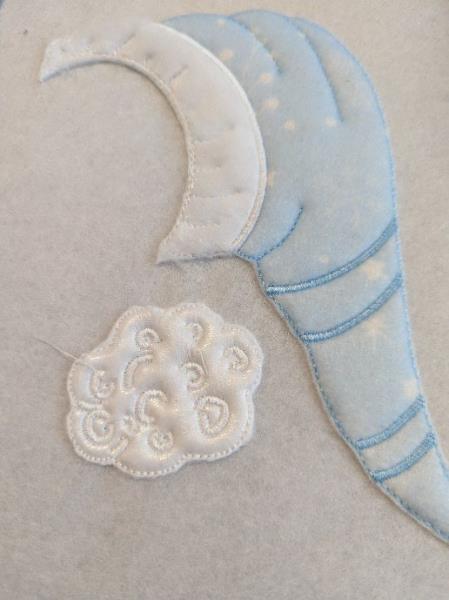
Step 55:
Sewing 9: embroidery stitches in the pompom
(Click Image to Enlarge)
Step 56:
(Click Image to Enlarge)
Put your felt piece on the back of your work (back of the frame)
Step 57:
Stitch 10: This stitch will join your front with your back frame fabric
(Click Image to Enlarge)
Step 58:
Cut excess fabric all the way
(Click Image to Enlarge)
Step 59:
Sewing 11-12: Embroidery stitches
(Click Image to Enlarge)
Step 60:
REINDEER HEAD ORNAMENT
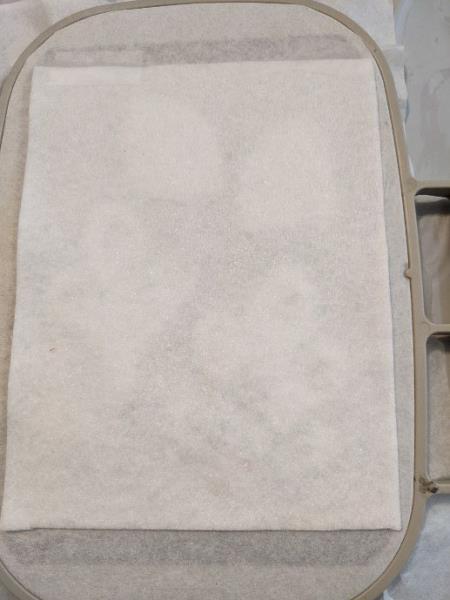
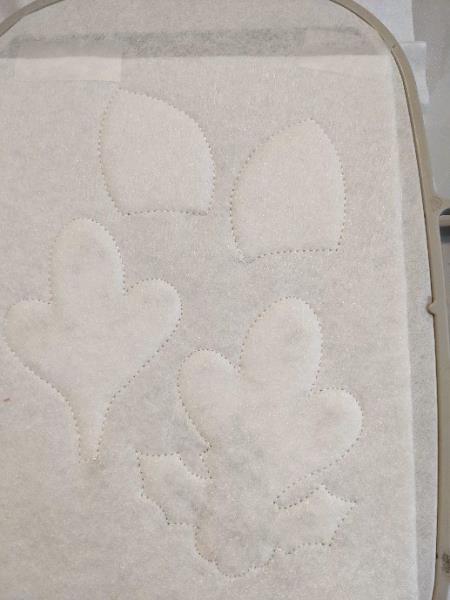
The first sewing is done on your stabilizing to tear
(Click Image to Enlarge)
Step 61:
(Click Image to Enlarge)
Put your fleece on to cover the seam
Step 62:
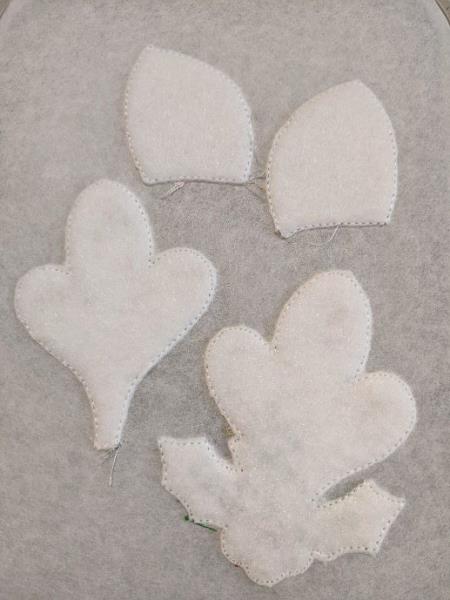
Seam 2: This seam will hold your fleece on your stabilizer
(Click Image to Enlarge)
Step 63:
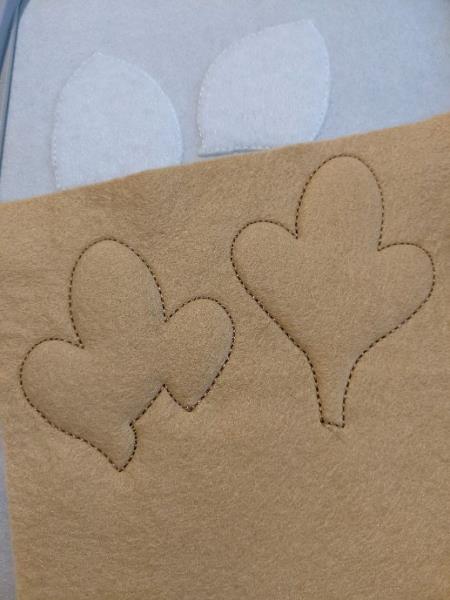
Cut the excess fleece all the way
(Click Image to Enlarge)
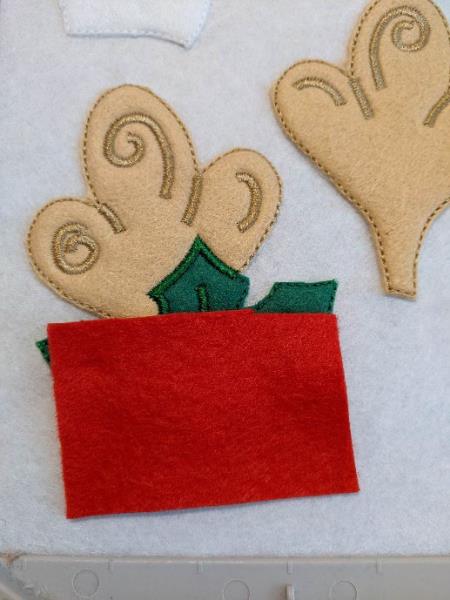
Step 64:
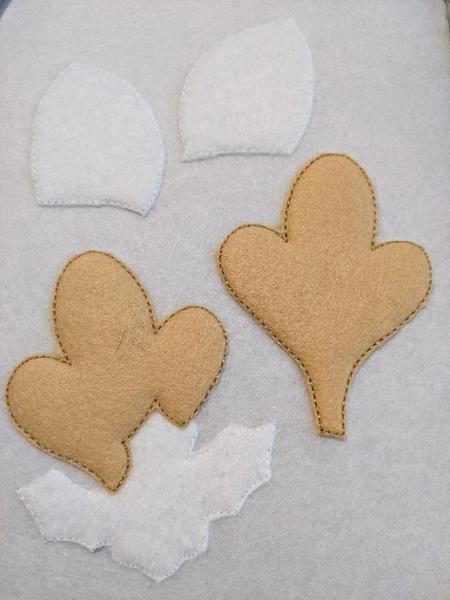
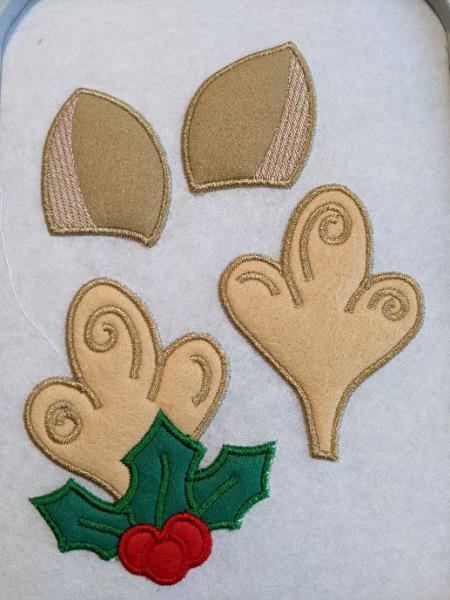
Put your fabric for wood
(Click Image to Enlarge)
Step 65:
Seam 3: This seam will keep your fabric in place
(Click Image to Enlarge)
Step 66:
Cut excess fabric all the way
(Click Image to Enlarge)
Step 67:
(Click Image to Enlarge)
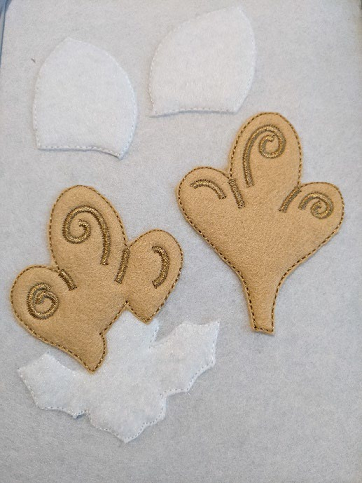
Sewing 4: embroidery stitches in the woods
Step 68:
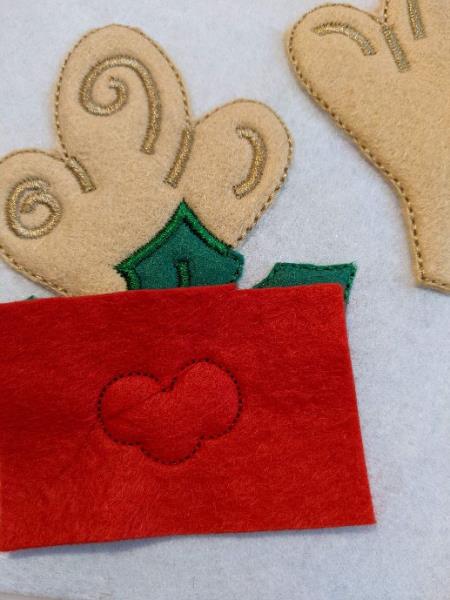
Put your fabric on the sheets
(Click Image to Enlarge)
Step 69:
Seam 5: This seam will keep your fabric in place
(Click Image to Enlarge)
Step 70:
Cut excess fabric all the way
(Click Image to Enlarge)
Step 71:
Sewing 6: embroidery stitches in sheets
(Click Image to Enlarge)
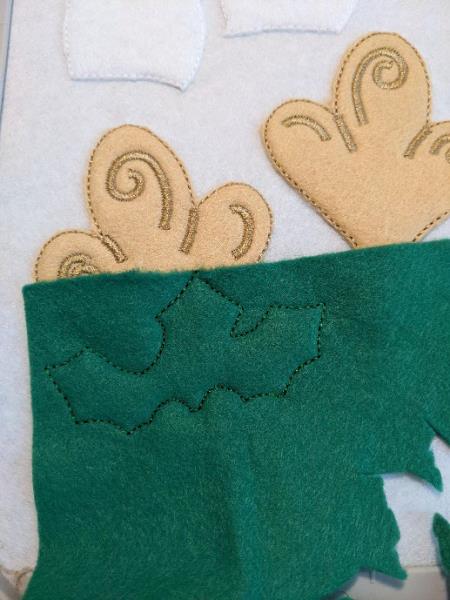
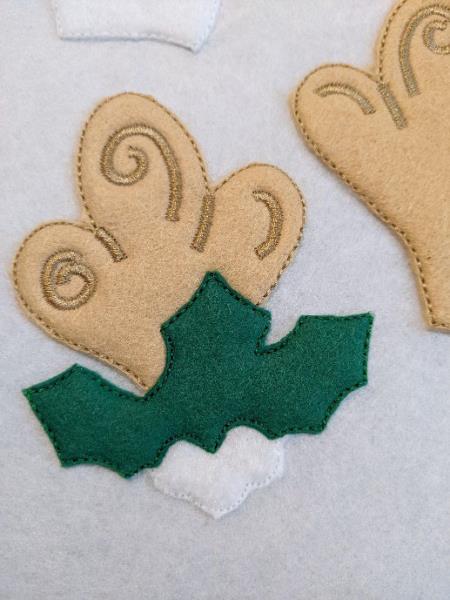
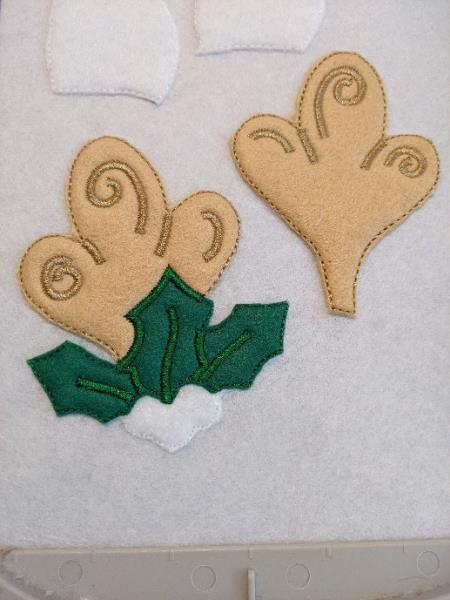
Step 72:
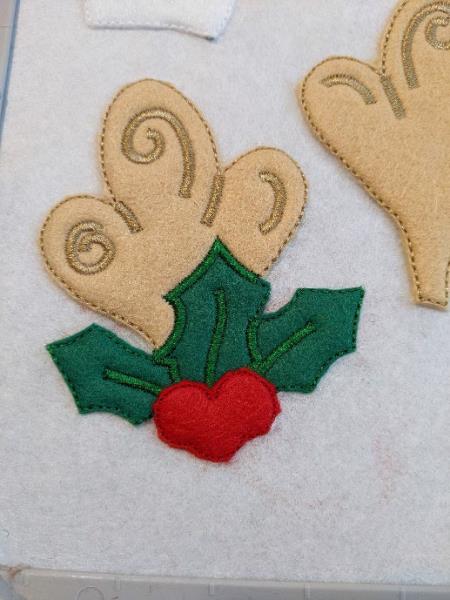
Put your fabric on the berries
(Click Image to Enlarge)
Step 73:
Seam 7: This seam will keep your fabric in place
(Click Image to Enlarge)
Step 74:
Cut excess fabric all the way
(Click Image to Enlarge)
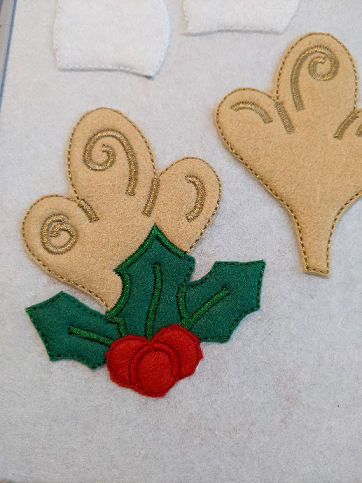
Step 75:
(Click Image to Enlarge)
Sewing 8: embroidery stitches in the berries
Step 76:
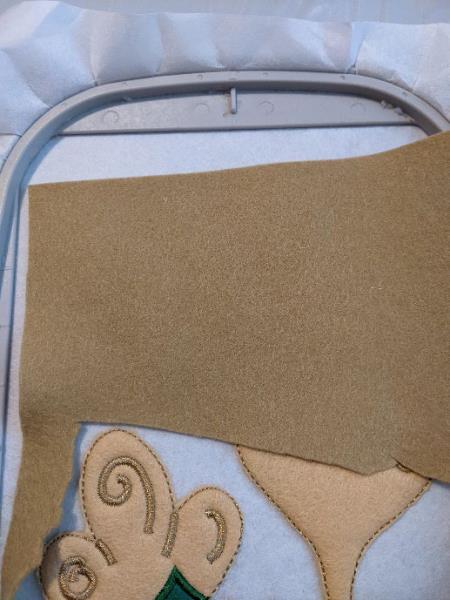
Put your fabric on your ears
(Click Image to Enlarge)
Step 77:
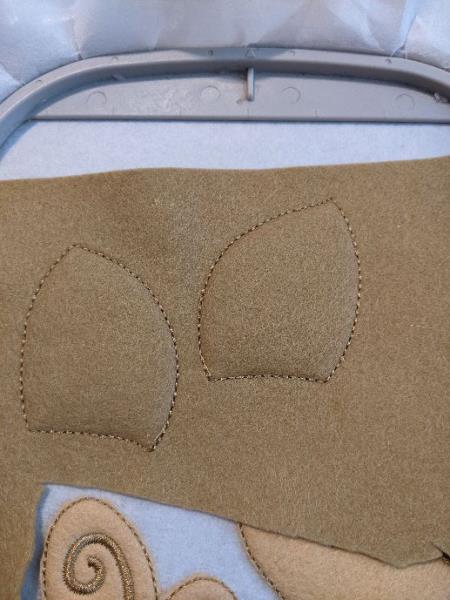
Seam 9: This seam will keep your fabric in place
(Click Image to Enlarge)
Step 78:
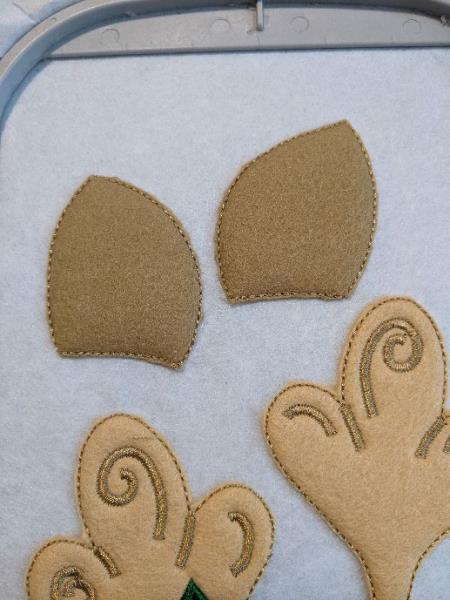
Cut excess fabric all the way
(Click Image to Enlarge)
Step 79:
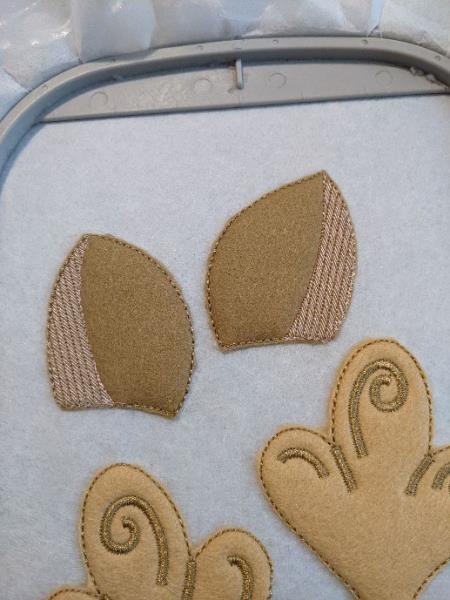
Sewing 10: embroidery stitches in the ears
(Click Image to Enlarge)
Step 80:
Put your felt piece on the back of your work (back of the frame)
(Click Image to Enlarge)
Step 81:
Seam 11: This seam will join your front with your back frame fabric
(Click Image to Enlarge)
Step 82:
Cut excess fabric all the way
(Click Image to Enlarge)
Step 83:
Sewing 12-13-14-15: Embroidery stitches
(Click Image to Enlarge)
Step 84:
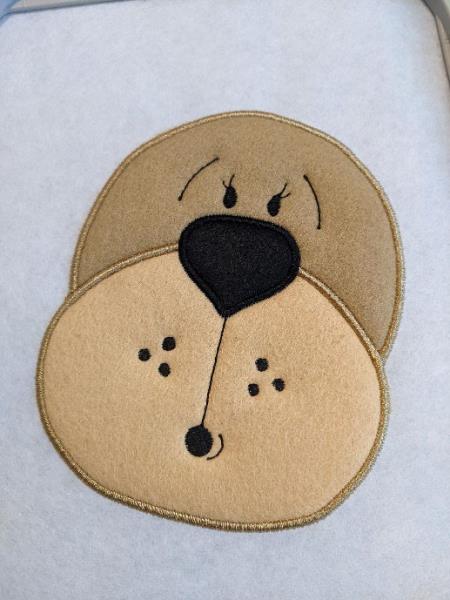
THE REINDEER’S HEAD
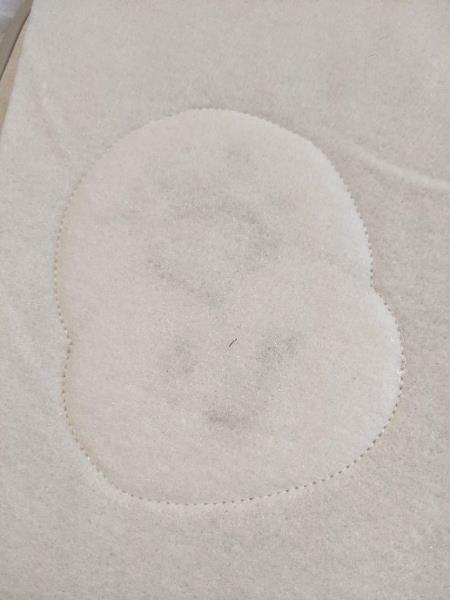
The first sewing is done on your stabilizing to tear
(Click Image to Enlarge)
Step 85:
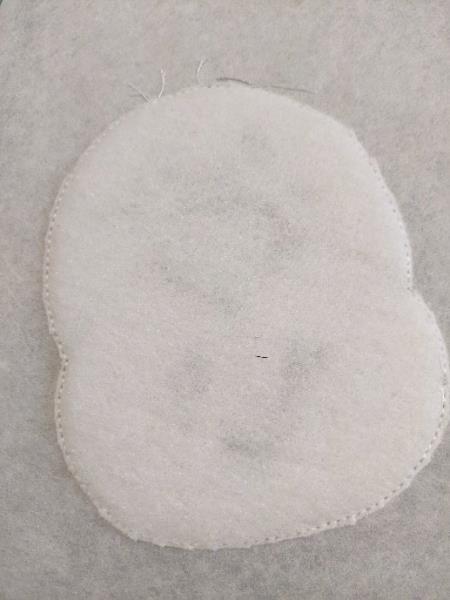
Put your fleece on to cover the seam
(Click Image to Enlarge)
Step 86:
Seam 2: This seam will hold your fleece on your stabilizer
(Click Image to Enlarge)
Step 87:
Cut the excess fleece all the way
(Click Image to Enlarge)
Step 88:
Seam 3: This seam tells you the location of your fabric for the lower face
(Click Image to Enlarge)
Step 89:
Put your fabric on the seam taking care to hide all the seam
(Click Image to Enlarge)
Step 90:
Seam 4: This seam will keep your fabric in place
(Click Image to Enlarge)
Step 91:
Cut excess fabric all the way
(Click Image to Enlarge)
Step 92:
Seam 5: This seam will keep your fabric in place
(Click Image to Enlarge)
Step 93:
Cut excess fabric all the way
(Click Image to Enlarge)
Step 94:
Stitch 6: embroidery stitches in the top and bottom of the face
(Click Image to Enlarge)
Step 95:
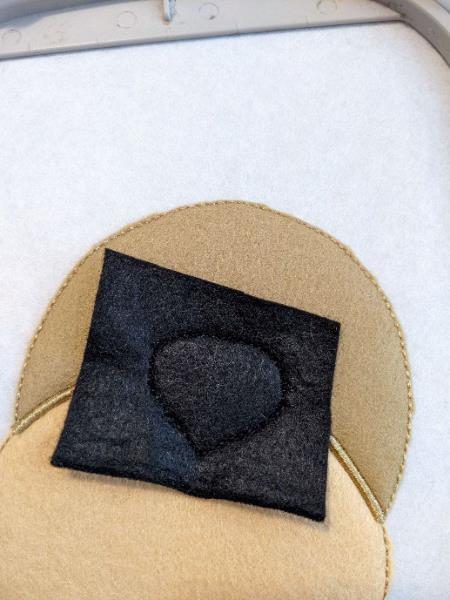
Put your fabric for the nose
(Click Image to Enlarge)
Step 96:
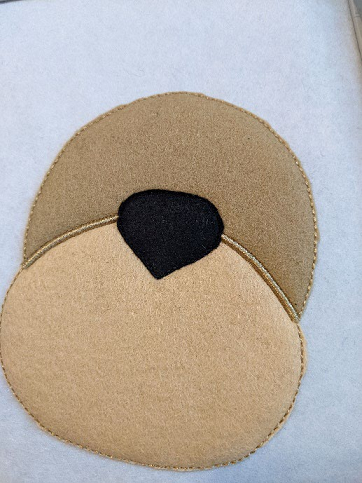
Seam 7: This seam will keep your fabric in place
(Click Image to Enlarge)
Step 97:
(Click Image to Enlarge)
Cut excess fabric all the way
Step 98:
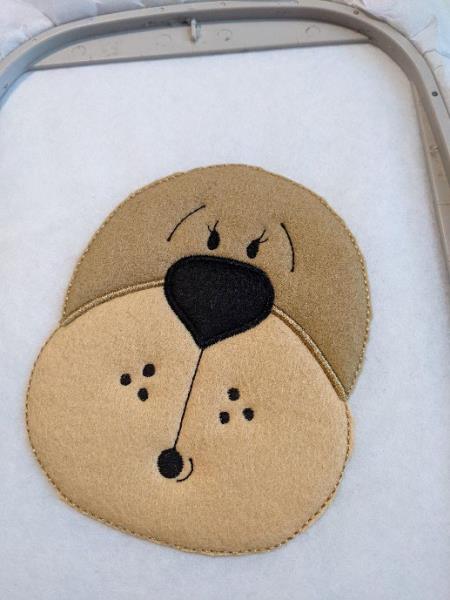
Sewing 8: embroidery stitches in the face
(Click Image to Enlarge)
Step 99:
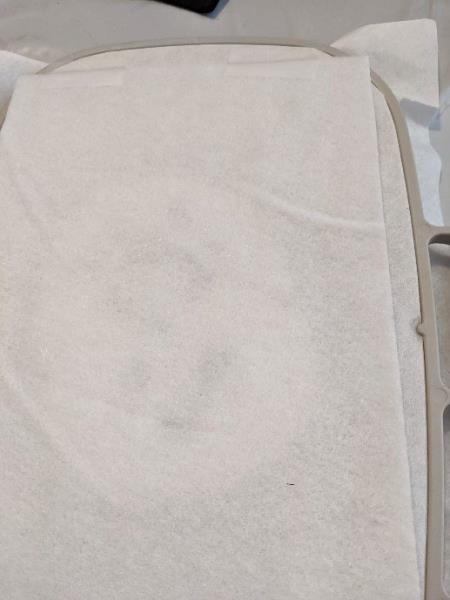
Put your felt piece on the back of your work (back of the frame)
(Click Image to Enlarge)
Step 100:
Seam 9: This seam will join your front with your back frame fabric
(Click Image to Enlarge)
Step 101:
Cut excess fabric all the way
(Click Image to Enlarge)
Step 102:
Sewing 10-11: Embroidery stitches
(Click Image to Enlarge)
Step 103:
THE SNOWMAN’S HEAD
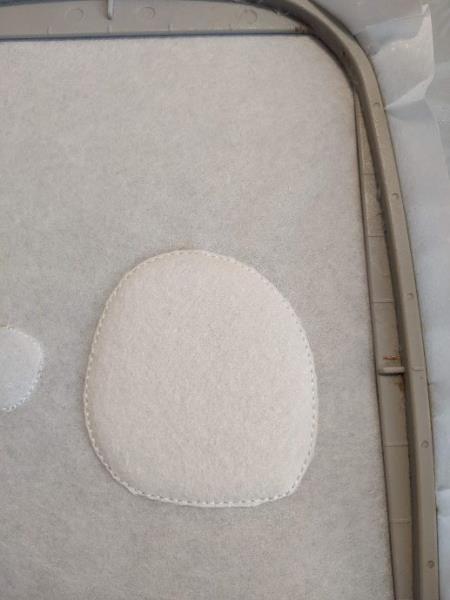
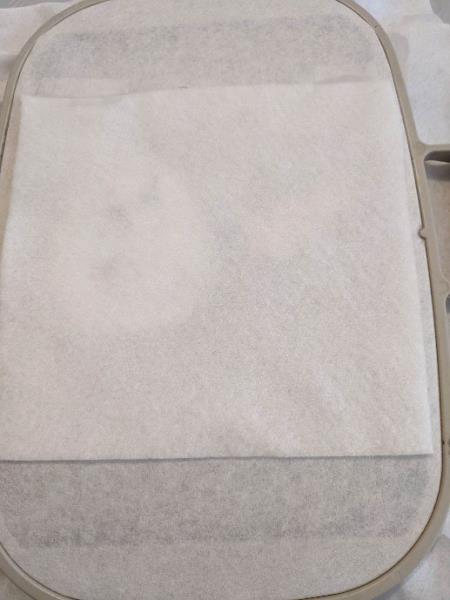
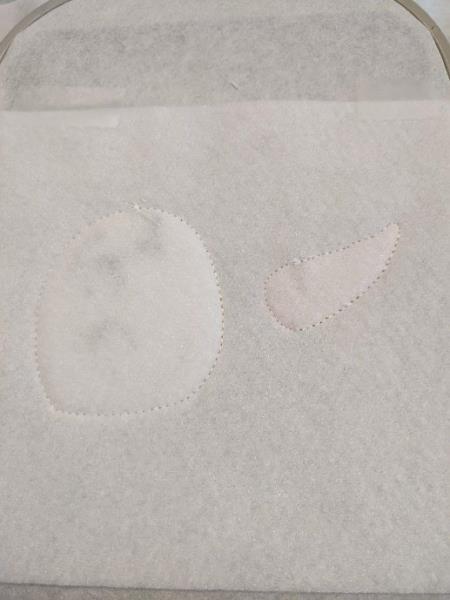
The first sewing is done on your stabilizing to tear
(Click Image to Enlarge)
Step 104:
Put your fleece on to cover the seam
(Click Image to Enlarge)
Step 105:
Seam 2: This seam will hold your fleece on your stabilizer
(Click Image to Enlarge)
Step 106:
Cut the excess fleece all the way
(Click Image to Enlarge)
Step 107:
Put your fabric on the snowman’s head
(Click Image to Enlarge)
Step 108:
Seam 3: This seam will keep your fabric in place
(Click Image to Enlarge)
Step 109:
Cut excess fabric all the way
(Click Image to Enlarge)
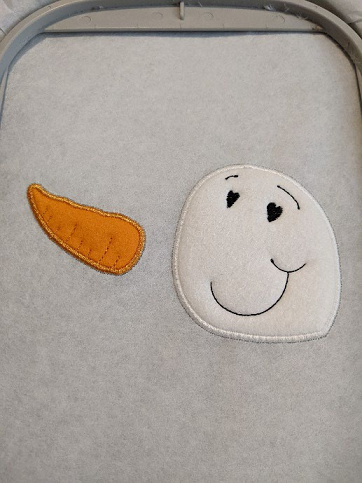
Step 110:
(Click Image to Enlarge)
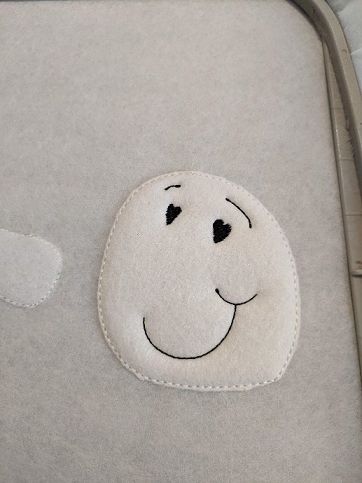
Stitch 4: embroidery stitches in the face of the snowman
Step 111:
Seam 5: This seam will keep your fabric in place
(Click Image to Enlarge)
Step 112:
(Click Image to Enlarge)
Cut excess fabric all the way
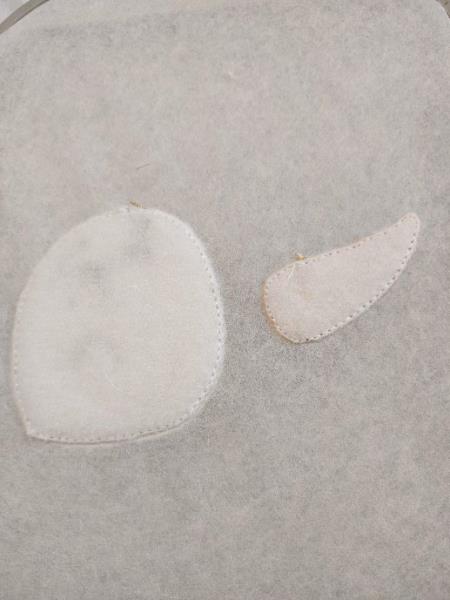
Step 113:
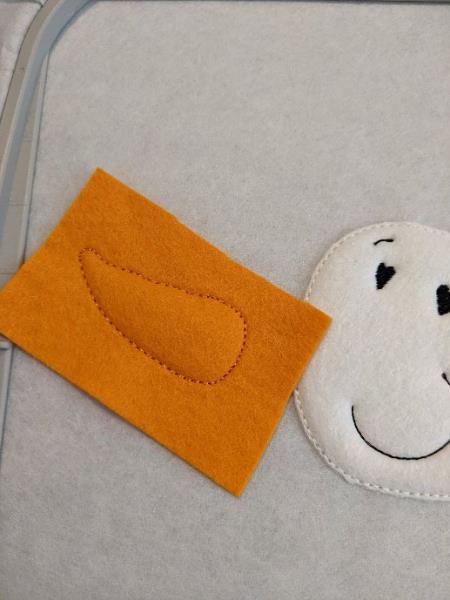
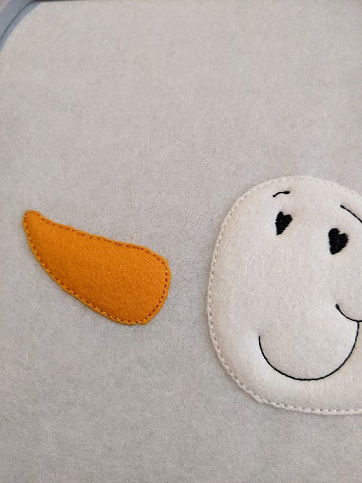
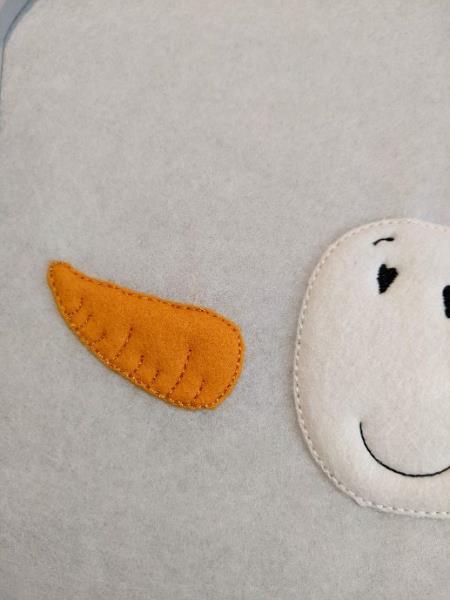
Sewing 6: embroidery stitches in the nose
(Click Image to Enlarge)
Step 114:
Put your felt piece on the back of your work (back of the frame)
(Click Image to Enlarge)
Step 115:
Seam 7: This seam will join your front with your back frame fabric
(Click Image to Enlarge)
Step 116:
Cut excess fabric all the way
(Click Image to Enlarge)
Step 117:
(Click Image to Enlarge)
Sewing 8-9: Embroidery stitches
Step 118:
(Click Image to Enlarge)
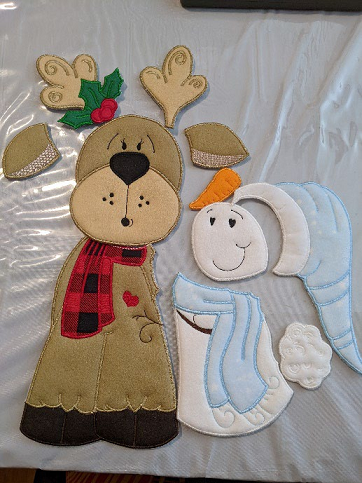
ASSEMBLING
You should have this before you start gluing, to help you, you can do a mounting without the glue before sticking to the hot glue gun
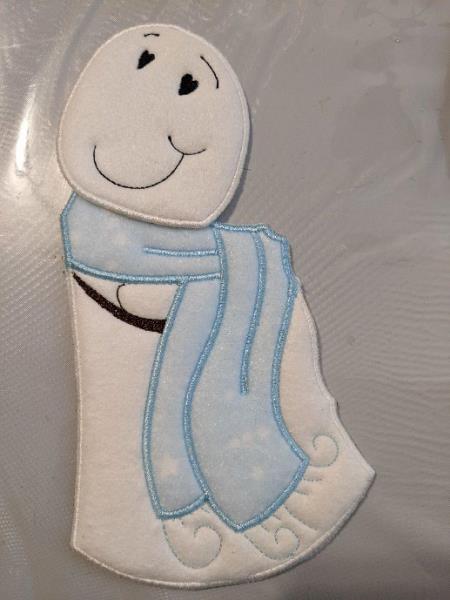
Step 119:
Start by sticking the man’s head on the scarf
(Click Image to Enlarge)
Step 120:
(Click Image to Enlarge)
Stick the hat on the head and along the body
Step 121:
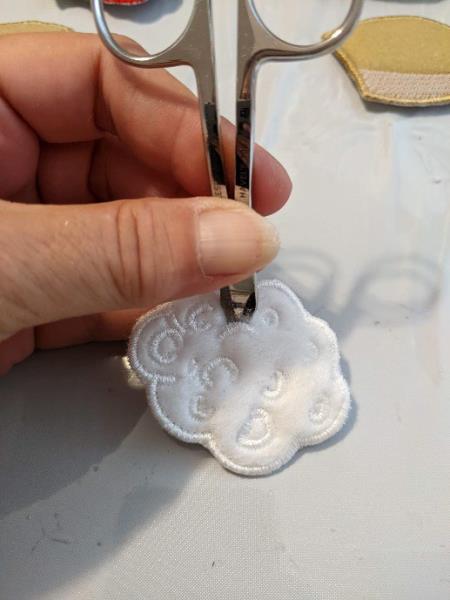
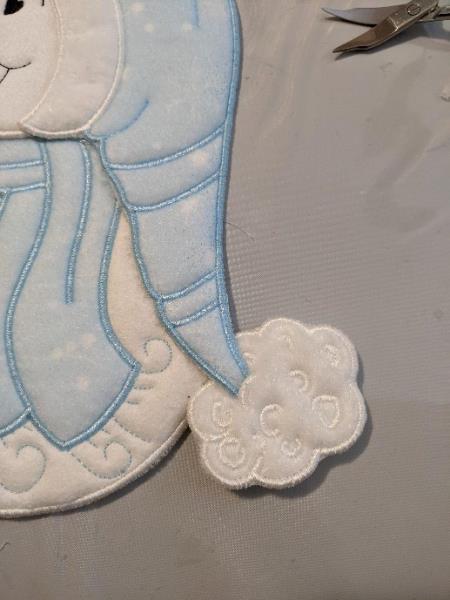
In the pom-pom, make an incision close to a bumblebee spot
(Click Image to Enlarge)
Step 122:
Insert the bottom of the hat into the pompom
(Click Image to Enlarge)
Step 123:
(Click Image to Enlarge)
Come stick the snowman on the body of the Reindeer, make coincide the arm of the man, the body of the snowman goes to the back of the body of the reindeer but the head goes on the front of the body of the reindeer
Step 124:
(Click Image to Enlarge)
Stick the head on the front of the Reindeer’s body and on the front of the snowman’s head
Step 125:
(Click Image to Enlarge)
Stick the nose of the snowman.
Step 126:
(Click Image to Enlarge)
Stick the right wood (facing you) on the back of the head and ears.
Step 127:
(Click Image to Enlarge)
Glue the wood with the berries on the front of the head