ITH Fox Mug Rug
Zoom Watch Video View Larger
View Project Instructions
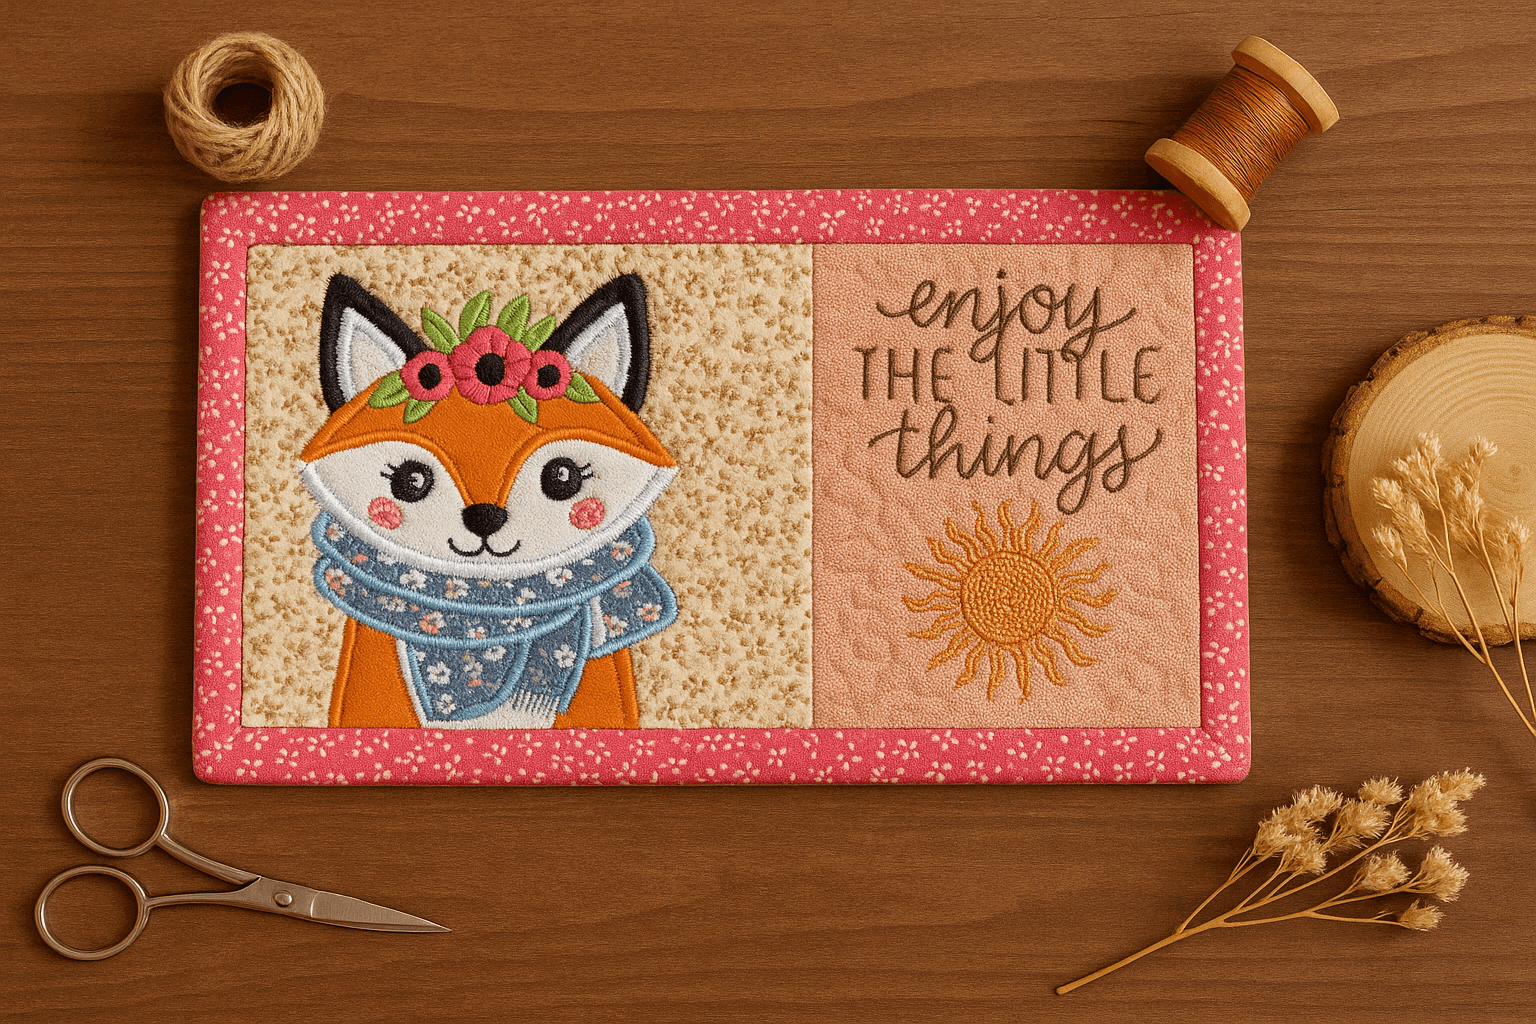
ITH Fox Mug Rug Embroidery Project
PROJECT DETAILS
Description
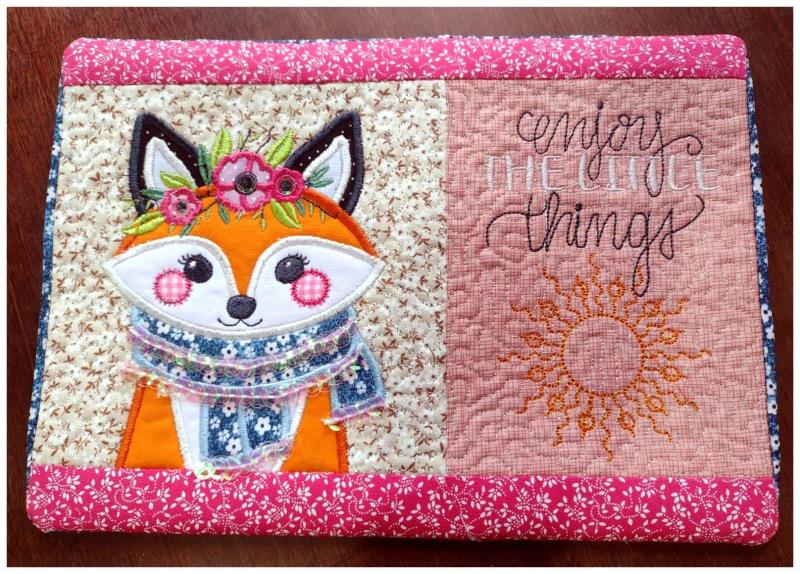
This charming ITH fox mug rug features a beautifully embroidered fox adorned with flowers and a scarf, paired with the uplifting message "Enjoy the Little Things." A perfect in-the-hoop project for adding warmth and whimsy to your space or gifting.
Materials Tearaway Stabilizer
Fabrics
Batting
Glue
Final Product: What You Will Create
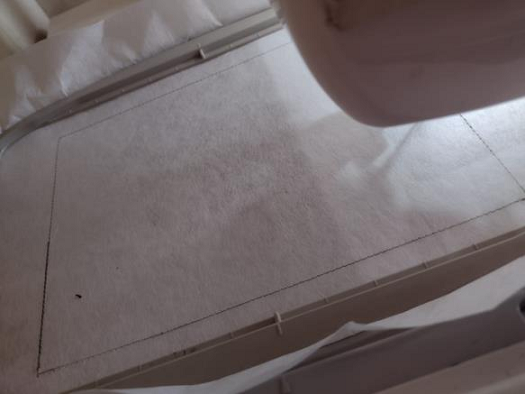
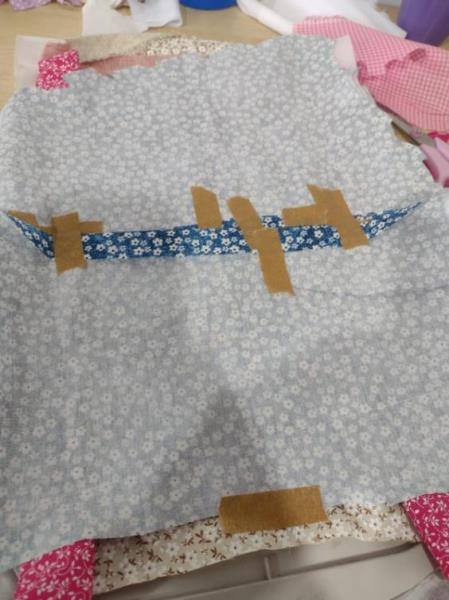
Step 1: Stitch the placement line for the batting
(Click Image to Enlarge)
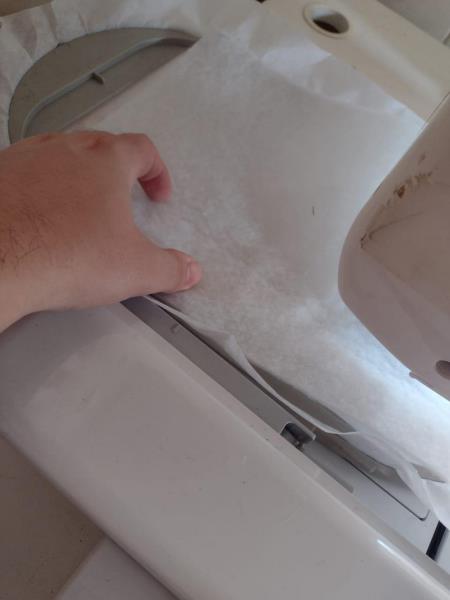
Step 2: Place the batting on the top of the hoop
(Click Image to Enlarge)
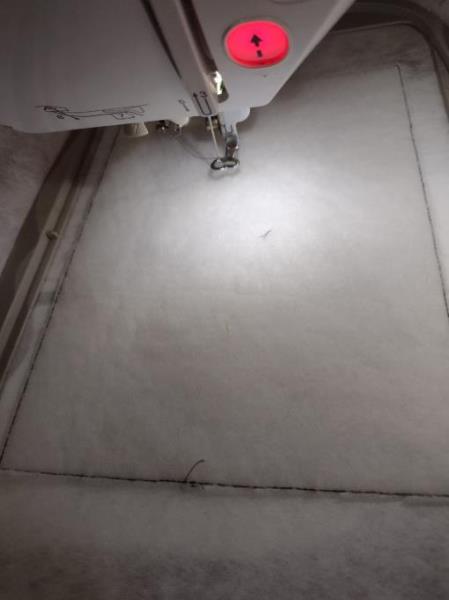
Step 3: Stitch the batting down and remove the hoop from your machine and trim the batting closeto the stitch
(Click Image to Enlarge)
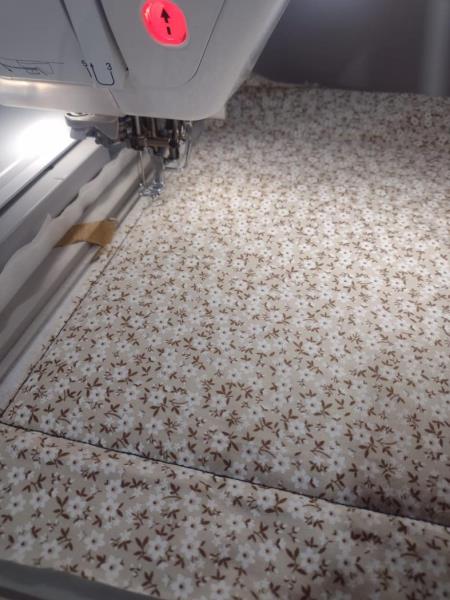
Step 4: Place the fabric on top of the hoop covering the placement line, and stitch it.
(Click Image to Enlarge)
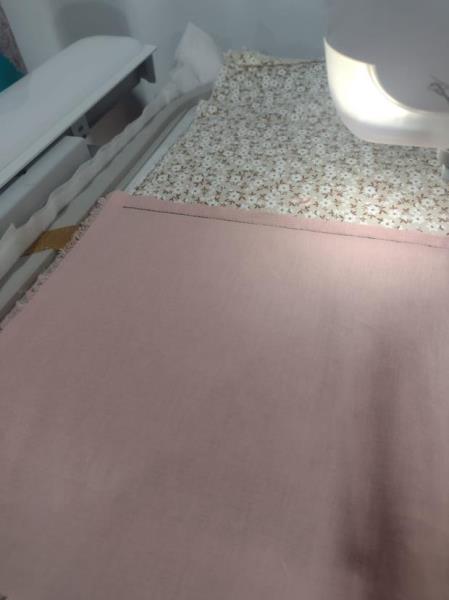
Step 5: Stitch the placement line for the up side fabric, put the fabric with the print down and stitch it.
(Click Image to Enlarge)
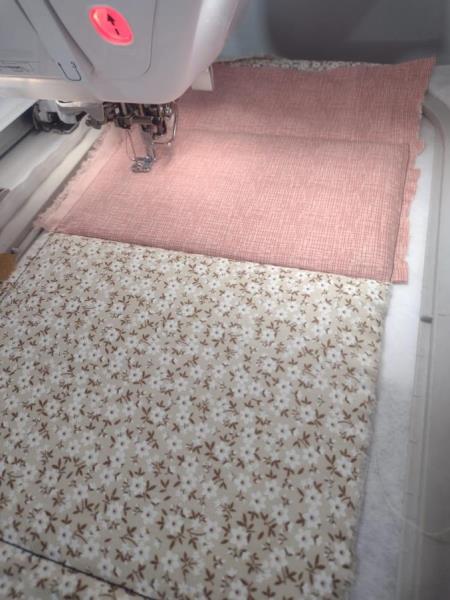
Step 6: Pull the fabric to the other side and stitch it.
(Click Image to Enlarge)
Step 7: Follow the machine steps and stitch the appliqués and details
(Click Image to Enlarge)
Step 8: Stitch the placement line for the left side fabric
(Click Image to Enlarge)
Step 9: put the fabric with the print down and stitch it
(Click Image to Enlarge)
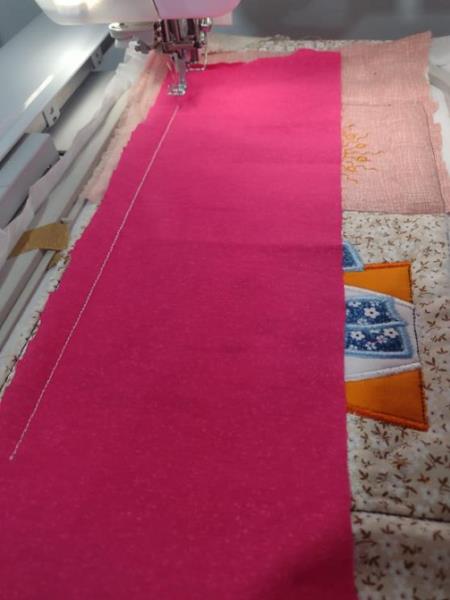
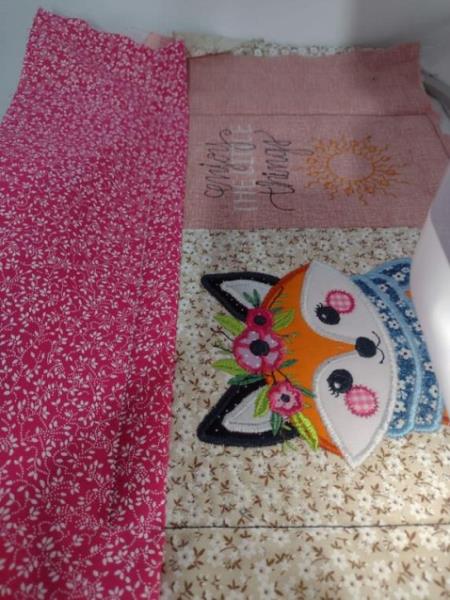
Step 10: Pull the fabric to the other side and stitch it! The same process to the others sides
(Click Image to Enlarge)
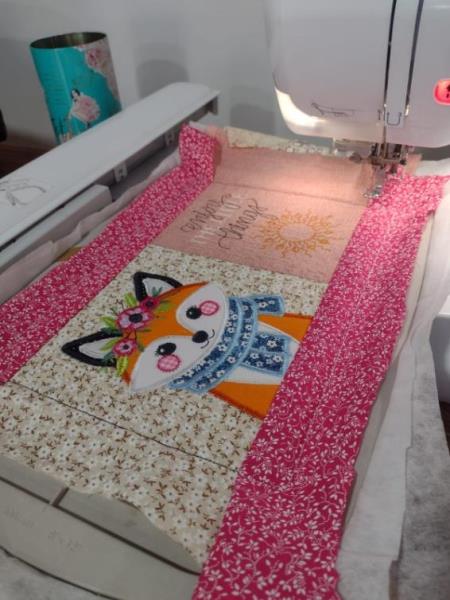
Step 11: Put a piece of fabric over it an stitch the fabric down!
(Click Image to Enlarge)
Step 12: Remove the hoop from the machine and trim the borders. Turn to the right side! Iron it and finish it with glue!
(Click Image to Enlarge)
Feedback
Please Login to Submit a Feedback
Invalid Characters, Please enter a valid Comment
Please enter a valid Comment
LOG IN
Submit
Link is Broken, Please check the URL