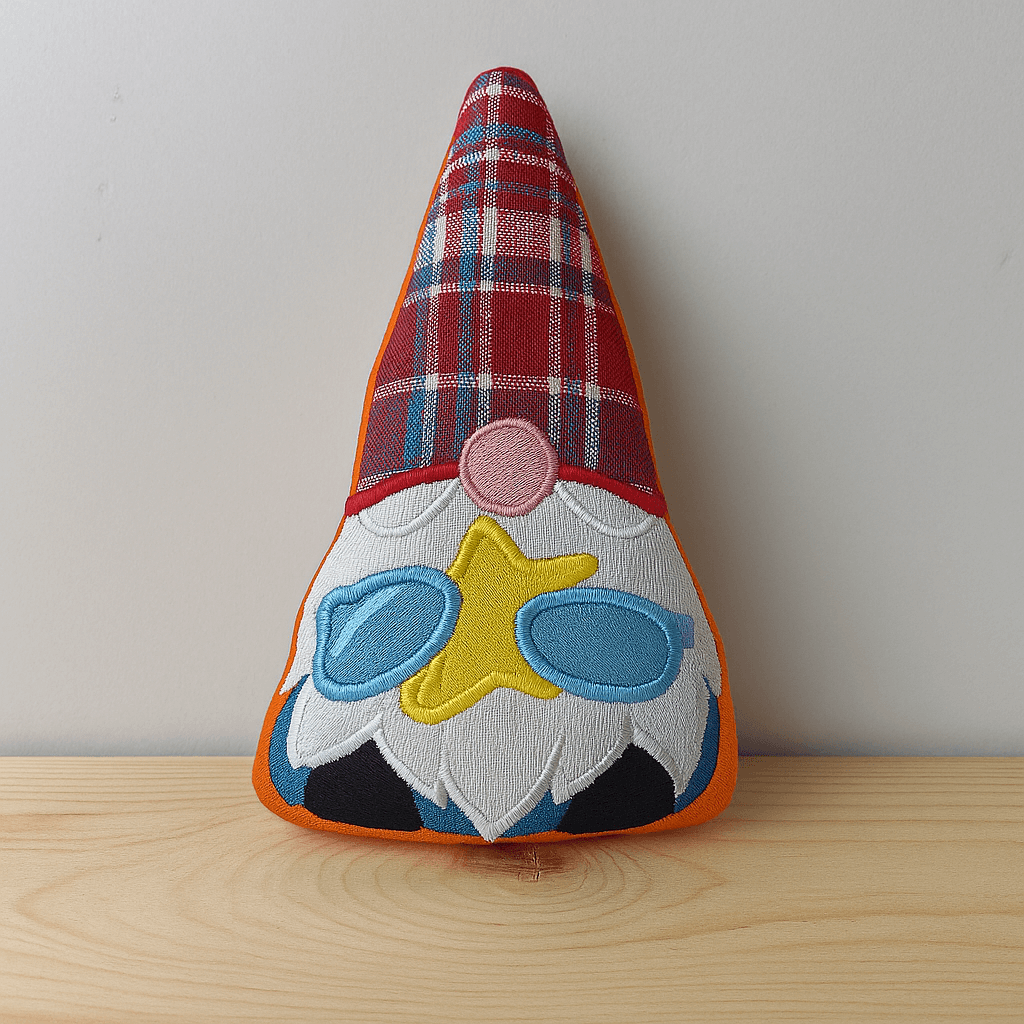
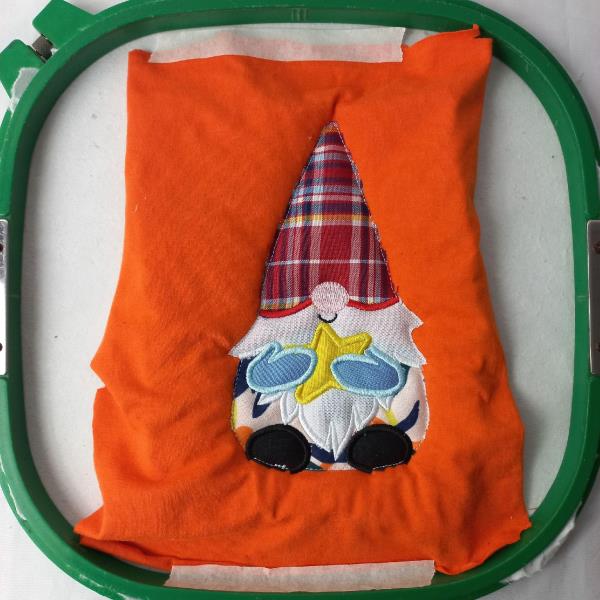
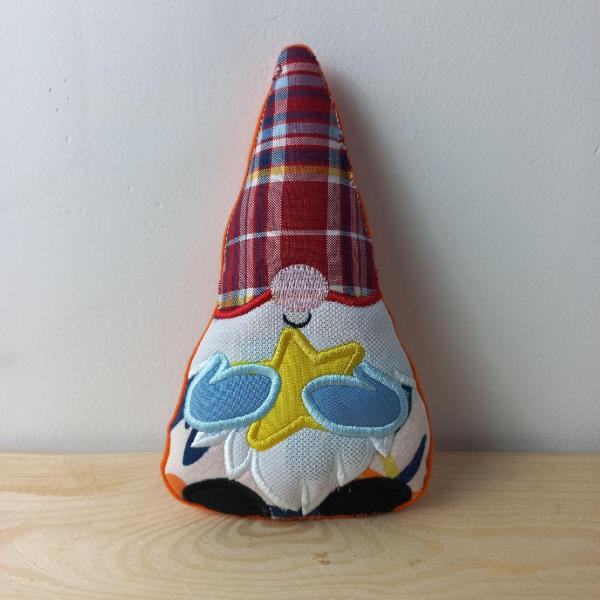
Bring on the summer vibes with this fun and funky ITH gnome plush! Featuring cool sunglasses, a star detail, and a plaid hat, this machine embroidery project is perfect for seasonal décor, gifts, or whimsical craft shows. Beginner-friendly and adorable!
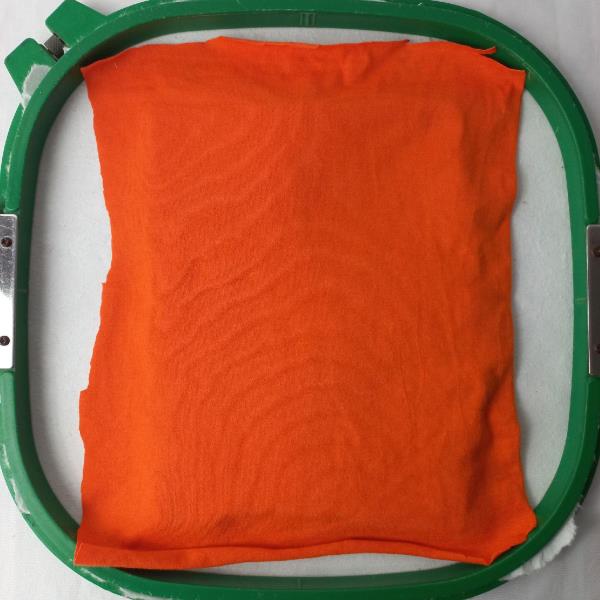
For this project, tautly hoop 2.5-ounce cutaway stabilizer and a piece of fabric in your embroidery hoop, if you wish a piece of batting too.
(Click Image to Enlarge)
Step 2:
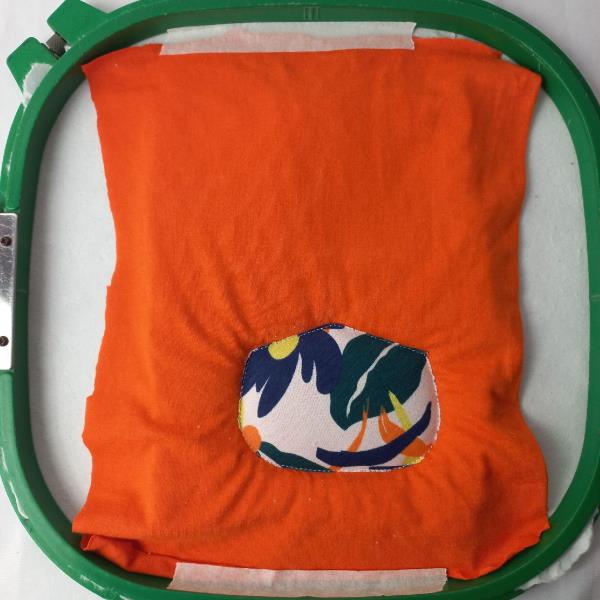
Run color-stop 1 as a placement line. Cover the placement line with printed fabric with the help of the repositionable adhesive spray, and run color-stop 2. Cut the excess fabric.
(Click Image to Enlarge)
Step 3:
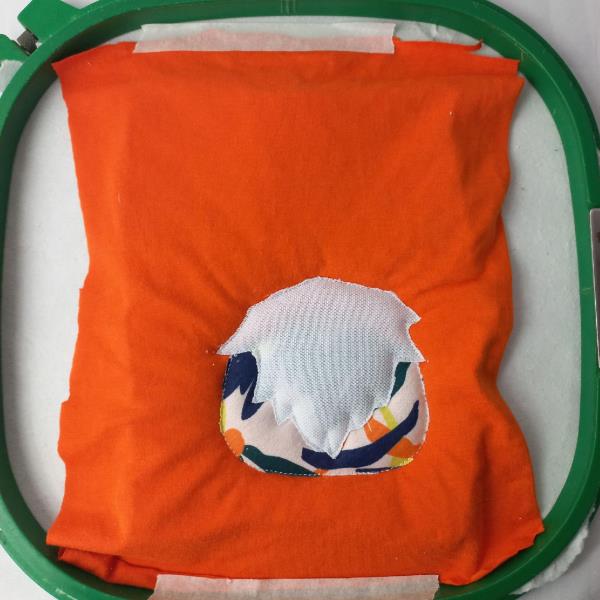
Run color-stop 3 as a placement line. Cover the placement line with white fabric with the help of the repositionable adhesive spray, and run color-stop 4. Cut the excess fabric.
(Click Image to Enlarge)
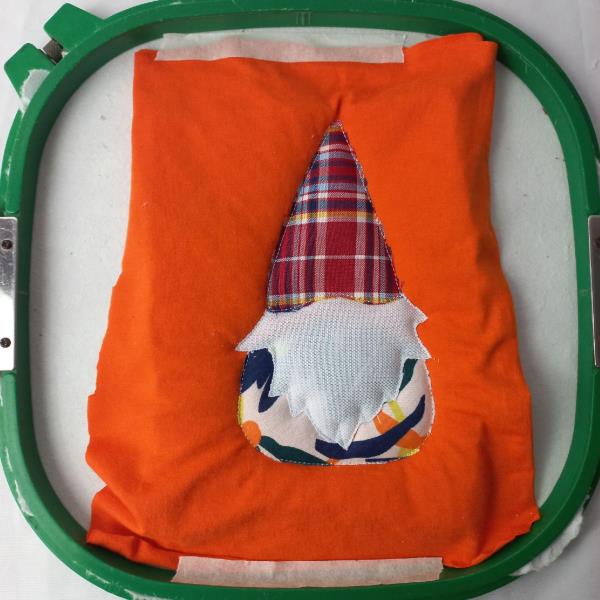
Step 4:
Run color-stop 5 as a placement line. Cover the placement line with printed fabric with the help of the repositionable adhesive spray, and run color-stop 6. Cut the excess fabric.
(Click Image to Enlarge)
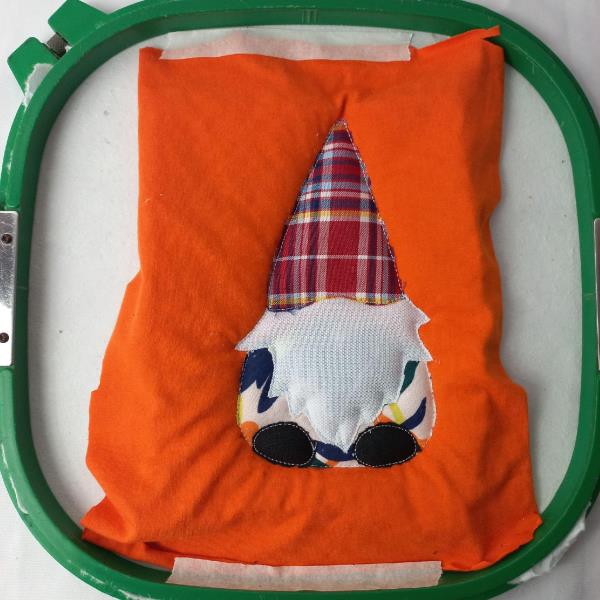
Step 5:
Run color-stop 7 as a placement line. Cover the placement line with black fabric with the help of the repositionable adhesive spray, and run color-stop 8. Cut the excess fabric. Do it the same way for the other shoe.
(Click Image to Enlarge)
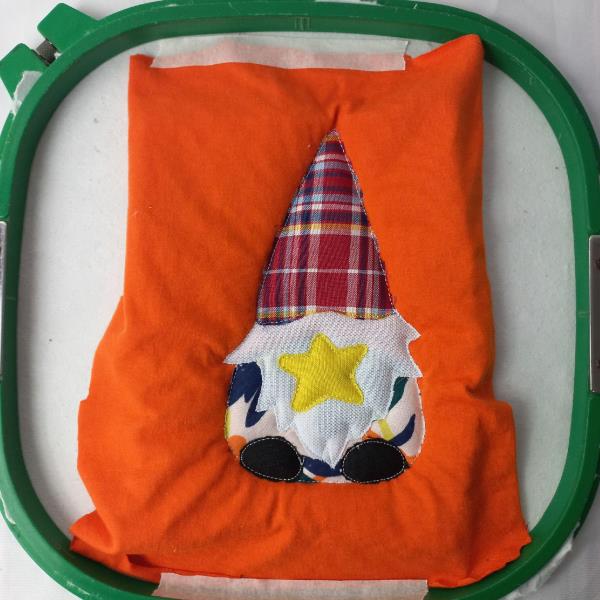
Step 6:
Run color-stop 11 as a placement line. Cover the placement line with yellow fabric with the help of the repositionable adhesive spray, and run color-stop 12. Cut the excess fabric.
(Click Image to Enlarge)
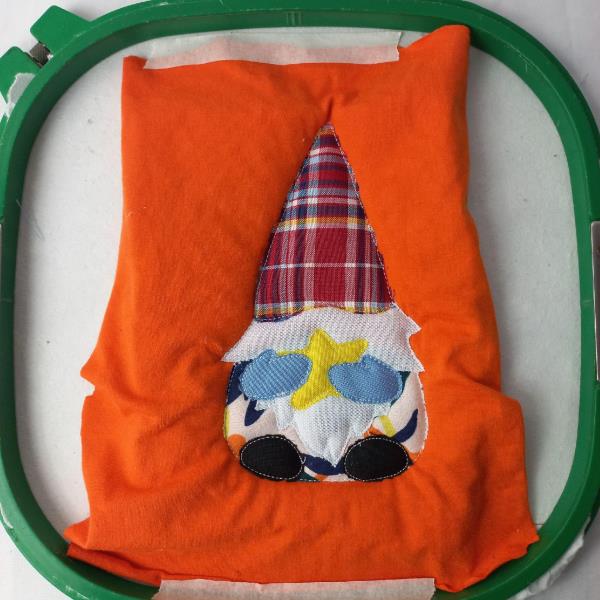
Step 7:
Run color-stop 13 as a placement line. Cover the placement line with sky blue fabric with the help of the repositionable adhesive spray, and run color-stop 14. Cut the excess fabric. Do it the same way for the other glove.
(Click Image to Enlarge)
Step 8:
Run color-stop 17 through color-stop 22
(Click Image to Enlarge)
Step 9:
Cover the project with a piece of fabric facing down, and run color-stop 23.
(Click Image to Enlarge)
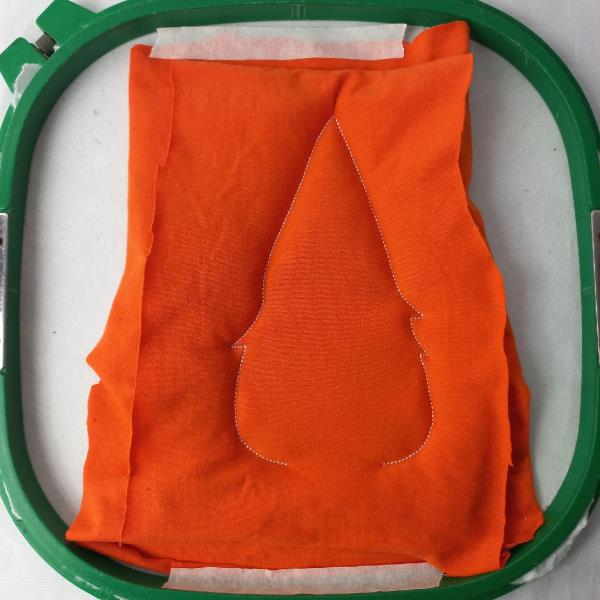
Step 10:
Remove the project from the hoop and cut the outline with sharp scissors leaving a homogeneous margin
(Click Image to Enlarge)
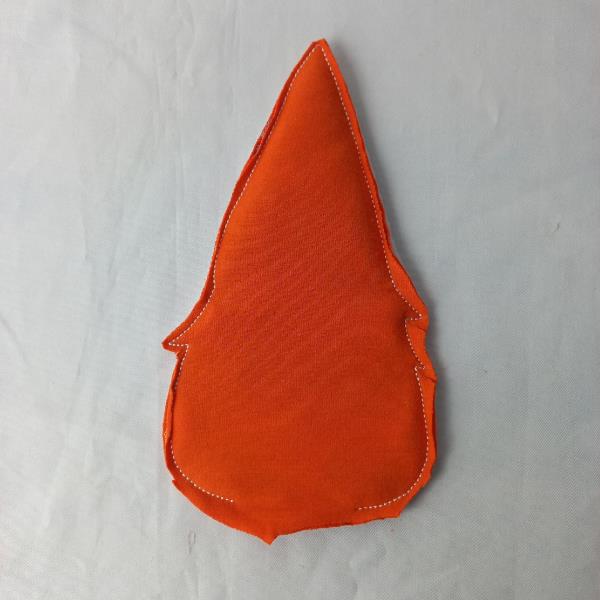
Step 11:
Turn the pieces inside out like a sock.
(Click Image to Enlarge)
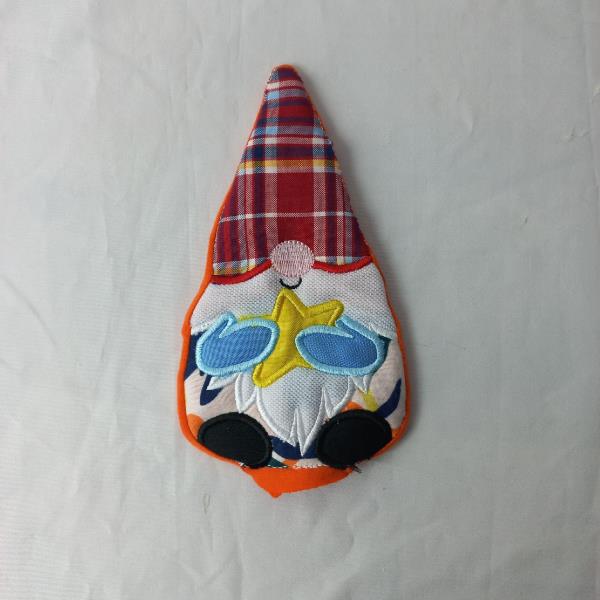
Step 12:
With the help of a needle and thread or some type of textile glue, stuffie, and sew the hole in the lower part.
Use complementary decorations if you wish.
Have fun doing this beautiful project.