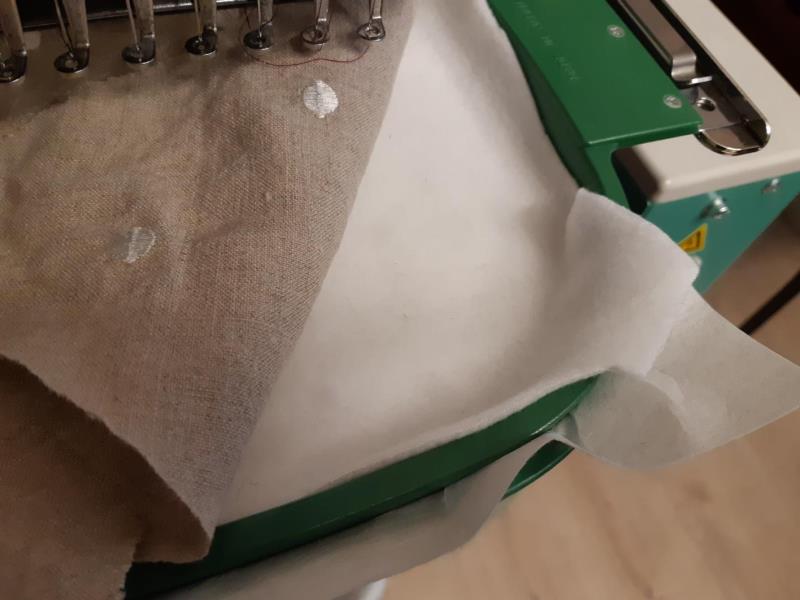
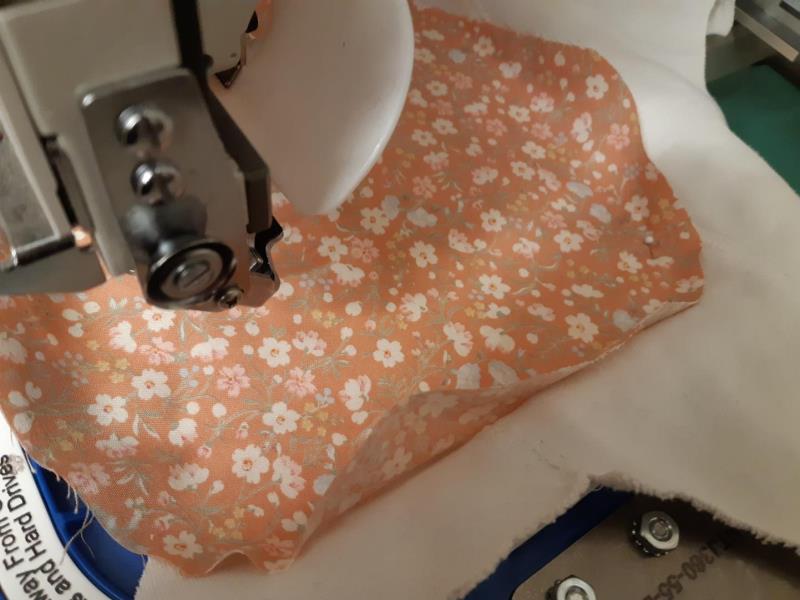
Hooping. Depend of your hoop you can hoop together stabilizer ( any type), batting and top fabric
or
hoop only the cut away stabilizer, other material will be float on. Place a layer of batting and the top layer of fabric over the hooped stabilizer.
(Click Image to Enlarge)
Step 2:
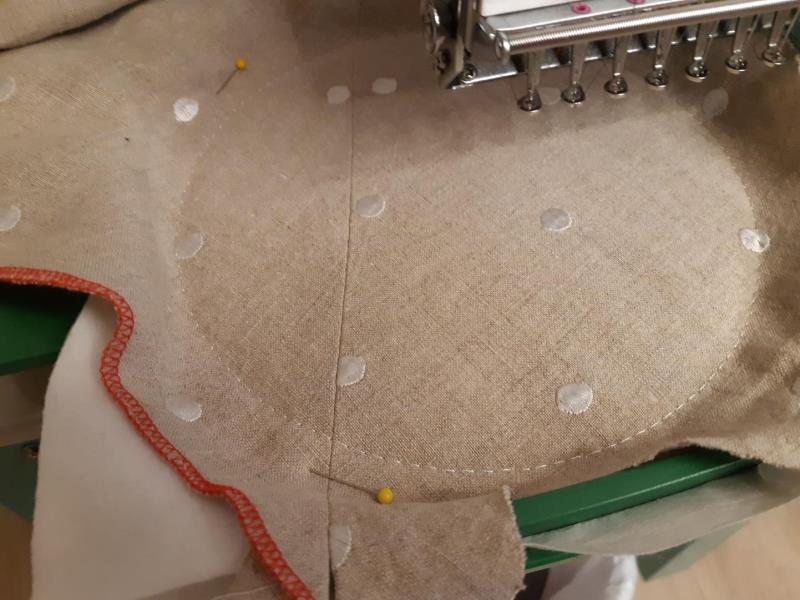
Stitch first color to join fabric and stabilizer.
(Click Image to Enlarge)
Step 3:
If it’s regular design – stitch up to the last thread. Next will be step 8
Step 4:
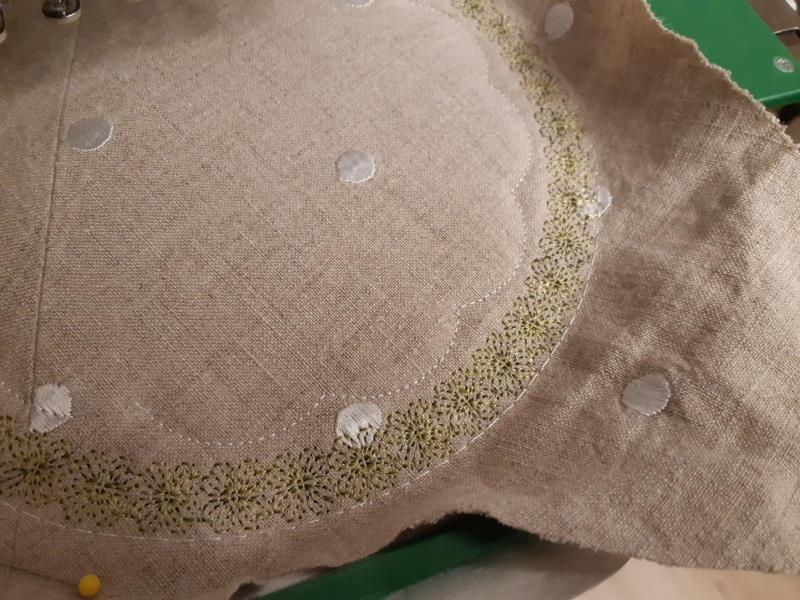
If design includes applique, stitch design up to see outline of the applique area. It’s means, you need to stop machine and apply applique fabric. The outline of the applique area should be covered by piece of applique fabric. If you do not want to do applique – just don’t do that. Applique fabric must be bigger than this area. No matter which thread color it will be stitched; it's going to be covered anyway
(Click Image to Enlarge)
Step 5:
Apply applique fabric (float) and secure in hoop by adhesive spray, pins or sticky tape.
(Click Image to Enlarge)
Step 6:
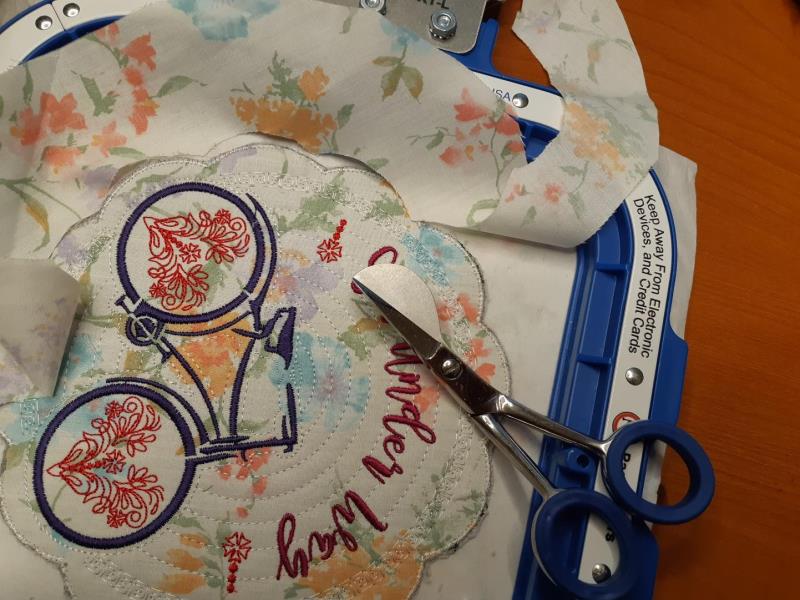
Continue to stitch design up to narrow zigzag. In Colors chart usually it’s shows as Red color. You can use any thread color you want; it's going to be covered anyway. Zigzag tacking the applique fabric down with other Coaster’s material and show area where need cut away the excess applique fabric. Remove hoop from the machine but do not unhoop anything. Cut extra applique fabric similar as shown on picture.
(Click Image to Enlarge)
Step 7:
Return the hoop to the machine. Continue stitching up to last color
(Click Image to Enlarge)
Step 8:
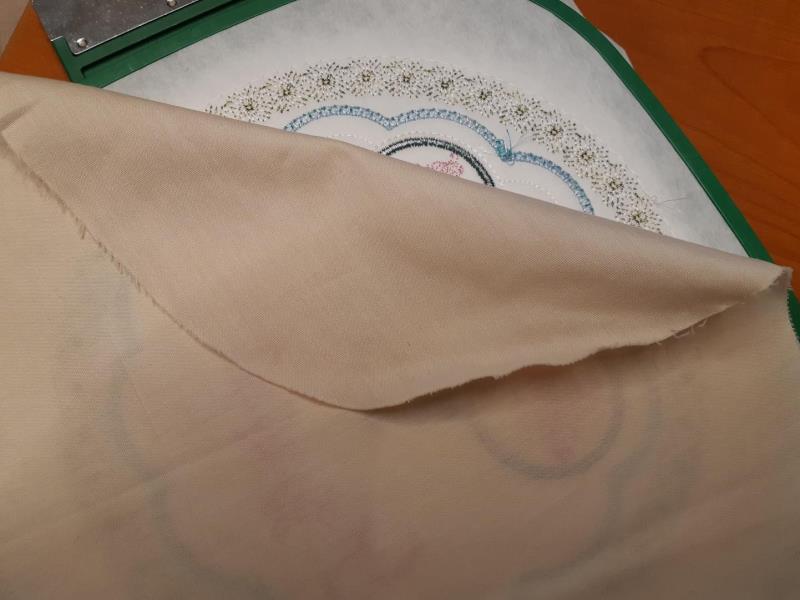
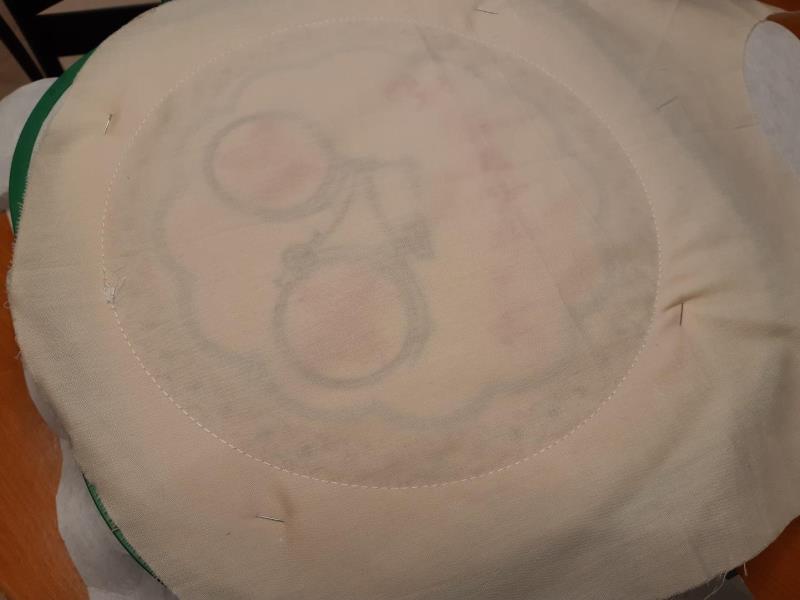
Remove hoop from the machine but do not unhoop anything. Turn the hoop over so the back of the hoop is facing up. Place your backing fabric over the coaster’s outline. You will need to hold the fabric in place using a temporary adhesive spray or pins. So, it does not pucker or bunch up.
(Click Image to Enlarge)
Step 9:
Return the hoop to the machine. Run machine and tack your backing fabric.
(Click Image to Enlarge)
Step 10:
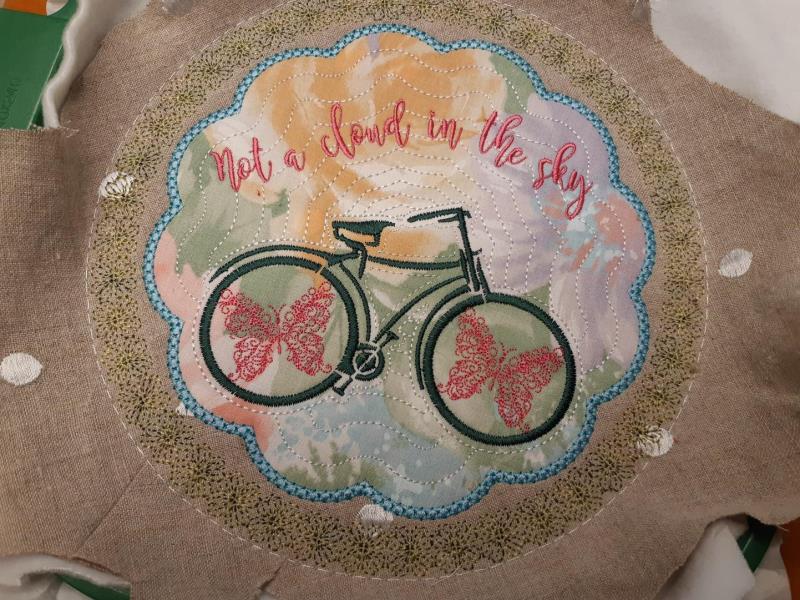
Remove the hoop from the machine and unhoop the finished embroidery. Carefully cut around the design leaving 5-7 mm for processing the row edge of the coaster with an oblique trim on the sewing machine or by hand.