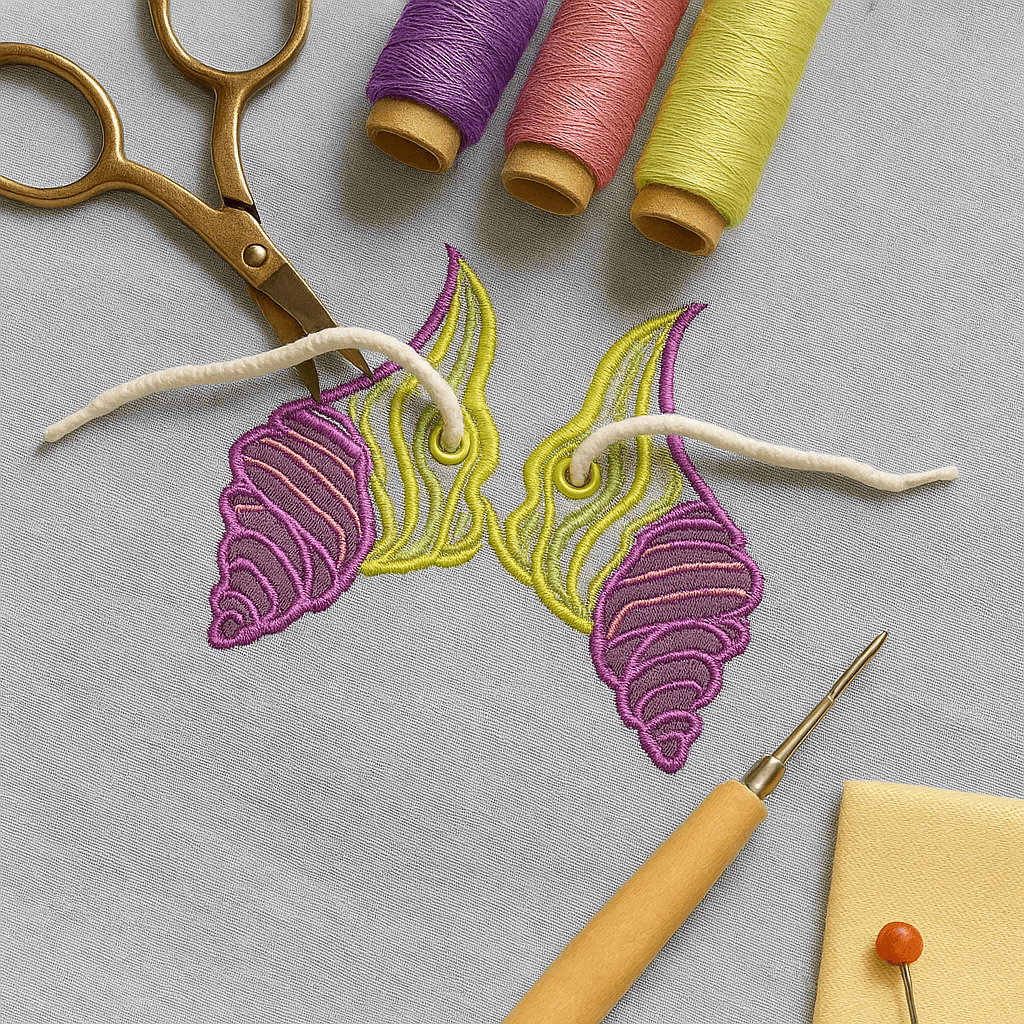
This in-the-hoop (ITH) embroidery project features a stunning sea shell design, adding a coastal charm to footwear. With intricate stitching and vibrant colors, it’s perfect for beach lovers looking to personalize their shoes with a unique, ocean-inspired
Hoop only the stabilizer your finished design will be on. Be sure to stabilize it just as you would for any kind of machine embroidery. In-The-Hoop projects do not require hooping of
the finished material, so only hoop the stabilizer.
Step 2:
Stitch the first color in the design which is the placement line for the fashion fabric.(Bright blue color in Colors Chart)
Step 3:
Place the fashion fabric over the stitched placement line.
Step 4:
Stitch the second color. This secures the fabric to the stabilizer. It will be narrow zigzag. (Dark Red in Colors Chart)
Step 5:
Cut away the excess fabric around stitched area.
Step 6:
Repeat this steps for Each applique object.
Step 7:
Stitch design up to the Bright blue color in the design.
Step 8:
Remove hoop from the machine but do not remove the stabilizer from the hoop.
Step 9:
Stitch the Bright blue color in the design which is the placement line for the backing fabric.
Step 10:
Apply backing and run machine and stitch Zigzag. (Dark red color in Colors Chart)
Step 11:
11. Carefully cut the fabric away from the design, close to the placement line on the back of the stitch out.
Step 12:
12. Fill a bobbin so that it matches the top color thread, then insert the full bobbin in the machine. Place the hoop back in the machine and stitch out the last color sequence.
Step 13:
Remove the hoop from the machine and unhoop the finished embroidery. Carefully cut around the design to remove the excess fabric. Avoid cutting the satin stitches that form the border around the design. Cut through the eyelets carefully to avoid cutting the satin stitches.
Step 14:
Your decor is ready, the shoelaces will be pulled up through these eyelets.