{{superHeaderAds.title}}
Live Chat
Embroidery Designs
Welcome, Embroiderer
Login
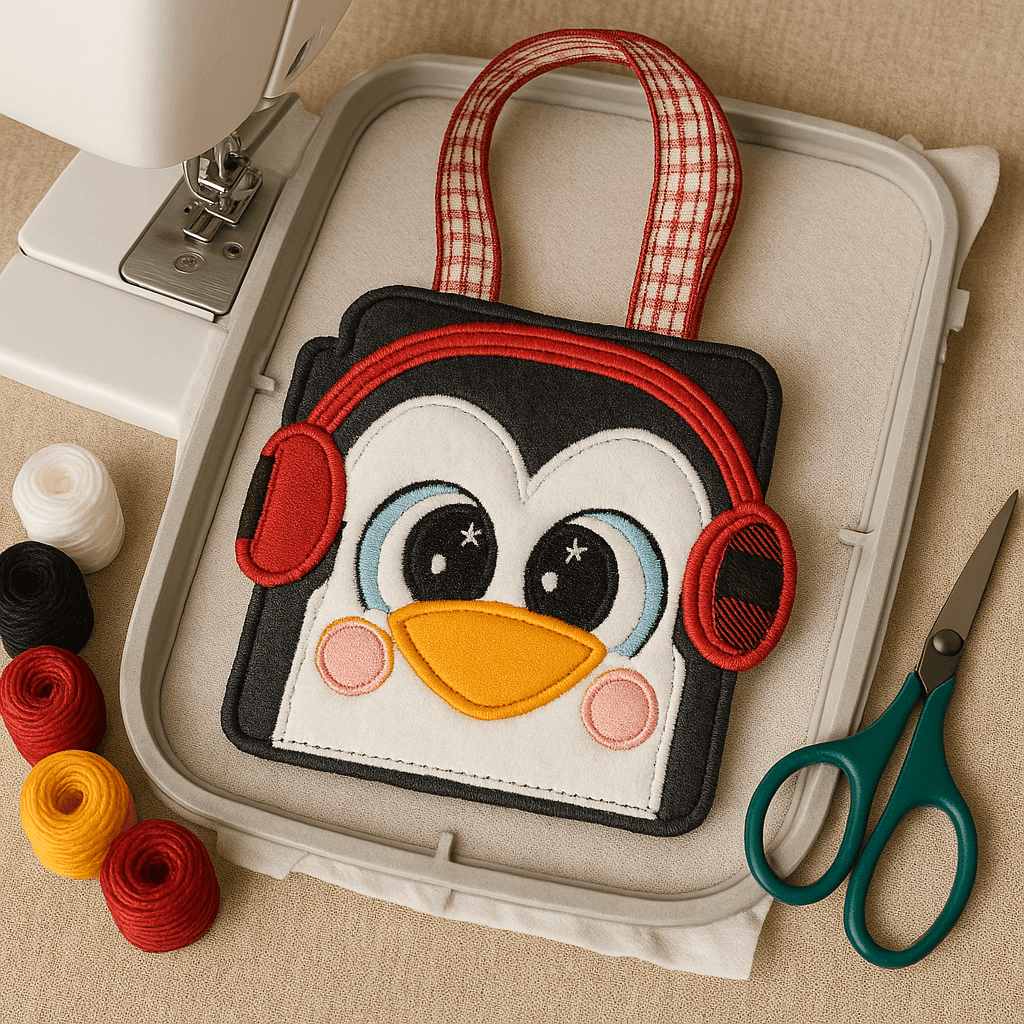
Cute ITH Penguin Bag Tag
{{mainImageAlt || (productInfo._source && productInfo._source.name) || ''}}

Cute ITH Penguin Bag Tag Embroidery Project

By   Sew Chic   on   May 12, 2025

PROJECT DETAILS

SKILL LEVEL
Beginner
TIME REQUIRED
01:00
Description

Stitch this Cute ITH Penguin Bag Tag in your embroidery hoop! A fun, beginner-friendly project featuring a cheerful penguin with headphones—perfect for bags, gifts, or holiday accessories. Includes digital files and instructions.

Project Preview Video


Preface:

© Broderie Dzhiboux. All rights reserved.
This project is officially licensed to ITH Boutique. All images, digitizing rights, step-by-step instructions, and project visuals are the exclusive property of Broderie Dzhiboux. Unauthorized reproduction or distribution is prohibited.

Materials
  • BOX:
  • 1 piece of fleece of 19x8cm for the box
  • 2 pieces of felt of 15x20cm
  • 1 piece for the face of 7x8cm
  • Small piece for the nose and cheeks
  • DECORATION:
  • 1 piece of fleece of 10x7cm
  • 2 piecesof red felt of 8x4cm
  • 2 pieces for ear cover 10x4cm high
  • Hot glue rifle, tape


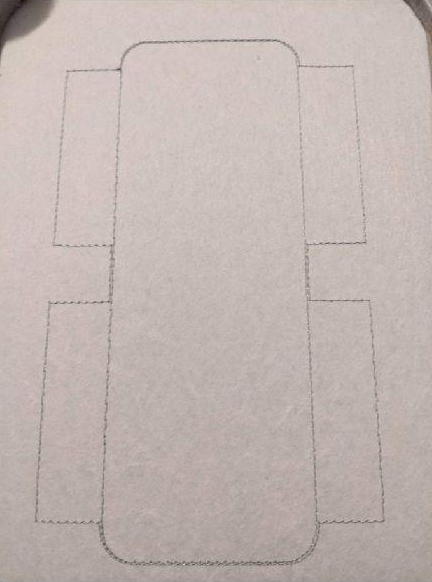
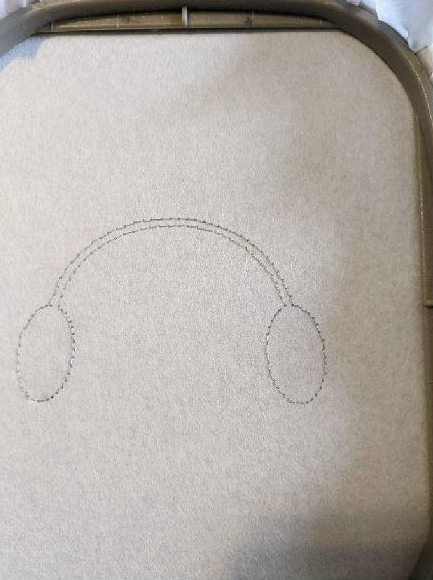
  • Step 1:

    The first seam is done on your support to tell you the location of your fabric

    (Click Image to Enlarge)


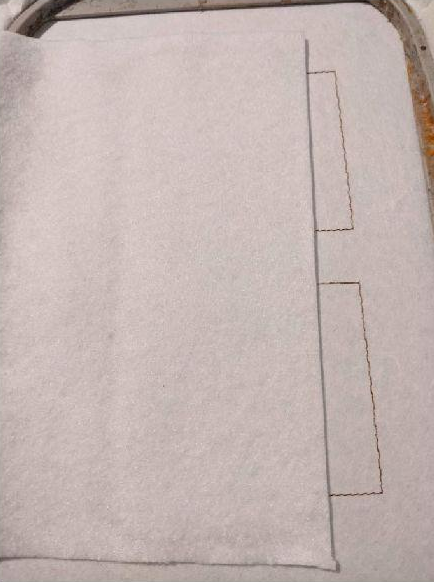
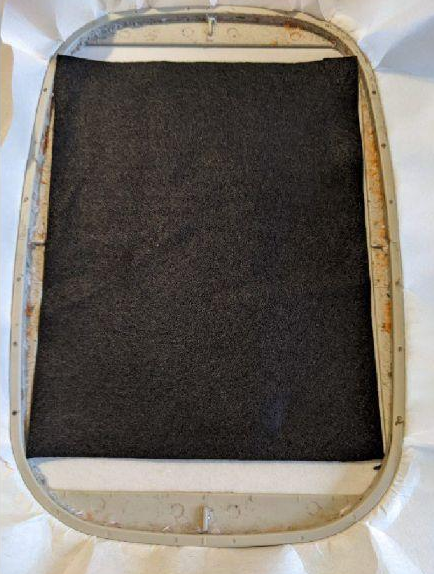
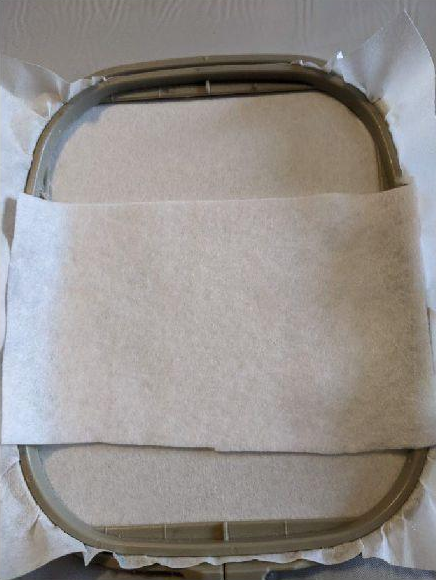
    Step 2:

    Put your fleece on the center part only

    (Click Image to Enlarge)


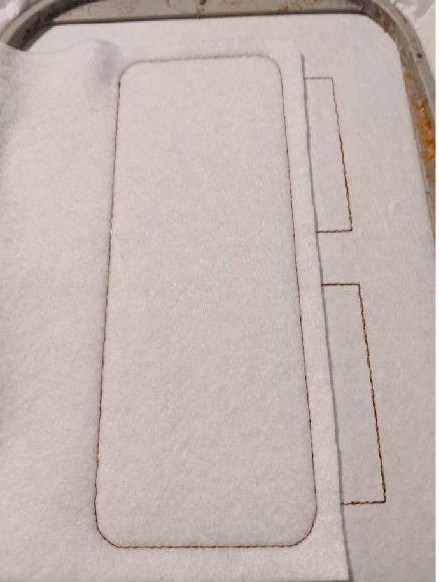
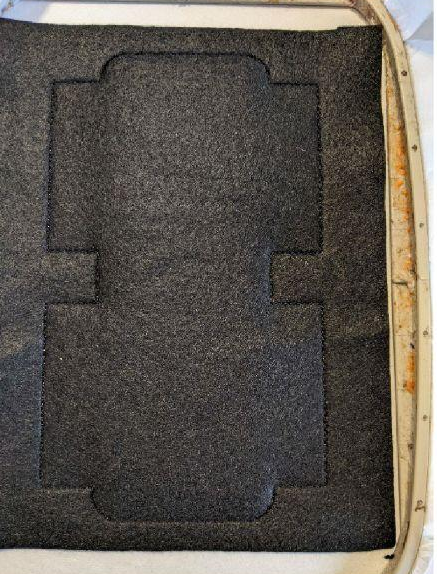
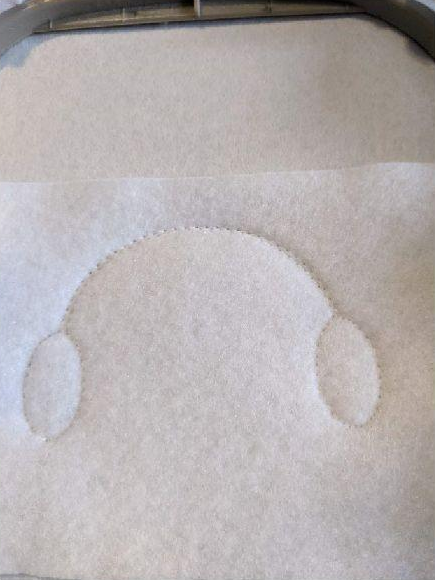
    Step 3:

    This seam will hold your fleece on your support

    (Click Image to Enlarge)


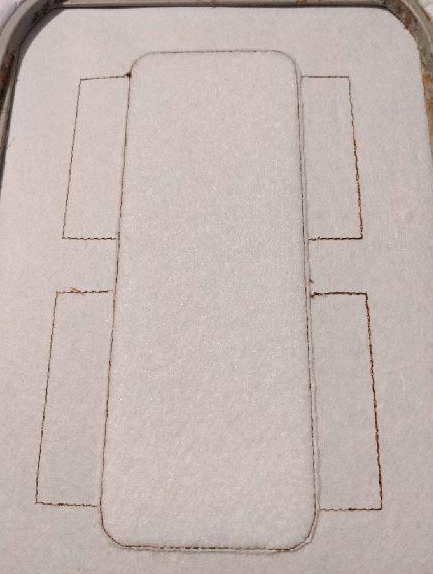
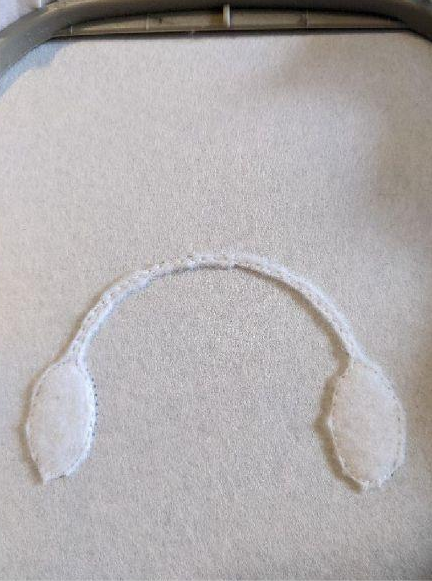
    Step 4:

    Remove excess fleece

    (Click Image to Enlarge)


    Step 5:

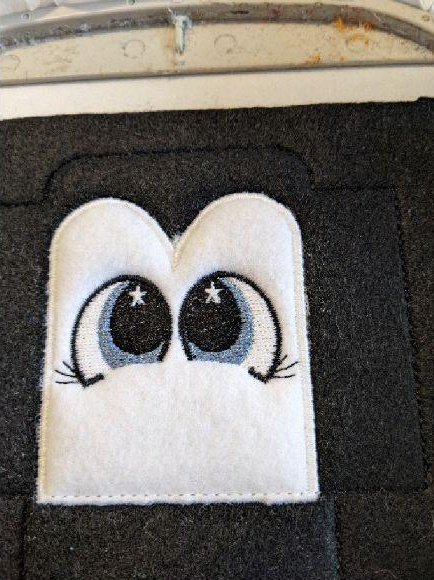
    Put your first piece of felt on the entire seam

    (Click Image to Enlarge)


    Step 6:

    This seam will hold your felt in place

    (Click Image to Enlarge)


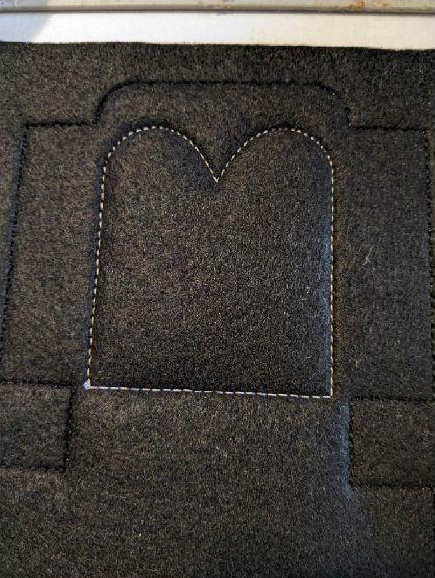
    Step 7:

    This seam tells you the location of your felt

    (Click Image to Enlarge)


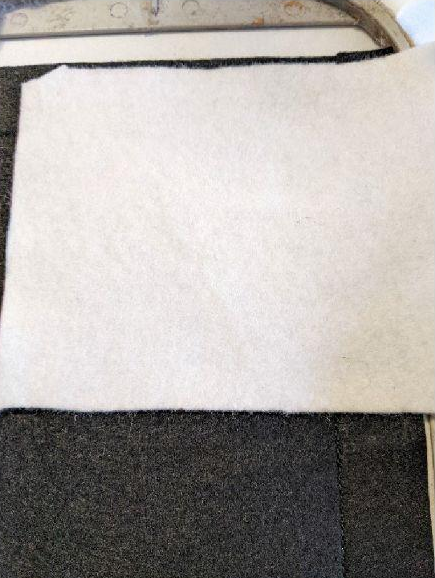
    Step 8:

    Put your felt on the seam

    (Click Image to Enlarge)


    Step 9:

    This seam will hold your felt in place


    Step 10:

    Remove excess tissue all around


    Step 11:

    Bumblebee and embroidery stitch

    (Click Image to Enlarge)


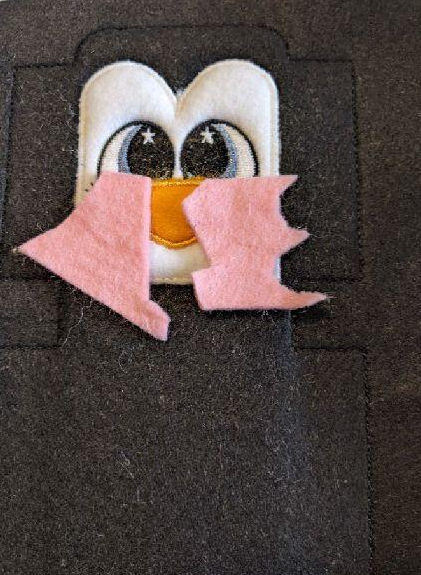
    Step 12:


    This seam tells you the location of your felt


    Step 13:

    Put your felt on the seam


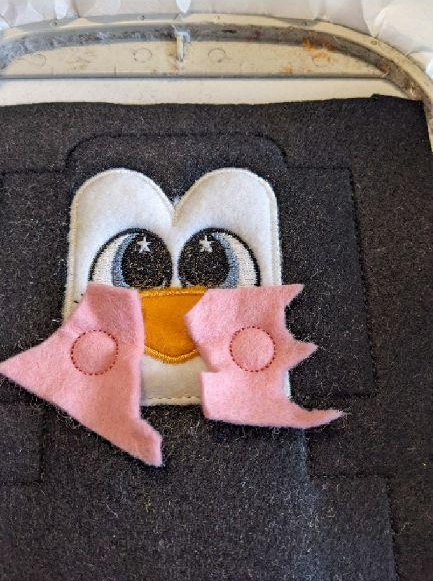
    Step 14:

    This seam will hold your felt in place

    (Click Image to Enlarge)


    Step 15:

    Remove excess tissue all around

    (Click Image to Enlarge)


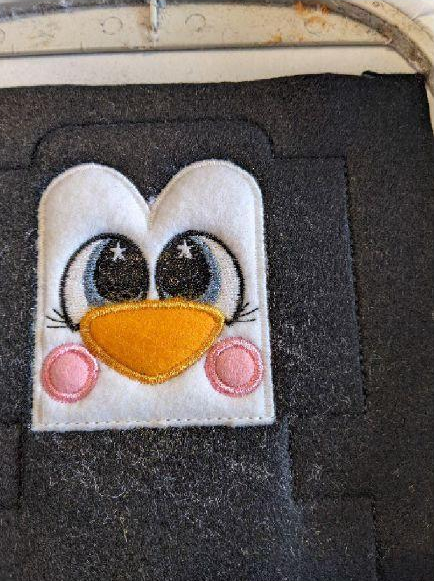
    Step 16:

    Bumblebee point


    Step 17:

    This seam tells you the location of your felt

    (Click Image to Enlarge)


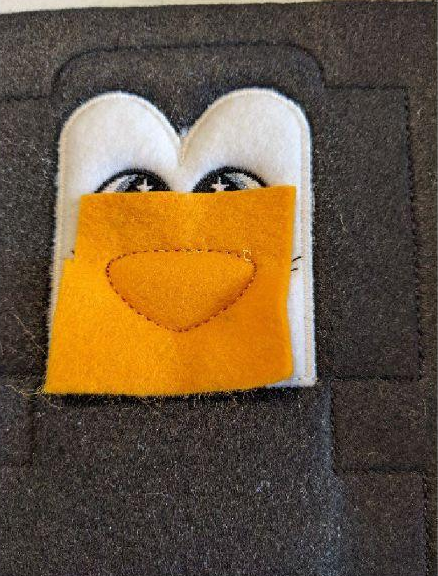
    Step 18:

    Put your felt on the seam

    (Click Image to Enlarge)


    Step 19:

    This seam will hold your felt in place

    (Click Image to Enlarge)


    Step 20:

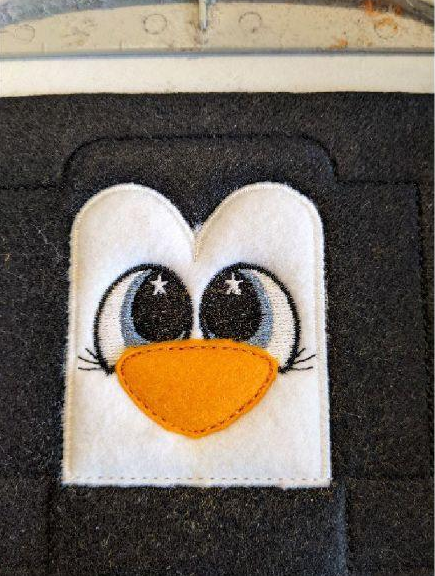
    Remove excess tissue all around

    (Click Image to Enlarge)


    Step 21:

    Bumblebee point

    (Click Image to Enlarge)


    Step 22:

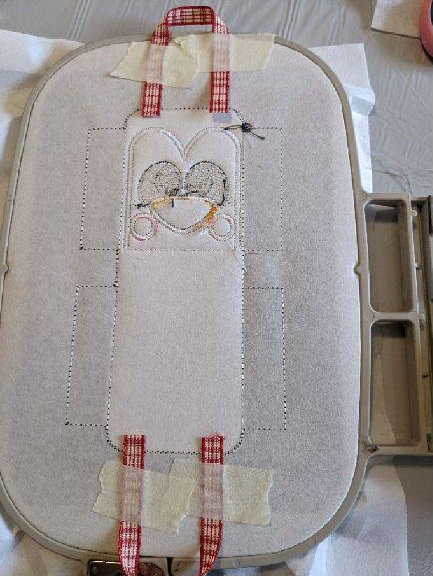
    Set up your ribbons for handles, you need to put your ribbon on the back of your frame. Pay attention to the meaning of your ribbon

    (Click Image to Enlarge)


    Step 23:

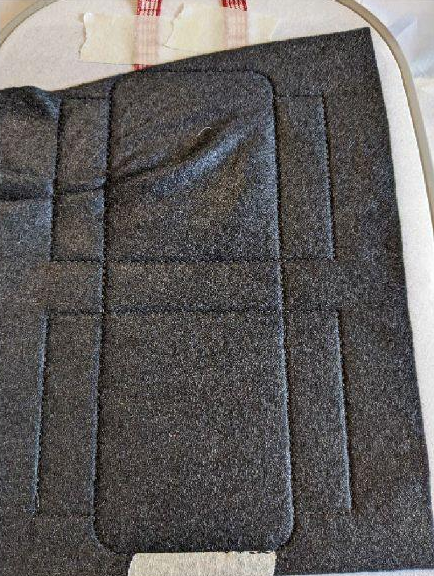
    Put your?nd piece of felt on the back and do the sewing. Well hold in place, you can see here that my felt was not well maintained

    (Click Image to Enlarge)


    Step 24:

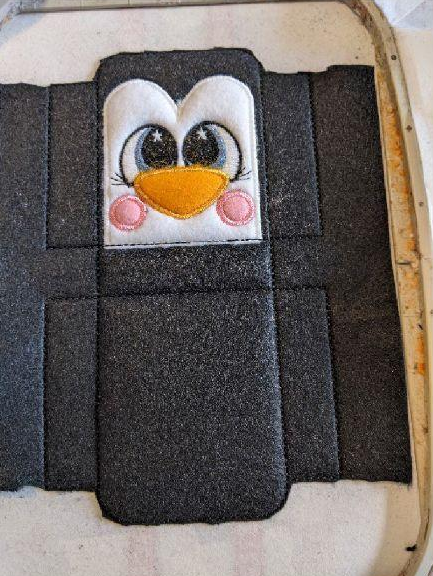
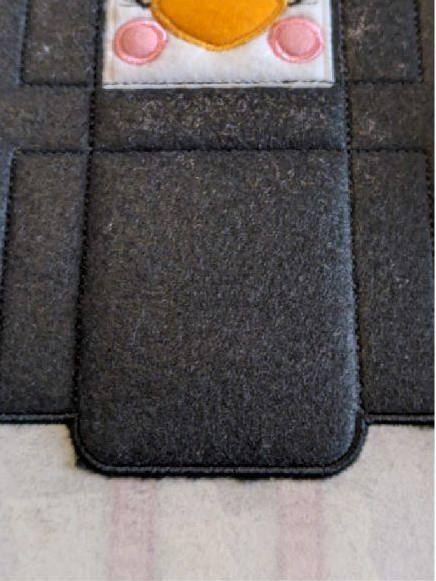
    Cut the excess fabric on the top and bottom of the bag only on the front and back of the frame

    (Click Image to Enlarge)


    Step 25:

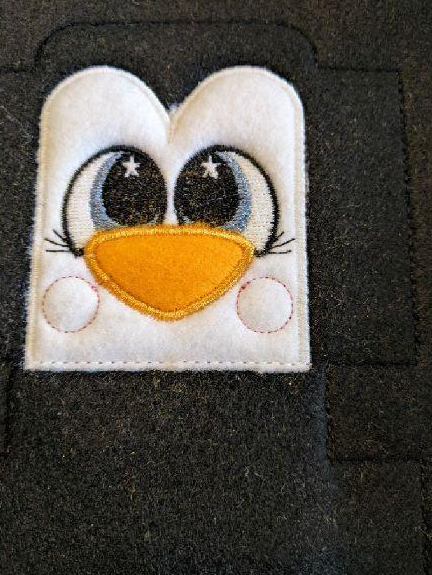
    Making the bumblebee point.

    Get out of your frame, cut the excess fabric all around

    (Click Image to Enlarge)


    Step 26:

    DECORATION BAG PINGUOIN

    The first seam is done on your support to tell you the location of your fleece

    (Click Image to Enlarge)


    Step 27:

    Put your fleece on the seam

    (Click Image to Enlarge)


    Step 28:


    This seam will hold your fleece on your support

    (Click Image to Enlarge)


    Step 29:

    Cut off excess fleece all around

    (Click Image to Enlarge)


    Step 30:

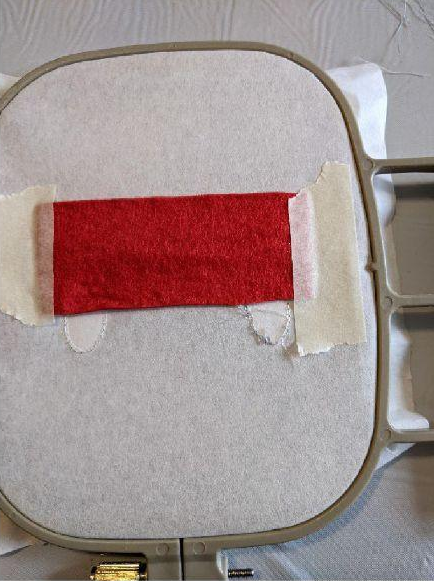
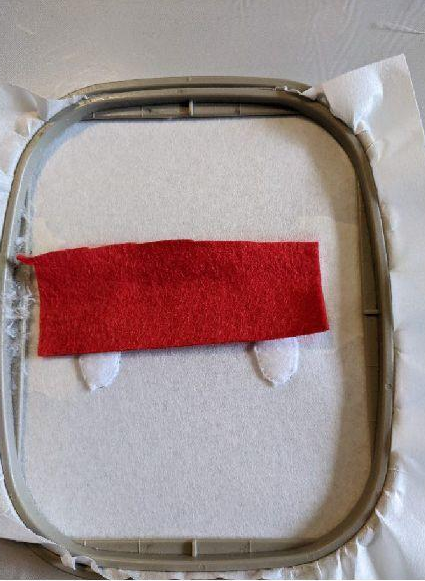
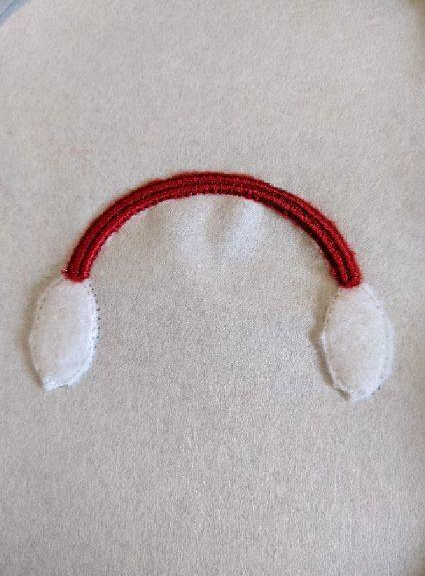
    Put your red felt on the back of the frame, hold well in place

    (Click Image to Enlarge)


    Step 31:


    Put your piece of red felt on the front of your work

    (Click Image to Enlarge)


    Step 32:

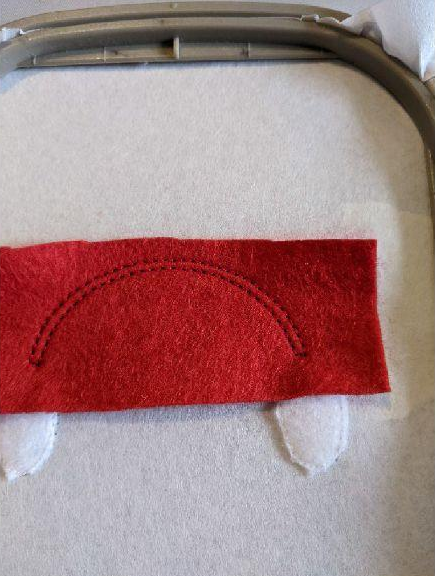
    This seam will join your 2 felts together

    (Click Image to Enlarge)


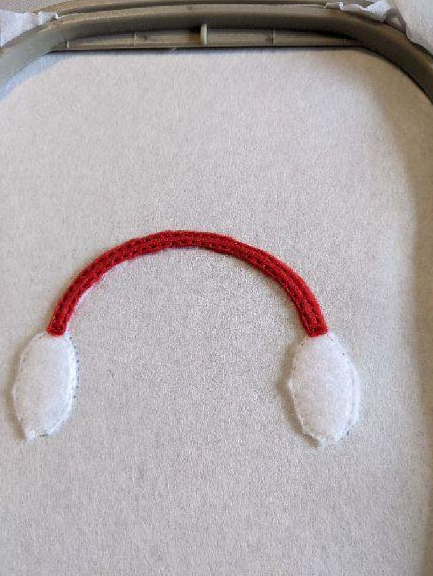
    Step 33:

    Remove excess felt all the way around on the front and back of your work

    (Click Image to Enlarge)


    Step 34:

    Bumblebee Points

    (Click Image to Enlarge)


    Step 35:

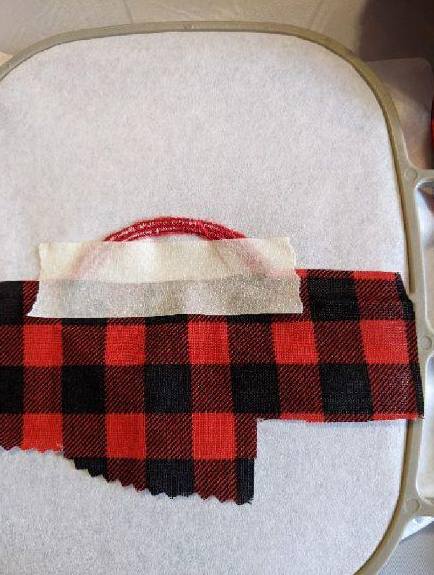
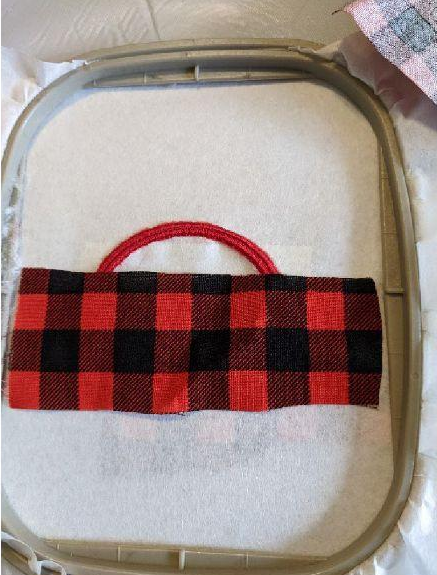
    Put your fabric for the buckle on the back of your frame taking care to hold well

    (Click Image to Enlarge)


    Step 36:

    Put your fabric on the front of your work, on the buckle only make the next seam that will bring together the 2 pieces together

    (Click Image to Enlarge)


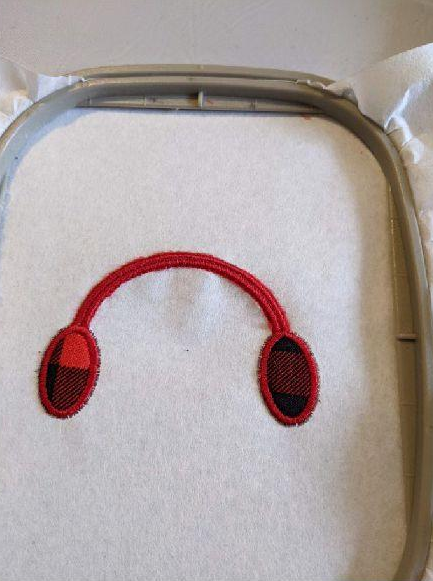
    Step 37:

    Cut off excess fabric

    (Click Image to Enlarge)


    Step 38:

    Bumblebee point

    (Click Image to Enlarge)


    Step 39:

    ASSEMBLY

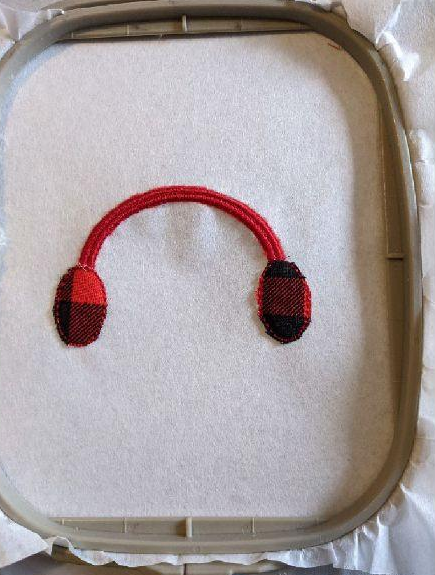
    With your hot glue rifle, stick the items on your bag, taking care not to stick to the sides of the bag

    (Click Image to Enlarge)


    Step 40:

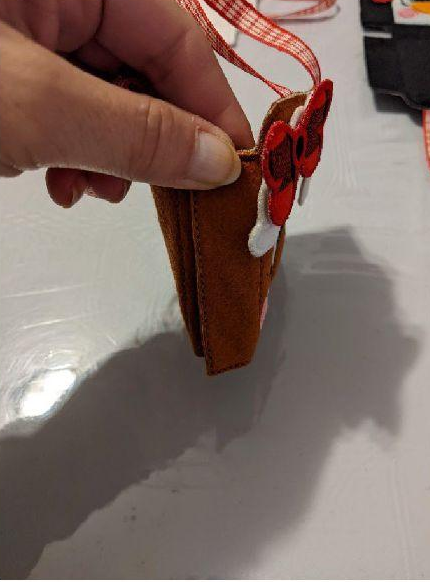
    Glue the sides together, the front side of the bag sticks to the back side of the bag for a nice finish

    (Click Image to Enlarge)


    Step 41:
    (Click Image to Enlarge)

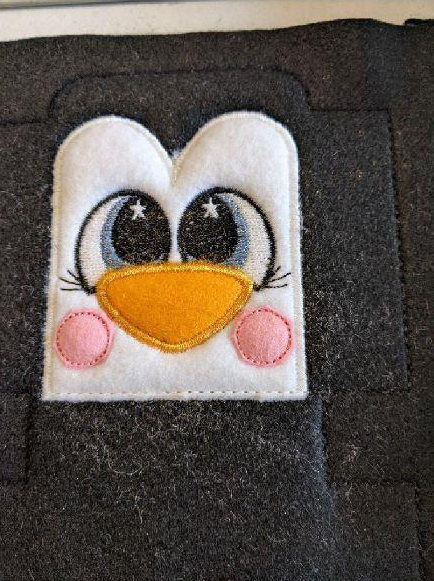
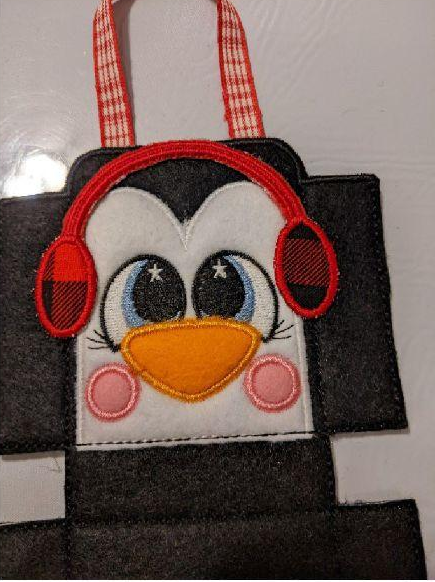
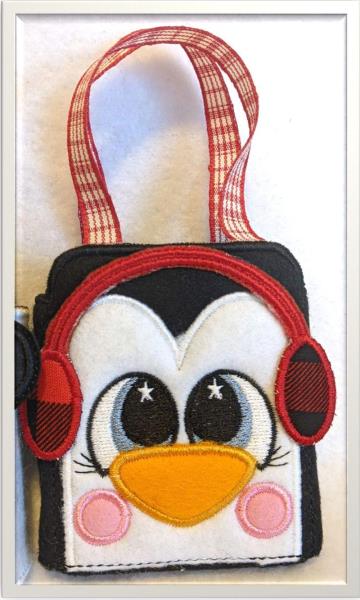
    Here is the final product.

    Meet the Author: Sew Chic
    Sew Chic
    Embroidery Enthusiast
    More From This Author
    Link is Broken, Please check the URL
    Exclusive Embroidery Offers!
    Copyright © {{ currentDate | date:'yyyy'}} - EmbroideryDesigns.com