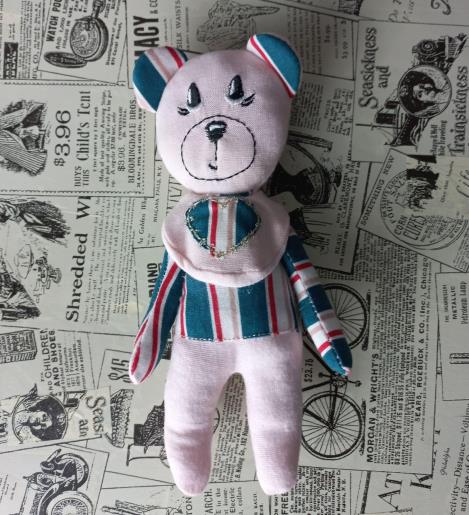
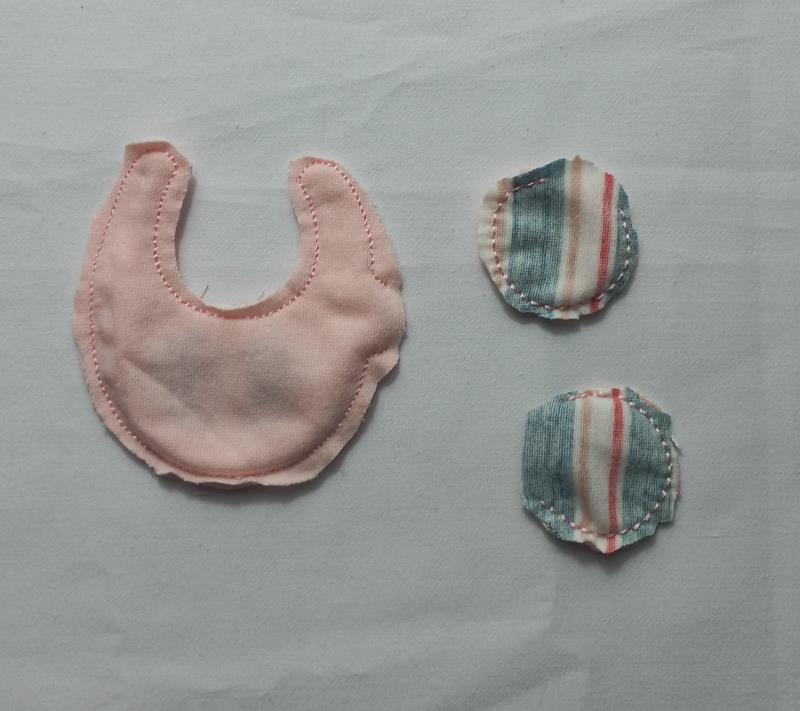
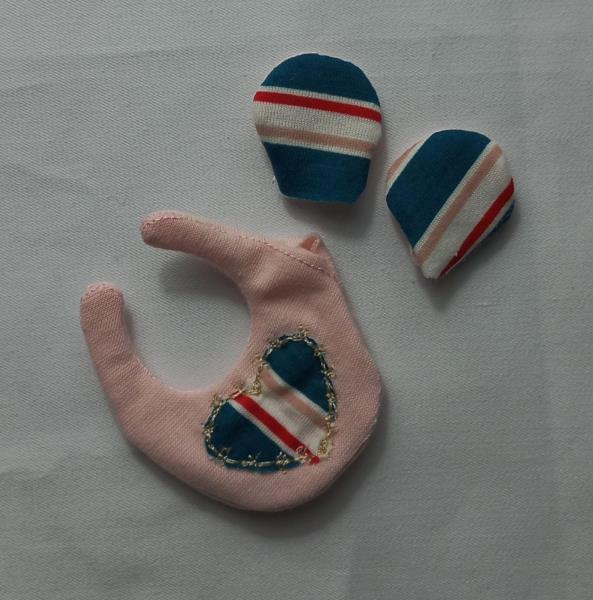
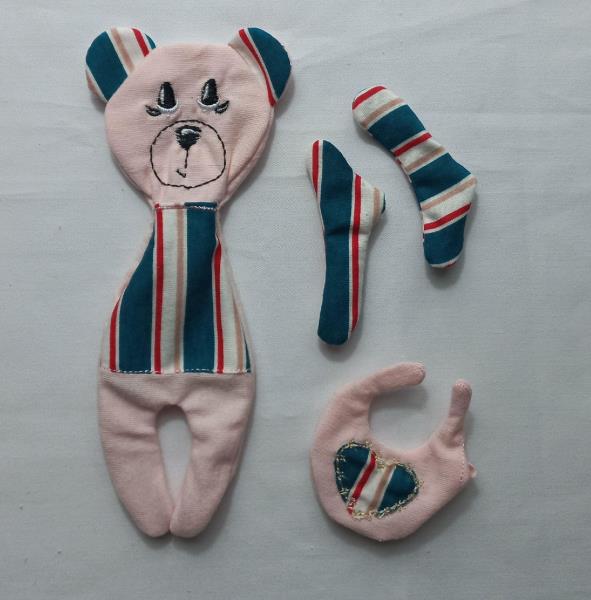
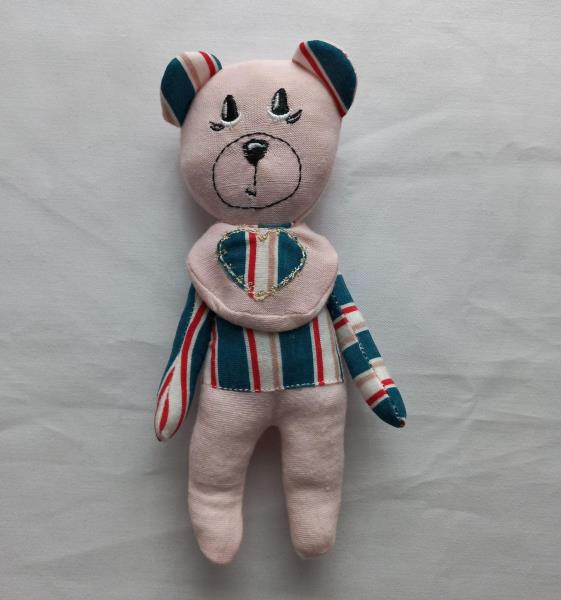
The best ITH Teddy Bicolore ever! ITH Teddy Bicolore is made with fabric, just take all the work out of the project. Make these in less than 60 minutes.
4” x 4 - 5” x 7” - 6” x 10” or an extra-large embroidery hoop.
Fabric in your favorite colors.
2.5-ounce Cut-away Stabilizer.
Repositionable adhesive spray
Fabric scissors
Final Product: What You Will Create
Step 1:
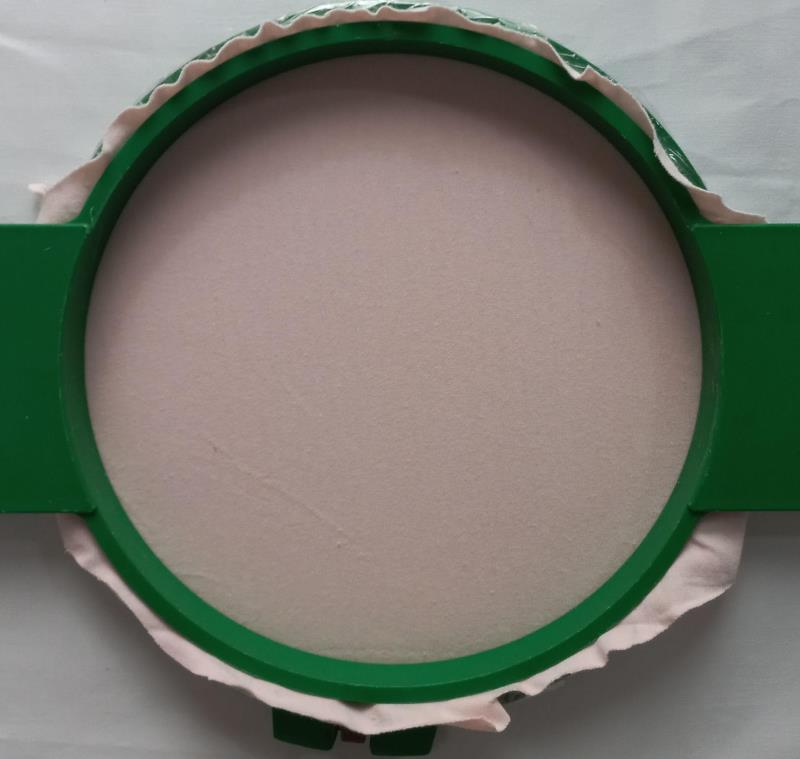
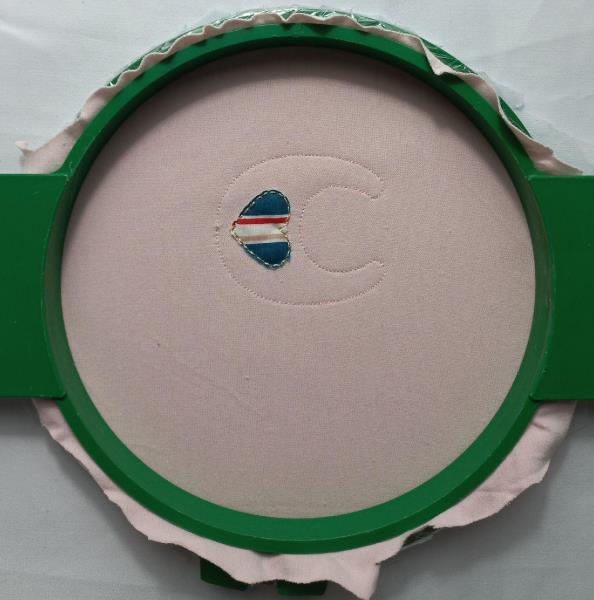
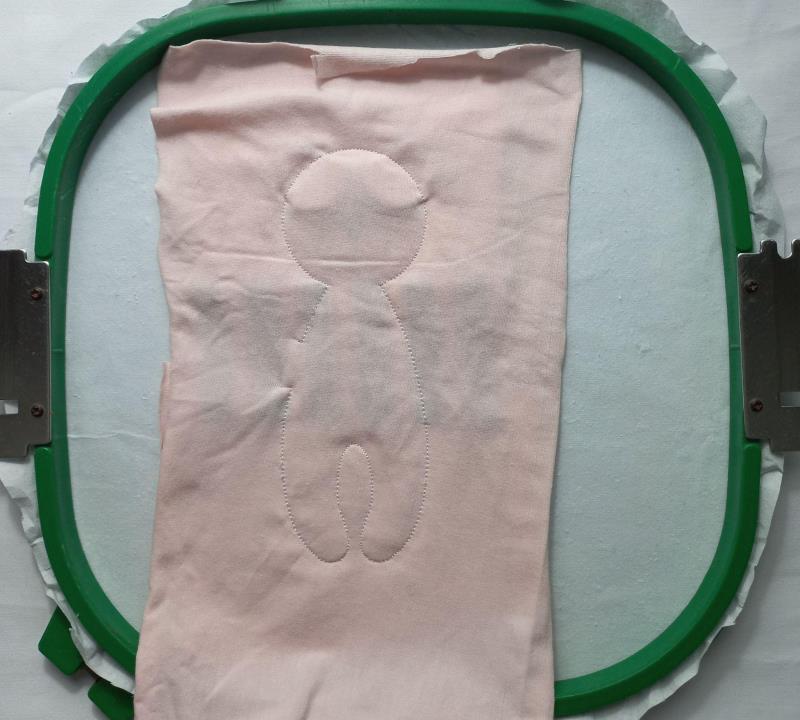
For the Bib and Ears part tautly hoop pink fabric in your embroidery hoop and run color-stop 1 and color-stop 2 as a placement line.
(Click Image to Enlarge)
Step 2:
Remove the hoop from the machine, do not unhoop. Cover the placement line with printed fabric with the help of the repositionable adhesive spray, and run color-stop color-stop 3. Cut off the excess fabric and run color-stop 4.
(Click Image to Enlarge)
Step 3:
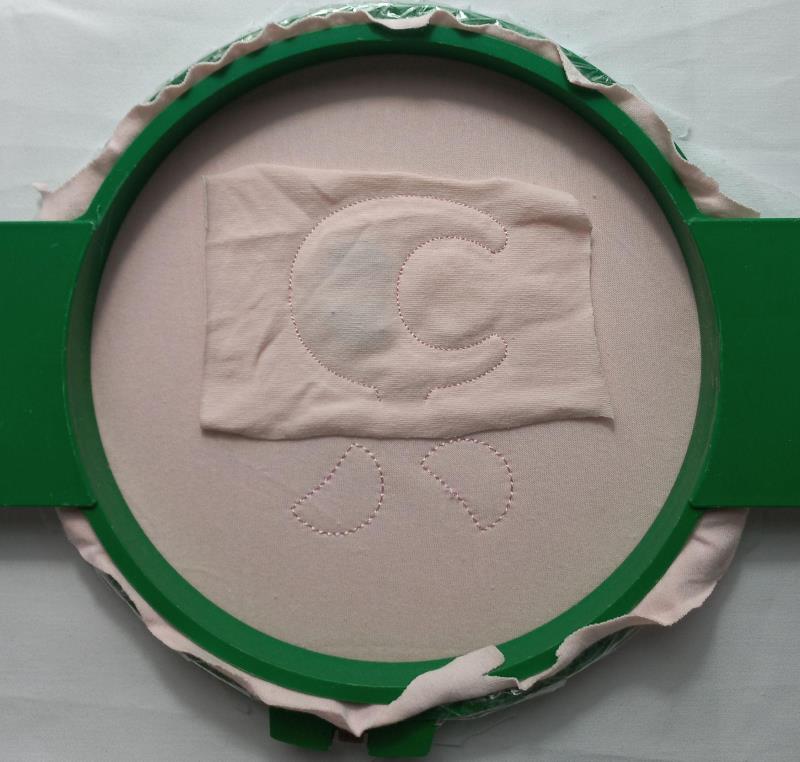
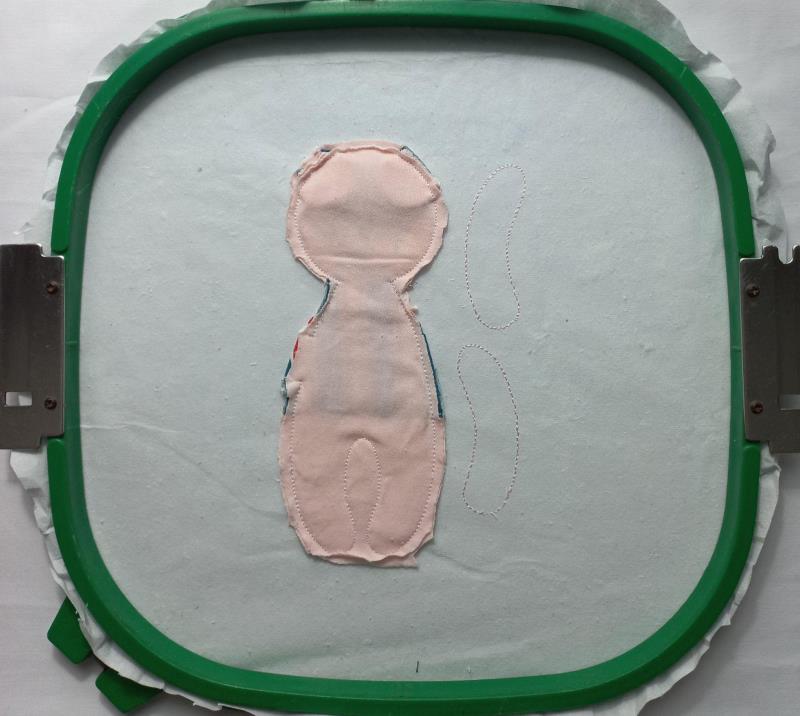
Run color-stop 4 as a placement line. Cover the placement line with pink fabric with the help of the repositionable adhesive spray. Run color-stop 5 and run color-stop 6 as a placement line.
(Click Image to Enlarge)
Step 4:
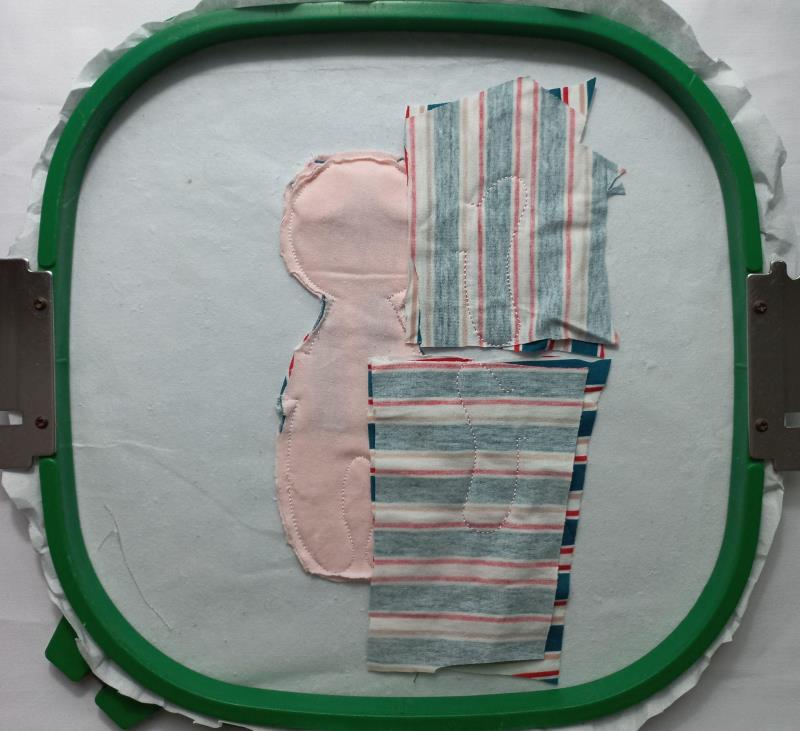
Remove the hoop from the machine, do not unhoop. Cover the placement line with printed fabric with the help of the repositionable adhesive spray, and run color-stop 7. Cut off the excess fabric.
Step 5:
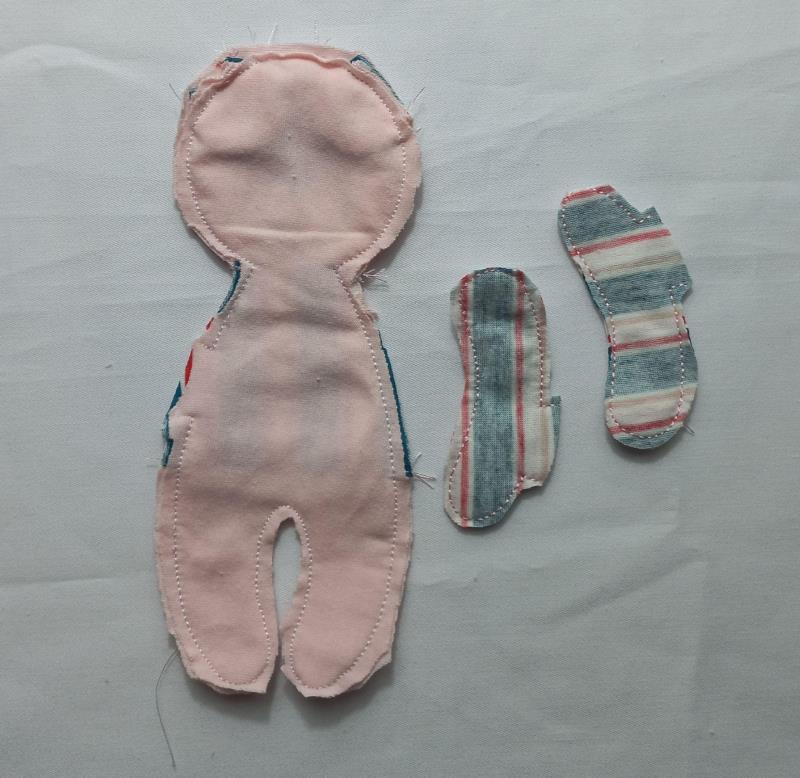
Remove the project from the hoop and cut the outline with sharp scissors leaving a homogeneous margin.
(Click Image to Enlarge)
Step 6:
Turn the pieces inside out like a sock. Save them for later.
(Click Image to Enlarge)
Step 7:
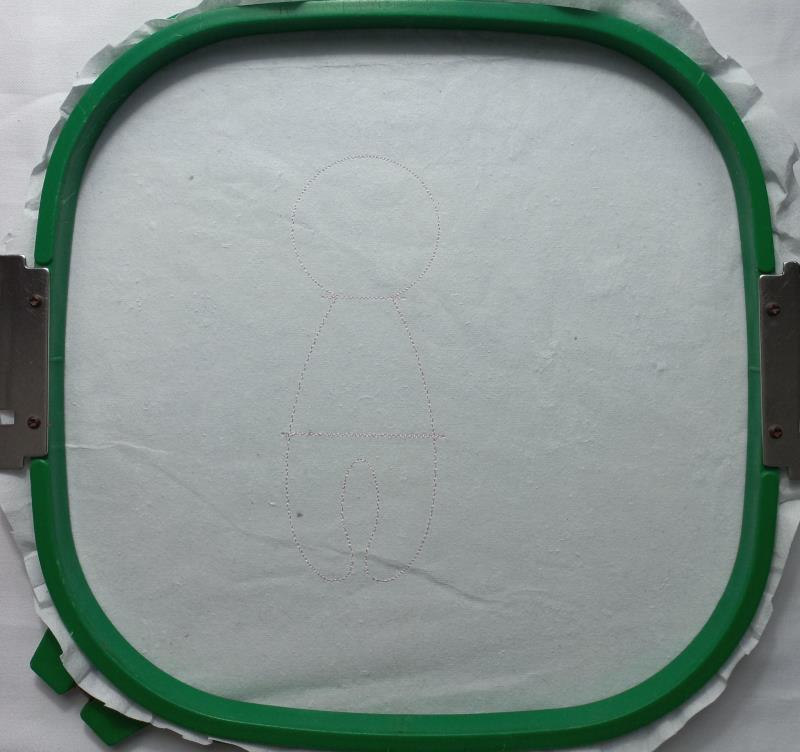
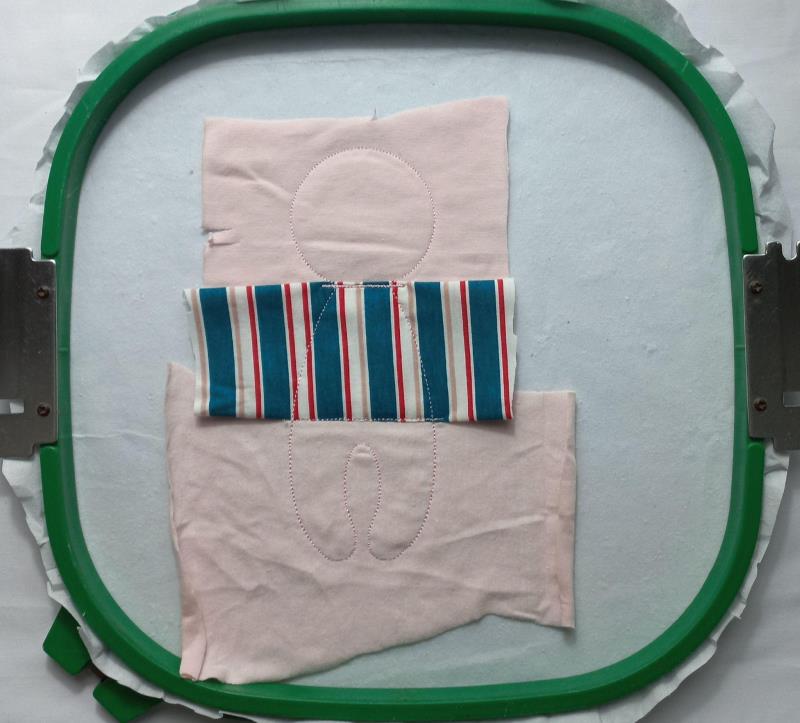
For the Teddy part tautly hoop 2.5-ounce cutaway stabilizer in your embroidery hoop and run color-stop 1 through color-stop 3 as a placement line.
(Click Image to Enlarge)
Step 8:
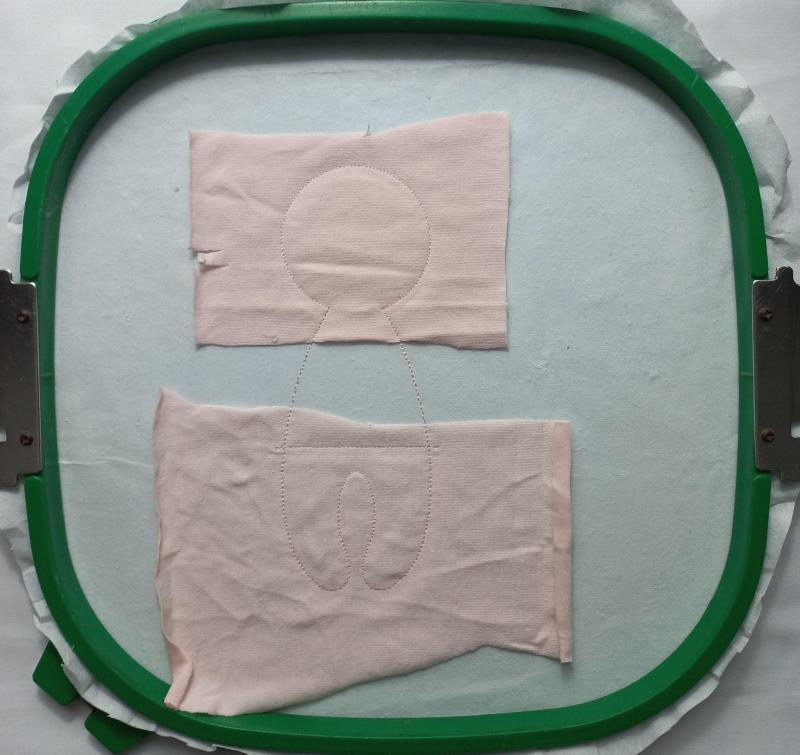
Remove the hoop from the machine, do not unhoop. Cover the top and the bottom of the placement line with pink fabric with the help of the repositionable adhesive spray and repeat color-stop 1 through color-stop 3
(Click Image to Enlarge)
Step 9:
Remove the hoop from the machine, do not unhoop. Cover the center of the placement line with printed fabric with the help of the repositionable adhesive spray, and run color-stop 4 through color-stop 6.
(Click Image to Enlarge)
Step 10:
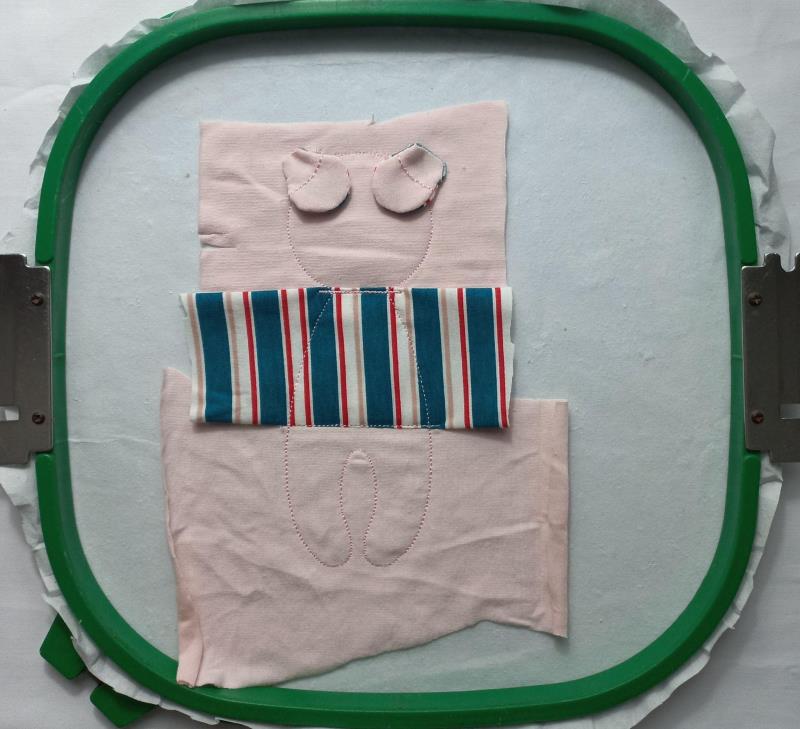
Place the pieces of the ears that we had saved on the guidelines, as seen in the image, and run color-stop 7.
(Click Image to Enlarge)
Step 11:
Cut off the excess fabric, and run color-stop 6 as a placement line.
(Click Image to Enlarge)
Step 12:
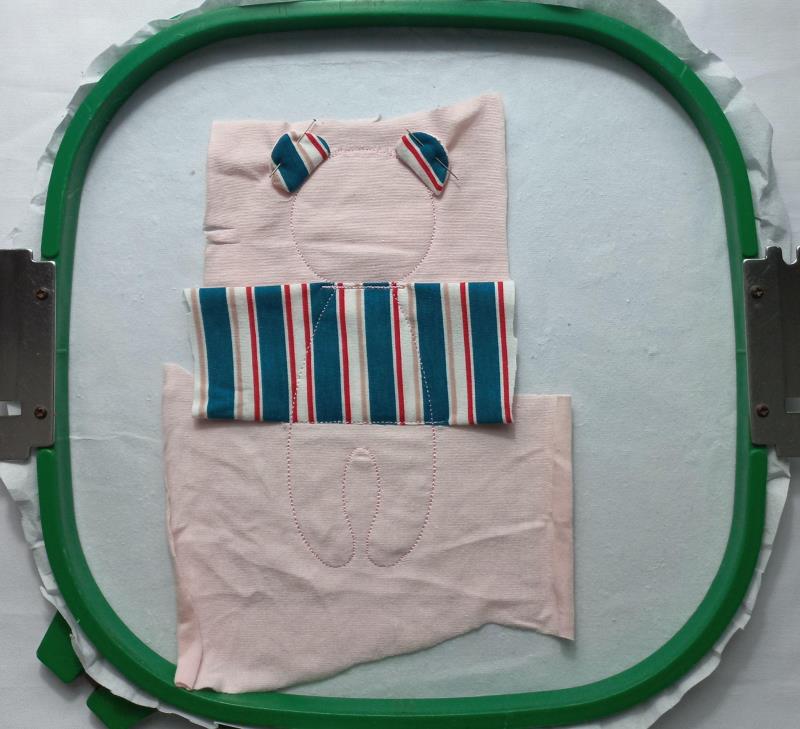
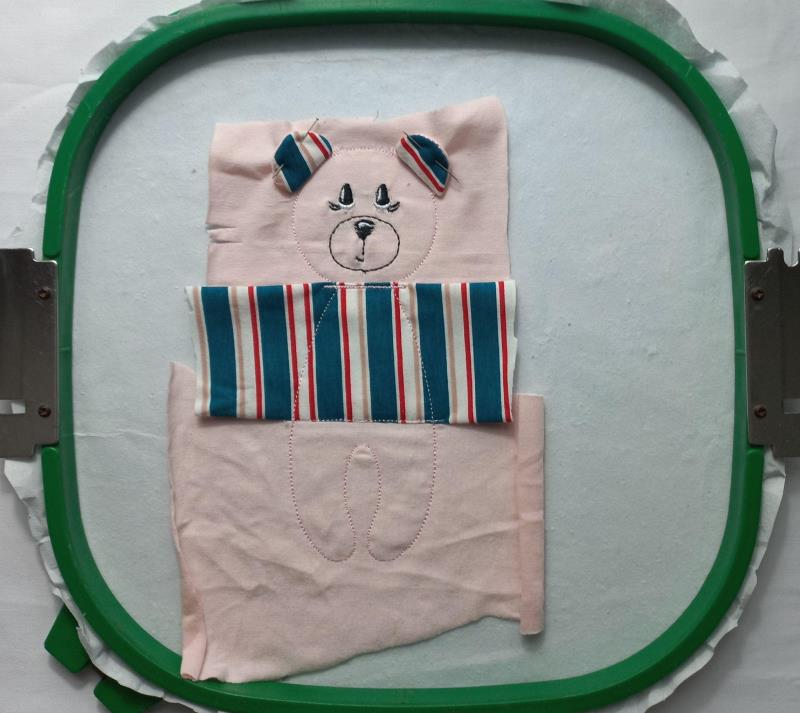
Fold the ears up as shown in the image, hold them with the help of pins and run color-stop 8 through color-stop 10.
(Click Image to Enlarge)
Step 13:
Remove the hoop from the machine, do not unhoop. Cover the project with pink fabric with the help of the repositionable adhesive spray, and run color-stop 11.
(Click Image to Enlarge)
Step 14:
Cut off the excess fabric and run color-stop 12 as a placement line.
(Click Image to Enlarge)
Step 15:
Remove the hoop from the machine, do not unhoop. Cover the project with printed fabric with the help of the repositionable adhesive spray, and run color-stop 13.
(Click Image to Enlarge)
Step 16:
Remove the project from the hoop and cut the outline with sharp scissors leaving a homogeneous margin.
(Click Image to Enlarge)
Step 17:
Turn the pieces inside out like a sock.
(Click Image to Enlarge)
Step 18:
Fill the pieces with wadding and join the pieces with the help of a needle and thread or some type of textile glue as they are arranged in the image.
Have fun doing this beautiful project.