





PROJECT INSTRUCTIONS
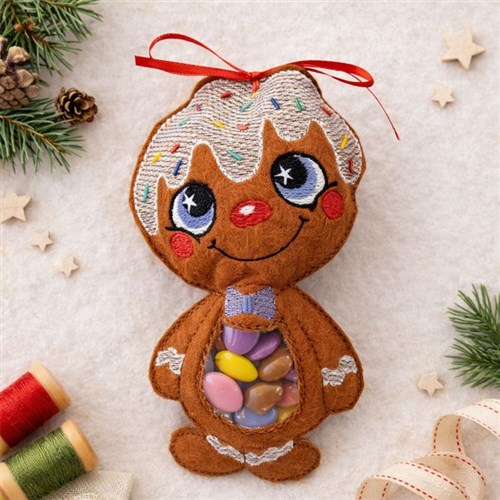


PROJECT INSTRUCTIONS

MR. GINGERBREAD Embroidery Project
By
Embroidery Diva
on
November 11, 2024
Description
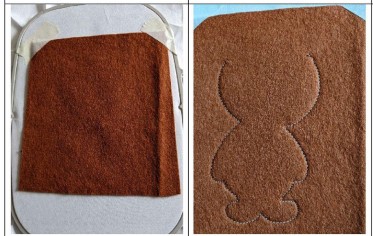
The Mr. Gingerbread is a festive, embroidered piece featuring a cheerful gingerbread man design, perfect for adding holiday cheer to your home.
Step
of
Materials
Project Preview Video

ITH Gingerbread Candy Holder
$12.99
$6.50
Circle Price: $6.35

Cut Away Stabilizer - 2.5 Oz wt.
$8.94
Circle Price: $8.05

Cut Away Stabilizer - 2 oz wt.
$8.52
Circle Price: $7.67

|
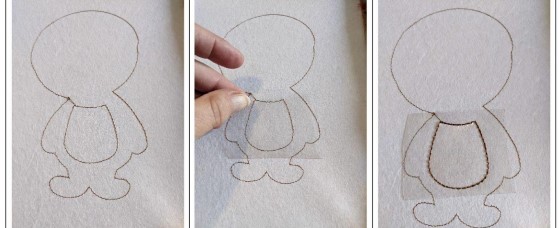
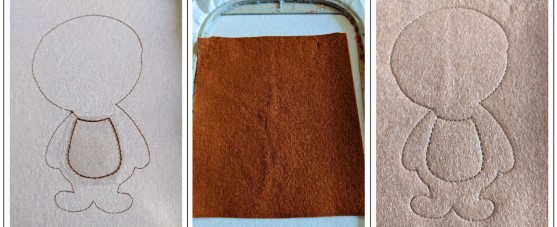
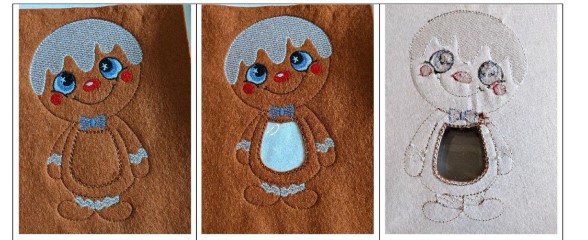
Projects You May Like
Meet the Author:
Embroidery Diva

I am a passionate embroidery enthusiast who has been stitching since I was a young girl. I developed a love for embroidery from my grandmother, who taught me how to stitch basic designs. Over time, my love for embroidery grew and I began experimenting with more complex designs and techniques.
Feedback
Characters Remaining
Please Login to Submit a Feedback
Invalid Characters, Please enter a valid Comment
Please enter a valid Comment
Reviewed On
Link is Broken, Please check the URL