PROJECT INSTRUCTIONS


PROJECT INSTRUCTIONS

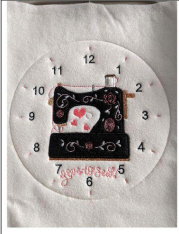
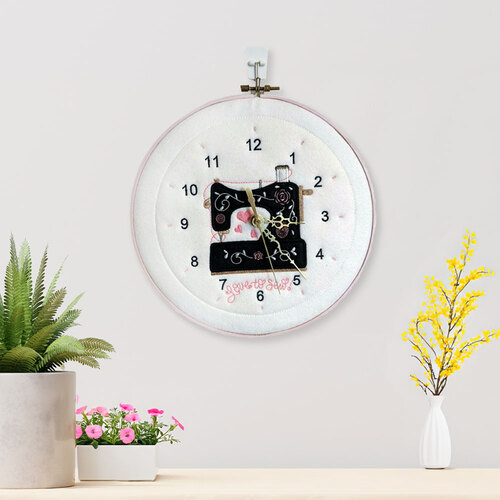
Timeless Stitches: The Sewing Machine Clock In The Hoop Embroidery Embroidery Project
By
Sew Chic
on
November 11, 2024
PROJECT DETAILS
SKILL LEVEL
Some Experience
TIME REQUIRED
00:45
Description
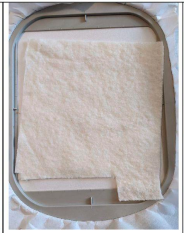
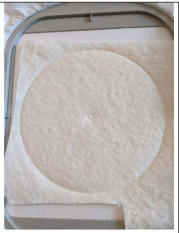
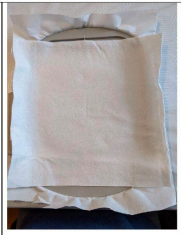
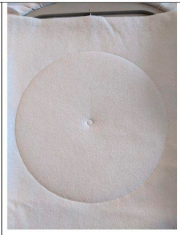
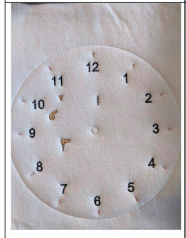
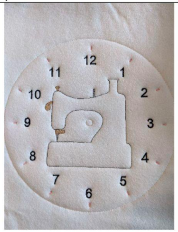
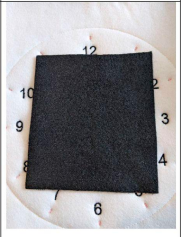
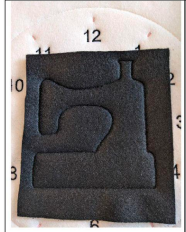
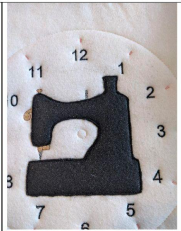
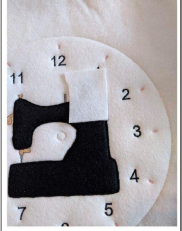
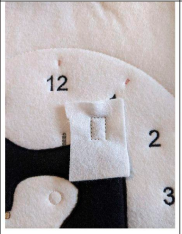
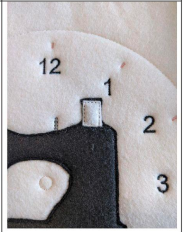
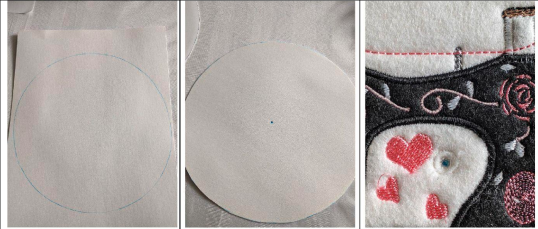
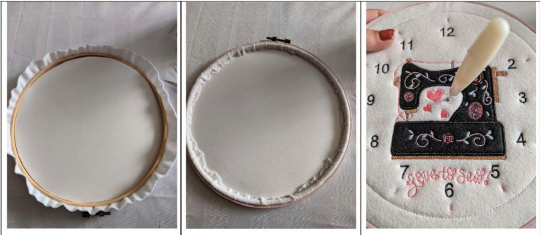
A creative clock project incorporating sewing techniques to stitch numbers and designs onto a fabric.
Project Preview Video

QUICK VIEW
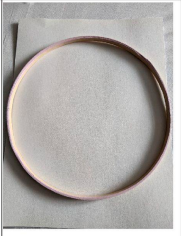
ITH Sewing Machine Clock
$12.99
$6.50
Circle Price: $6.50

Projects You May Like
Meet the Author:
Sew Chic  Embroidery Enthusiast Feedback Characters Remaining
Please Login to Submit a Feedback
Invalid Characters, Please enter a valid Comment
Please enter a valid Comment
Reviewed On
Link is Broken, Please check the URL
Exclusive Embroidery Offers!
follow us
Copyright © {{ currentDate | date:'yyyy'}} - EmbroideryDesigns.com
GET 50% OFF!
|