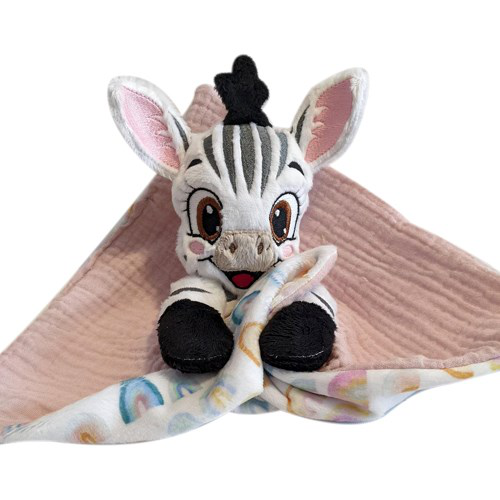
Zebra Cover 1-Ears and mane, 2 pieces of 4x6cm high in black, 2 pieces of 11x7cm high in white 2-The head: 2 pieces of 11x11cm in white 3- The arms: 1 piece of 22x8cm of white color and 1 piece of 22x6cm high
The first seam is done on your tearable support Once this seam is finished, take your first piece of fabric and put the reverse on your support
Step 2:
(Click Image to Enlarge)
Make the 2nd seam, this seam will hold your fabric on your support Then put your 2nd piece of fabric, place against place.
Step 3:
(Click Image to Enlarge)
Make the last seam to unite your 2 pieces
Step 4:
(Click Image to Enlarge)
This seam is done on your support to tell you the location of your fabric
Step 5:
Put your first piece of fabric on the seam and water-soluble support, taking care to hide the seam well
Step 6:
(Click Image to Enlarge)
Make the seam that will hold your fabric on the support. Make the embroidery stitches Once these 2 steps are completed, put your 2nd piece of fabric, place against place
Step 7:
(Click Image to Enlarge)
Make the last seam that will sew your 2 pieces of fabric together.
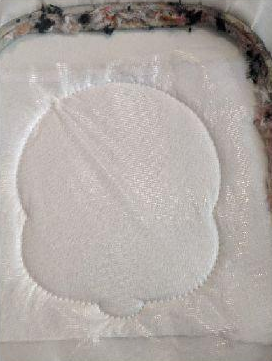
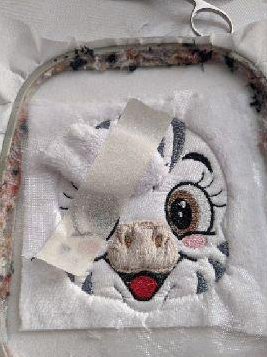
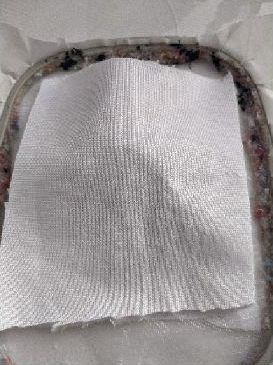
Get out of the frame, remove excess fabric, turn to the place and set aside.
Step 8:
(Click Image to Enlarge)
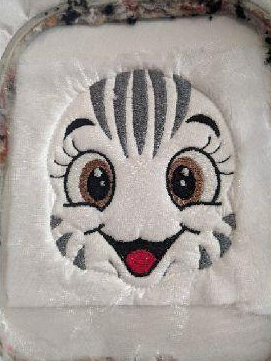
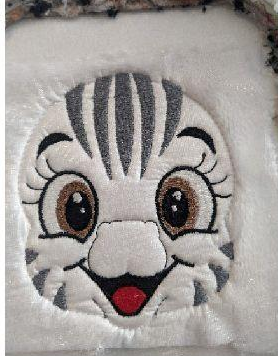
THE HEAD
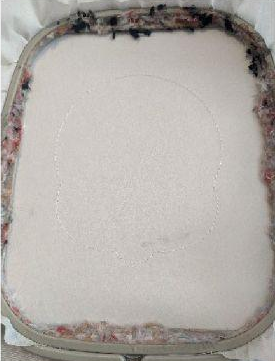
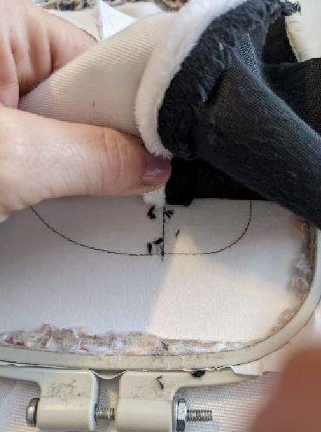
The first seam is done on your support to tell you the location of your fabric
Step 9:
Put on your first piece of fabric and water-soluble support. Take it well n to hide the co uture
Step 10:
(Click Image to Enlarge)
This seam will keep your fabric and water-soluble support on your base support
Step 11:
(Click Image to Enlarge)
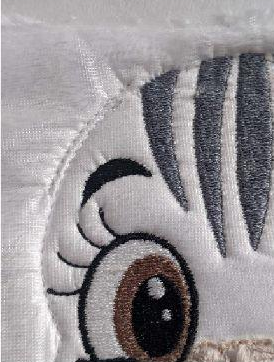
Make the embroidery stitches
Step 12:
(Click Image to Enlarge)
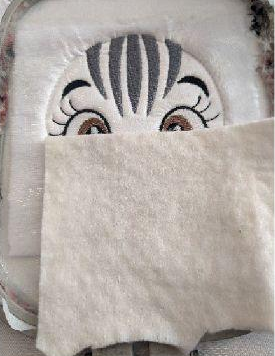
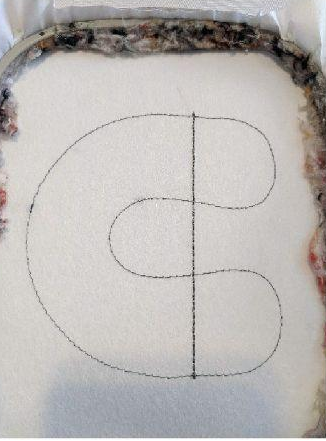
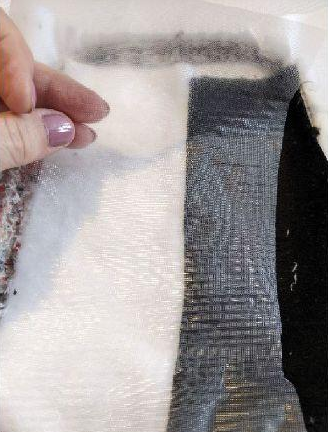
This seam tells you the location for your batting
Step 13:
(Click Image to Enlarge)
Put your batting to cover the entire seam
Step 14:
(Click Image to Enlarge)
Make the sewing that will sew your batting on your project
Step 15:
(Click Image to Enlarge)
Remove excess batting
Step 16:
(Click Image to Enlarge)
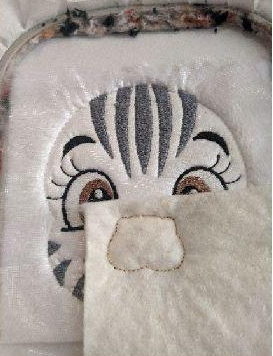
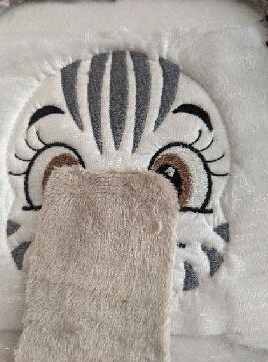
Put your little piece of fabric for the muzzle
Step 17:
(Click Image to Enlarge)
Sew and remove excess fabric
Step 18:
(Click Image to Enlarge)
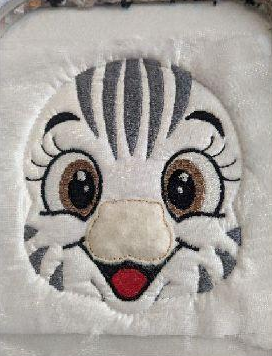
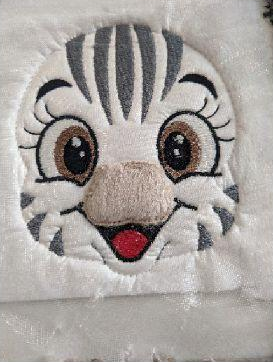
Put a small piece of water-soluble support and make the embroidery stitches
Step 19:
(Click Image to Enlarge)
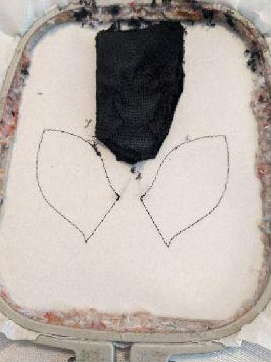
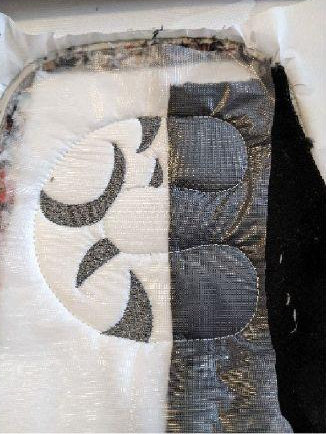
this seam tells you the location of your first ear
Step 20:
(Click Image to Enlarge)
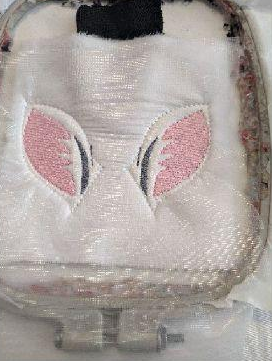
Put your first ear on this seam taking care to hold in place
Step 21:
(Click Image to Enlarge)
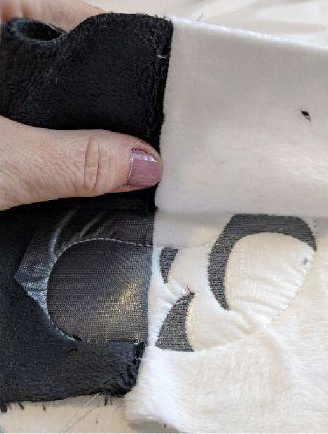
Sewing your ear on your head
Step 22:
(Click Image to Enlarge)
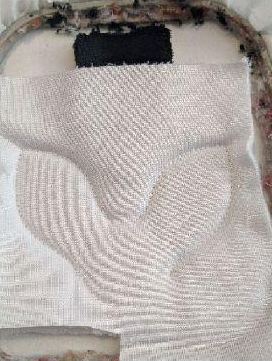
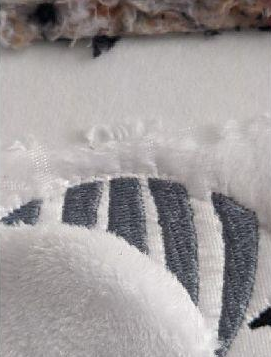
Seam in the top of the head to tell you the location of the mane
Step 23:
hold well in place and make the sewing
Step 24:
Make the other ear in the same way
Step 25:
(Click Image to Enlarge)
Put your 2nd piece of fabric, place against place. A little advice: reduce the speed of your embroiderer to follow the seam and place the fabric as you go
Step 26:
(Click Image to Enlarge)
Last seam that will sew your pieces together. Once this seam is finished, remove from your frame, cut the excess and return to the place
Step 27:
(Click Image to Enlarge)
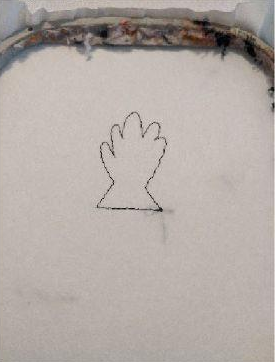
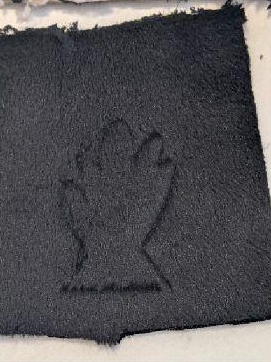
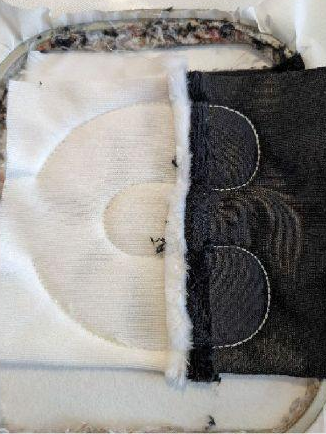
THE ARMS
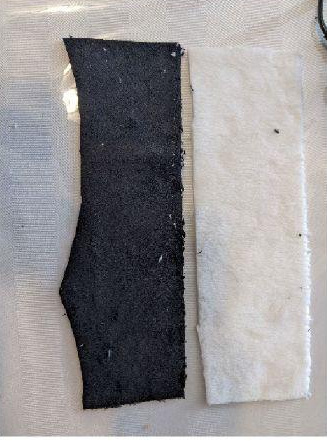
cut your 2 pieces of fabric
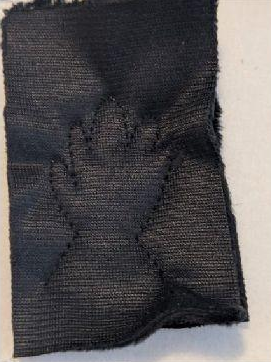
Step 28:
(Click Image to Enlarge)
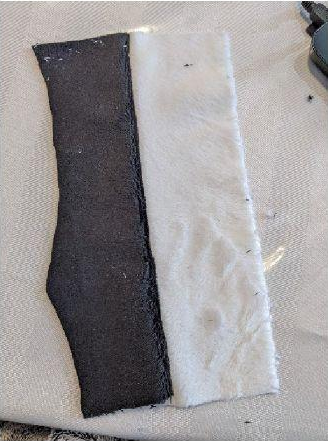
Make a seam to join your 2 pieces together
Step 29:
(Click Image to Enlarge)
Make the first seam on your tearable support
Step 30:
(Click Image to Enlarge)
Put your fabric, the junction of the 2 tissues must follow the line
Step 31:
(Click Image to Enlarge)
Put on your water-soluble support
Step 32:
This seam will keep your fabric and water-soluble support on your support
Step 33:
(Click Image to Enlarge)
Make the embroidery stiches
Step 34:
(Click Image to Enlarge)
Fold your fabric, taking care to follow the junction line of the 2 colors of fabrics
Step 35:
(Click Image to Enlarge)
Make the last seam that will sew your 2 pieces together. Get out of the frame, remove the excess fabric and put in the place
Step 36:
(Click Image to Enlarge)
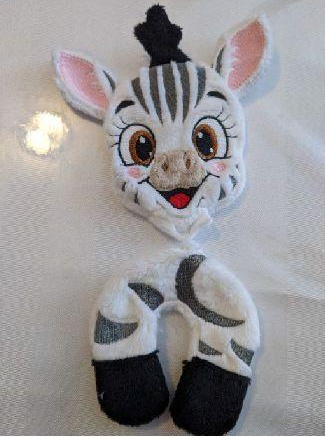
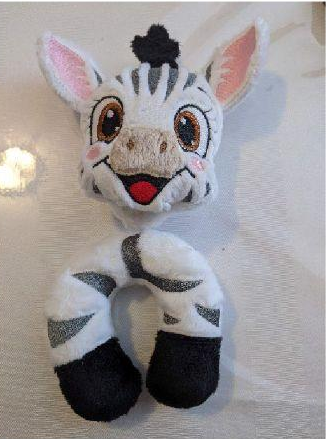
THE ASSEMBLY All you have to do is do the assembly.
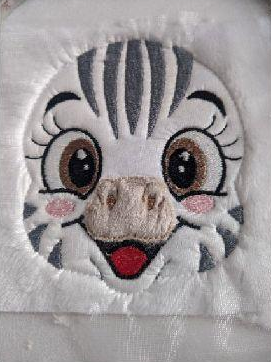
you should have this before doing the assembly
Step 37:
(Click Image to Enlarge)
Put the stuff in the paws and head
Step 38:
(Click Image to Enlarge)
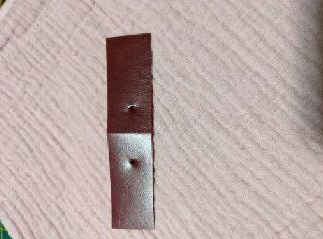
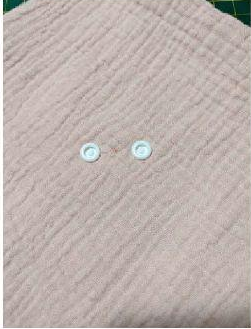
Before closing the arms, put your buttons s pressure to be able to attach it with the small cover, I made a template for the pressure buttons, take a piece of plastic, make a hole at 0 cm and the other at 3 cm from the first hole, this template will serve you to put your pressure buttons on the back of the arms and on the cover
Step 39:
(Click Image to Enlarge)
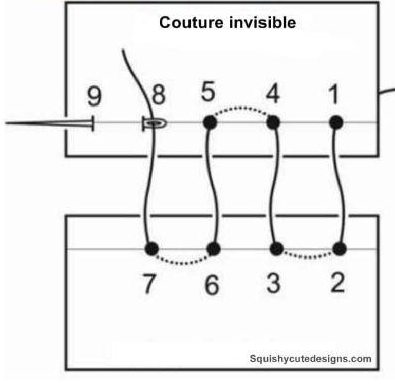
Subsequently put the stuff and close with an invisible seam
Step 40:
(Click Image to Enlarge)
Position your head on your arms, I put a little fabric glue to hold my head in place before sewing. Once your glue is dry and your head in place, sew it with an invisible seam and your tapestry thread.
Step 41:
(Click Image to Enlarge)
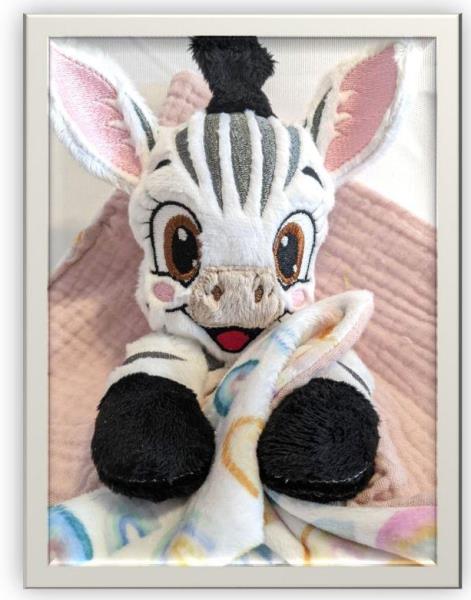
Take your blanket and decide where you are going to put your dog, put your buttons pressed and join the animal on your small blanket.
PS: I always do at least 3 times the invisible seam so that it is really well sewn.