Border OptionsHugging border, circle, square, or rectangle — with a 3mm satin stitch.
Backing OptionsAvailable with iron-on, sew-on, or velcro backing.
Fast ShippingShipped quickly from the USA.
Free Online Tools
Powerful embroidery utilities that save time and prevent costly mistakes.
Stitch AssistantRECOMMENDED
Get the exact stabilizer, machine settings, needle, and thread color sequence for every embroidery design you purchase — based on that design's stitch density, dimensions, and color count.
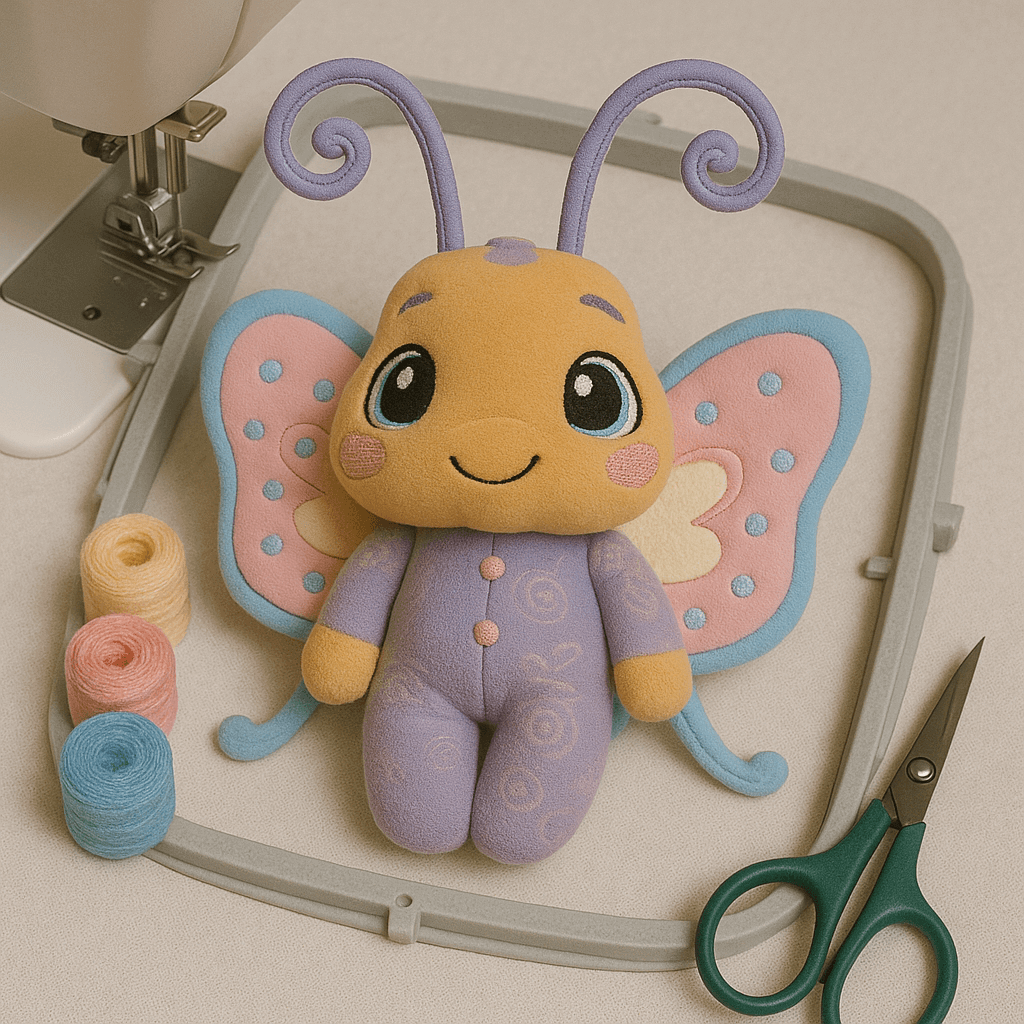
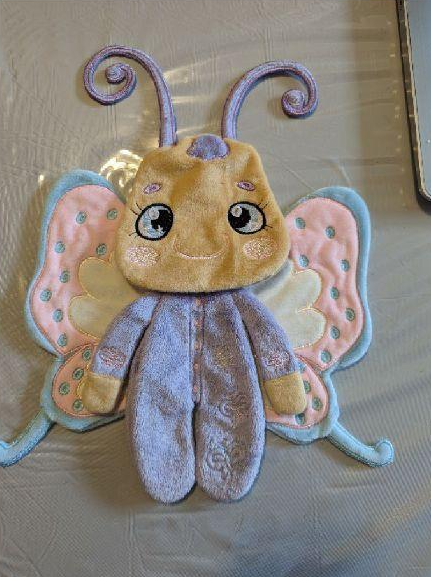
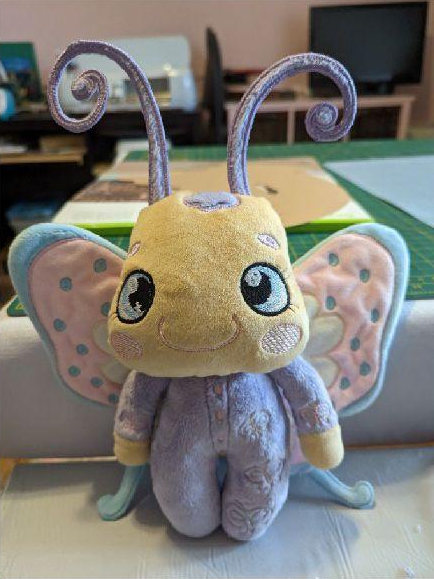
Stitch this whimsical ITH butterfly plushie with your embroidery machine! Featuring curly antennae, colorful wings, and sweet embroidered details, it's perfect for gifts, nursery décor, or soft toy collections. Includes digital files and guide.
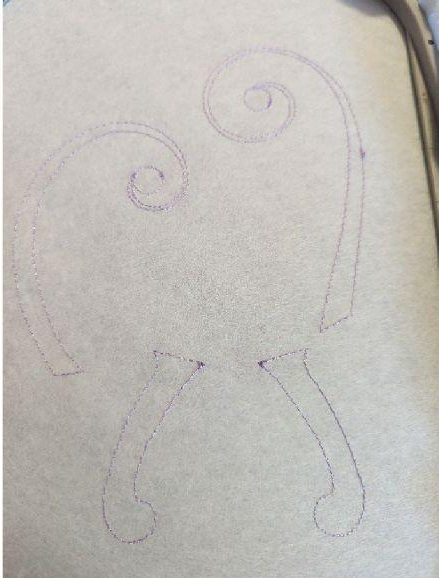
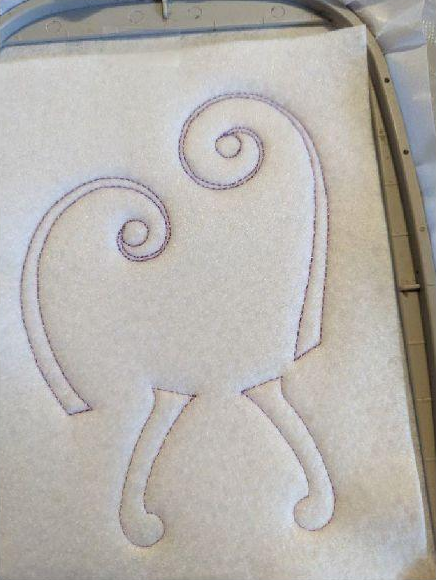
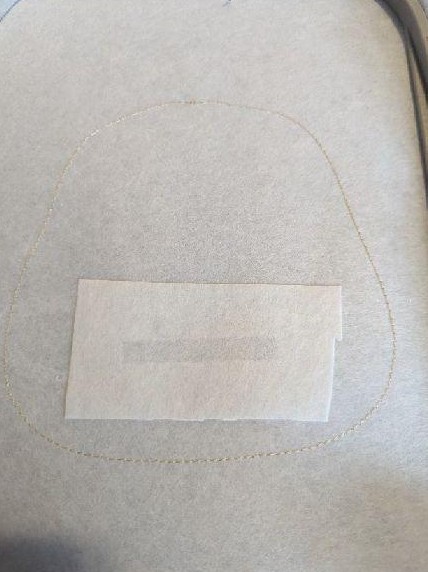
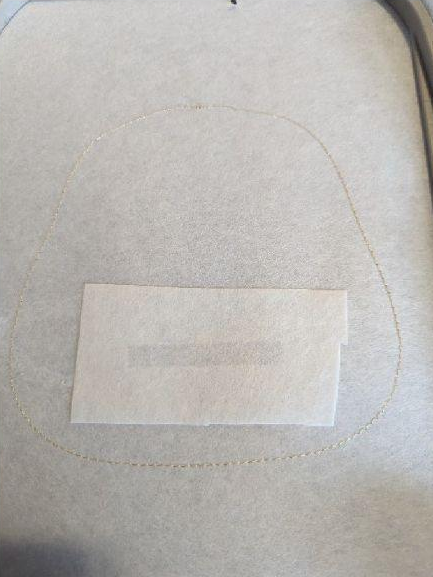
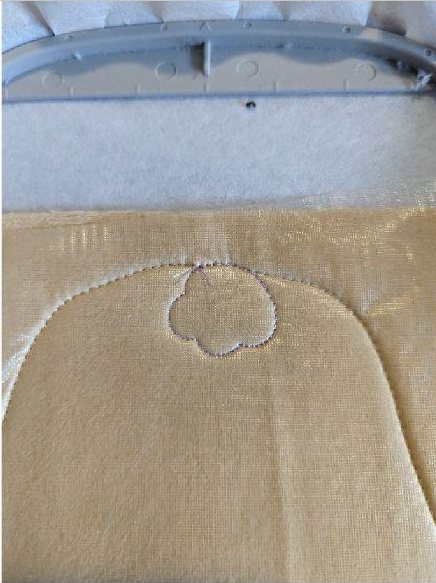
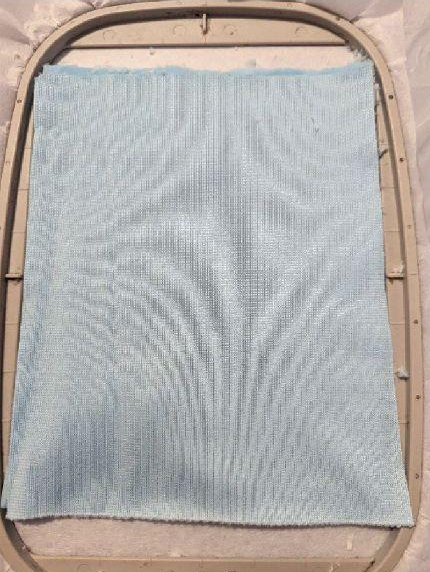
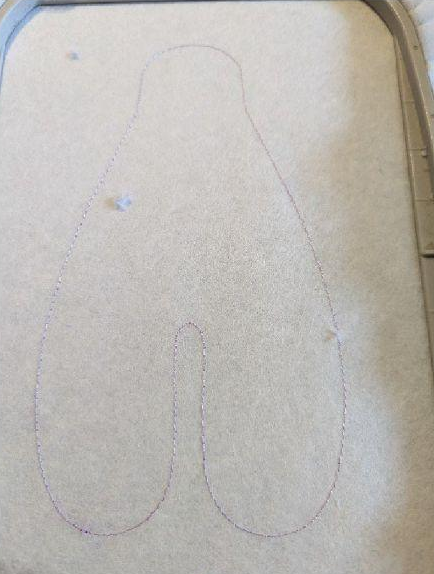
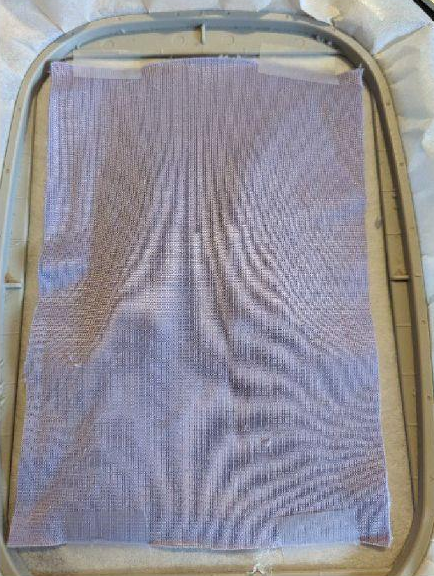
Seam 1: this seam is done on your tearable nonwoven stabilizer
(Click Image to Enlarge)
Step 2:
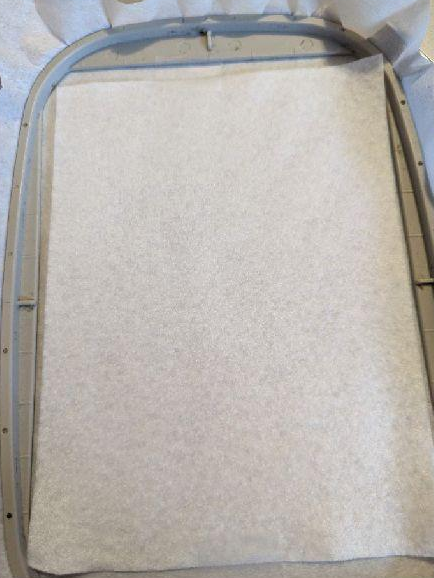
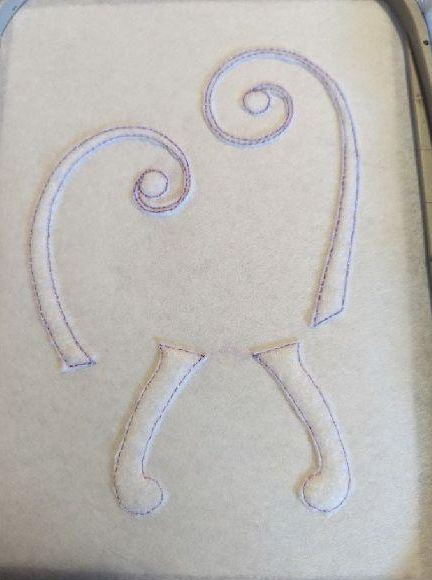
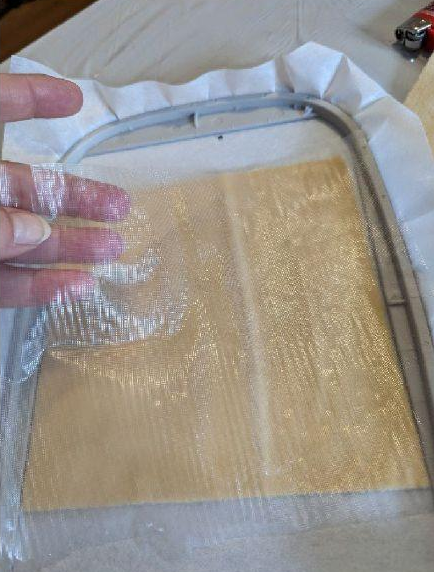
Put your felt on top of your frame, hide all the seam well
(Click Image to Enlarge)
Step 3:
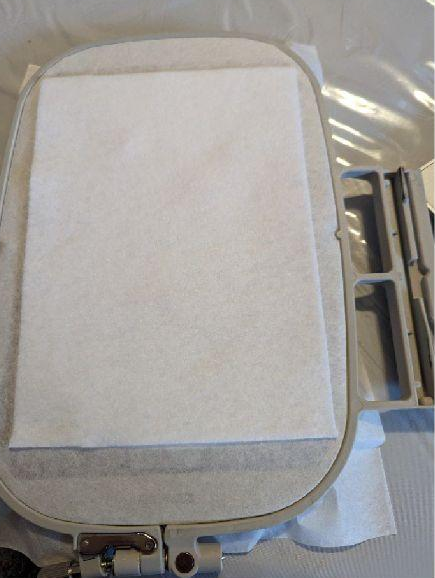
Put your felt on the back of your frame, hide all the seam
(Click Image to Enlarge)
Step 4:
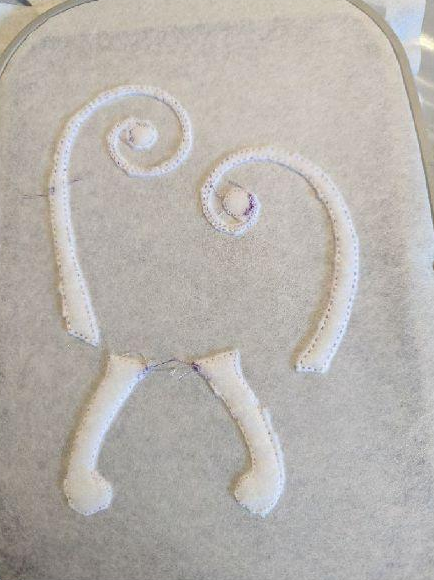
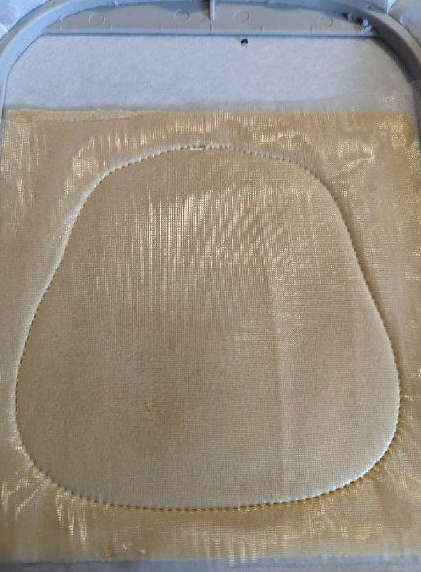
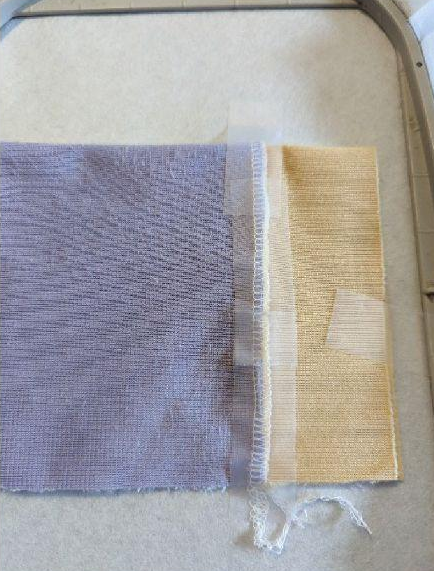
Seam 2: this seam will join your 2 felt pens together
(Click Image to Enlarge)
Step 5:
Cut excess felt on top of your work
(Click Image to Enlarge)
Step 6:
Cut the excess on the underside of your work
(Click Image to Enlarge)
Step 7:
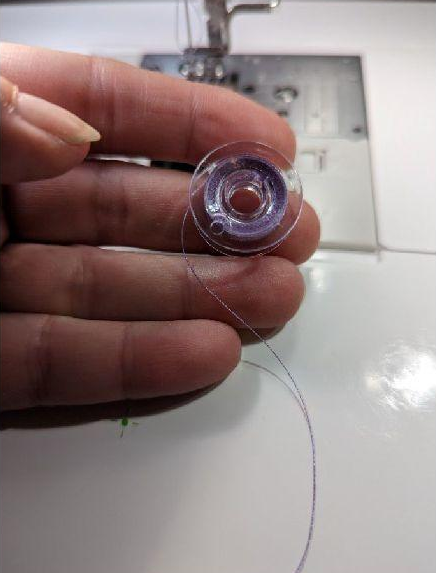
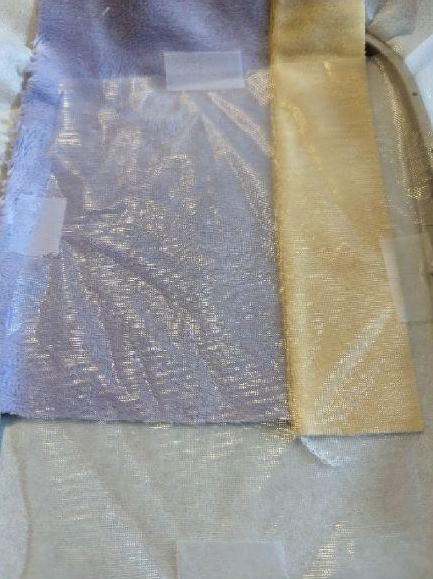
Make a spool of wire the color of your Minky for the wings
(Click Image to Enlarge)
Step 8:
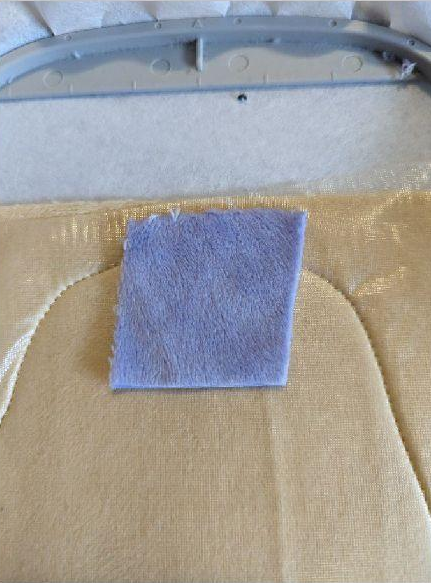
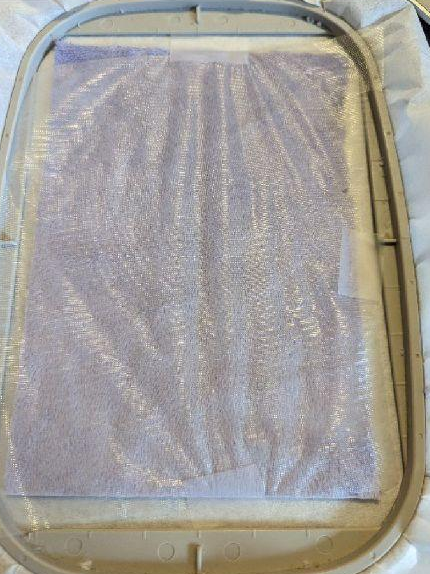
Put your Minky fabric on top and bottom of your work
(Click Image to Enlarge)
Step 9:
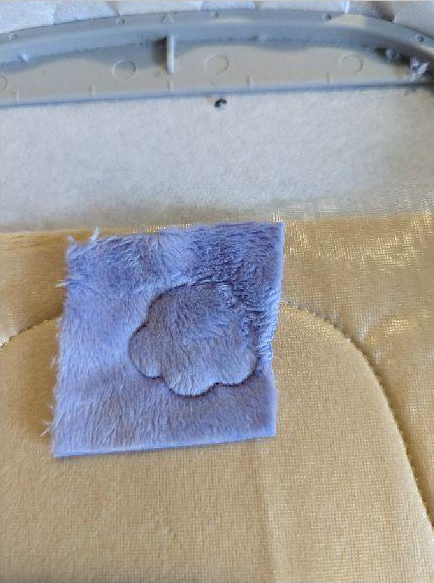
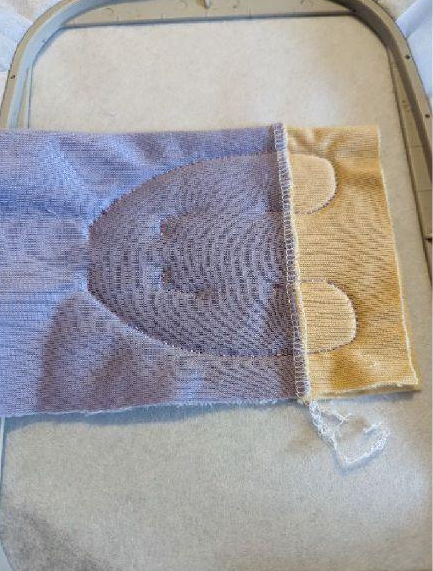
Seam 3: this seam will join your 2 Minky together
(Click Image to Enlarge)
Step 10:
Cut excess fabric on top of your work
(Click Image to Enlarge)
Step 11:
Cut excess fabric on the underside of your work
(Click Image to Enlarge)
Step 12:
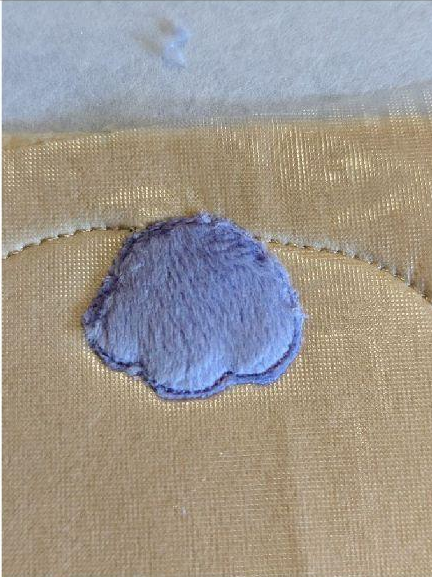
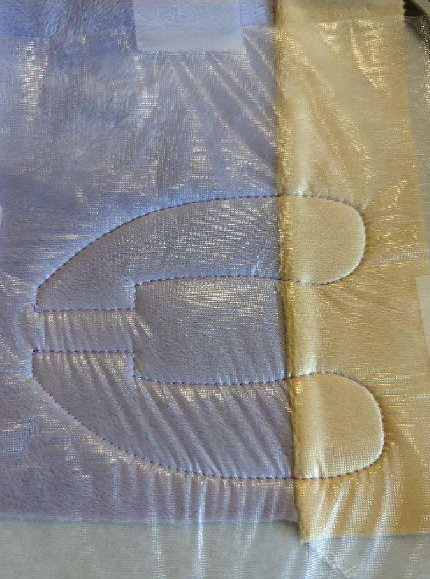
Seam 4: satin stitches
Step 13:
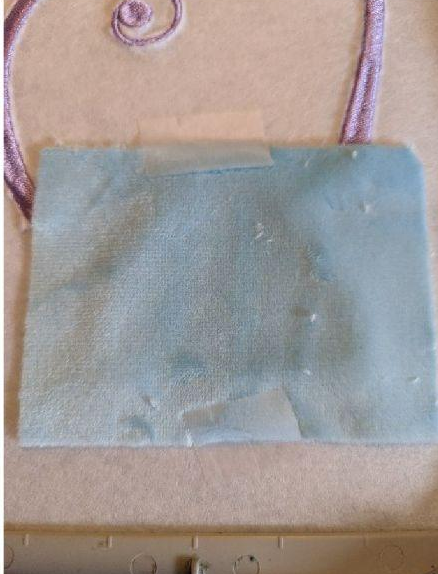
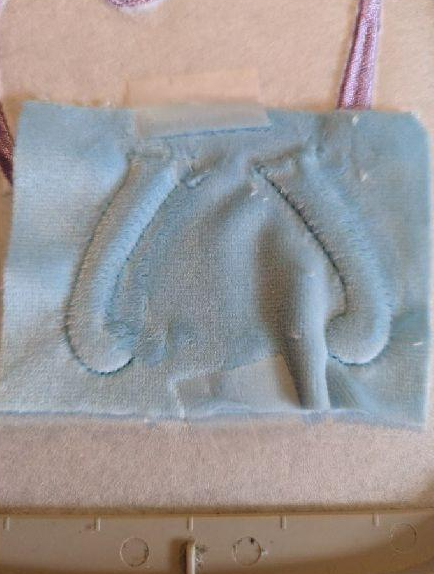
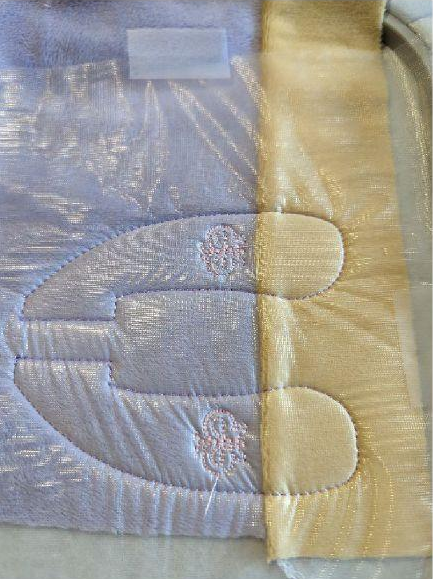
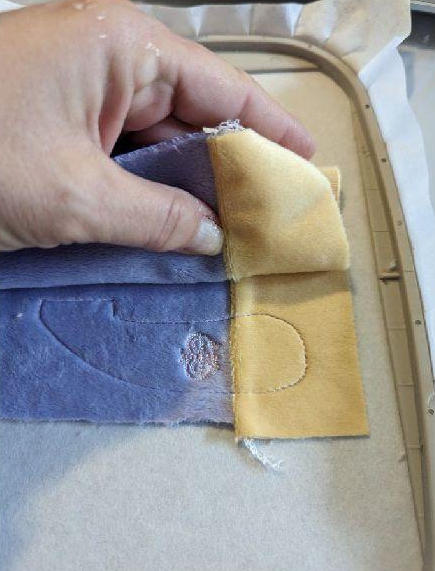
Put your different colored Minky on the bottom antennas, on the front and back of your frame. Cover the seams well
(Click Image to Enlarge)
Step 14:
Sewing 5: this seam will join your 2 pieces of Minky together
(Click Image to Enlarge)
Step 15:
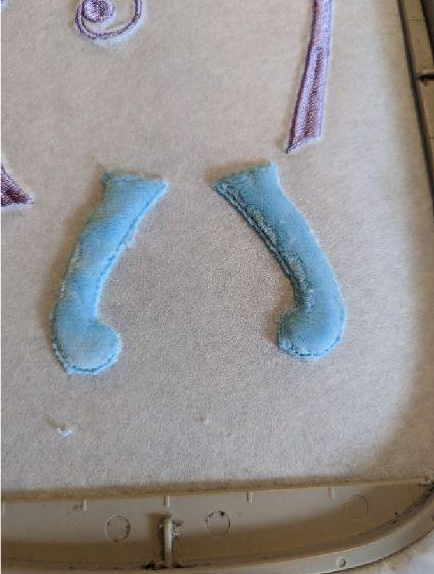
Cut excess fabric on top of your work
(Click Image to Enlarge)
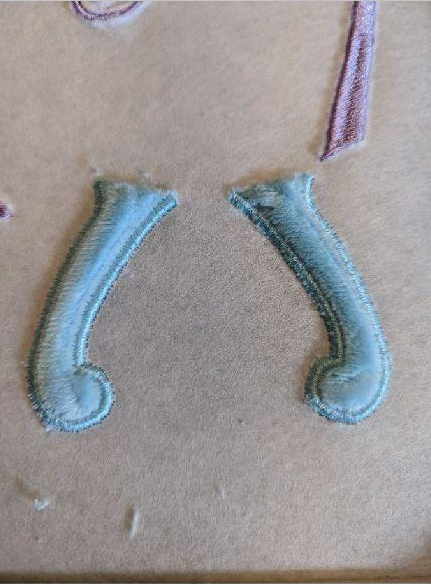
Step 16:
Seam 6: satin stitches.
(Click Image to Enlarge)
Step 17:
THE BACK OF THE HEAD
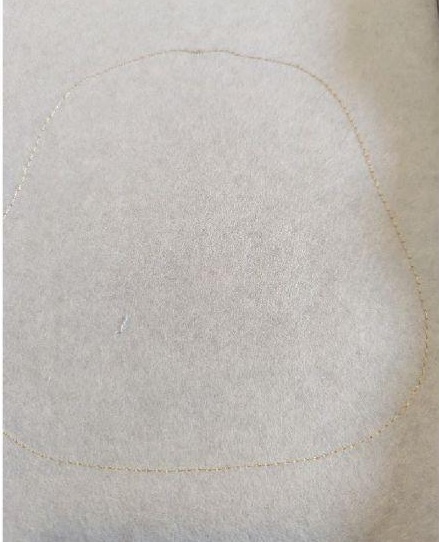
Seam 1: this seam is done on your non-woven stabilizer to tear to show you the location of your fabric
(Click Image to Enlarge)
Step 18:
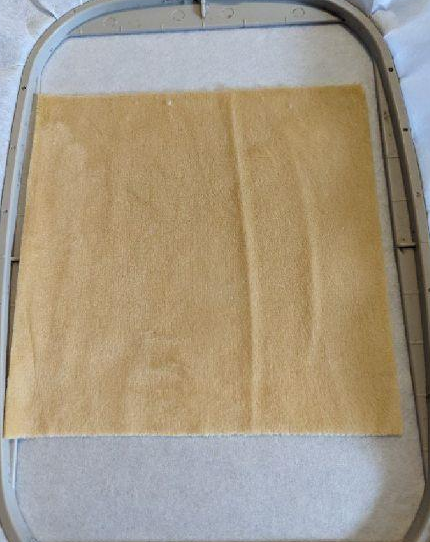
Put your Minky on the seam
(Click Image to Enlarge)
Step 19:
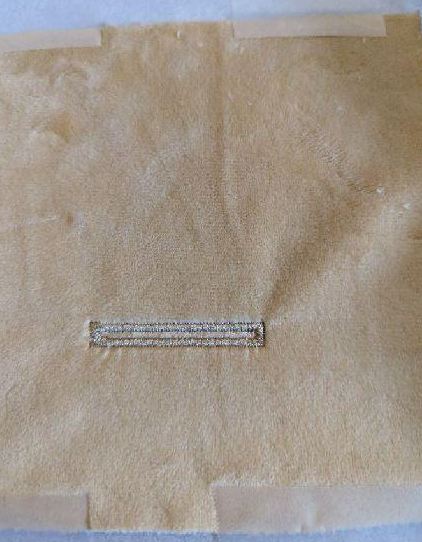
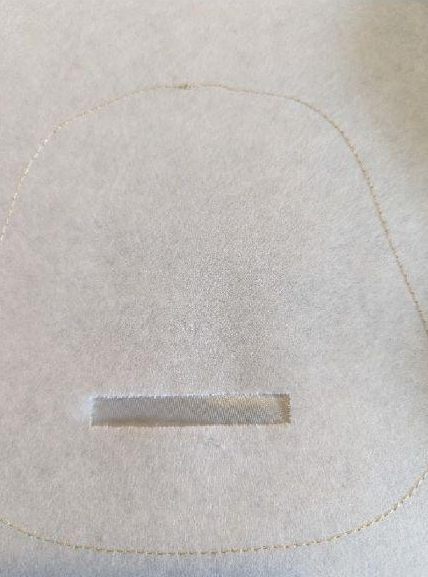
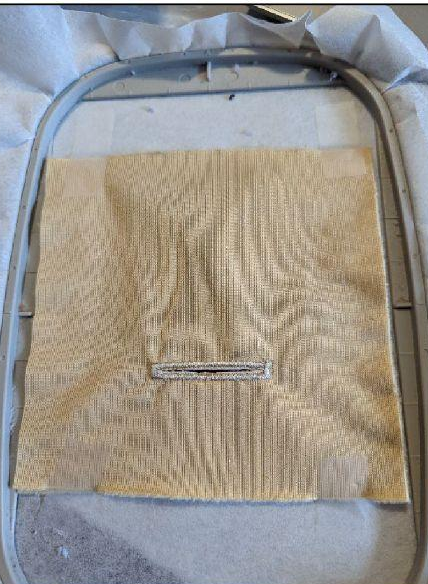
Seam 2: buttonhole
Remove from your stabilizer and set aside.
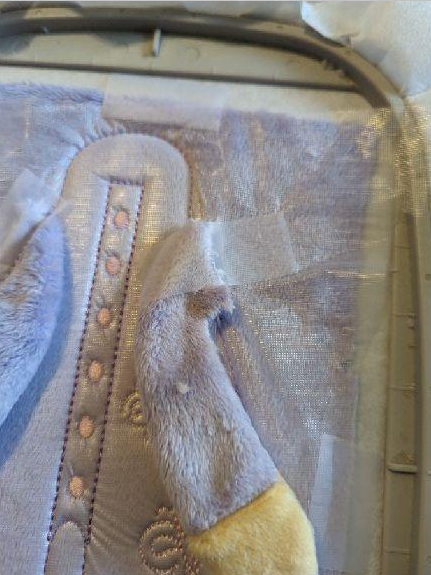
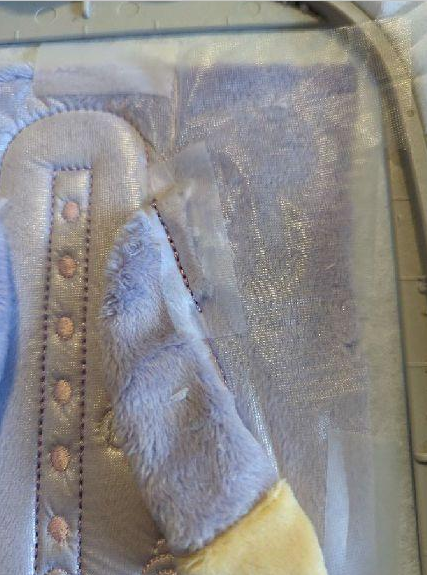
(Click Image to Enlarge)
Step 20:
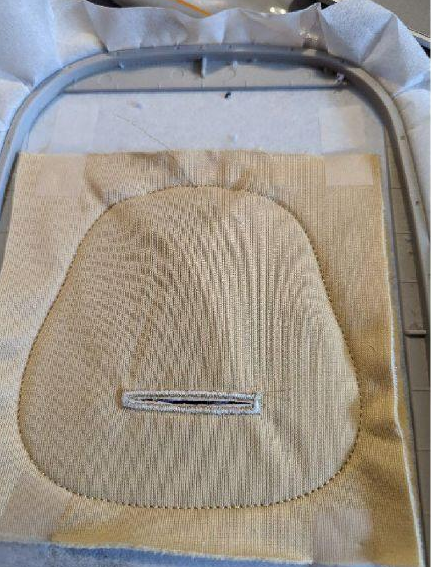
I keep the same stailisator for the front of the head
(Click Image to Enlarge)
Step 21:
I add a small piece of stabilizer at the opening
(Click Image to Enlarge)
Step 22:
THE FRONT OF THE HEAD
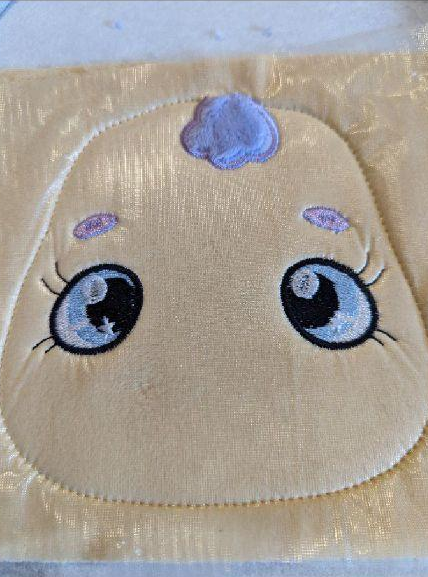
Seam 1: This seam is done on your stabilizer to tell you the location of your fabric.
(Click Image to Enlarge)
Step 23:
Put your fabric and water-soluble stabilizer on the seam
(Click Image to Enlarge)
Step 24:
Seam 2: this seam will hold your fabric and stabilizer in place
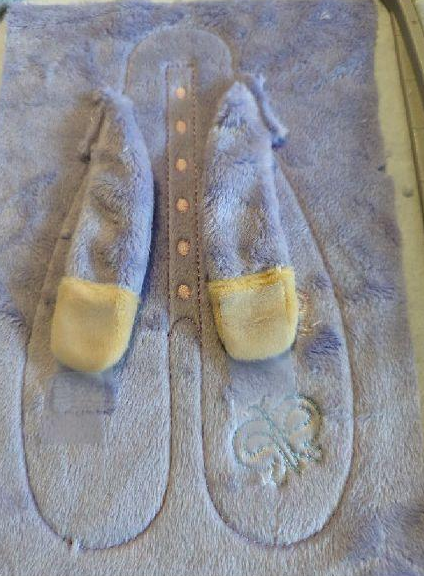
(Click Image to Enlarge)
Step 25:
Seam 3: this seam tells you the location of your fabric
(Click Image to Enlarge)
Step 26:
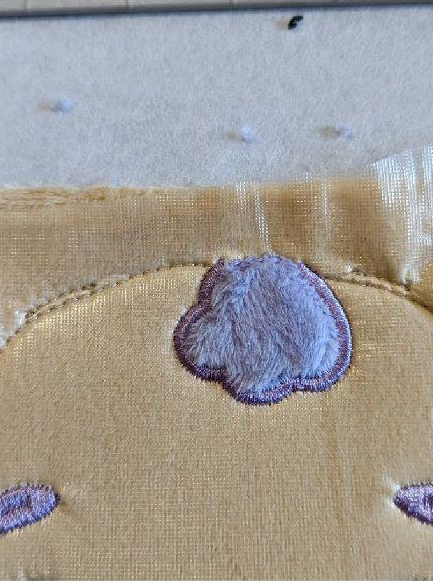
Put your little Minky piece on the seam
(Click Image to Enlarge)
Step 27:
seam 4: this seam will hold your fabric in place
(Click Image to Enlarge)
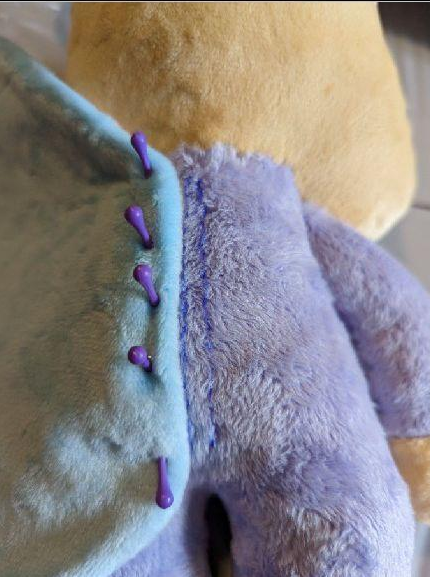
Step 28:
Cut excess fabric all around
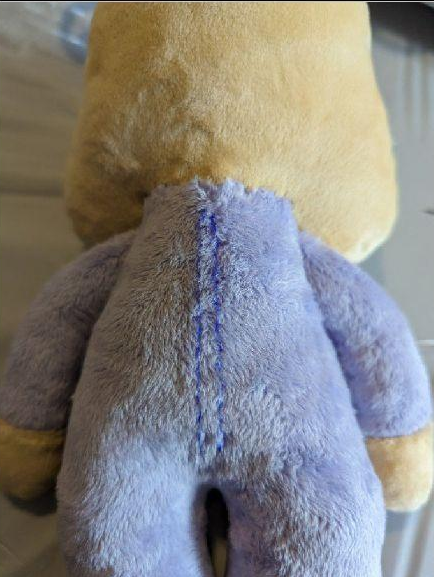
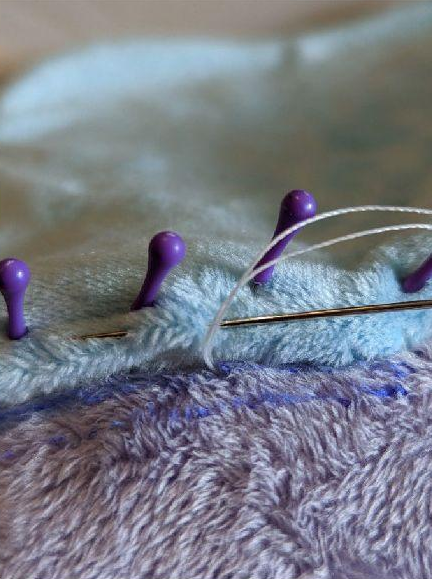
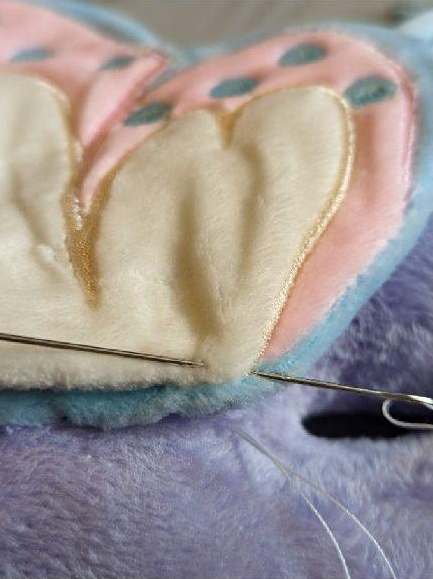
(Click Image to Enlarge)
Step 29:
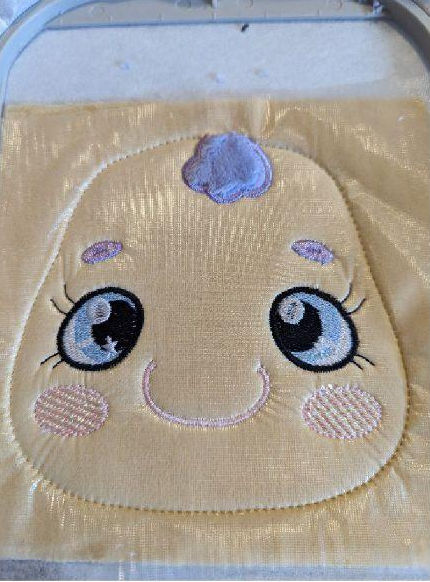
Sewing 5-6-7-8-9-10: embroidery stitches
(Click Image to Enlarge)
Step 30:
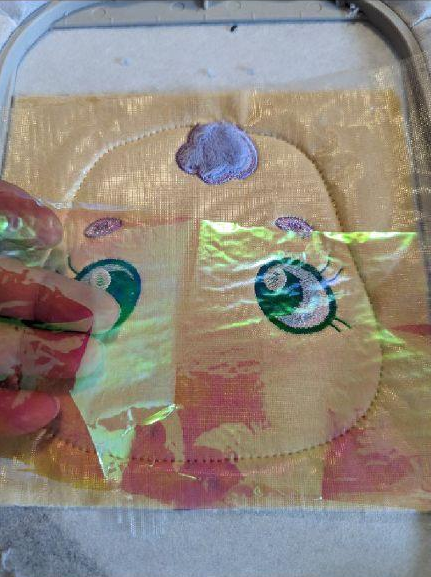
Put your Mylar on the cheeks (optional)
(Click Image to Enlarge)
Step 31:
Seam 11: embroidery stitches in the cheeks
(Click Image to Enlarge)
Step 32:
Seam 12: this stitch tells you the location for the antennae of the head
(Click Image to Enlarge)
Step 33:
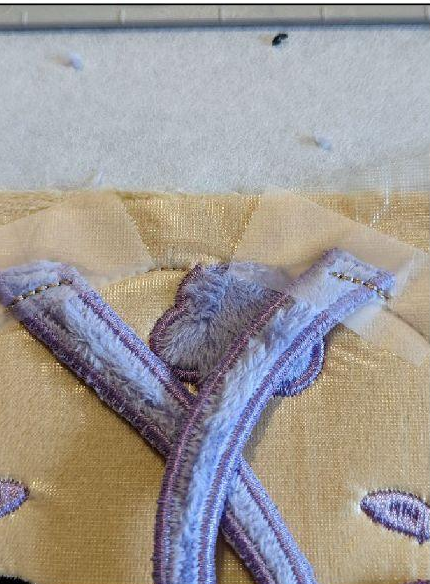
Put antennas in the indicated place, hold well in place
Step 34:
Seam 13: this seam will hold your antennas in place
(Click Image to Enlarge)
Step 35:
Make sure that the antennae are in the center of the head so as not to sew them with the next seam
Step 36:
Take your piece from the back head and position it in exactly the same place as your fabric for the front of the head
(Click Image to Enlarge)
Step 37:
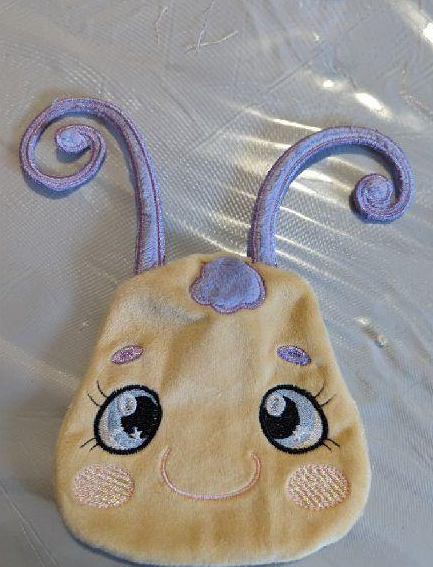
Seam 14: this seam will join the front with the back of the head
(Click Image to Enlarge)
Step 38:
Get out of the frame, cut the excess and put in the place
(Click Image to Enlarge)
Step 39:
WINGS
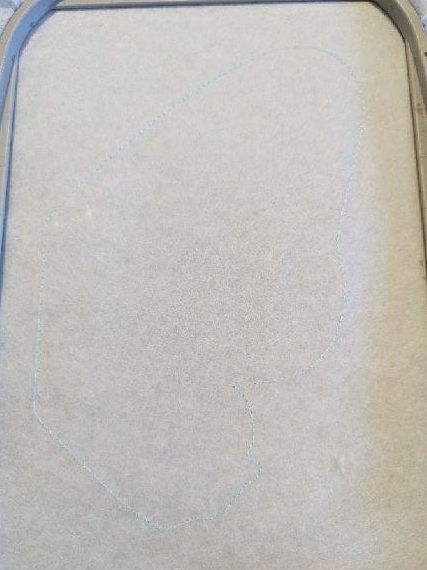
Seam 1: this seam is done on your stabilizer to indicate the location of your fabric
(Click Image to Enlarge)
Step 40:
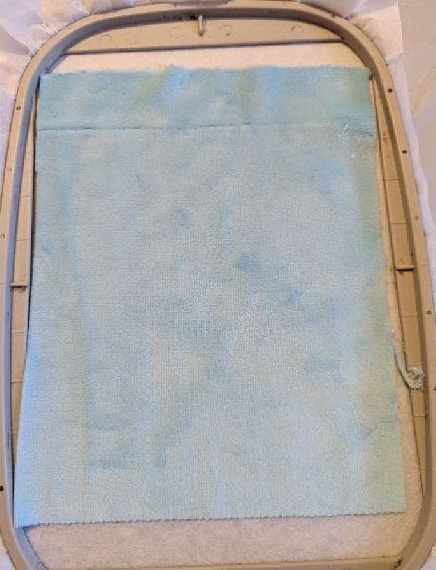
Put your fabric to hide the entire seam
(Click Image to Enlarge)
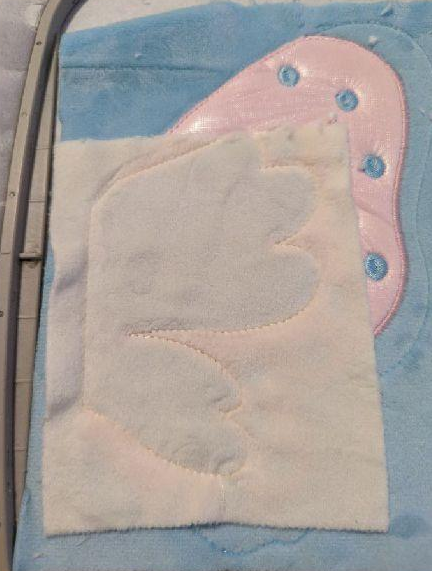
Step 41:
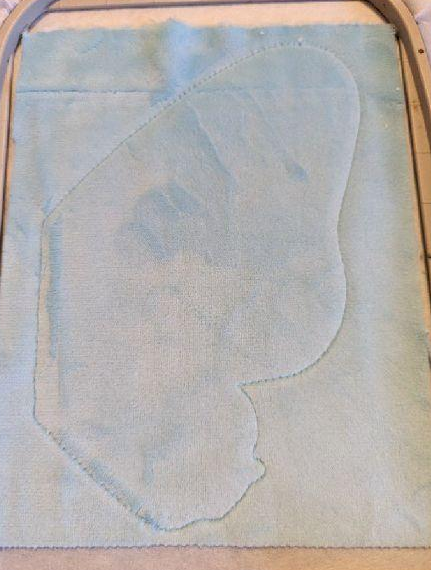
Seam 2: this seam will hold your fabric in place
(Click Image to Enlarge)
Step 42:
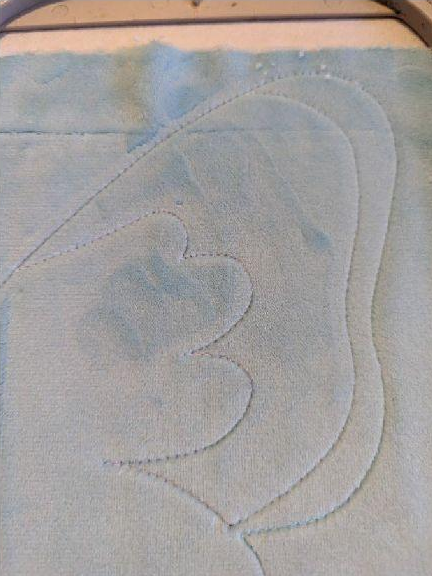
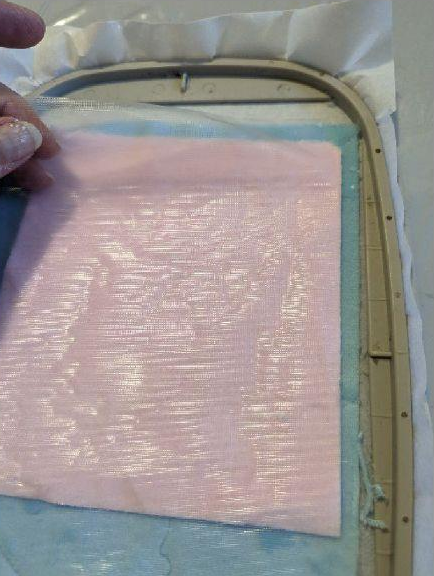
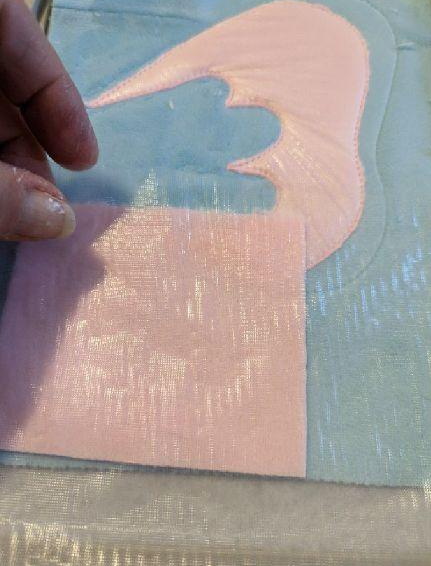
Seam 3: this seam tells you the location of your fabric (here I am pink)
(Click Image to Enlarge)
Step 43:
Put on your Minky and your water-soluble stabilizer, taking care to hide all the seam
(Click Image to Enlarge)
Step 44:
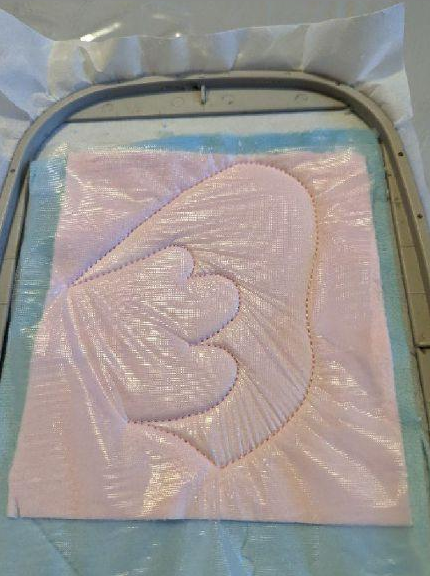
Seam 4: this seam will hold your fabric and stabilizer in place
(Click Image to Enlarge)
Step 45:
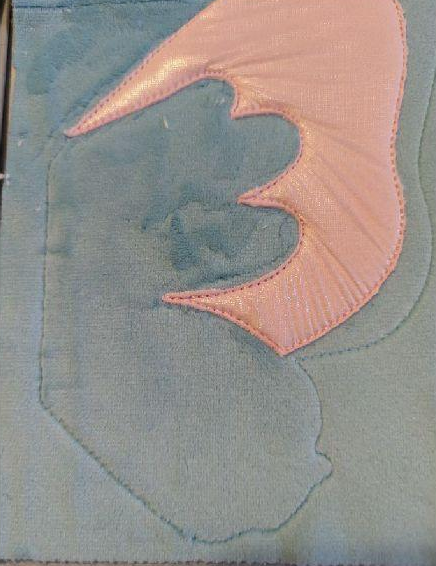
Cut excess fabric all around
(Click Image to Enlarge)
Step 46:
Seam 5: this seam tells you the location of your fabric (here it's pink)
(Click Image to Enlarge)
Step 47:
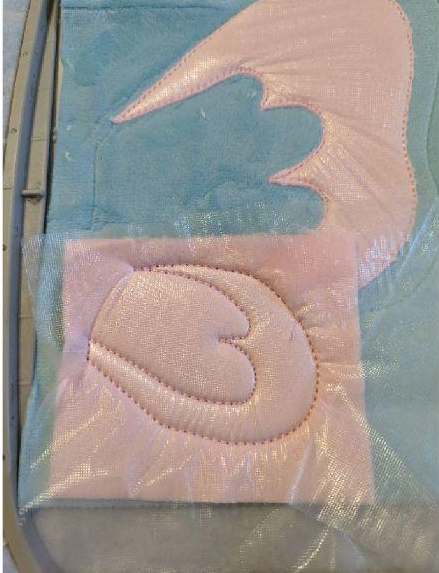
Put your fabric and water-soluble stabilizer
(Click Image to Enlarge)
Step 48:
Seam 6: this seam will hold your fabric and stabilizer in place
(Click Image to Enlarge)
Step 49:
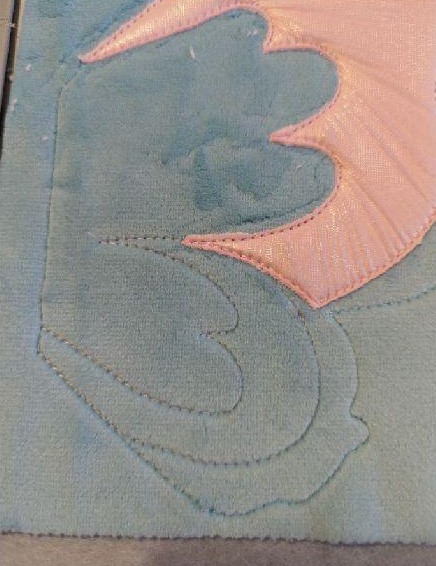
Cut excess fabric all around
(Click Image to Enlarge)
Step 50:
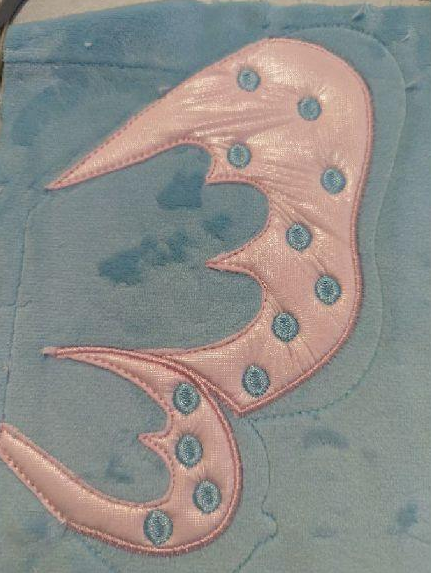
Sewing 7-8-9: embroidery stitches
(Click Image to Enlarge)
Step 51:
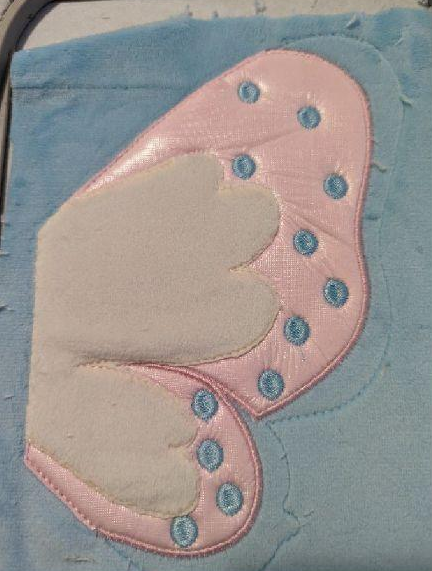
Put your fabric on the remaining part
Step 52:
Seam 10: this seam will hold your fabric in place
(Click Image to Enlarge)
Step 53:
Cut excess fabric all around
(Click Image to Enlarge)
Step 54:
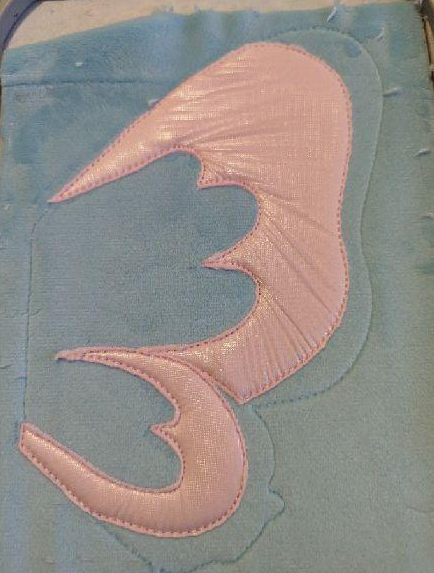
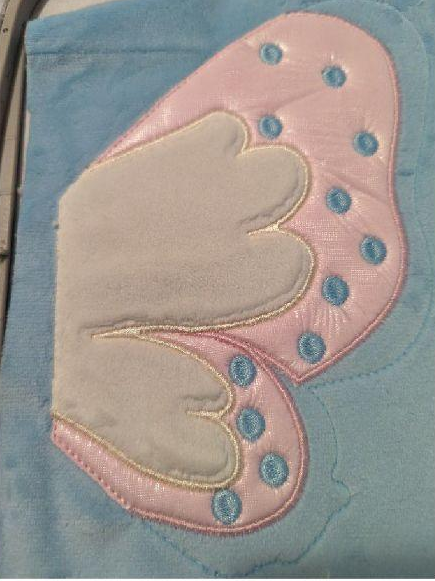
Seam 11: satin stitches
(Click Image to Enlarge)
Step 55:
Seam 12: this seam tells you the location of the small part of your wing
(Click Image to Enlarge)
Step 56:
Put your little one in place and maintain well
(Click Image to Enlarge)
Step 57:
Sewing 13: sewing your small part in place
(Click Image to Enlarge)
Step 58:
Put your Minky piece, place against place, to cover your entire wing
(Click Image to Enlarge)
Step 59:
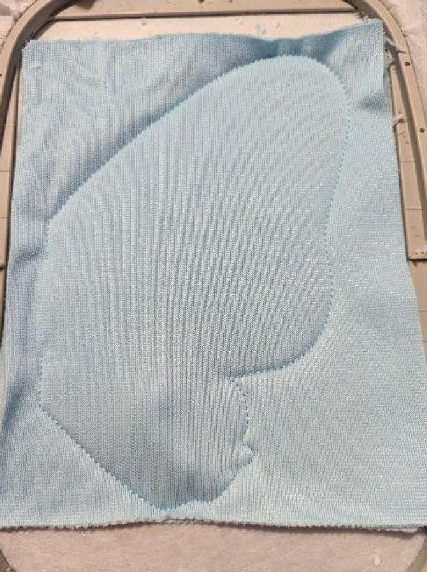
Seam 14: this seam will join the back with the front of your wing
(Click Image to Enlarge)
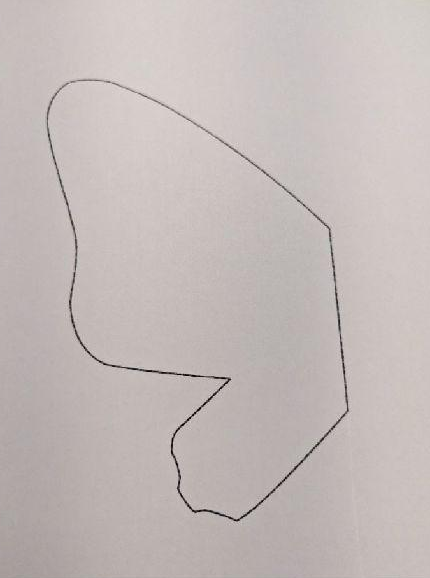
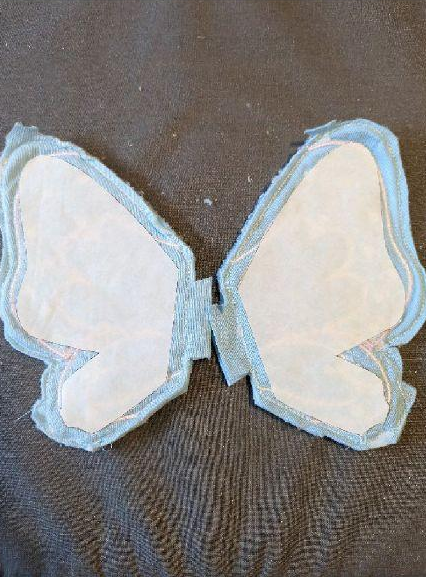
Step 60:
Print the pattern for the Heatnhond
(Click Image to Enlarge)
Step 61:
The Heatnbond is a thermo-adhesive on both sides, I stick it on my wings so that they stand straight
(Click Image to Enlarge)
Step 62:
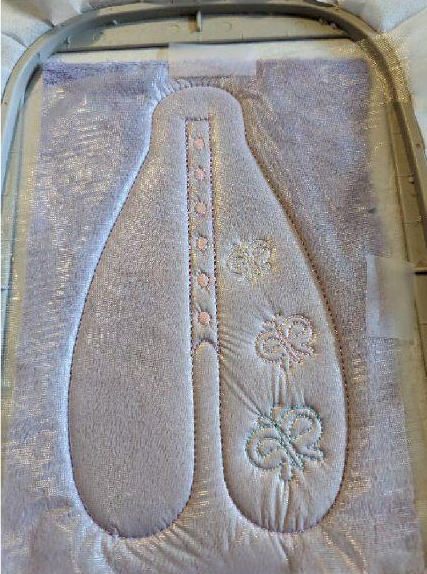
THE ARMS
Cut your 2 pieces and put place against place. Sewing with a sewing machine
Step 63:
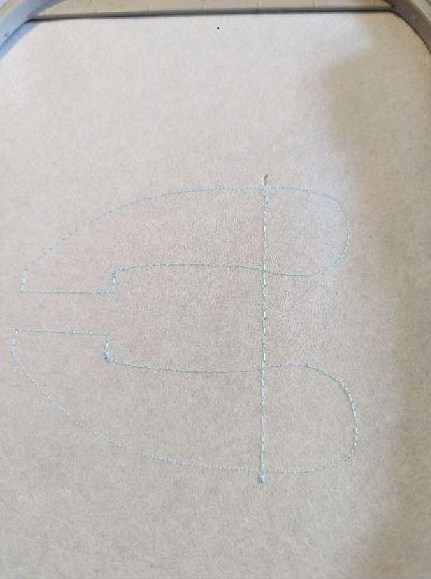
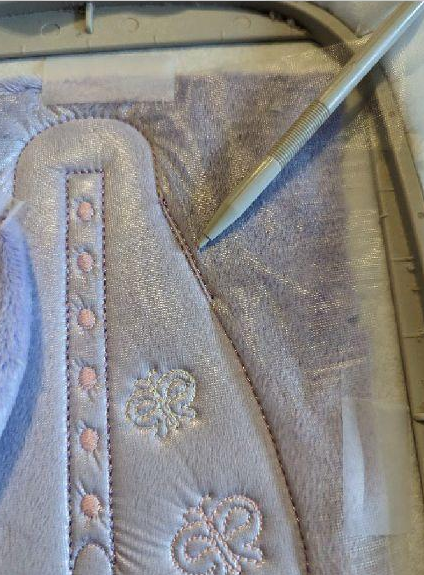
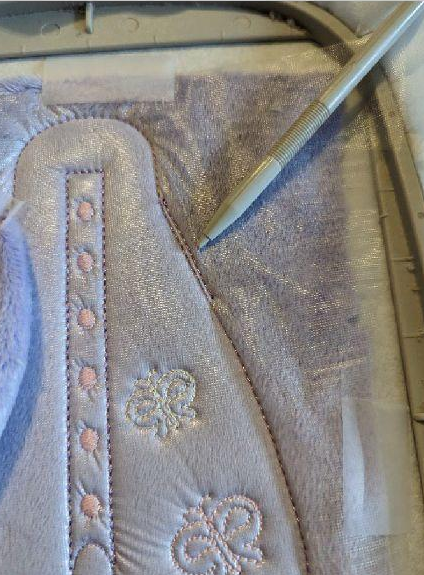
Seam 1: this seam is done on your stabilizer, it tells you the location for your fabric
(Click Image to Enlarge)
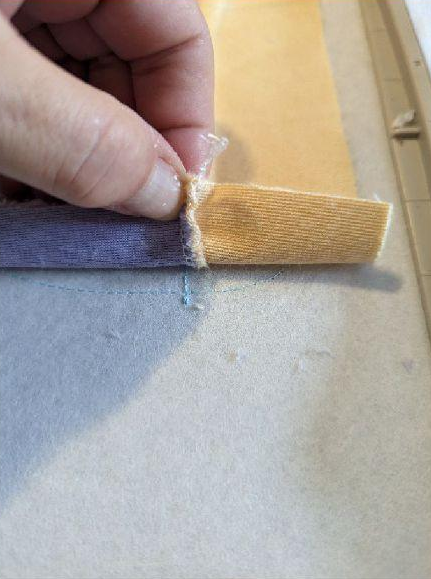
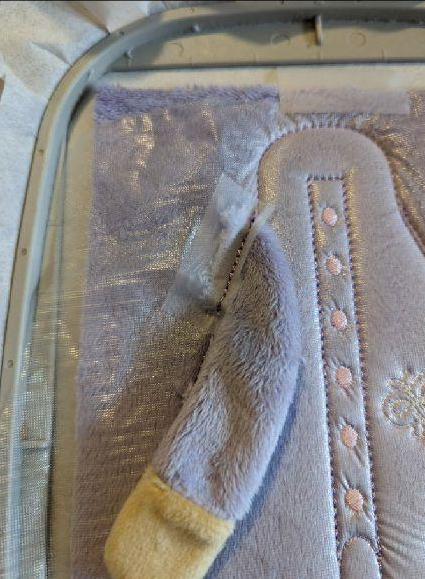
Step 64:
Put the joint of your fabric on the line that crosses the 2 arms, let the fabric protrude towards the top of your
(Click Image to Enlarge)
Step 65:
Put your water-soluble support
(Click Image to Enlarge)
Step 66:
Seam 2: this seam will hold your fabric and stabilizer in place
(Click Image to Enlarge)
Step 67:
Seam 3: fancy stitches
(Click Image to Enlarge)
Step 68:
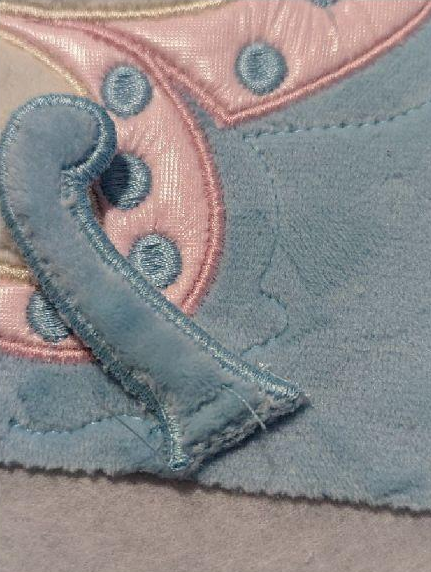
Fold the part that is in the top of your frame on the sewn part. Take care to make the junctions of the seams coincide (hand and arms)
(Click Image to Enlarge)
Step 69:
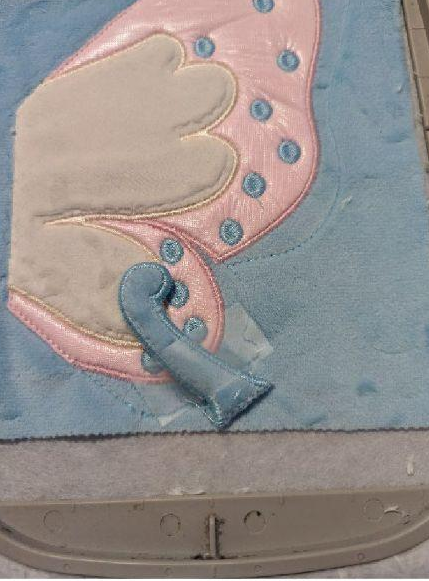
Here I put adhesive tape so that my embroiderer's foot does not get caught in the seam
(Click Image to Enlarge)
Step 70:
Seam 4: this seam will join the front with the back of your arms.
Get out of the frame, cut off excess fabric and set aside
(Click Image to Enlarge)
Step 71:
THE BODY
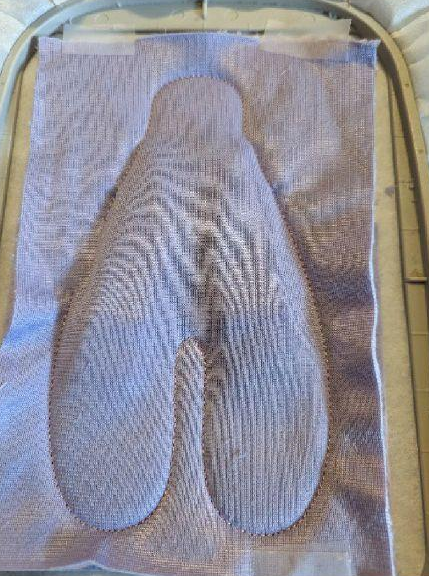
Seam 1: this seam is done on your stabilizer to indicate the location of your fabric
(Click Image to Enlarge)
Step 72:
Put your fabric and water-soluble stabilizer on the seam
(Click Image to Enlarge)
Step 73:
Seam 2: this seam will hold your fabric and stabilizer in place
Stitching 3-4-5-6-7: embroidery stitches
(Click Image to Enlarge)
Step 74:
Seam 8: this seam tells you the location of your arm
(Click Image to Enlarge)
Step 75:
Put your arm well hiding the seam. Be careful to put the little butterfly on your arm place to
Step 76:
Seam 9: this seam will hold your arm in place
(Click Image to Enlarge)
Step 77:
Seam 10: seam to tell you the location of the 2nd arm
(Click Image to Enlarge)
Step 78:
Keep it in place
(Click Image to Enlarge)
Step 79:
Seam 11: this seam will hold your arm in place
(Click Image to Enlarge)
Step 80:
Place your arms so that it is inside the seams
(Click Image to Enlarge)
Step 81:
Put your 2nd piece of Minky, place against place
(Click Image to Enlarge)
Step 82:
Seam 12: this seam will join your front with the back of your body
(Click Image to Enlarge)
Step 83:
ASSEMBLY
Put your heat n bond on your wings
(Click Image to Enlarge)
Step 84:
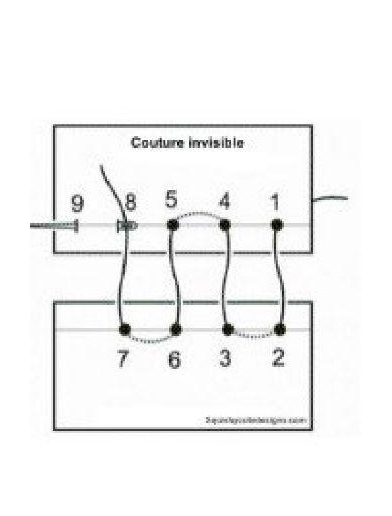
Put the stuffing in the arms, body and head, sew the openings with an invisible seam and waxed thread (upholstery thread)
(Click Image to Enlarge)
Step 85:
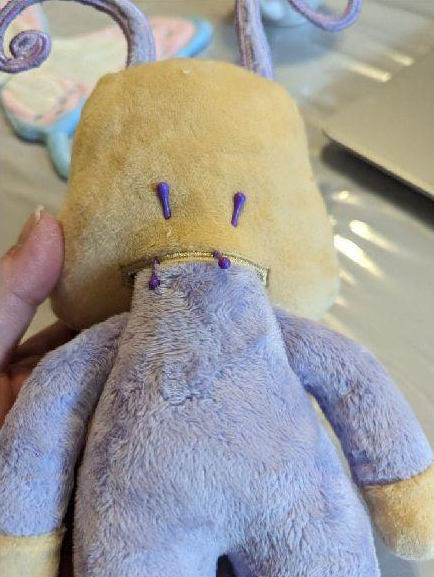
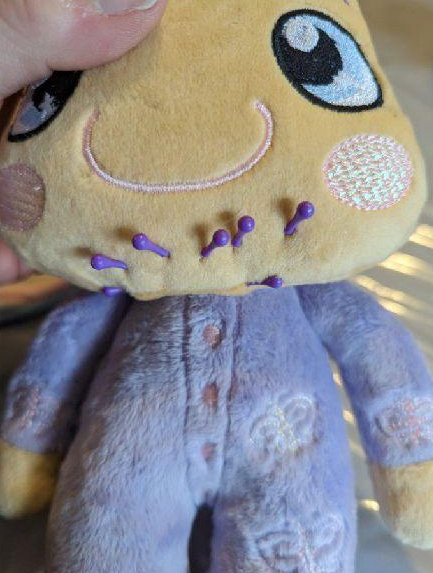
Insert the body into the buttonhole, your body will be inserted into the head. Hold in place
(Click Image to Enlarge)
Step 86:
(Click Image to Enlarge)
Diagram of an invisible seam
Step 87:
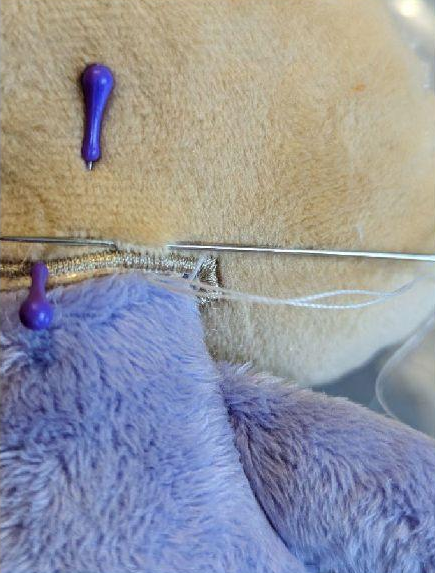
Make your invisible seam all around the head by passing at the top of the buttonhole so that you can no longer see the buttonhole once finished. Pass at least 3 times
(Click Image to Enlarge)
Step 88:
Here you have to stitch much lower than the buttonhole to have a straight head. If you follow the buttonhole your head will go backwards
(Click Image to Enlarge)
Step 89:
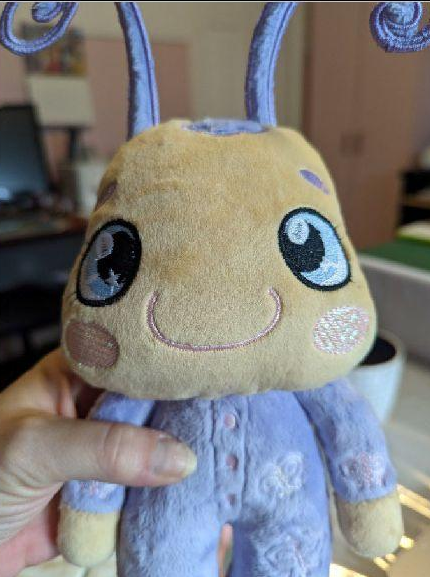
You should have this once your head is in place.
(Click Image to Enlarge)
Step 90:
On the back, with an eraser pencil, make your lines to tell you the location of each wing
(Click Image to Enlarge)
Step 91:
Hold in place
(Click Image to Enlarge)
Step 92:
Make an invisible seam by taking only the fabric from the back of your wing
(Click Image to Enlarge)
Step 93:
Once the back is finished, put your wing so as to see the place and make the invisible seam by penalizing the front of the fabric only you can do 2 times