Lower body: 1 piece of material 9.5cm x 9.5cm high
The center of the lower body: 6.5cm x 6.5cm
The top of the head: 17cm x 11cm high
The bottom of the head: 17cm x 5cm high
The back of the plush: 16.5cm x 21cm high
Arms: 2 pieces of 12.5cm x 8.5cm de high
Tear-off support
Water soluble support
Stuffing, string, and a long sewing needle
Before you begin, print the .PDF to follow the steps
Step 1:
(Click Image to Enlarge)
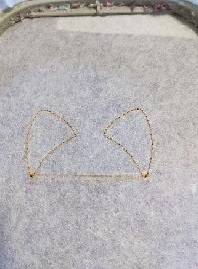
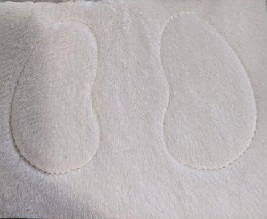
THE EARS
Stop 1: normally this seam is done on your support to indicate where to put your fabric
Stop 2: this is done on your fabric; this seam will join your fabric with your support
Step 2:
(Click Image to Enlarge)
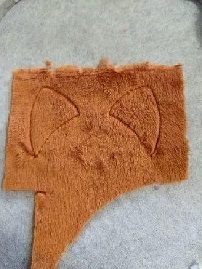
Stop 3: put your piece of fabric that will be the inside of the ears, right sides together on the ears part, this seam will sew your 2 pieces together
Step 3:
(Click Image to Enlarge)
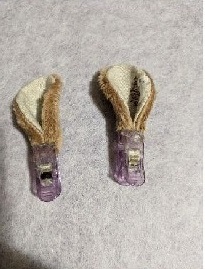
Once your ears and arms are finished, take the ears, put à drop of glue in the center and bend your ear to give a shape to your ears
Step 4:
(Click Image to Enlarge)
THE ARMS
Stop 4: sewing on your support to show you where to put your fabric, put your fabric on this seam, take care to cover the seam
Step 5:
(Click Image to Enlarge)
Stop 5: sewing that will sew your fabric on your support
Step 6:
(Click Image to Enlarge)
Take out the frame, remove the excess fabric, leave a little more in the unsewn portion to help you make your invisible seam
Step 7:
(Click Image to Enlarge)
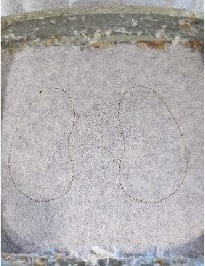
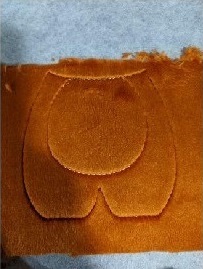
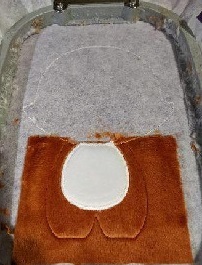
THE LOWER BODY
Stop 1: This is done on your support to show you where to put your piece of fabric
Step 8:
(Click Image to Enlarge)
Stop 2: put your first piece of fabric before sewing this seam will sew your fabric on the support
Step 9:
(Click Image to Enlarge)
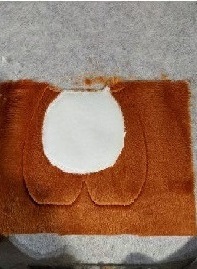
Stop 3: sewing the center of the belly to show you where to put your piece of fabric (beige)
Step 10:
(Click Image to Enlarge)
Stop 4: sewing your fabric piece on your main fabric
Step 11:
(Click Image to Enlarge)
Stop 5: bourdon stitch on the belly piece and stitch all around the head to indicate the size of the head
Step 12:
(Click Image to Enlarge)
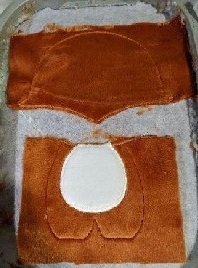
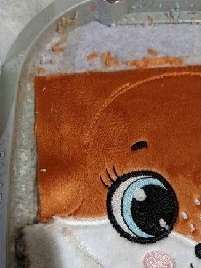
THE HEAD
Stop 6: sewing on your support to show you where to put your fabric in the top of the fac
Step 13:
(Click Image to Enlarge)
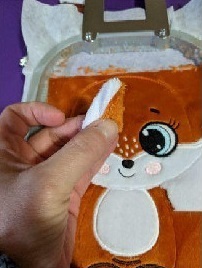
Stop 7: sew the fabric on the top of the face on your support, remove the excess fabric in the bottom of the top of the face, put your fabric for the bottom of the face before moving to the next step
Step 14:
(Click Image to Enlarge)
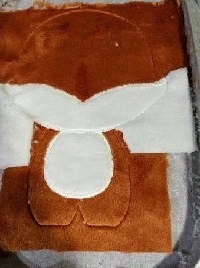
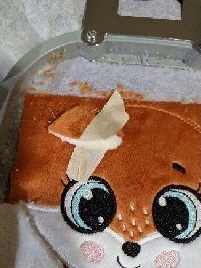
Stop 8: sewing the fabric in the bottom of the face, remove the excess in the top of the bottom of the fac
Step 15:
(Click Image to Enlarge)
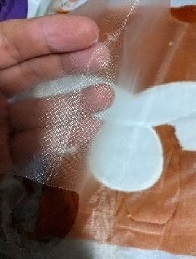
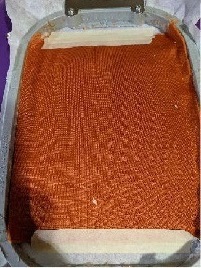
Put on your water-soluble backing before proceeding to the next step
Step 16:
(Click Image to Enlarge)
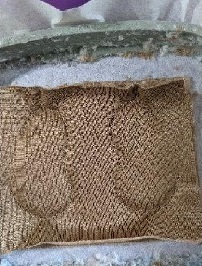
Stop 9 to 14: embroidery, remove your water-soluble support
Step 17:
(Click Image to Enlarge)
Stop 15: seam to show you where top put your ears, take your ear, and fold it a little before putting it on this seam
Step 18:
(Click Image to Enlarge)
Stop 16: sewing of your right ear
Step 19:
(Click Image to Enlarge)
Stop 17: sewing your left ear
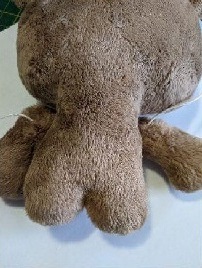
After stop 17, take your piece of fabric for the back of the plush, put il right sides together, making sure to keep the ears and antlers on the inside
Step 20:
(Click Image to Enlarge)
ASSEMBLY
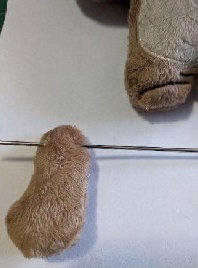
all that is left to do is to assemble the arms on your plush, I work with a small string and a large needle
Step 21:
(Click Image to Enlarge)
Take your needle with the string, stitch from the back of the arm to the front of the arm
Step 22:
(Click Image to Enlarge)
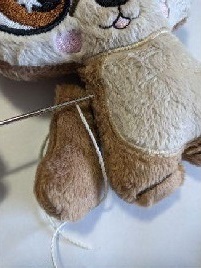
With your needle, go through the body of your plush to put the other arm (right) for the right arm prick from the front to the back of the arm, then go through the body of your plush to join the 2 ends of string.
Step 23:
(Click Image to Enlarge)
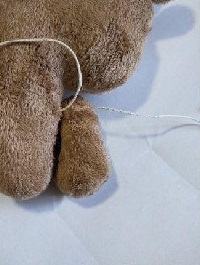
Once together, I tie 3 knots, cut off the excess rope and use glue to glue the knot properly