{{superHeaderAds.title}}
Live Chat
Embroidery Designs
Welcome, Embroiderer
Login
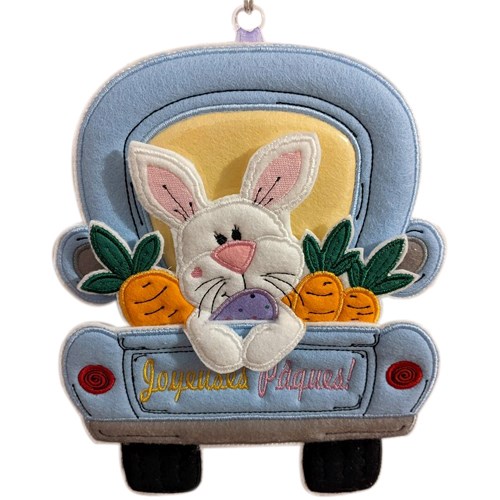
ITH Easter Bunny Truck Wall Hanger
{{mainImageAlt || (productInfo._source && productInfo._source.name) || ''}}

ITH Easter Bunny Truck Wall Hanger Embroidery Project

By   Sew Chic   on   May 15, 2025

PROJECT DETAILS

SKILL LEVEL
Beginner
TIME REQUIRED
00:45
Description

Celebrate Easter with this adorable ITH Bunny Truck wall hanging! Featuring a cheerful bunny with colorful carrots and eggs, this machine embroidery design adds festive charm to your decor. Perfect for felt or fabric, and fun to stitch for all skill level

Project Preview Video


Preface:

© Broderie Dzhiboux. All rights reserved.
This project is officially licensed to ITH Boutique. All images, digitizing rights, step-by-step instructions, and project visuals are the exclusive property of Broderie Dzhiboux. Unauthorized reproduction or distribution is prohibited.

Main Materials

  • White Acrylic Felt (used extensively as a base and backing)

  • Fleece (used as an initial layer on stabilizer for softness and texture)

  • Assorted Felt or Fabric Pieces (various colors and textures used throughout the project for different elements like the truck, bunny, carrots, etc.)

  • Non-woven Stabilizer (foundation material for hooping and stitching)

  • Plastic (optional) (mentioned once, possibly for windows or glossy accents)

  • Embroidery Thread (for all decorative stitching and details)

  • Embroidery Design FileMEITHBDZ122 by Mira Embroidery

Assembly/Finishing Materials

  • Glue (used for final assembly of the layered elements)

  • Ribbon (for hanging or decorative purposes, passed through a small ring)

  • Small Ring (to attach ribbon for hanging)

  • Tape (for securing the ribbon or ring)

  • Decorative Embellishment (like a small heart for finishing touches, optional)


  • Designs used in this project

    Final Product: What You Will Create

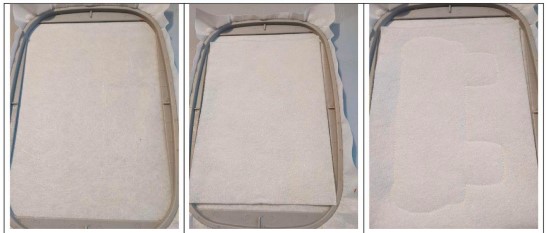
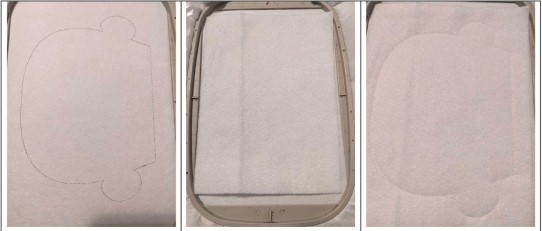
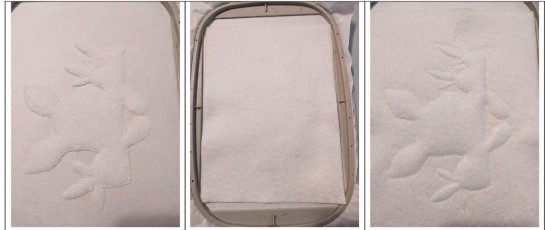
    Step 1:

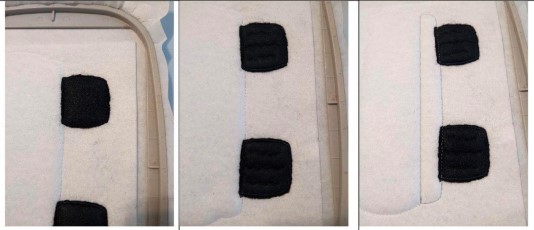
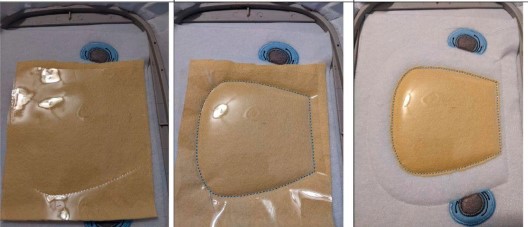
    LOW TRUCK

    • Seam 1: This seam is done on your non-woven stabilizer.

    • Put your fleece on the seam.

    • Seam 2: this seam will hold your fleece on your stabilizer.

    (Click Image to Enlarge)


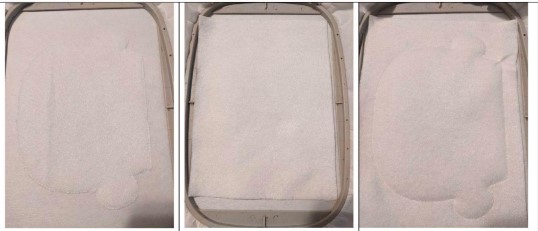
    Step 2:

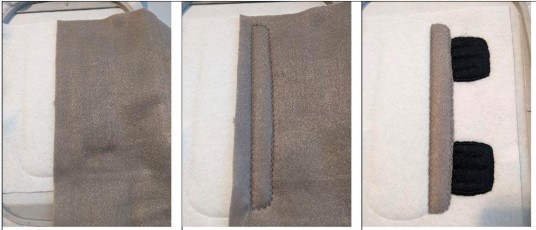
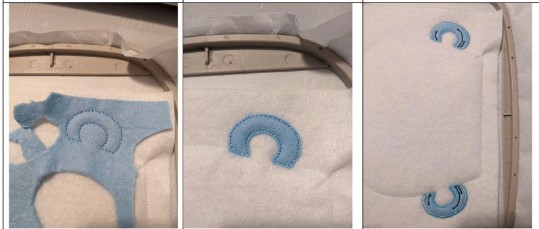
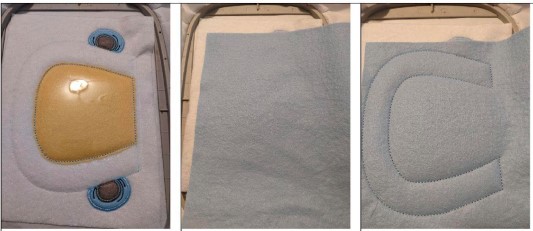
    • Cut excess fleece all the way around.

    • Put your white felt Acrylic.

    • Seam 3: this seam will hold your felt on your stabilizer. DO NOT CUT THE EXCESS.

    (Click Image to Enlarge)


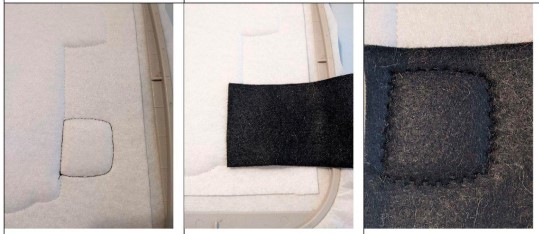
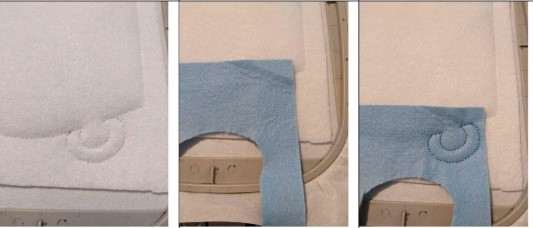
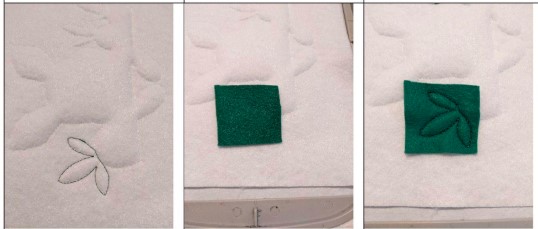
    Step 3:

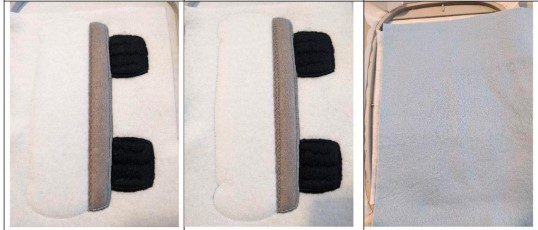
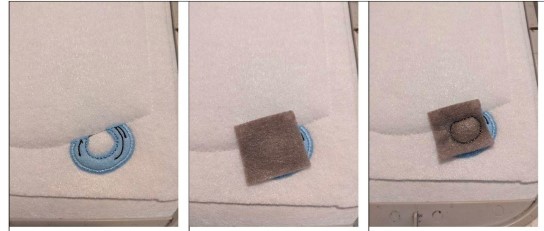
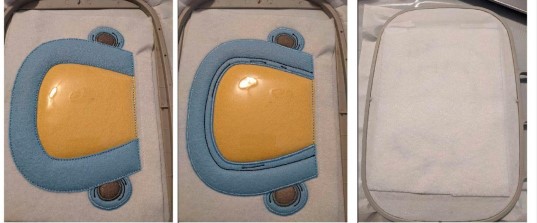
    • Seam 4: this seam tells you the location for your felt or fabric.

    • Position your felt on the seam.

    • Seam 5: this scam will hold your felt in place "Cut excess fabric alt around".

    (Click Image to Enlarge)


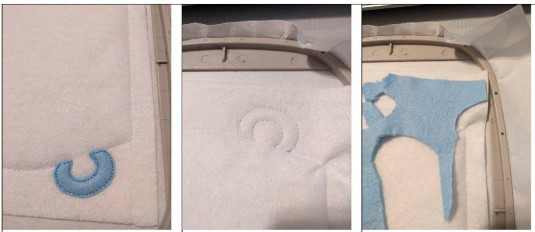
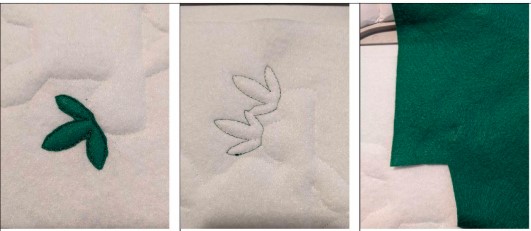
    Step 4:

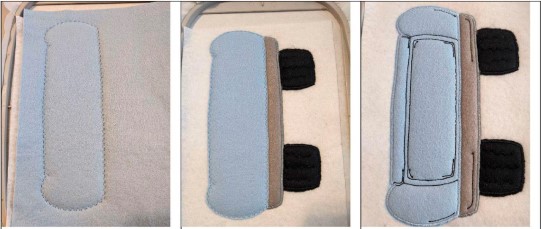
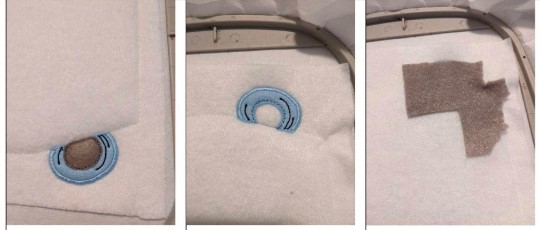
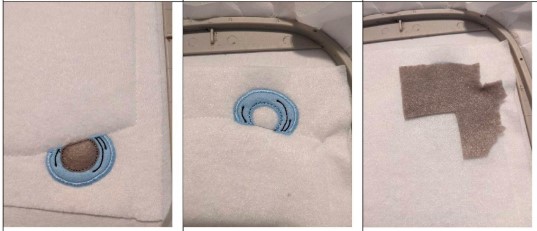
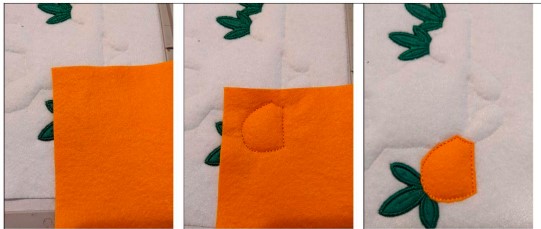
    • Seam 6: This seam tells you the location for your felt or fabric.

    • Position your felt on the seam.

    • Seam 7: this seam will hold your felt in place.

    (Click Image to Enlarge)


    Step 5:

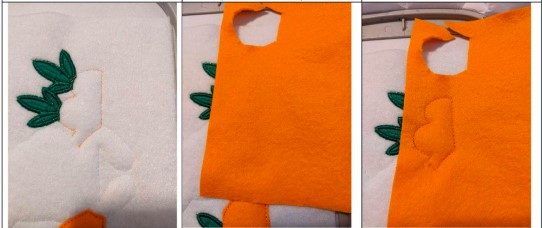
    • Cut excess fabric all around.

    • Sewing 8: embroidery stitches.

    • Seam 9: this stitch tells you the location for your felt or fabric.

    (Click Image to Enlarge)


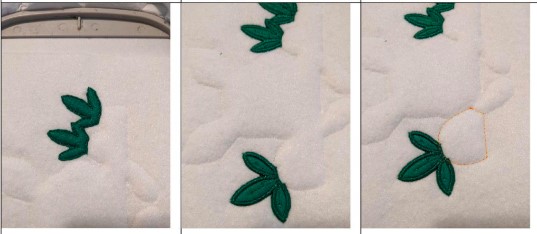
    Step 6:

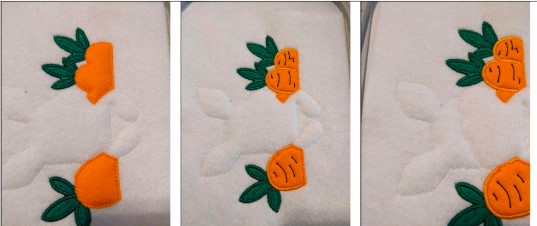
    • Position your felt on the seam.

    • Seam 10: this seam will hold your felt in place.

    • Cut excess fabric all around.

    (Click Image to Enlarge)


    Step 7:

    • Sewing 11: embroidery stitches.

    • Seam 12: this seam tells you the location for your felt or fabric.

    • Position your felt on the seam.

    (Click Image to Enlarge)


    Step 8:

    • Seam 13: this seam will hold your felt in place.

    • Cut excess fabric all around.

    • Sewing 14-15: embroidery stitches.

    (Click Image to Enlarge)


    Step 9:

    • Seam 16: this seam tells you the location for your felt or fabric.

    • Position your felt on the seam.

    • Seam 17: this seam will hold your felt in place.

    (Click Image to Enlarge)


    Step 10:

    • Cut excess fabric all around.

    • Seam 18: this seam tells you the location for your felt or fabric.

    • Position your felt on the seam.

    (Click Image to Enlarge)


    Step 11:

    • Seam 19: this seam will hold your felt in place.Cut excess fabric all around.Sewing.

    • Sewing 20-21: embroidery stitches. 

    • 22-23stitches of embroidery for writing.

    (Click Image to Enlarge)


    Step 12:

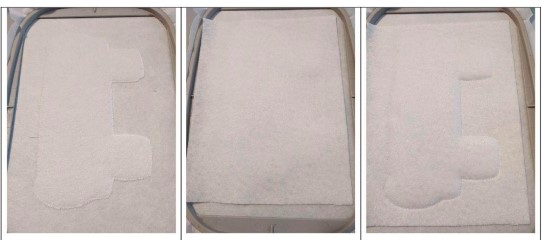
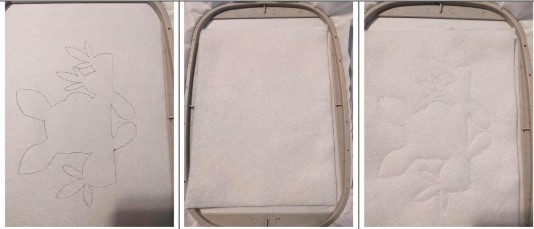
    • Put your 2nd piece of white acrylic felt on the back of your project (back of the frame).

    • Sewing 24: this seam will join your 2 pieces of white acrylic felt together.

    • Get out of the frame and cut the excess felt all the way, set aside until mounting.

    (Click Image to Enlarge)


    Step 13:

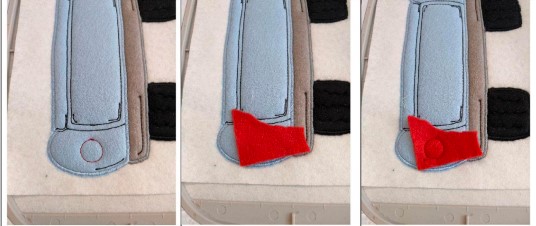
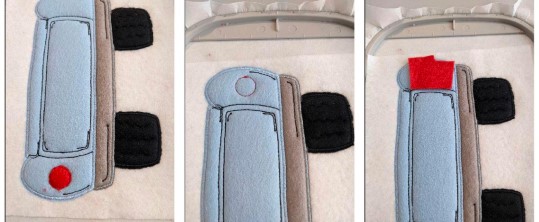
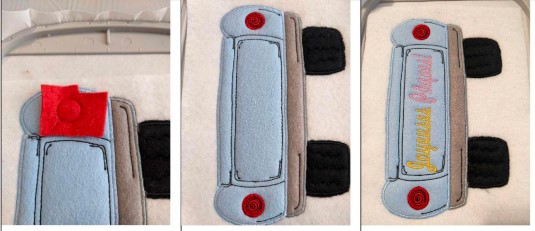
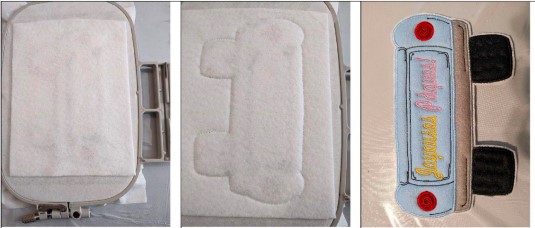
    Top Of Truck

    • Seam 1: this seam is done on your non-woven stabilizer.

    • Put your fleece on the seam.

    • Seam 2: this seam will hold your fleece on your stabilizer.

    (Click Image to Enlarge)


    Step 14:

    • Cut excess fleece all the way around.

    • Put your white felt Acrylic.

    • Seam 3: this seam will hold your felt on your stabilizer. DO NOT CUT THE EXCESS.

    (Click Image to Enlarge)


    Step 15:

    • Seam 4: this seam tells you the location for your felt or fabric.

    • Position your felt on the seam.

    • Seam 5: this seam will hold your felt in place.

    (Click Image to Enlarge)


    Step 16:

    • Cut excess fabric all around.

    • Seam 6: This seam tells you the location for your felt or fabric.

    • Position your felt on the sear.

    (Click Image to Enlarge)


    Step 17:

    • Seam 7: this seam will hold your felt in place.

    • Cutexcess fabric all around.

    • Sewing 8-9, embroidery sticcnes.

    (Click Image to Enlarge)


    Step 18:

    • Seam 10: this seam tells you the location for your felt or fabric.

    • Position your felt on the seam.

    • Seam 11: this seam will hold your felt in place.

    (Click Image to Enlarge)


    Step 19:

    • Cut excess fabric all around.

    • Seam 12: this seam tells you the location for your felt. or fabric.

    • Position your felt on the seam.

    (Click Image to Enlarge)


    Step 20:

    • Seam 13: this seam will hold your felt in place Cut excess fabric all around.

    • Sewing 14: embroidery stitches.

    • Seam 15: this seam tells you the location for your felt or fabric.

    (Click Image to Enlarge)


    Step 21:

    • Position your felt and plastic (optional) on the seam.

    • Seam 16: this seam will hold your felt in place.

    • Cut excess fabric all around.

    (Click Image to Enlarge)


    Step 22:

    • Seam 17: this seam tells you the location for your felt or fabric.

    • Position your felt on the seam.

    • Seam 18: this seam will hold your felt in place.

    (Click Image to Enlarge)


    Step 23:

    • Cut excess fabric all around.

    • Sewing 19-20 embroidery stitches.

    • Put your 2nd piece of white acrylic felt on the back of your project (back of the frame).

    (Click Image to Enlarge)


    Step 24:

    • Couture 21: this seam will join your 2 pieces of white acrylic felt together.       

    • Get out of the frame and cut the excess felt all the way, set aside until mounting.


    Step 25:

    Rabbit With Carrots:

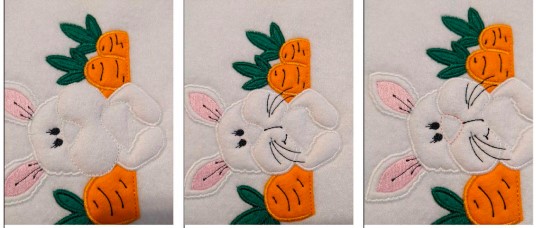
    • Seam 1: this seam is done on your non-woven stabilizer.

    • Put your fleece on the seam.

    • Seam 2: this seam will hold your fleece on your stabilizer.

    (Click Image to Enlarge)


    Step 26:

    • Cut excess fleece all the way around.

    • Put your white felt Acrylic.

    • Seam 3: this seam will hold your felt on your "DO NOT CUT THE EXCESS*.

    •  

    (Click Image to Enlarge)


    Step 27:

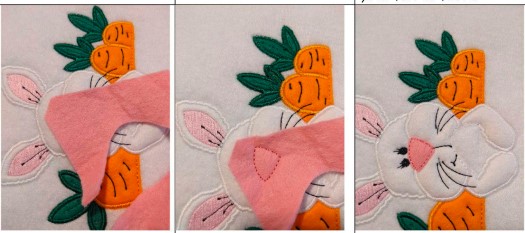
    • Seam 4: this seam tells you the location for your felt or fabric.

    • Position your felt on the seam.

    • Seam 5: this seam will hold your felt in place.

    (Click Image to Enlarge)


    Step 28:

    • Cut excess fabric all around.

    • Seam 6: This seam tells you the location for your felt or fabric.

    • Position your felt on the seam.

    (Click Image to Enlarge)


    Step 29:

    • Seam 7: this seam will Cut excess fabric all.

    • Sewing 8-9: embroidery scicches.

    • Seam 10: this seam tells you the location for your felt or fabric.

    (Click Image to Enlarge)


    Step 30:

    • Position your felt on the seam.

    • Seam 11: this seam witl hold your felt in place.

    • Cut excess fabric all around.

    (Click Image to Enlarge)


    Step 31:

    • Seam 12: this seam tells you the location for your felt or fabric.

    • Position your felt on the seam.

    • Seam 13: this seam will hold your felt in place.

    (Click Image to Enlarge)


    Step 32:

    • Cut excess fabric all aroune.

    • Sewing 14-15: embroidery stitches.

    • Seam 16: this seam tells you the location for your felt or fabric.

    (Click Image to Enlarge)


    Step 33:

    • Position your felt on the.

    • Seam 17: this seam will hold your felt in place Cut excess fabric all around.

    • Sewing 18-19-20: embroidery sciccnes.

    (Click Image to Enlarge)


    Step 34:

    • Seam 21: this seam tells you the location for your felt or fabric.

    • Position your felt on the seam.

    • Seam 22: this seam will hold your felt in place.

    (Click Image to Enlarge)


    Step 35:

    • Cut excess fabric all around.

    • Seam 23: this seam tells you the location for your felt or fabric.

    • Position your felt on the seam.

    (Click Image to Enlarge)


    Step 36:

    • Seam 24: this seam will hold your felt in place.

    • Cut excess fabric all around.

    • Sewing 25: embroidery stitches.

    (Click Image to Enlarge)


    Step 37:

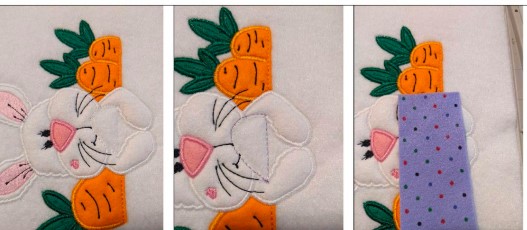
    • Seam 26: this seam tells you the location for your felt or fabric.

    • Position your felt on the seam.

    • Seam 27: this seam will hold your felt in place.

    (Click Image to Enlarge)


    Step 38:

    • Cut excess fabric all around.

    • Sewing 28-29:embroidery stitches.

    • Seam 30: this stitching tells you the location for your felt or fabric.

    (Click Image to Enlarge)


    Step 39:

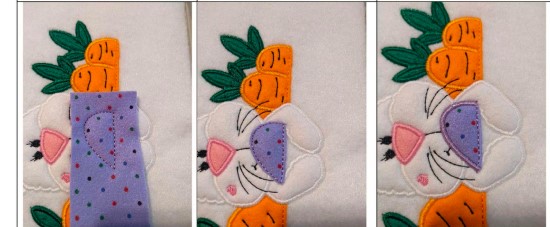
    • Position your felt on the seam.

    • Seam 31: this seam will hold your felt in place.

    • Cut excess fabric all around.

    (Click Image to Enlarge)


    Step 40:

    • Couture 32: embroidery stitches.

    • Seam 33: this seam tells you the location for your felt or fabric.

    • Position your felt on the seam.

    (Click Image to Enlarge)


    Step 41:

    • Seam 34: this seam will hold your felt in place.

    • Cut excess fabric all around.

    • Sewing 35: embroidery stitches.

    (Click Image to Enlarge)


    Step 42:

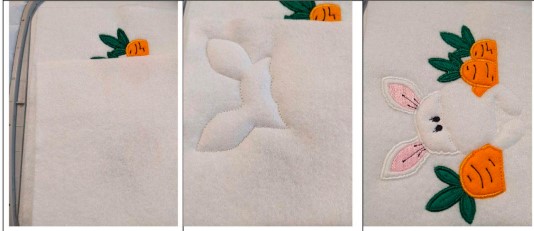
    • Put your 2nd piece of white acrylic felt on the back of your project (back of the frame).

    • Couture 36: this seam will join your 2 pieces of white acrylic felt together.

    • get out of the frame and cut the excess felt all the way, set aside until mounting.

    (Click Image to Enlarge)


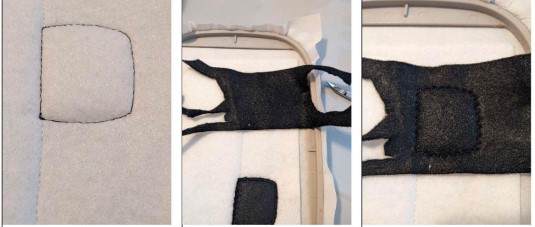
    Step 43:

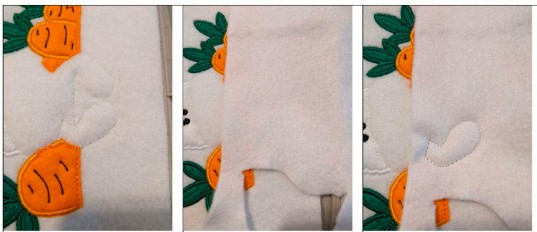
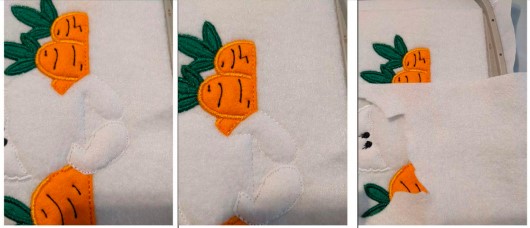
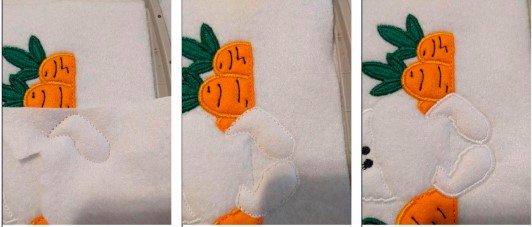
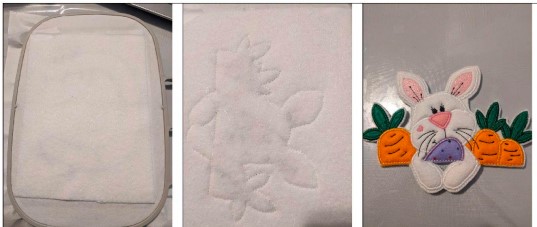
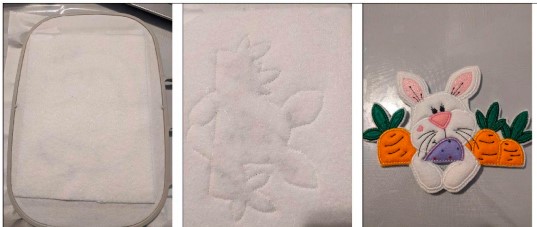
    • Cut on each side of the arms, taking care not to cut the bumblebee point on the side of the arms.

    • Start by gluing the center under the arms (egg).

    • Stick on each side (carrot section).

    (Click Image to Enlarge)


    Step 44:

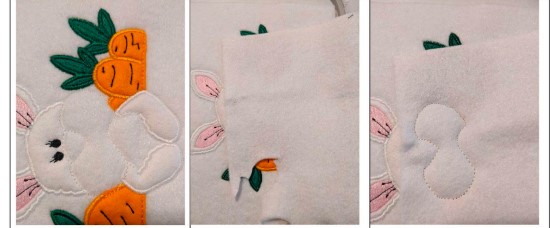
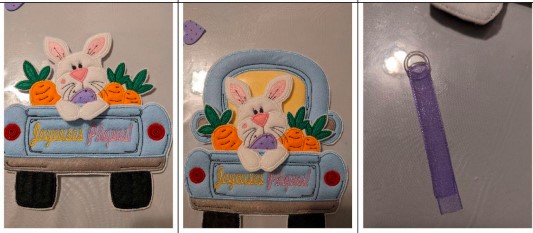
    • Fold the rabbit's arms over the bottom of the truck.

    • Stick the top of the truck on the back of the bottom of the truck.

    • Cut your tape length, pass through the small ring.

    (Click Image to Enlarge)


    Step 45:
    (Click Image to Enlarge)

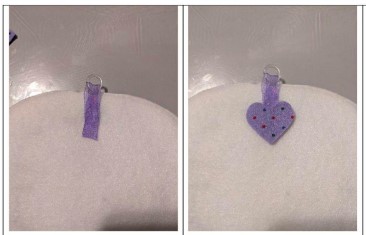
    • Stick your ribbon with the small ring on the center of the back of your project.

    • I cut a small heart for a beautiful finish.

    Meet the Author: Sew Chic
    Sew Chic
    Embroidery Enthusiast
    More From This Author
    Link is Broken, Please check the URL
    Exclusive Embroidery Offers!
    Copyright © {{ currentDate | date:'yyyy'}} - EmbroideryDesigns.com