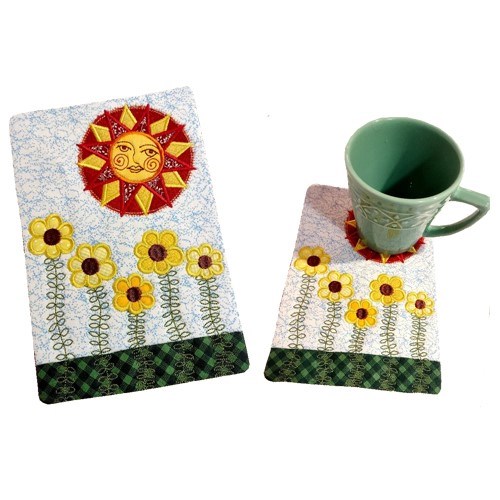
Bring a sunny touch to your morning coffee with our Happy Sun Mug Rug. This In the Hoop Embroidery design features vibrant flowers and a cheerful sun to brighten up your day
4” x 4 - 5” x 7” - 6” x 10” or an extra-large embroidery hoop.
Fabric in your favorite colors.
2.5-ounce Cut-away Stabilizer.
Repositionable adhesive spray
Fabric scissors
Final Product: What You Will Create
Preface:
This is a
collaboration between ITH Boutique and Emerson.
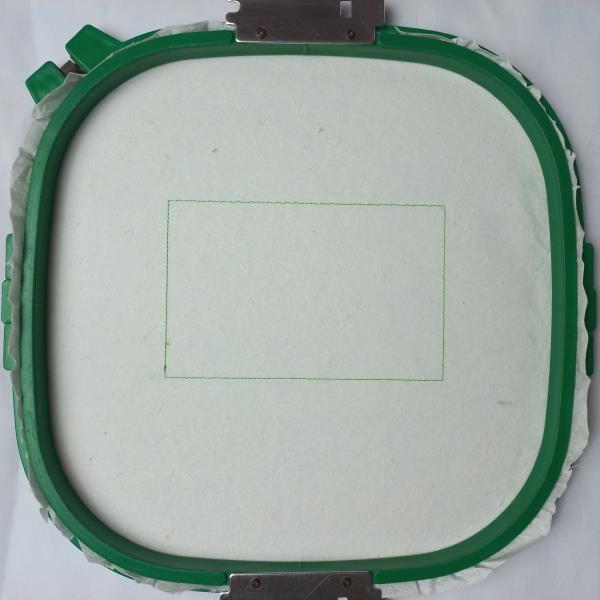
Step 1:
For this project tautly hoop 2.5-ounce cutaway stabilizer in your embroidery hoop and run color-stop 1 as a placement line.
(Click Image to Enlarge)
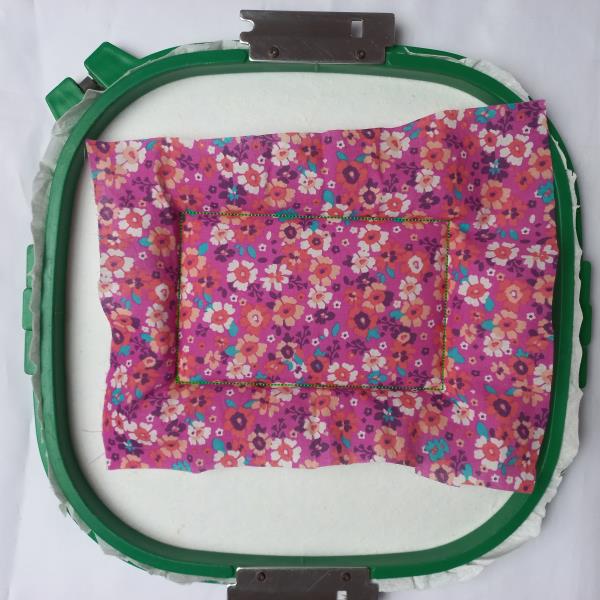
Step 2:
Remove the hoop from the machine, do not unhoop. Cover the placement line with batting and printed fabric with the help of the repositionable adhesive spray, and run color-stops 2 and 3.
(Click Image to Enlarge)
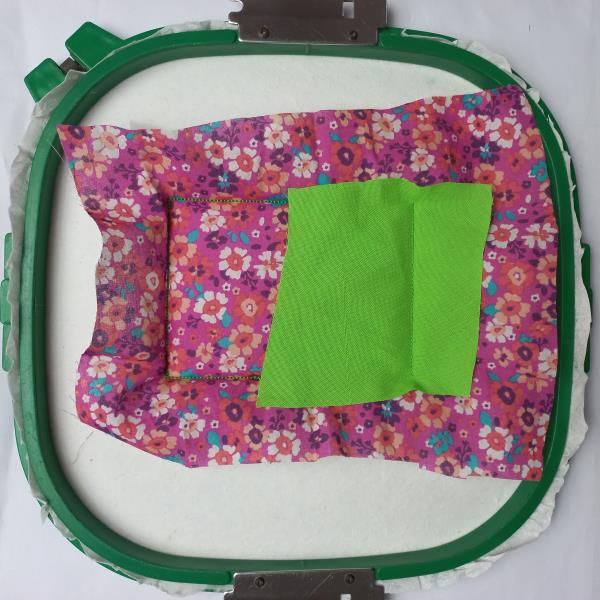
Step 3:
Run color-stop 4 as a placement line. Cover the placement line with a green fabric facing down, and repeat color-stop 4.
(Click Image to Enlarge)
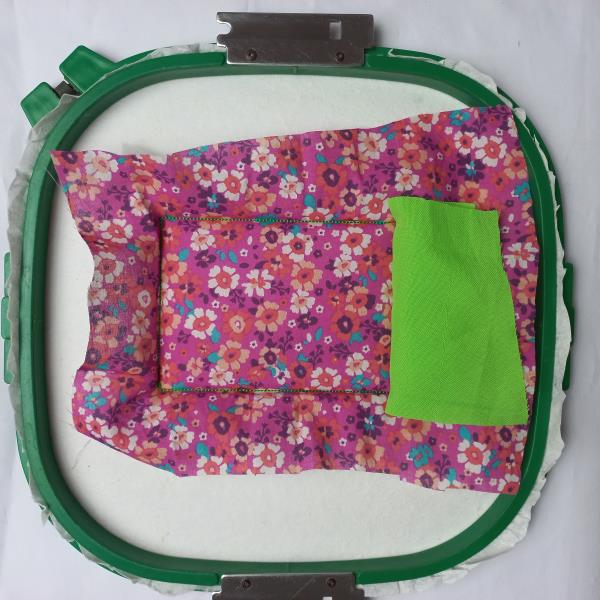
Step 4:
Fold the fabric by the stitching made by the color-stop 4. And run color-stops 5 and 6.
(Click Image to Enlarge)
Step 5:
Fold the fabric by the stitching made by the color-stop 4. And run color-stops 5 and 6.
(Click Image to Enlarge)
Step 6:
Fold the fabric by the stitching made by the color-stop 4. And run color-stops 5 and 6.
(Click Image to Enlarge)
Step 7:
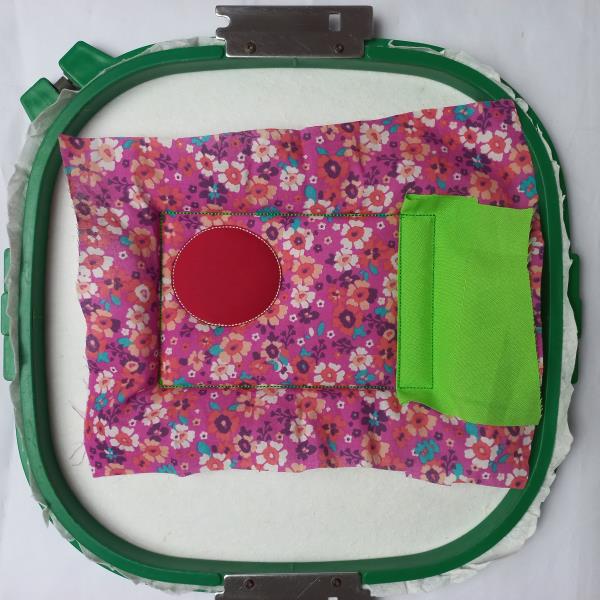
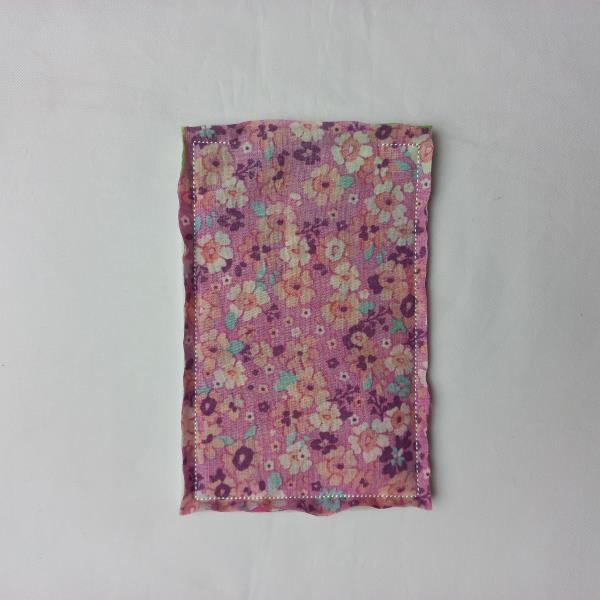
Run color-stop 11 as a placement line. Cover the placement line with printed fabric, and run color-stop 12. Cut the excess fabric.
(Click Image to Enlarge)
Step 8:
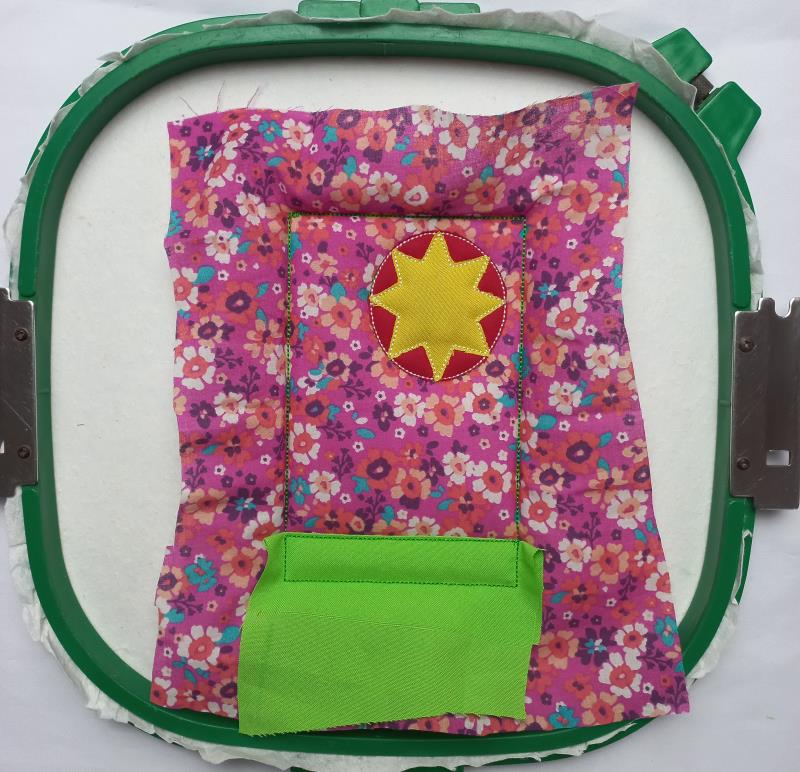
Run color-stop 13 as a placement line. Cover the placement line with yellow fabric, and run color-stop 14. Cut the excess fabric.
(Click Image to Enlarge)
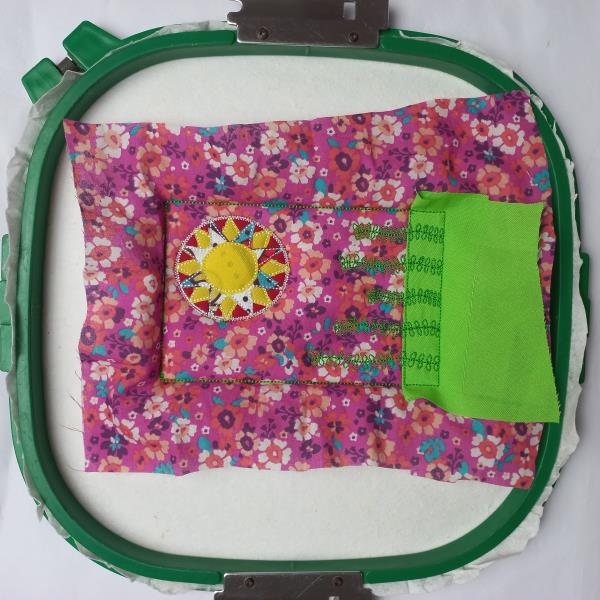
Step 9:
Run color-stop 15 and color-stop 16.
(Click Image to Enlarge)
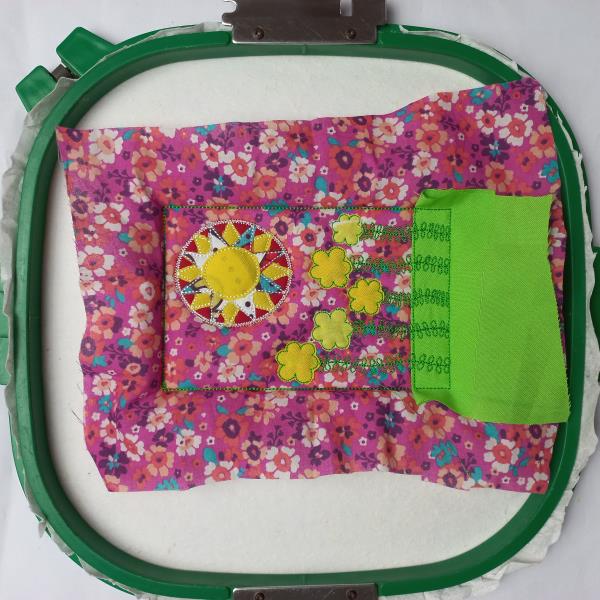
Step 10:
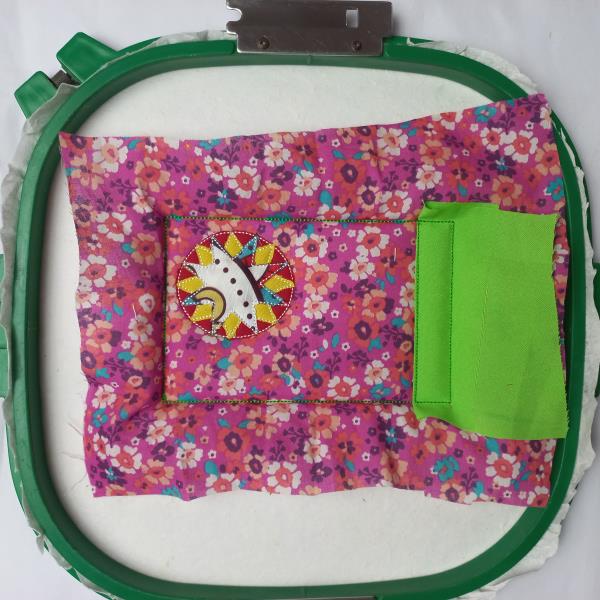
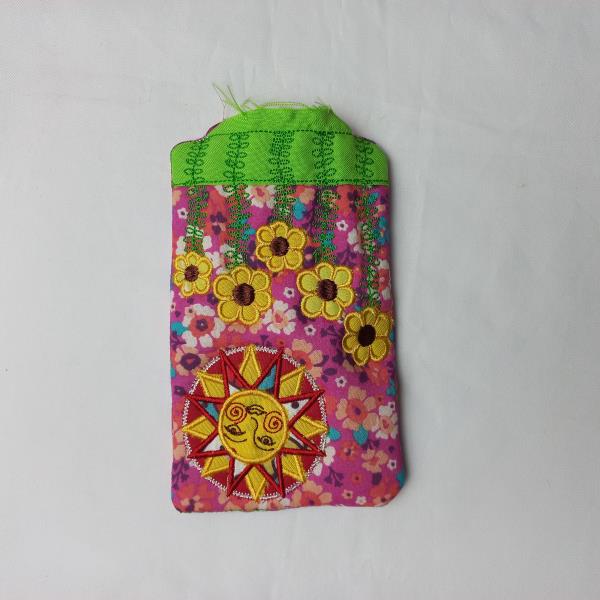
Run color-stop 17 as a placement line. Cover the placement line with yellow fabric, and run color-stop 18. Cut the excess fabric. And repeat this step for the other flowers, until you see the color-stop 26.
(Click Image to Enlarge)
Step 11:
Run color-stop 17 as a placement line. Cover the placement line with yellow fabric, and run color-stop 18. Cut the excess fabric. And repeat this step for the other flowers, until you see the color-stop 26
(Click Image to Enlarge)
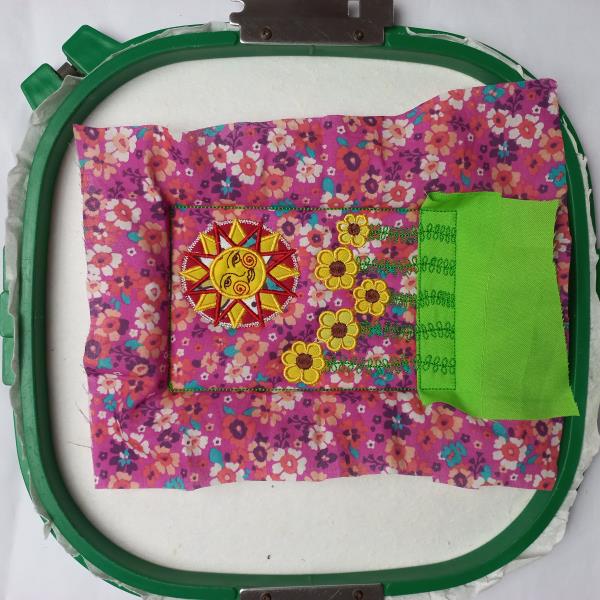
Step 12:
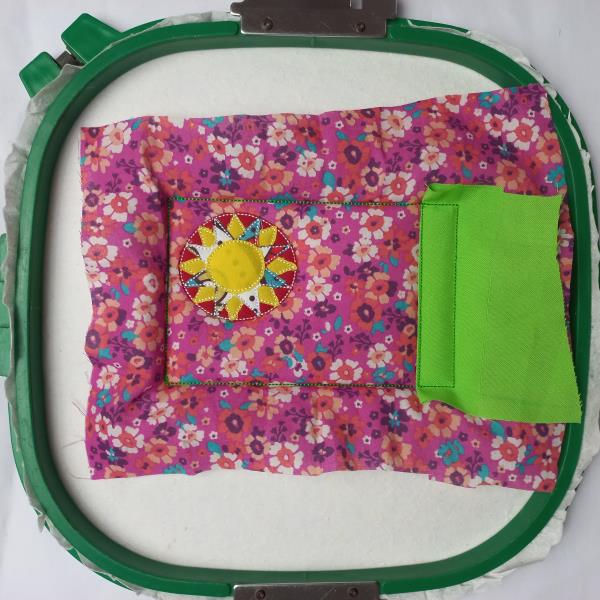
Run color-stop 17 as a placement line. Cover the placement line with yellow fabric, and run color-stop 18. Cut the excess fabric. And repeat this step for the other flowers, until you see the color-stop 26.
(Click Image to Enlarge)
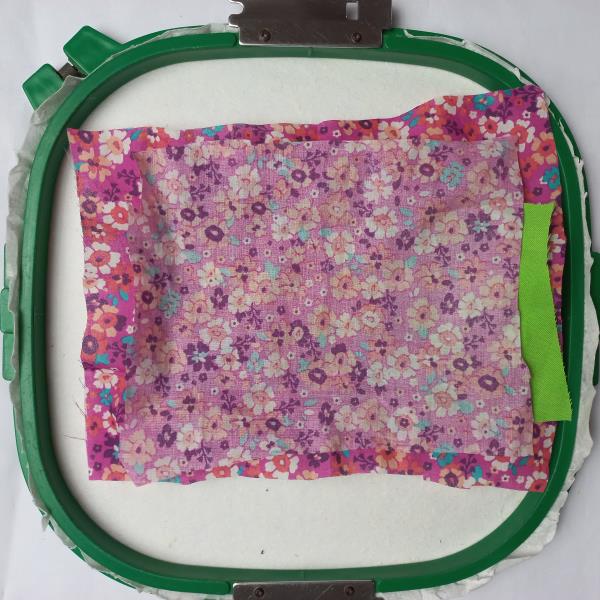
Step 13:
Remove the project from the hoop and cut the outline with sharp scissors leaving a homogeneous margin.
(Click Image to Enlarge)
Step 14:
Remove the project from the hoop and cut the outline with sharp scissors leaving a homogeneous margin.
(Click Image to Enlarge)
Step 15:
Close the piece with the help of a needle and thread or some type of textile glue as they are arranged in the image. Have fun doing this beautiful project.