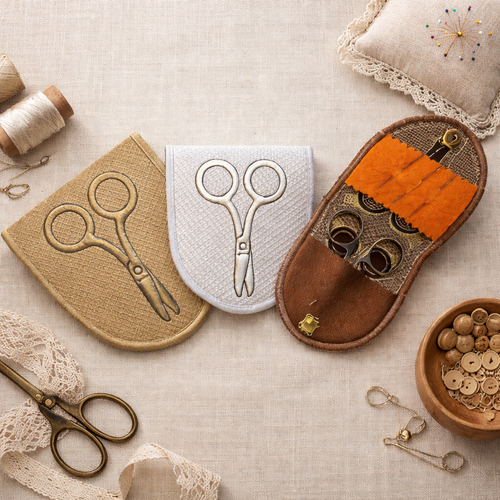
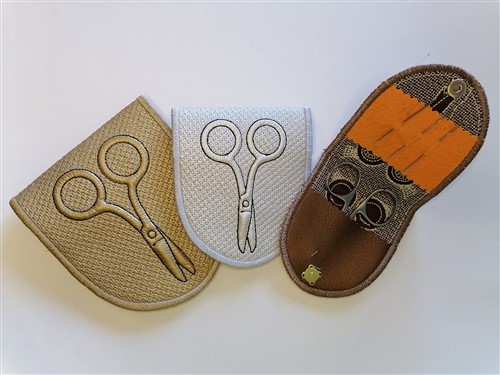
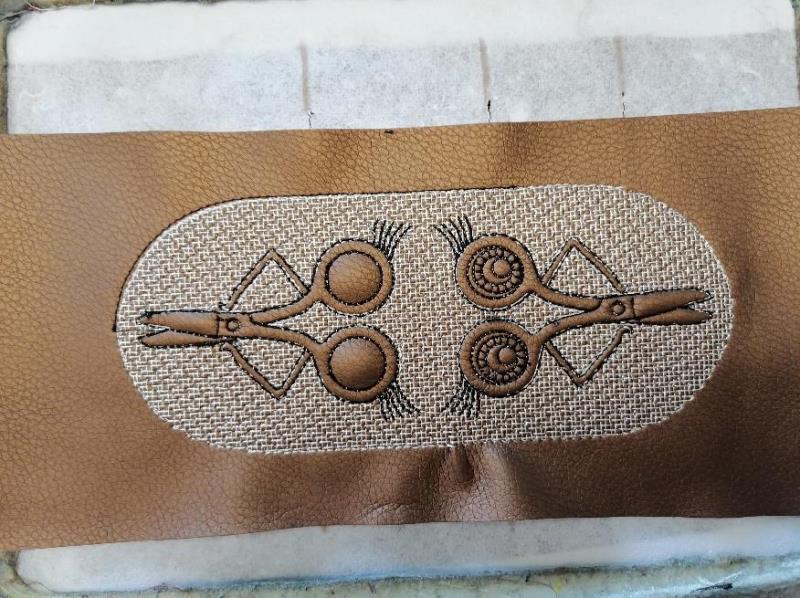
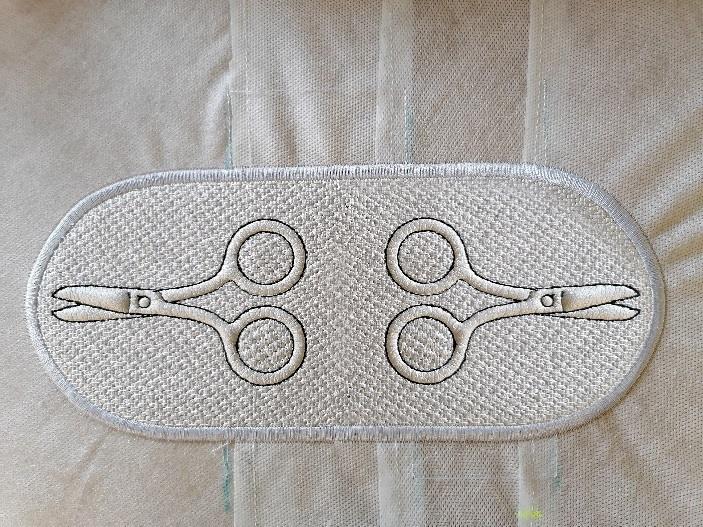
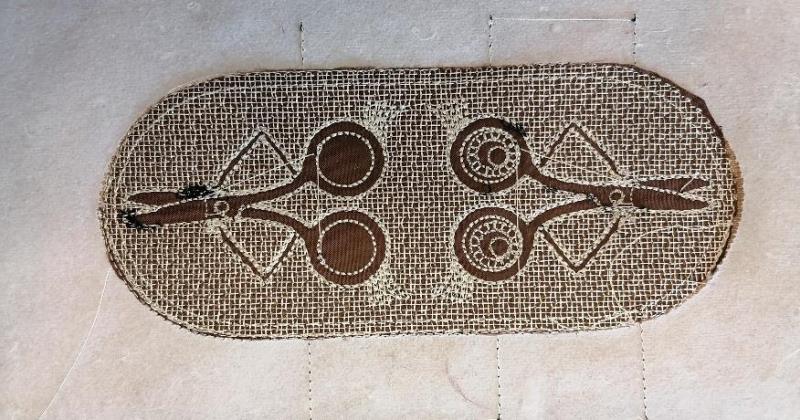
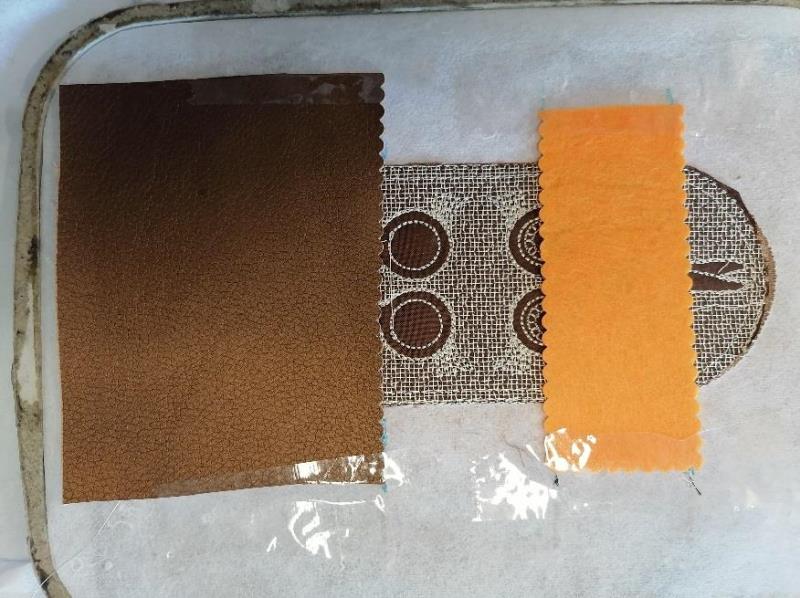
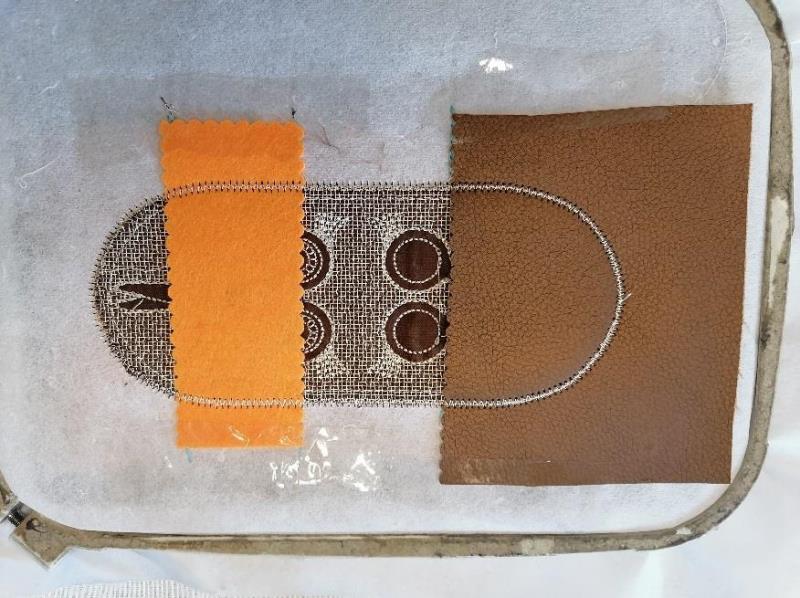
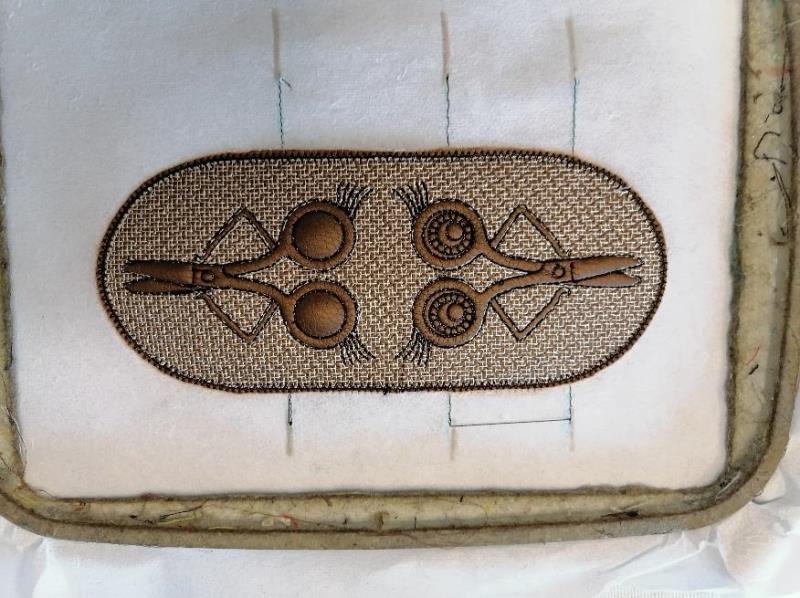
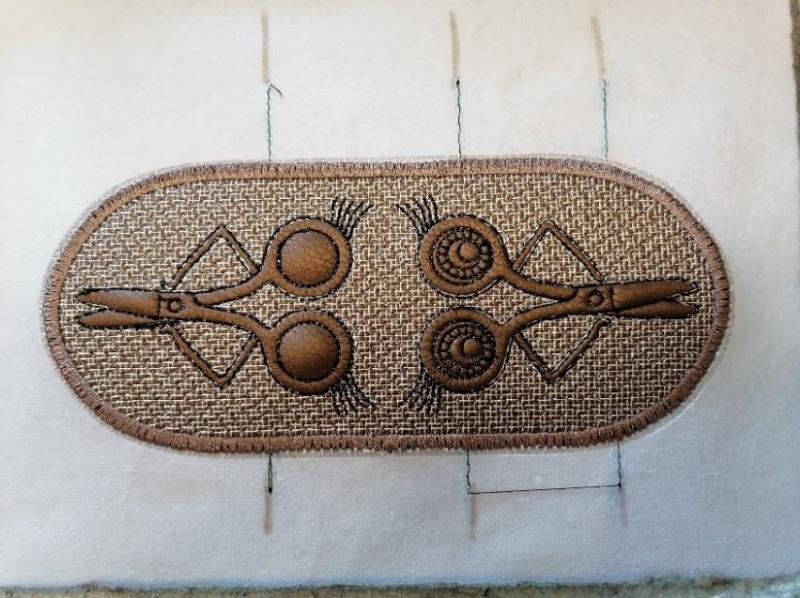
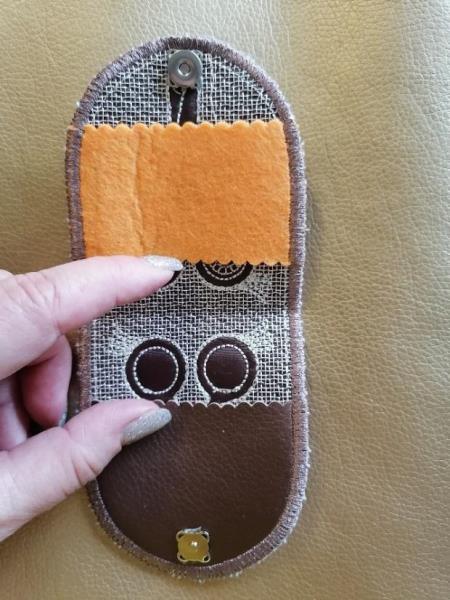
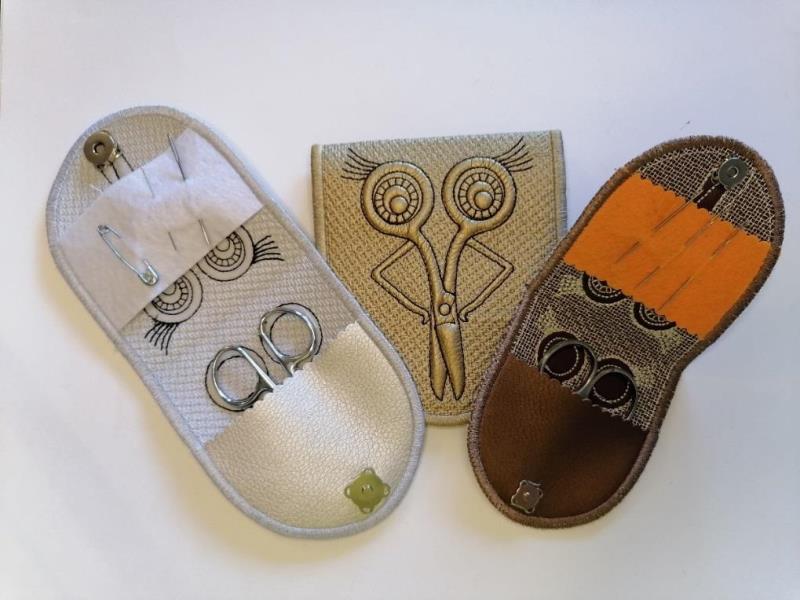
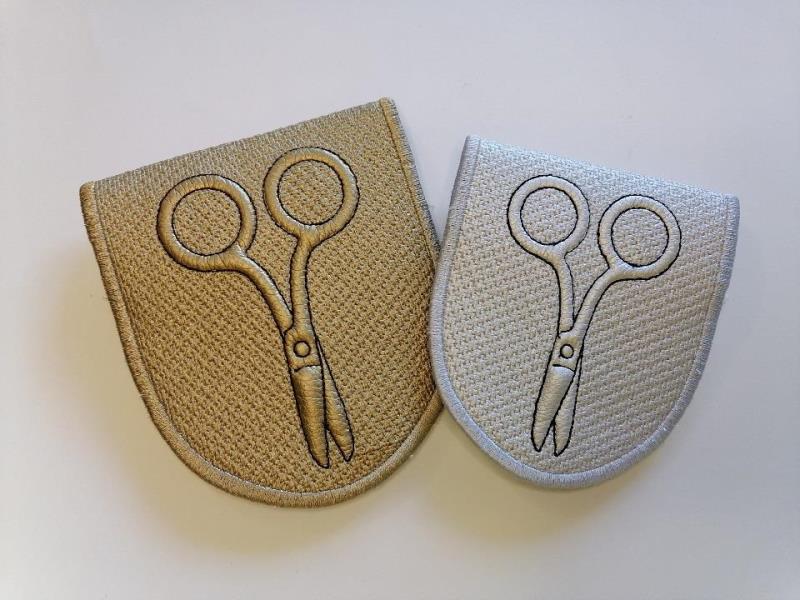
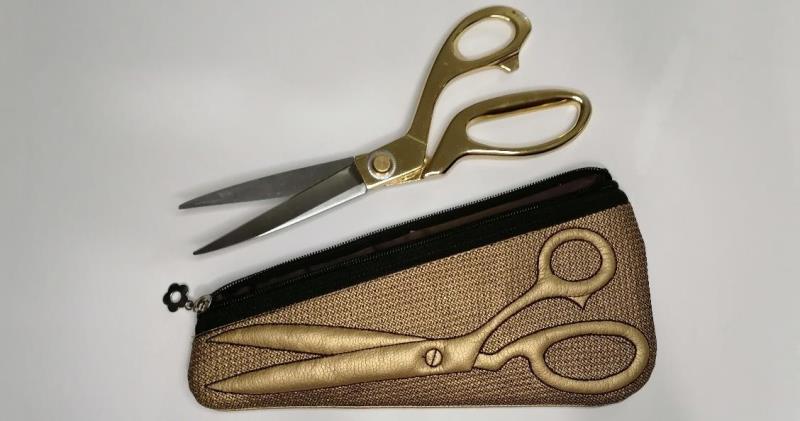
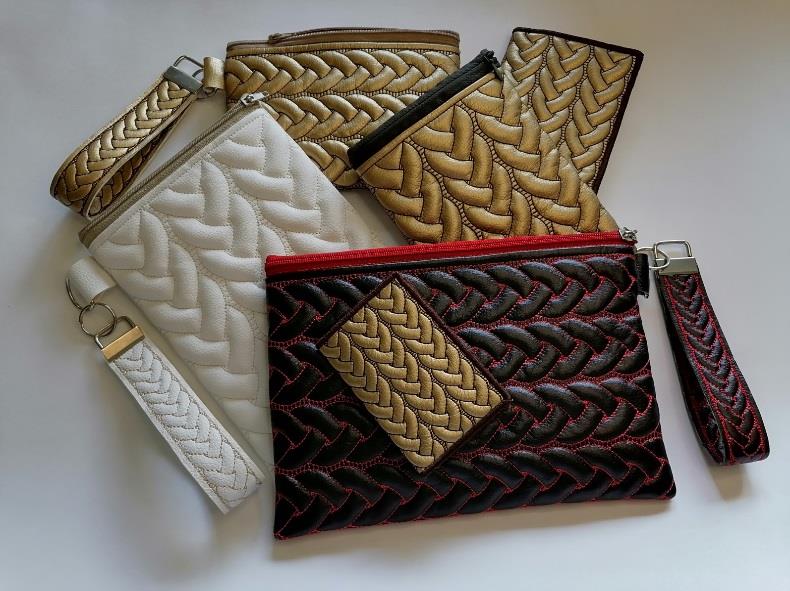
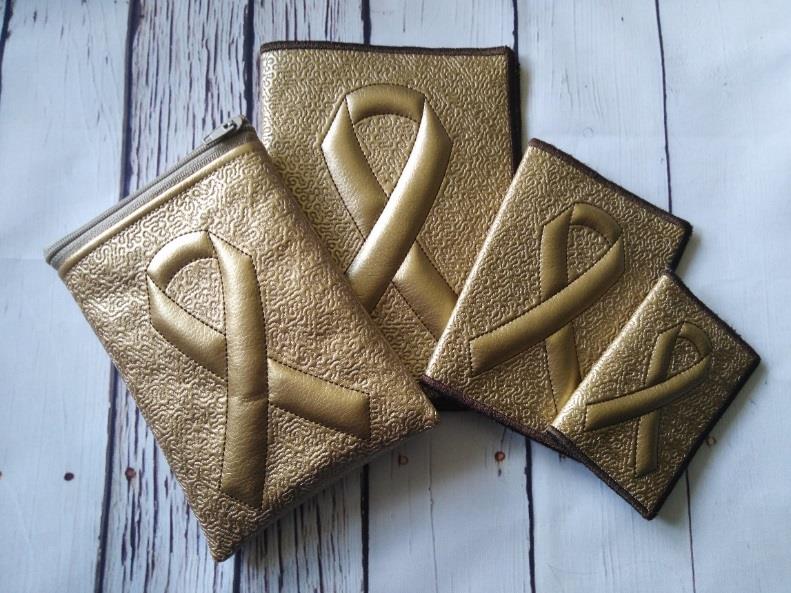
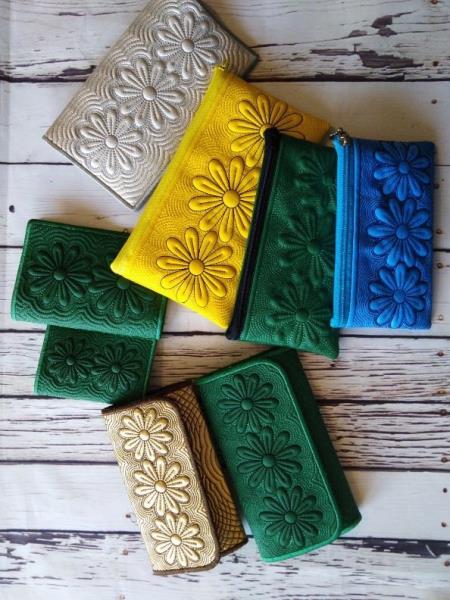
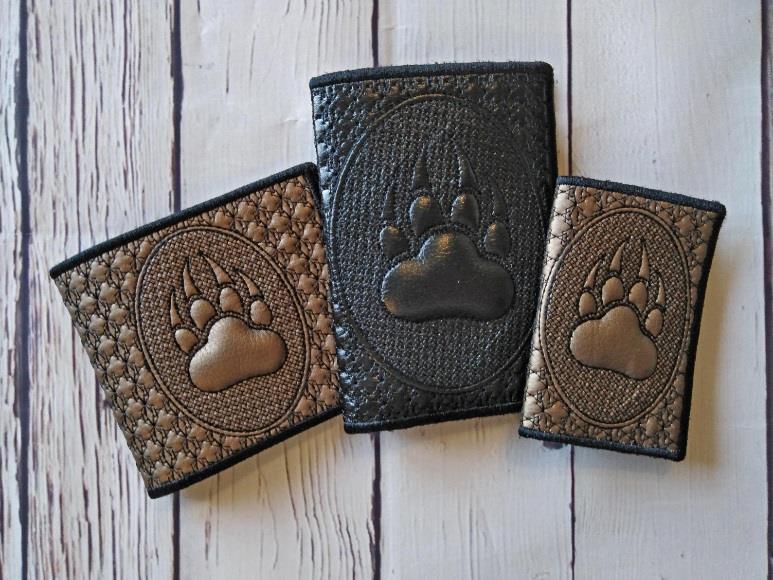
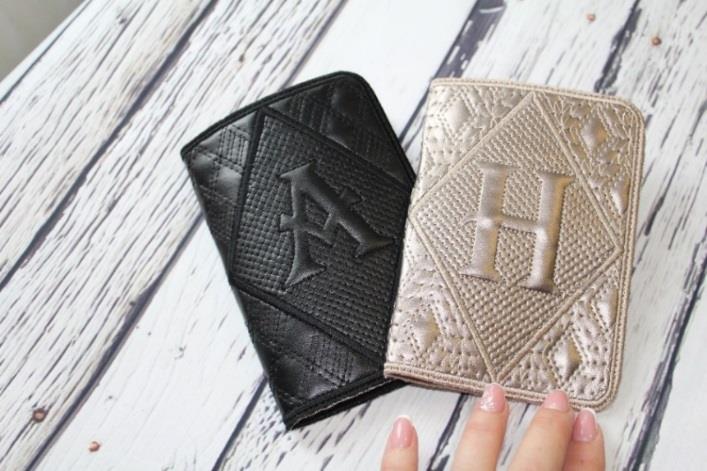
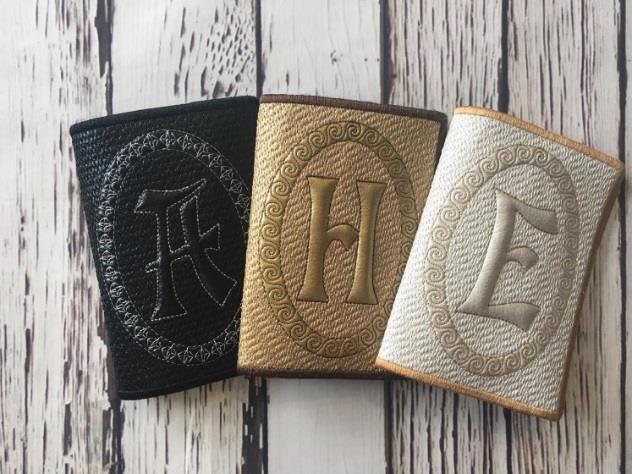
Create a stylish and practical ITH scissor keeper with this in-the-hoop embroidery design. Perfect for protecting embroidery scissors, these snap-close holders stitch fully in the hoop and make great gifts for sewists and crafters.
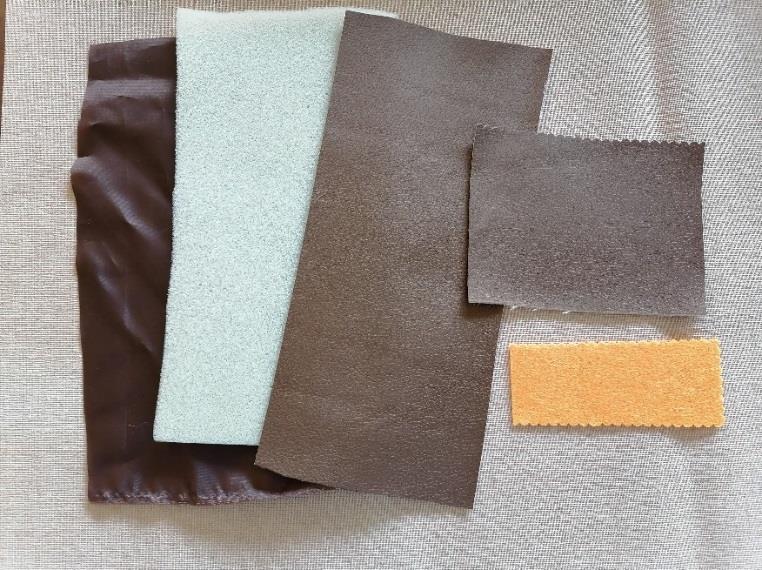
I use eco-leather and vinyl leather with a thickness of 0.6-0.85 mm. If the skin is very thin, it should be glued with a thin dublerin. The filler – rubber foam with a thickness of 5 mm or polyester batting 80 or 100. Also need the button.
Keep your scissors organized and easily accessible with this In-The-Hoop embroidery design for a scissor case. This digital embroidery project comes with step-by-step instructions and a design that fits perfectly in a hoop, allowing you to create a functional and stylish scissor case with ease. Choose your own colors and fabric patterns to make it truly your own or personalize it as a thoughtful gift for a fellow sewing enthusiast.
This is a collaboration between ITH Boutique and Imilova.
Step 1:
Video manual on the link. (Sorry that the video is without sound)
https://youtu.be/AJbkQwulTyY
Pay attention this is a universal instruction.
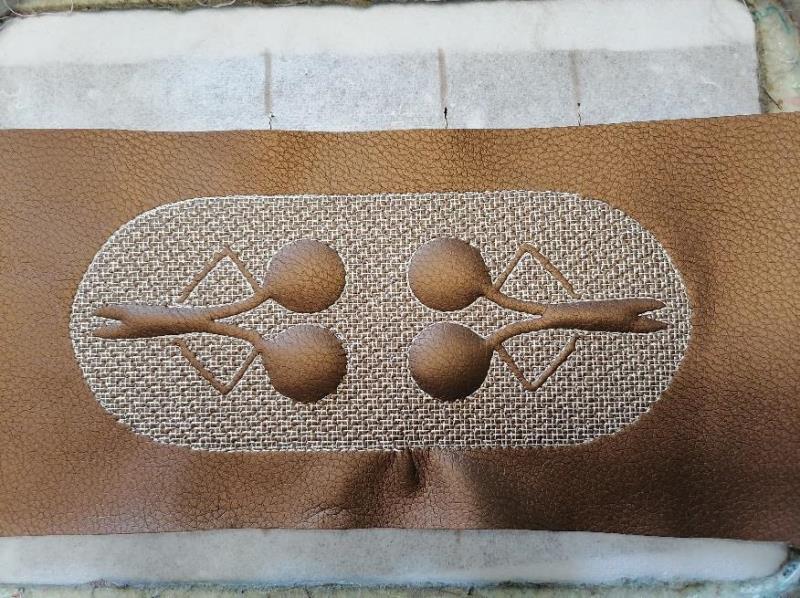
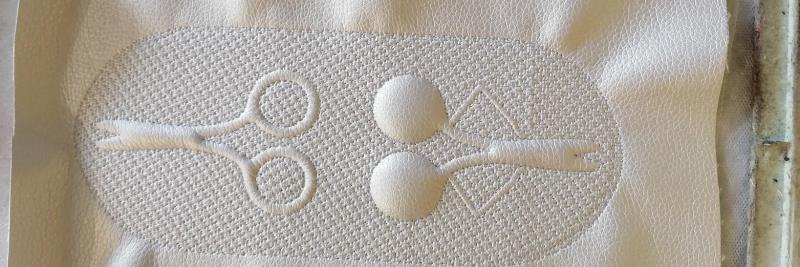
This instruction will work with most of my scissors cases. So the patterns in the photo may be different (I'm sorry). But Photos with this purchased design will be placed next.
Your purchase is only 1 design option
Recommended fabrics.
The choice of fabric depends on your preferences.
I use eco-leather and vinyl leather with a thickness of 0.6-0.85 mm. If the skin is very thin, it should be glued with a thin dublerin. The filler – rubber foam with a thickness of 5 mm or polyester batting 80 or 100. Also need the button.
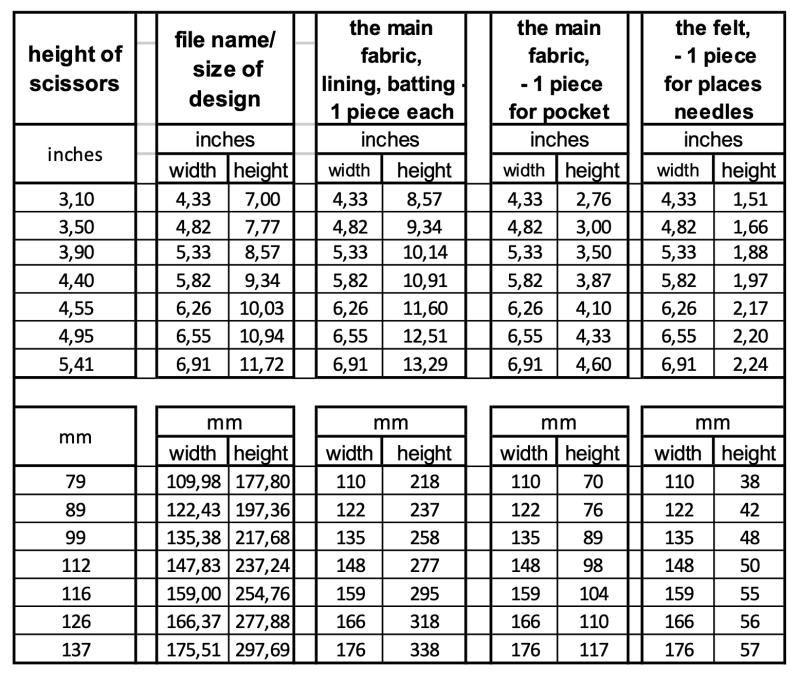
Download the archive to your computer. Extract the files from the archive. Measure the height of your scissors and select the desired file
Download file to your embroidery machine in the way you are used to.
Cut the fabric, lining and batting the size and quantity according to the table.
(Click Image to Enlarge)
Step 2:
.
(Click Image to Enlarge)
Step 3:
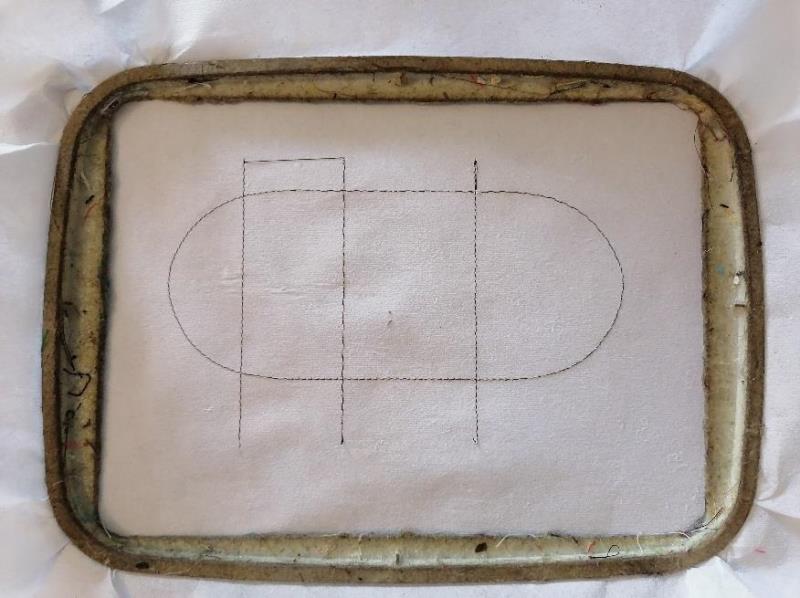
Hoop tearaway or water-soluble stabilizer.
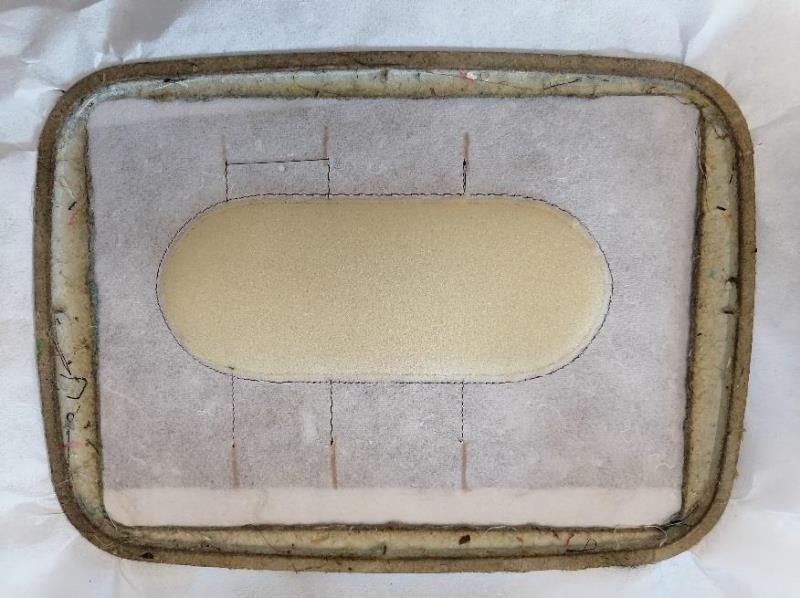
Stitch Color 1 - the placement line for design, the pocket and a needles place
(Click Image to Enlarge)
Step 4:
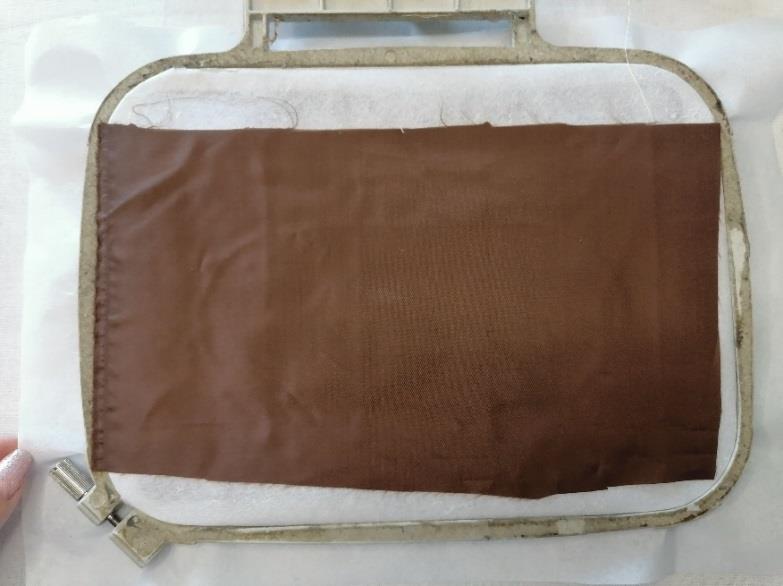
Turn the hoop over so the wrong side is up. Place Lining right side up.
You can use temporary fixation glue
(Click Image to Enlarge)
Step 5:
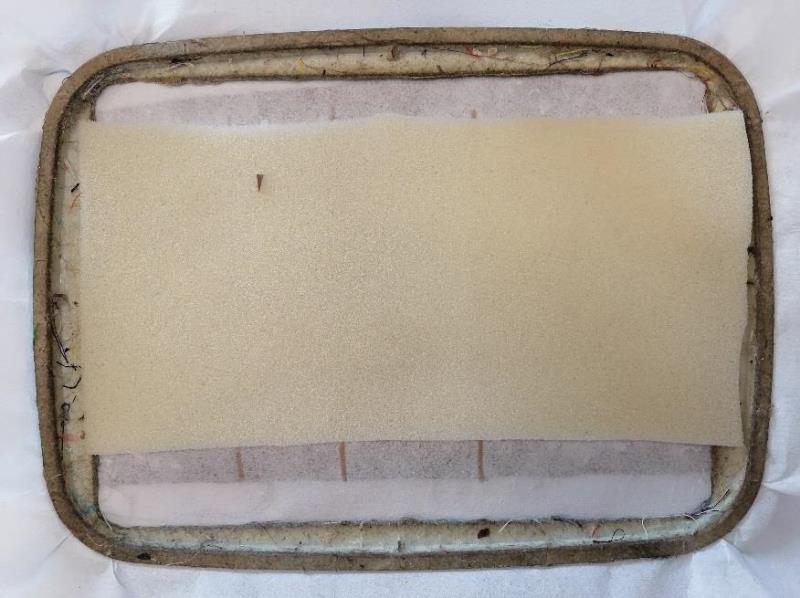
Put polyester batting.
You can use temporary fixation glue
(Click Image to Enlarge)
Step 6:
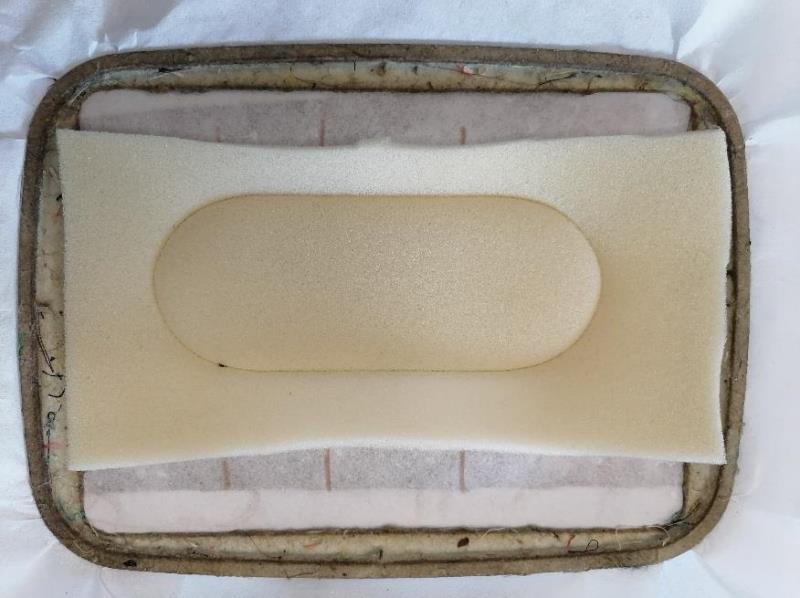
Stitch Color 2
(Click Image to Enlarge)
Step 7:
Cut off the exceed the polyester batting around near stitch.
I recommend cutting the polyester batting at this stage to avoid thick seams.
(Click Image to Enlarge)
Step 8:
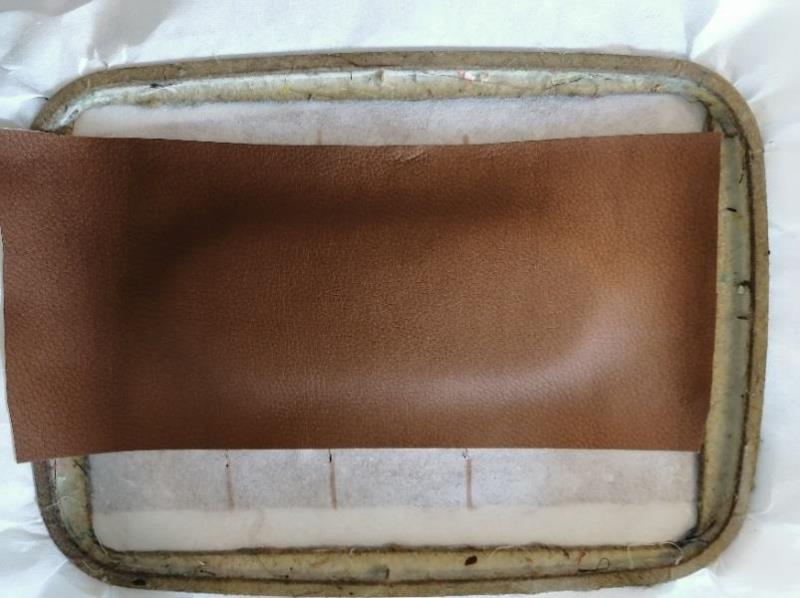
Put the main fabric face up.
You can use temporary fixation glue
(Click Image to Enlarge)
Step 9:
Stitch Color 3
(Click Image to Enlarge)
Step 10:
.
(Click Image to Enlarge)
Step 11:
.
(Click Image to Enlarge)
Step 12:
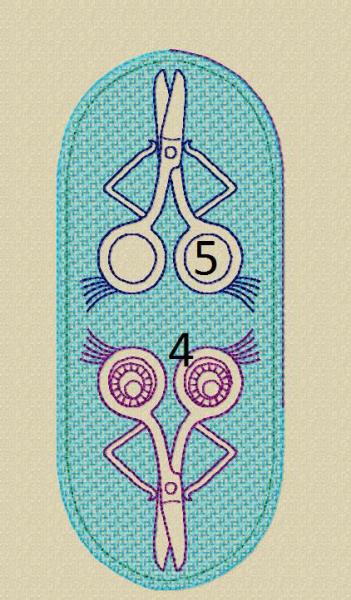
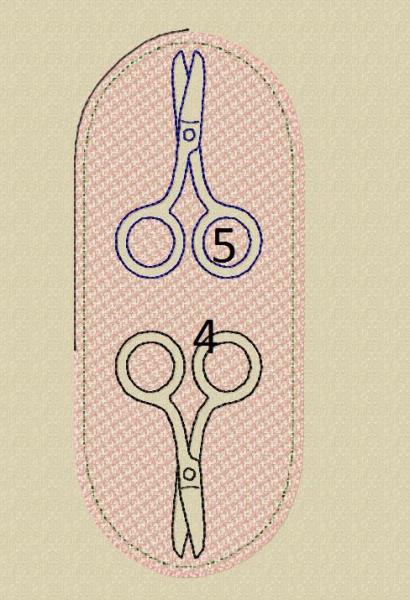
Stitch Color 4-5
(Click Image to Enlarge)
Step 13:
(Click Image to Enlarge)
.
Step 14:
Turn to the back side.
Cut off the exceed material around near zigzag stitch
(Click Image to Enlarge)
Step 15:
.
(Click Image to Enlarge)
Step 16:
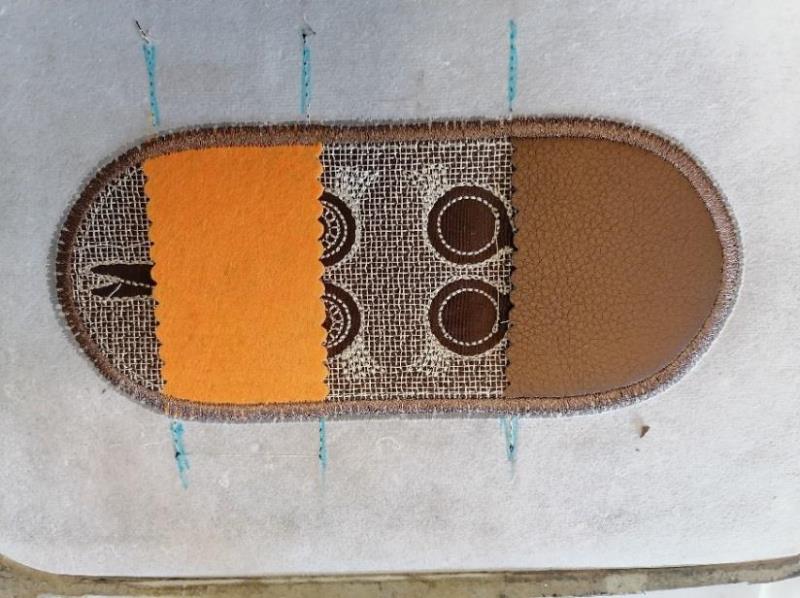
Place your pocket and needles place as shown. Fix the adhesive tape
(Click Image to Enlarge)
Step 17:
Stitch Color 6 - secure the pocket (zigzag for cutting)
(Click Image to Enlarge)
Step 18:
Cut off the exceed material (Lining) around near zigzag stitch on both sides of the hoop.
(Click Image to Enlarge)
Step 19:
Stitch Color 7 - satin border
Cut stabilizer. Remove the stabilizer residues with a wet sponge
(Click Image to Enlarge)
Step 20:
Cut stabilizer. Remove the stabilizer residues with a wet sponge
(Click Image to Enlarge)
Step 21:
Sew the button.
(Click Image to Enlarge)
Step 22:
As an option
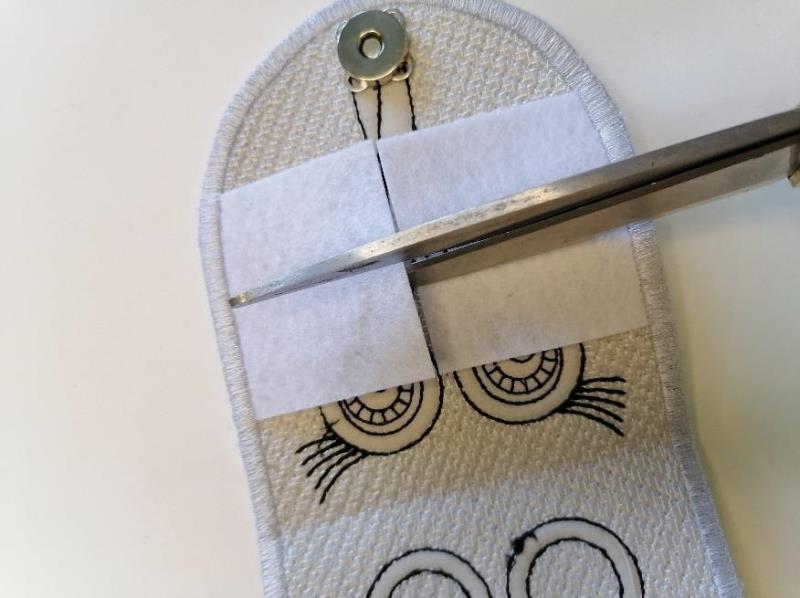
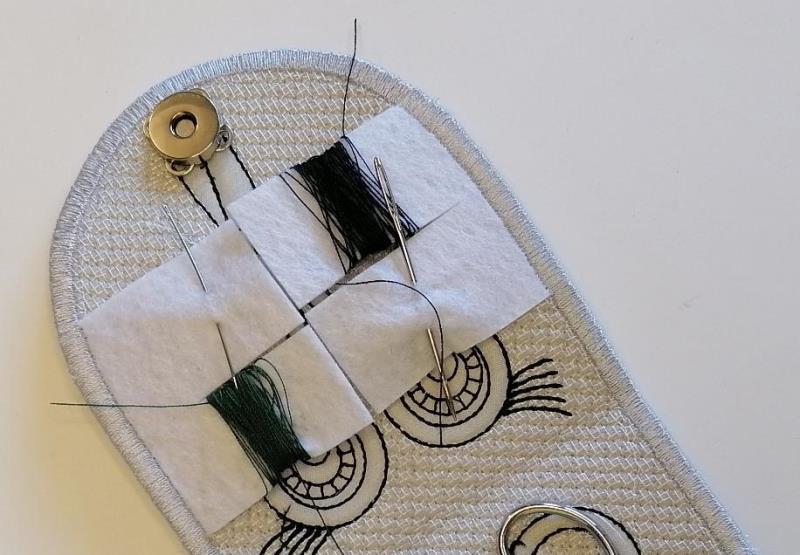
Cut the place for needles as in the photo. Wind up the threads and the travel organizer is ready