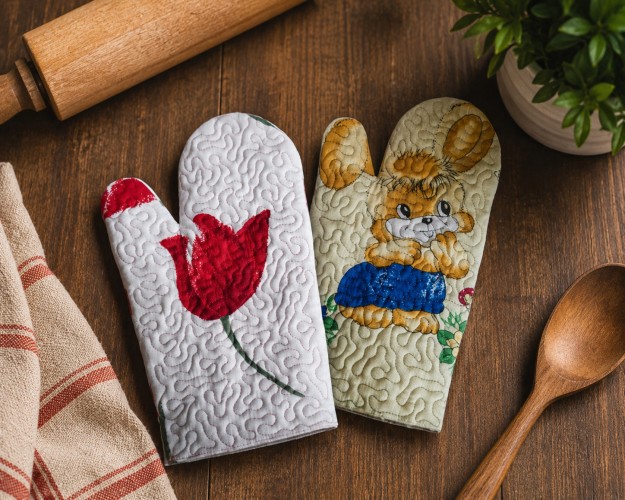
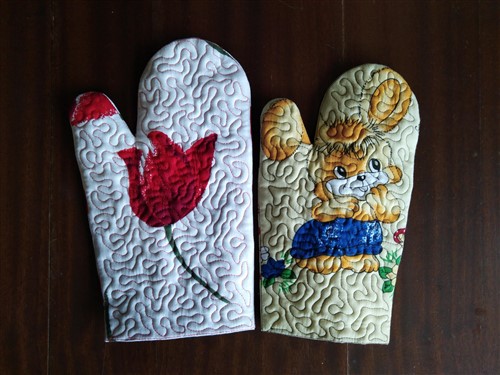
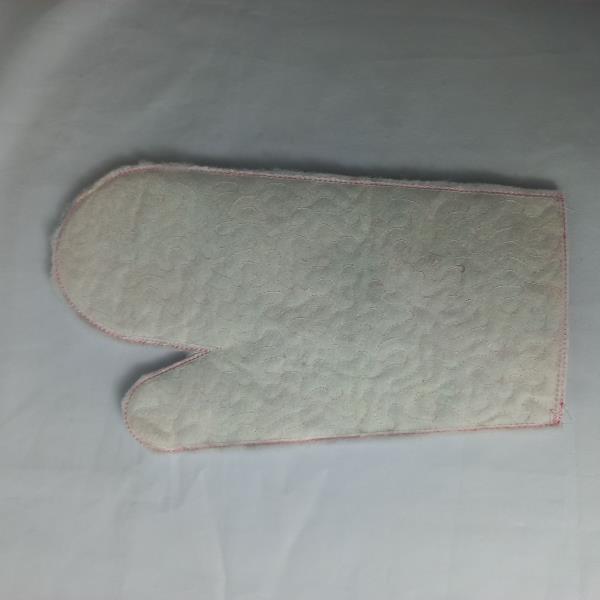
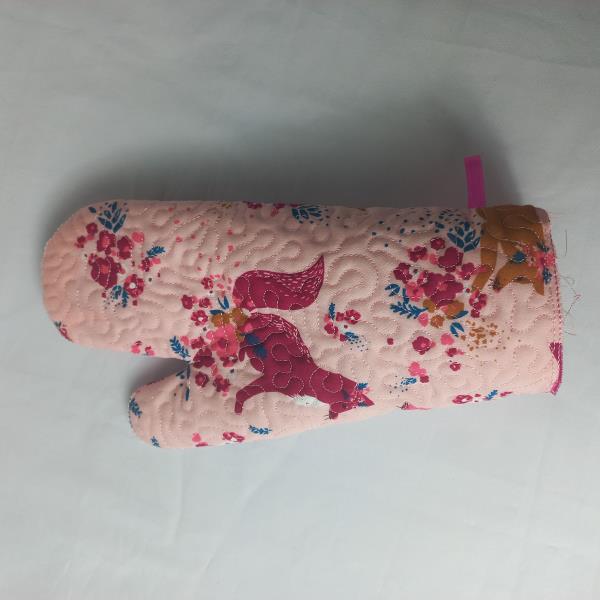
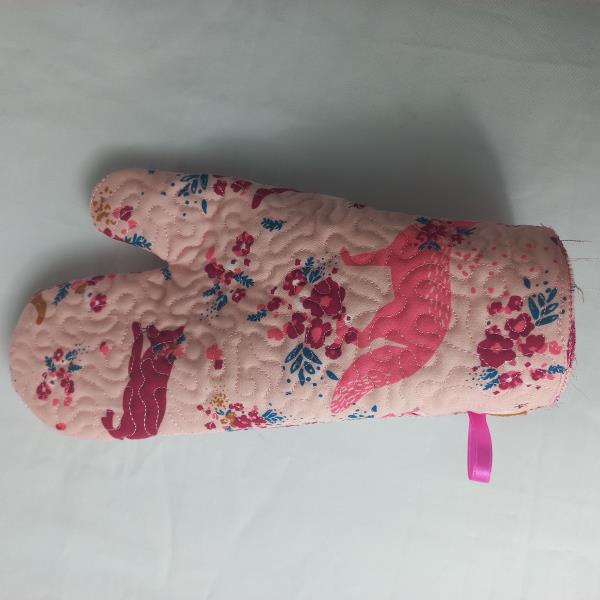
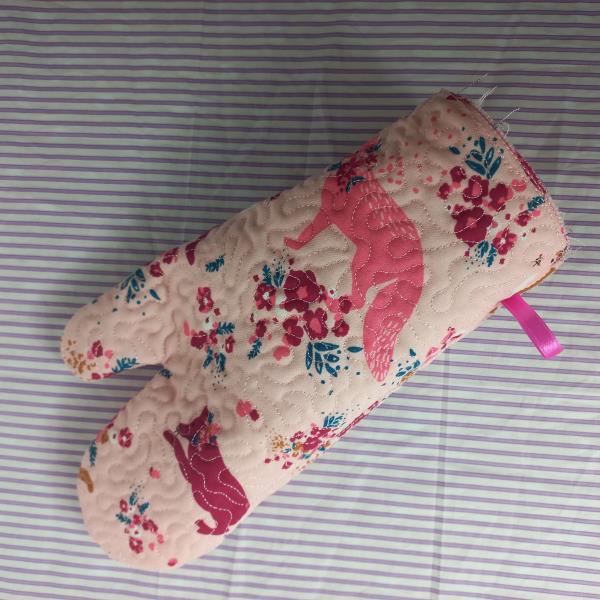
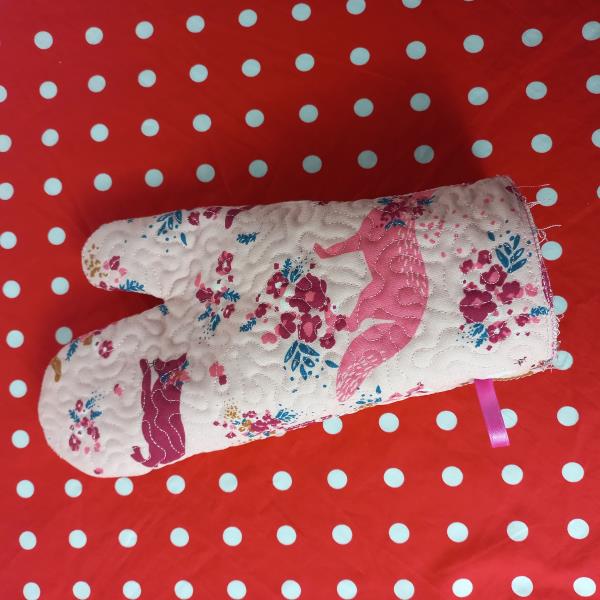
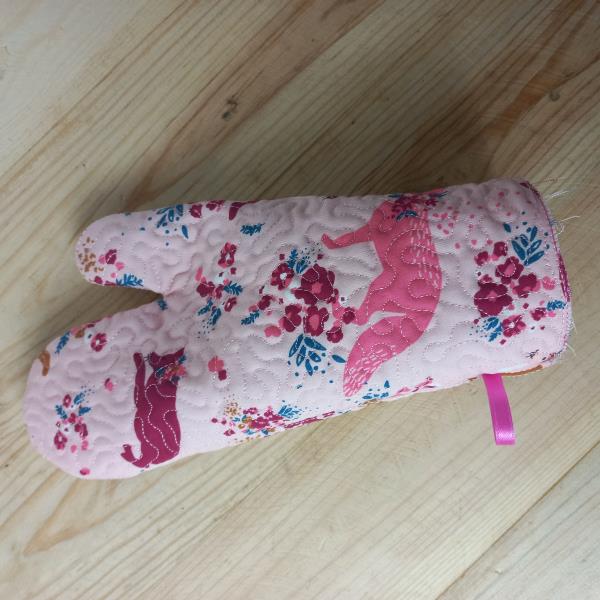
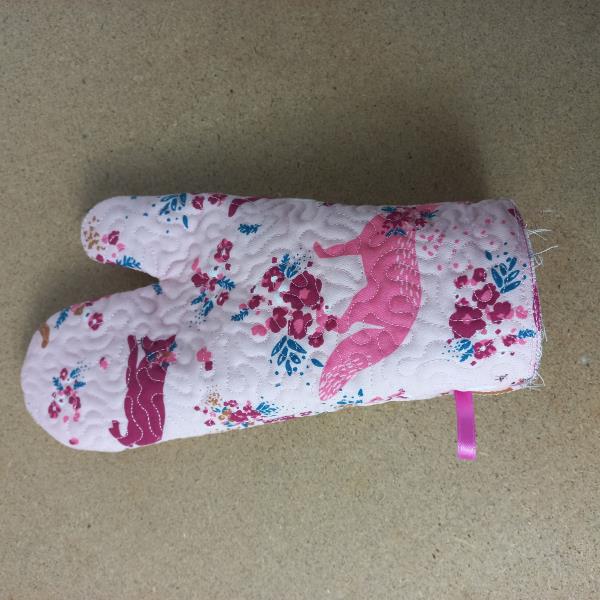
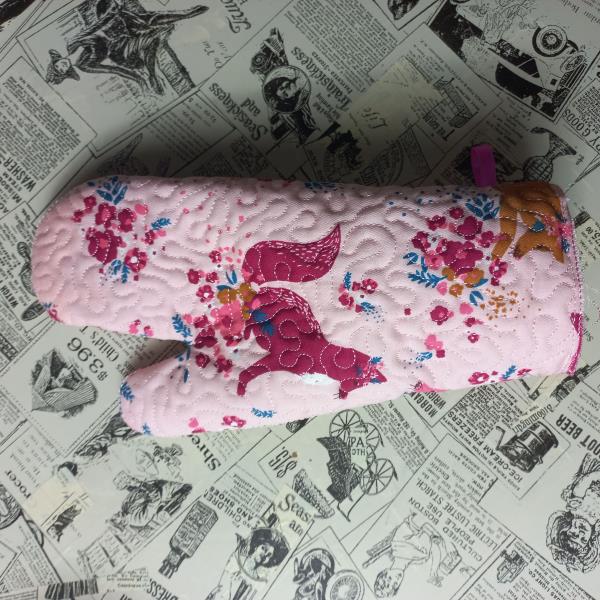
This charming ITH quilted oven mitt set features decorative floral and bunny-themed fabric designs with beautiful free-motion style quilting. Perfect for farmhouse kitchens, handmade gifts, or seasonal décor, these practical mitts combine cozy style.
Protect your hands and add a touch of style to your kitchen with this In-The-Hoop embroidery design for a hot pot holder. This digital embroidery project features easy-to-follow instructions and a design that fits perfectly in a hoop, making it a quick and easy way to create a functional and fashionable hot pot holder. With endless color and pattern possibilities, this project is perfect for adding a personal touch to your kitchen or gifting to a loved one
This is a collaboration between ITH Boutique and Imilova.
Step 1:
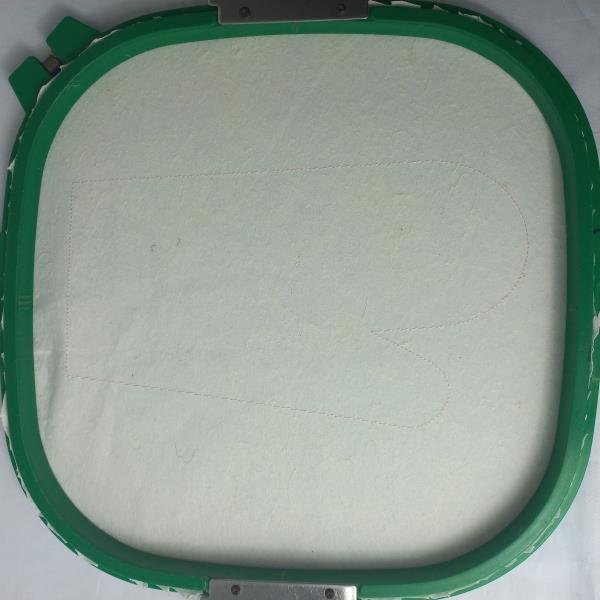
For part 01 tautly hoop 2.5-ounce cutaway stabilizer in your embroidery hoop, and run color-stop 1 as a placement line.
(Click Image to Enlarge)
Step 2:
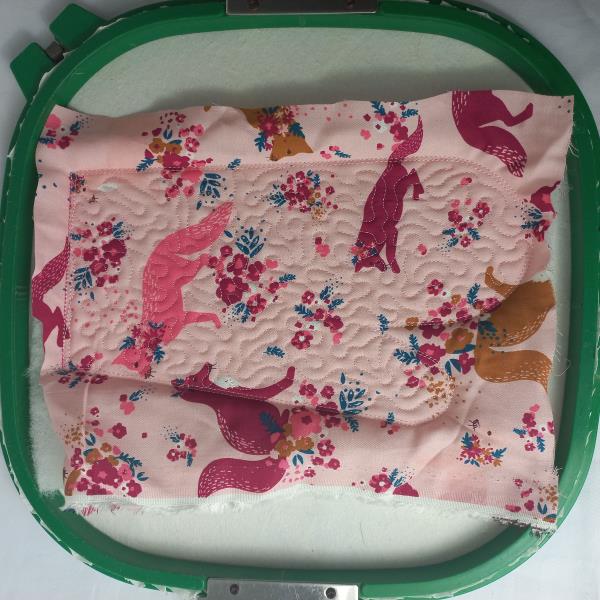
Cover the placement line with batting and printed fabric with the help of the repositionable adhesive spray, and run color-stop 2 through color-stop 4.
(Click Image to Enlarge)
Step 3:
Remove the project from the hoop. Cut just the upper outline of the design, with sharp scissors, and save it for later.
(Click Image to Enlarge)
Step 4:
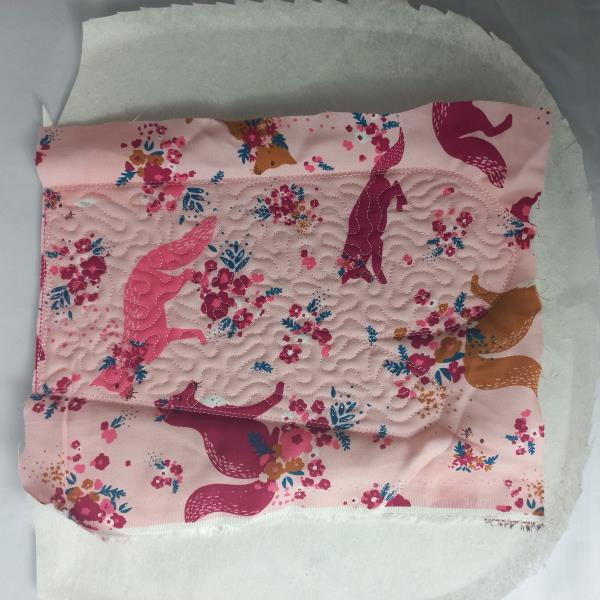
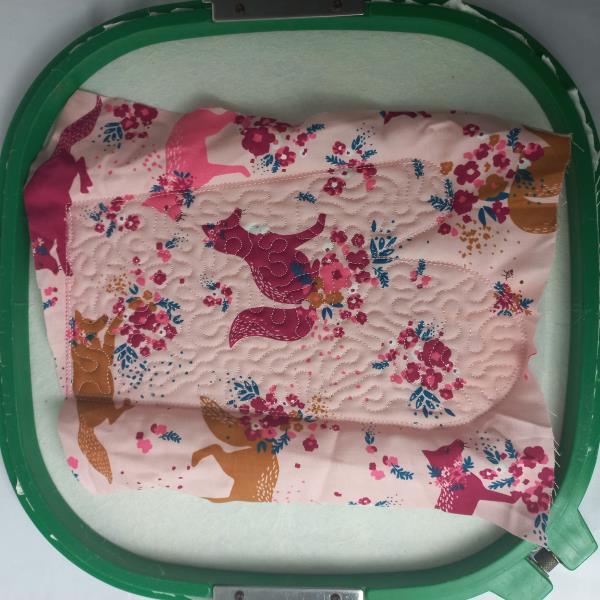
For part 02 tautly hoop 2.5-ounce cutaway stabilizer in your embroidery hoop, and run color-stop 1 as a placement line.
Cover the placement line with batting and printed fabric with the help of the repositionable adhesive spray, and run color-stop 2 through color-stop 4.
(Click Image to Enlarge)
Step 5:
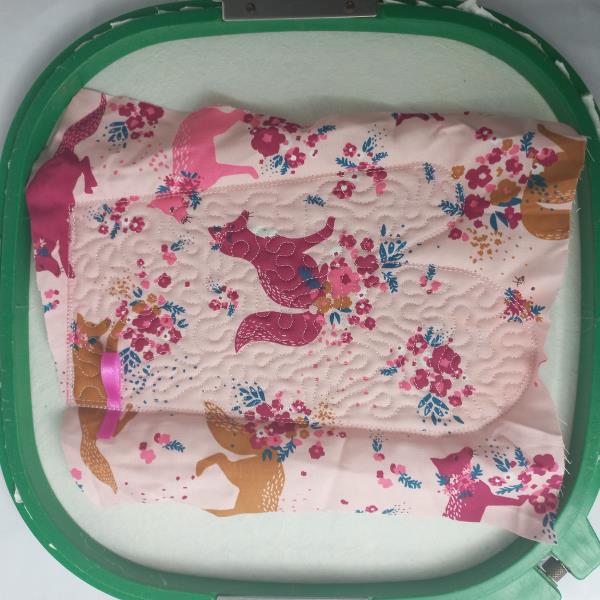
Run color-stop 5 as a placement line, with the help of the repositionable adhesive spray, cover the placement line with a ribbon looking to the inside of the project, and repeat run color-stop 5. (see the reference image).
(Click Image to Enlarge)
Step 6:
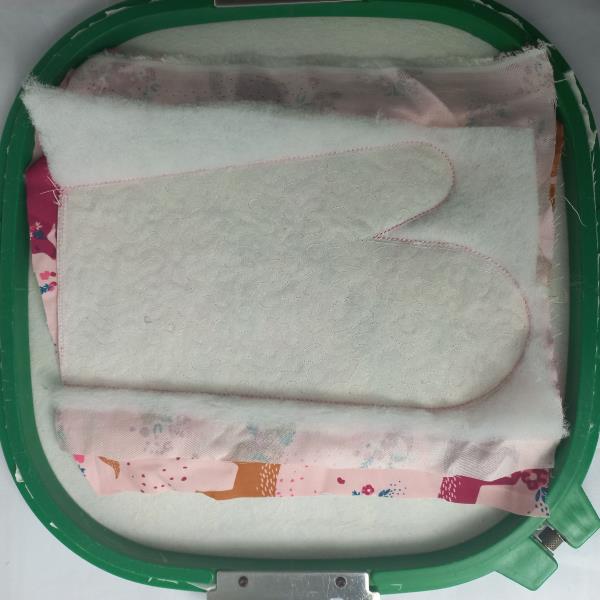
With the help of the repositionable adhesive spray, cover part 02 with part 01 face down, the project lines must be matched, and run color-stop 6 through color-stop 8.
(Click Image to Enlarge)
Step 7:
Remove the project from the hoop and cut the outline with sharp scissors leaving a homogeneous margin.
And turn the pieces inside out like a sock.