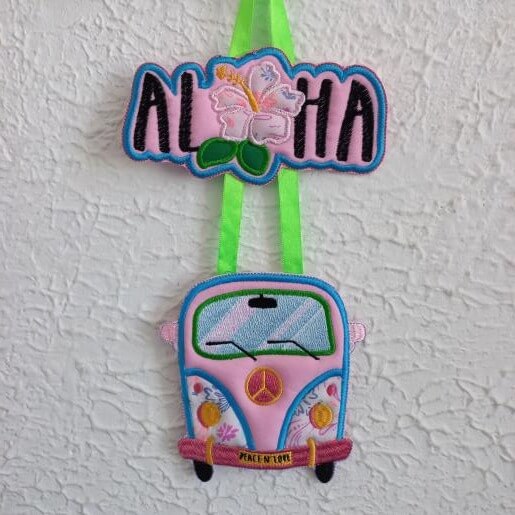
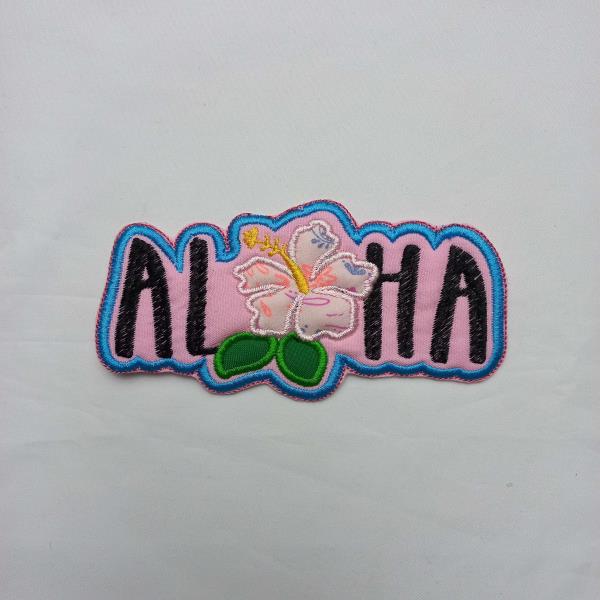
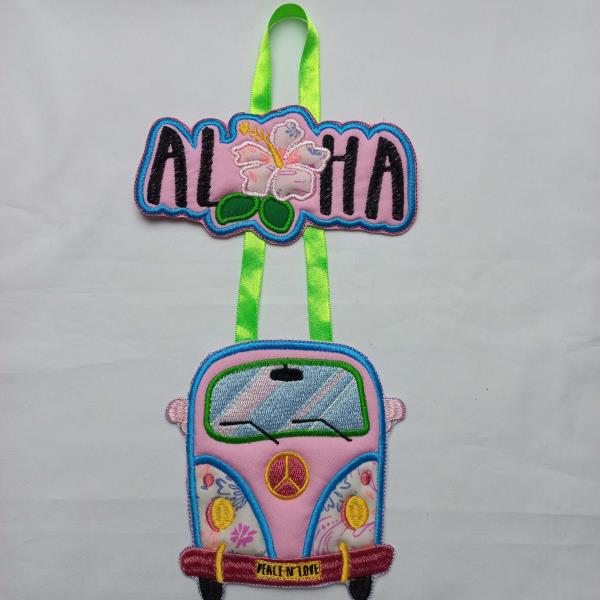
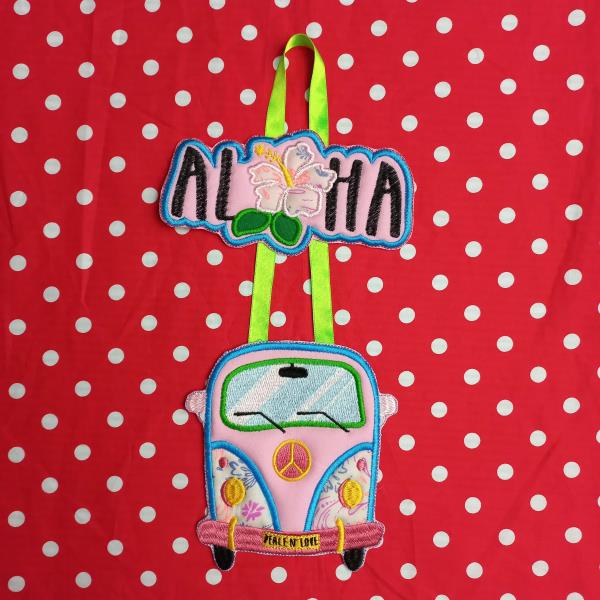
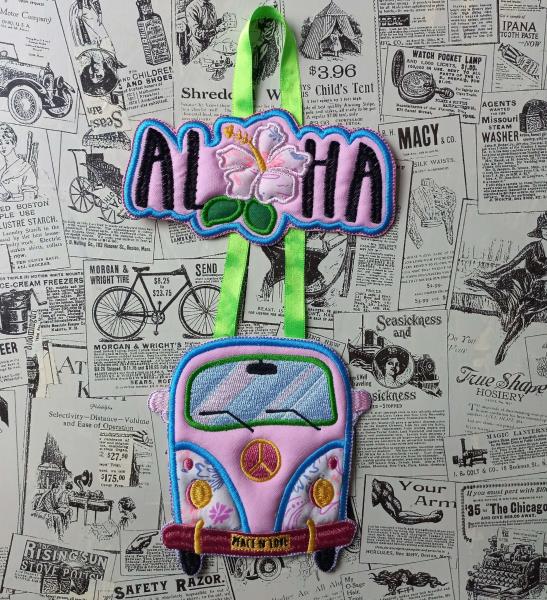
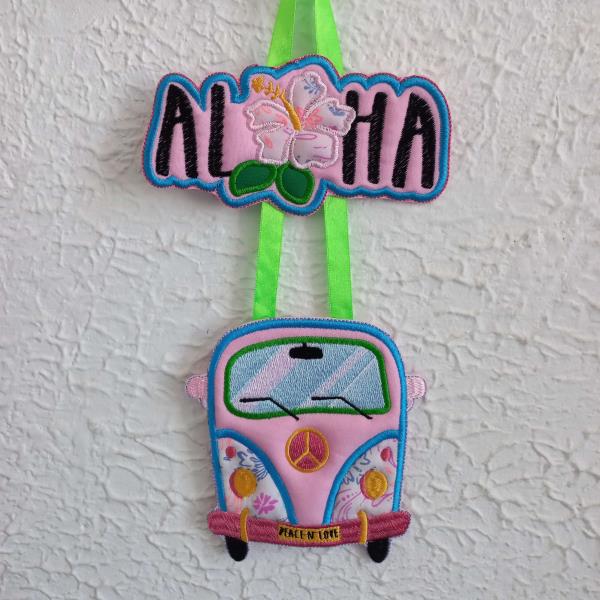
Create a stunning Flower Van with an Aloha Banner using the In The Hoop embroidery design technique. This design is perfect for adding a touch of tropical paradise to your home decor or personalized embroidery gifts.
This is a collaboration between ITH Boutique and Emerson.
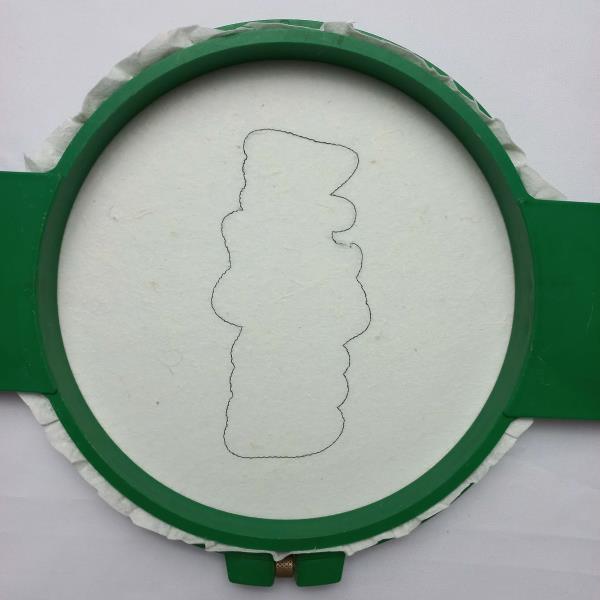
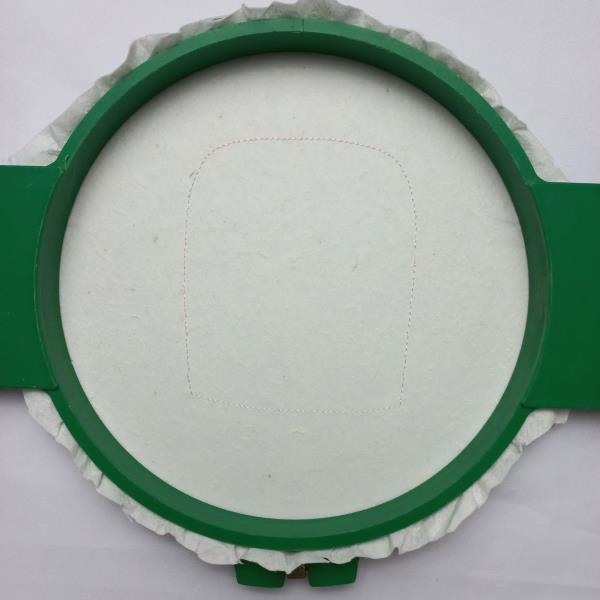
Step 1:
For the A01 part tautly hoop 2.5-ounce cutaway stabilizer in your embroidery hoop and run color-stop 1 as a placement line.
(Click Image to Enlarge)
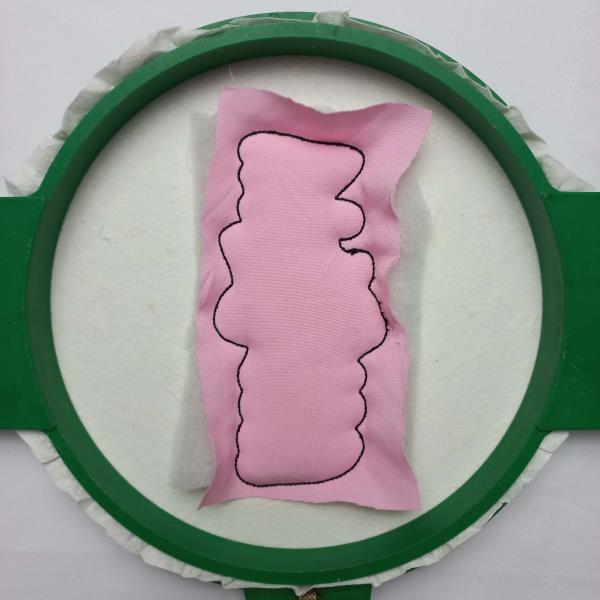
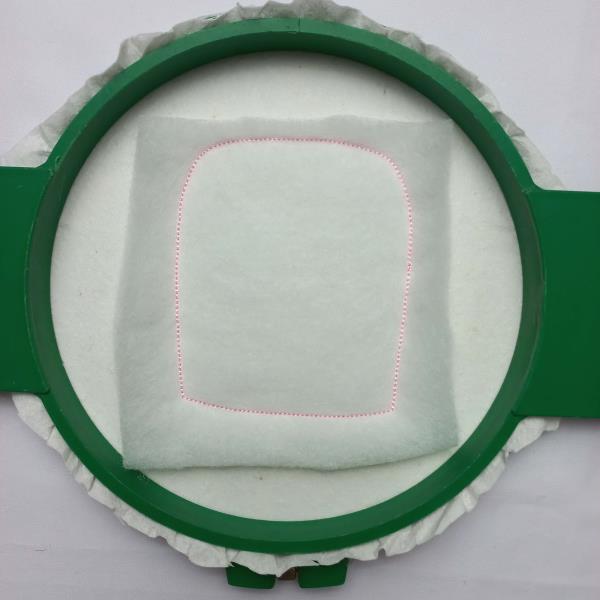
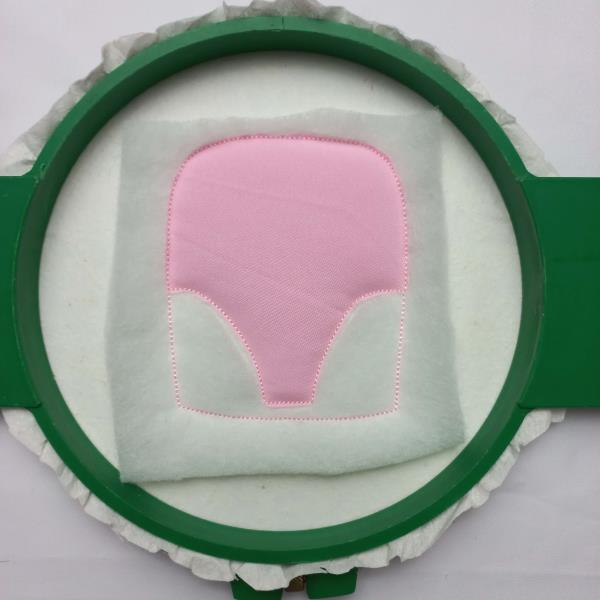
Step 2:
Remove the hoop from the machine, do not unhoop. Cover the placement line with batting and pink fabric with the help of the repositionable adhesive spray, and run color-stop 2 and 3.
(Click Image to Enlarge)
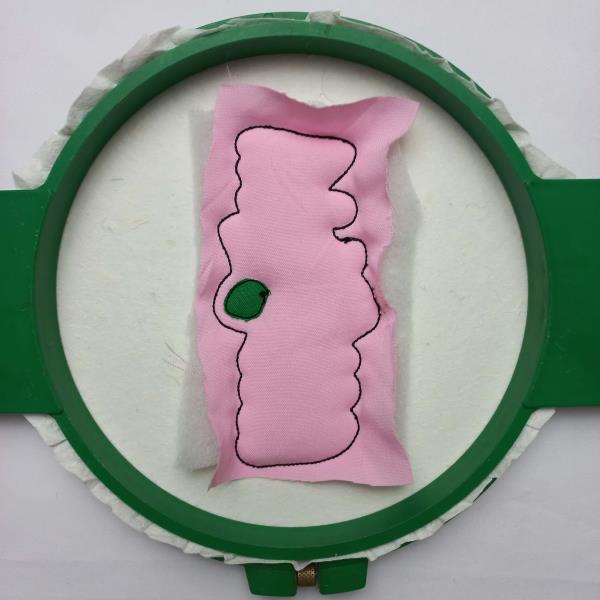
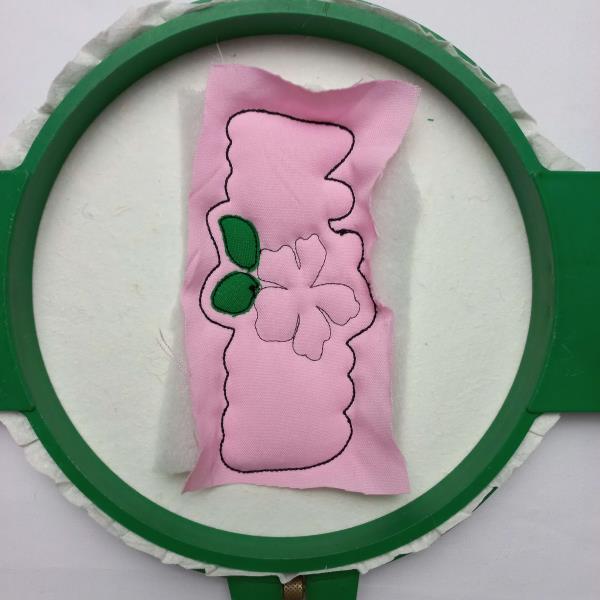
Step 3:
Run color-stop 4 as a placement line. Cover the placement line with green fabric with the help of the repositionable adhesive spray, and run color-stop 5. Cut the excess fabric.
(Click Image to Enlarge)
Step 4:
Run color-stop 6 as a placement line. Cover the placement line with green fabric with the help of the repositionable adhesive spray, and run color-stop 7. Cut the excess fabric.
(Click Image to Enlarge)
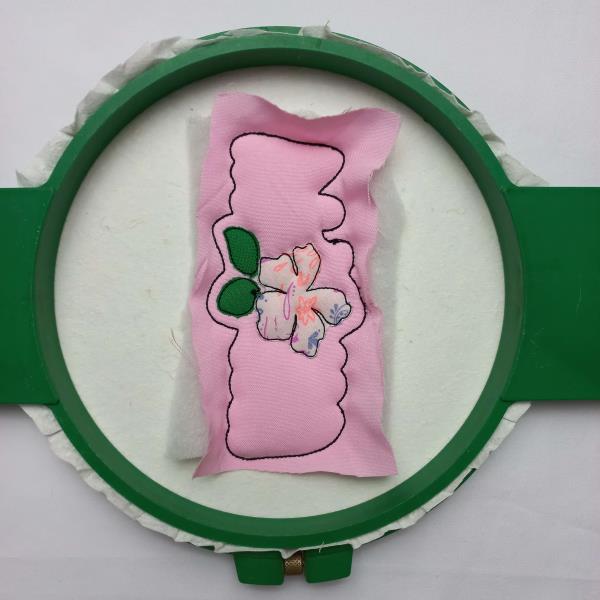
Step 5:
Run color-stop 8 as a placement line. Cover the placement line with printed fabric with the help of the repositionable adhesive spray, and run color-stop 9. Cut the excess fabric.
(Click Image to Enlarge)
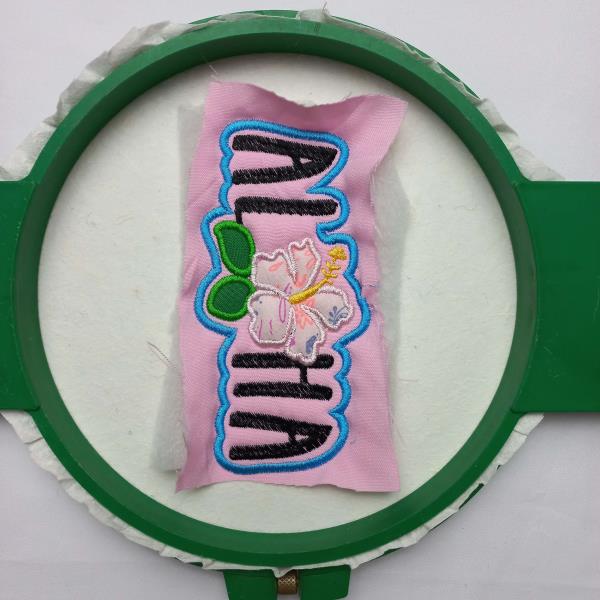
Step 6:
Run color-stop 10 through color-stop 14.
(Click Image to Enlarge)
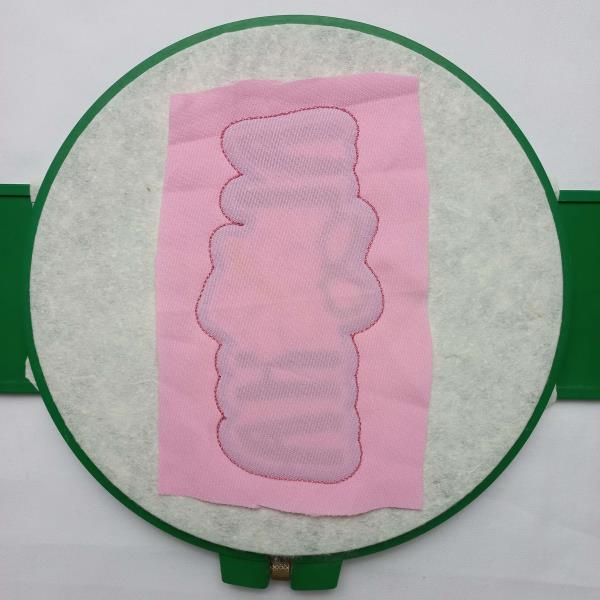
Step 7:
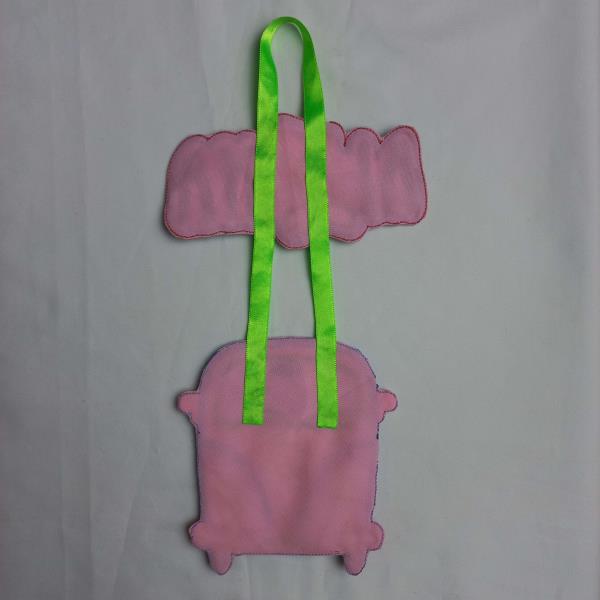
Remove the hoop from the machine, do not unhoop. Cover the back of the hoop with pink fabric with the help of the repositionable adhesive spray and run color-stop 15.
(Click Image to Enlarge)
Step 8:
Remove the project from the hoop. Cut out the outline of the design, with sharp scissors, and save it for later.
(Click Image to Enlarge)
Step 9:
For the A02 part tautly hoop 2.5-ounce cutaway stabilizer in your embroidery hoop and run color-stop 1 as a placement line.
(Click Image to Enlarge)
Step 10:
Remove the hoop from the machine, do not unhoop. Cover the placement line with batting with the help of the repositionable adhesive spray, and run color-stop 2 and 3.
(Click Image to Enlarge)
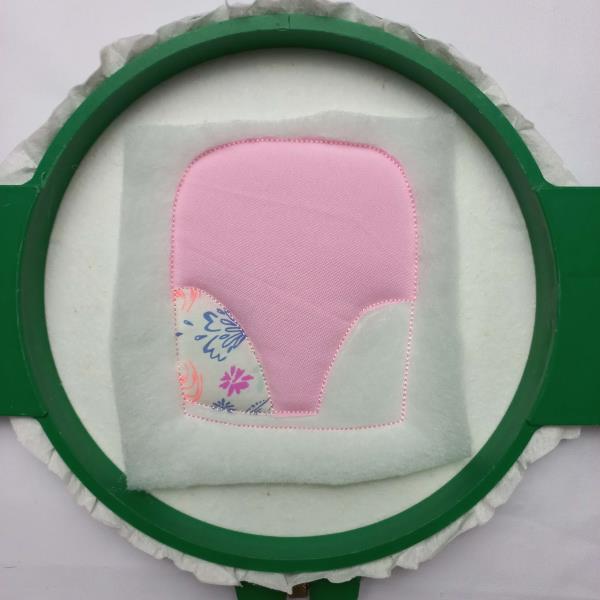
Step 11:
Run color-stop 4 as a placement line. Cover the placement line with pink fabric with the help of the repositionable adhesive spray, and run color-stop 5. Cut the excess fabric.
(Click Image to Enlarge)
Step 12:
Run color-stop 6 as a placement line. Cover the placement line with printed fabric with the help of the repositionable adhesive spray, and run color-stop 7. Cut the excess fabric.
(Click Image to Enlarge)
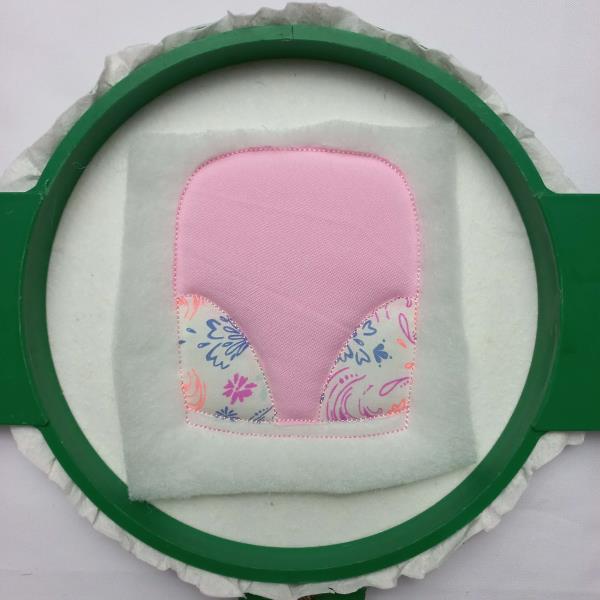
Step 13:
Run color-stop 8 as a placement line. Cover the placement line with printed fabric with the help of the repositionable adhesive spray, and run color-stop 9. Cut the excess fabric.
(Click Image to Enlarge)
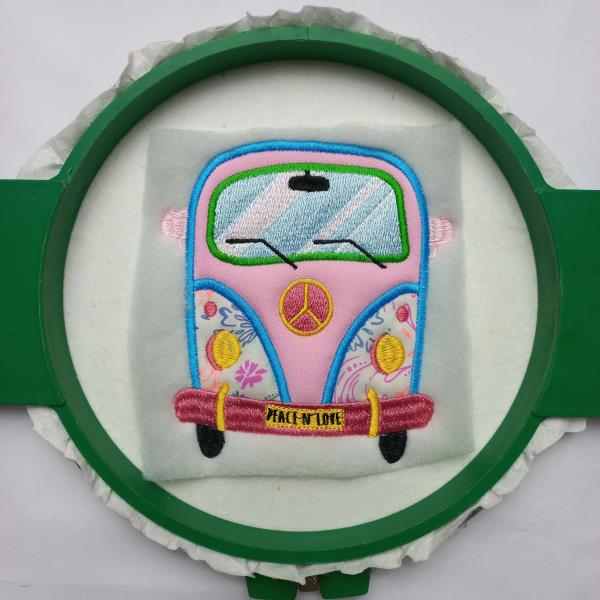
Step 14:
Run color-stop 10 through color-stop 18.
(Click Image to Enlarge)
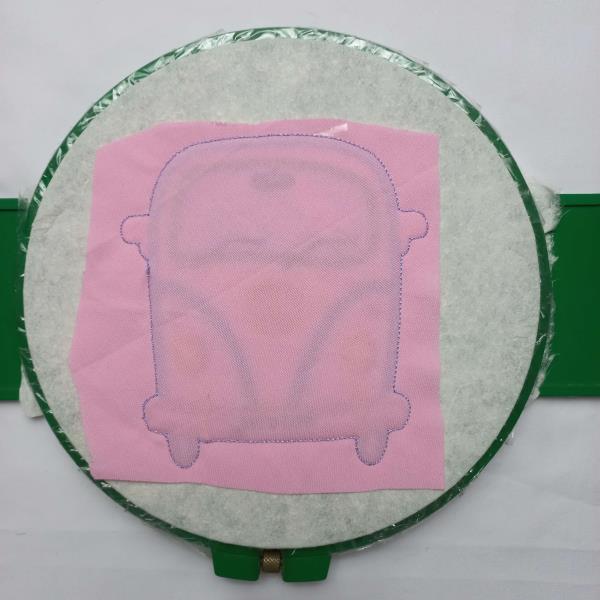
Step 15:
Remove the hoop from the machine, do not unhoop. Cover the back of the hoop with pink fabric with the help of the repositionable adhesive spray and run color-stop 19.
(Click Image to Enlarge)
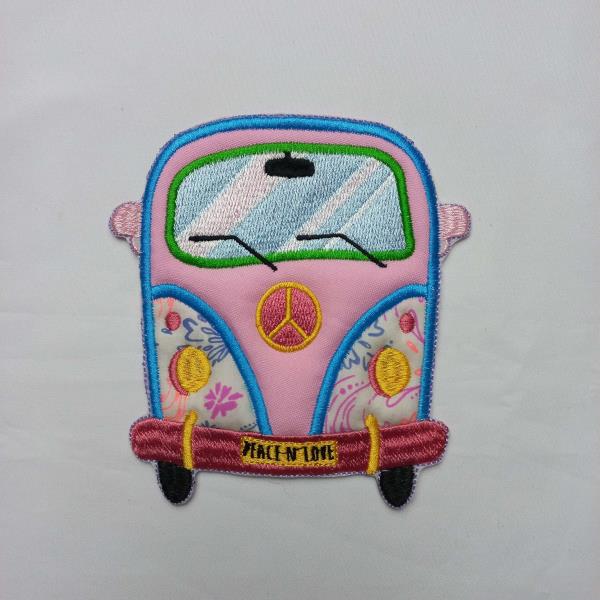
Step 16:
Remove the project from the hoop. Cut out the outline of the design, with sharp scissors, and save it for later.
(Click Image to Enlarge)
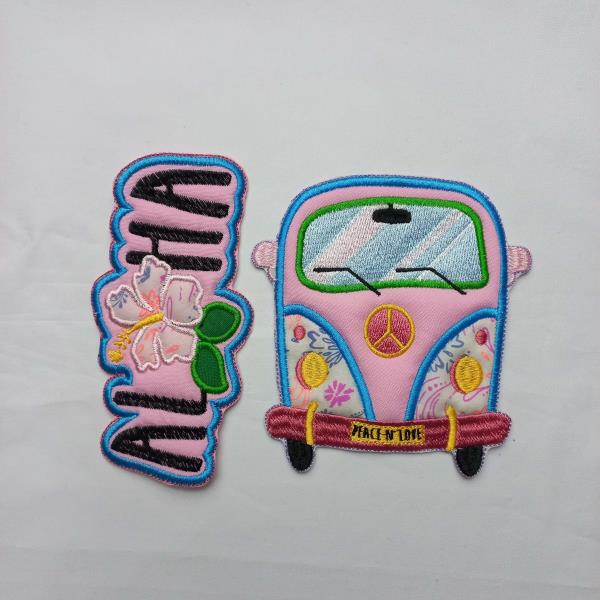
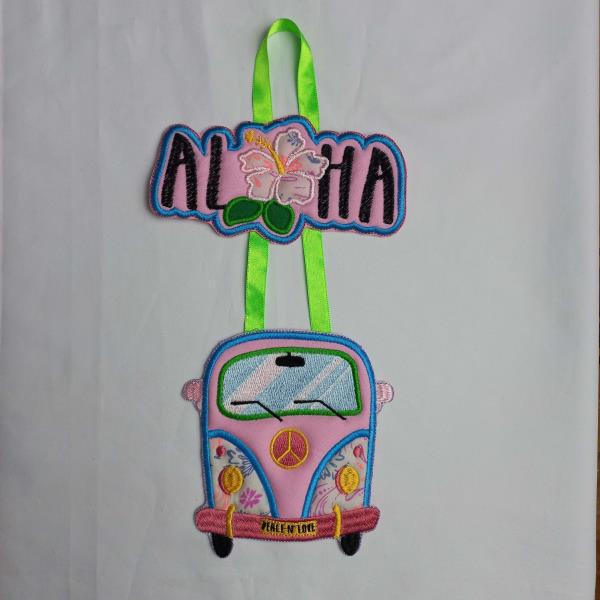
Step 17:
We put all the pieces together.
(Click Image to Enlarge)
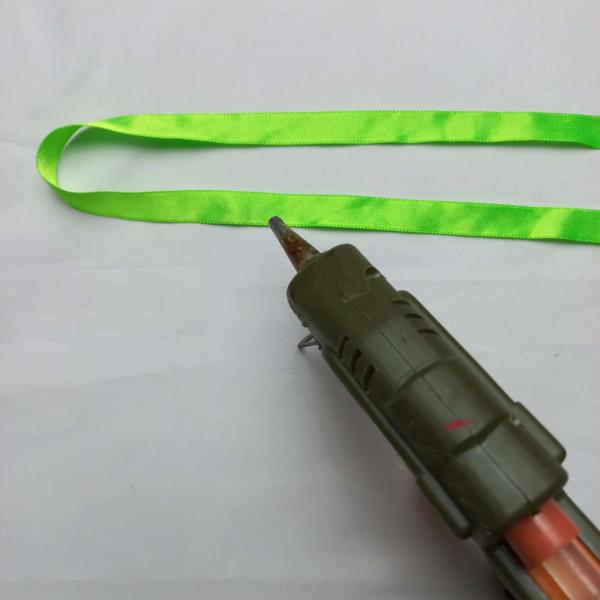
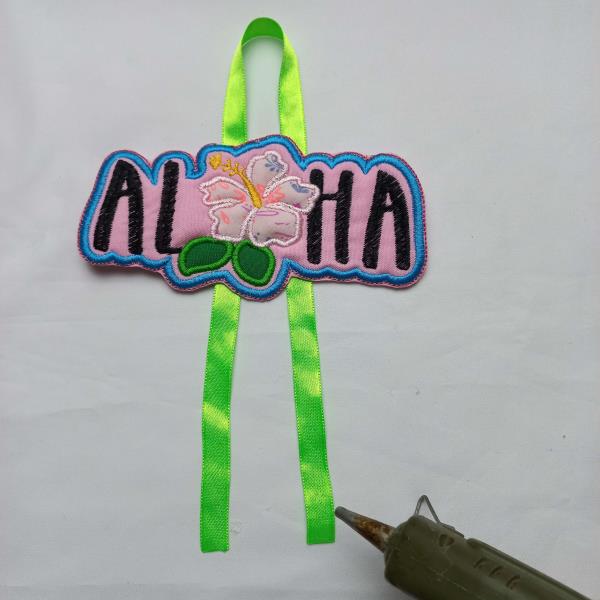
Step 18:
With the help of a needle and thread or some type of textile glue. The A01 part will be the top center part, join whit the A02 part at a lace at the height you prefer. Or as the reference image suggests.