A wooden frame 10” x 12” with a window image display of 4.5” x 6.5” is used to create this signage. If using a different size window image display you may want to adjust your embroidery design file to fit into your display area. The embroidery design will be displayed vertically in the frame’s window. Embroidering on burlap will give a rustic chic look. Burlap is loosely woven so a stitch filled embroidery design will look best. A water soluble stabilizer is placed on top of the burlap so that the design stitches do not disappear or sink into the burlap’s weave. The design used in this tutorial is from the Easy Embroidery Collection, size 5" x 4.85".
Step 1:
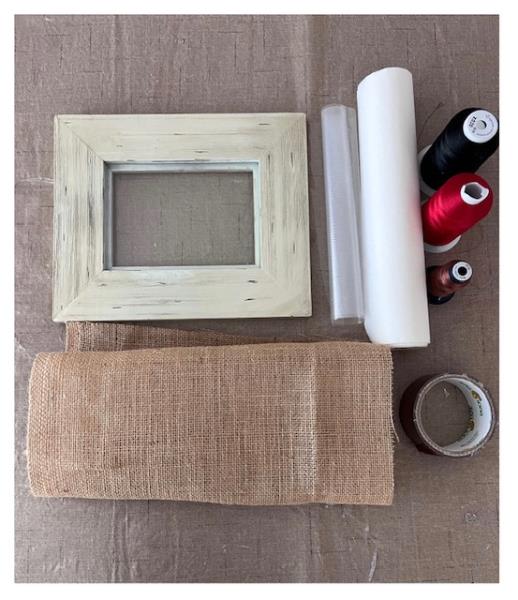
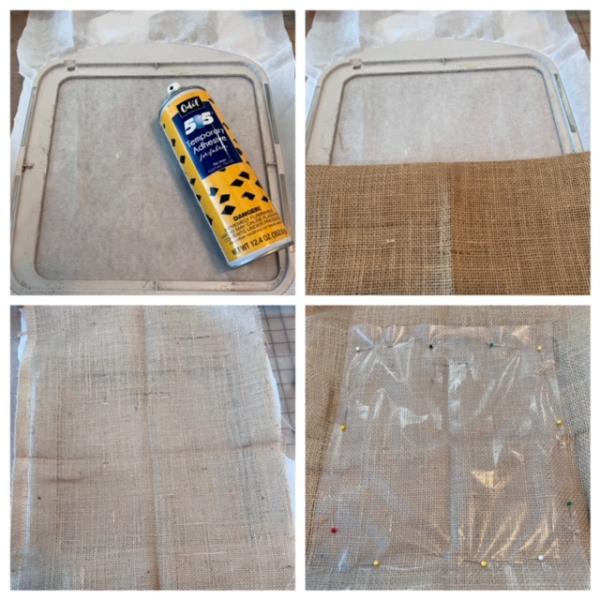
Gather all supplies and review instruction steps before beginning. Optional: Print a paper template of the embroidery design.
(Click Image to Enlarge)
Step 2:
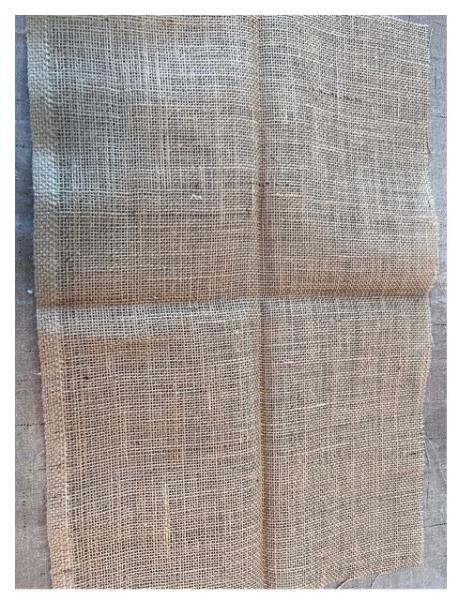
Iron press burlap. Find center by using your favorite method or quarter fold and iron press to create a creased crosshair. Optional: Center your paper template atop for review and mark axis points to help guide when hooping.
(Click Image to Enlarge)
Step 3:
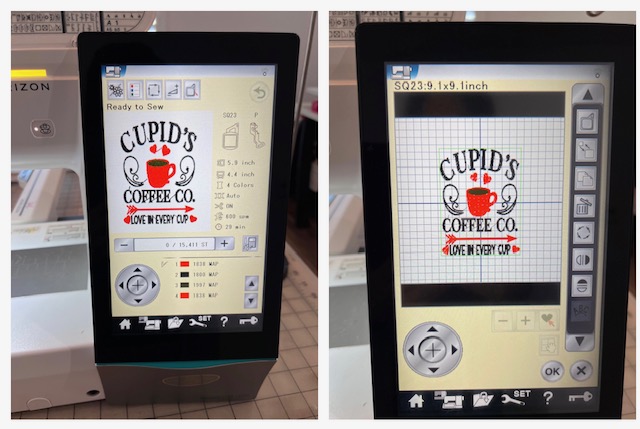
Load design file into your machine. Optional: Resize design file to fit vertically into your frame display area. Refer to your machine’s instructional booklet.
(Click Image to Enlarge)
Step 4:
Hoop stabilizer using correct size hoop. Reminder: For this tutorial the design will be dispayed in frame vertically. Lightly spray temporary adhesive spray directly onto stabilizer. Center your burlap piece matching your creased/marked axis points to your hoop’s built in axis markings. Finger press to secure to stabilizer. Place a piece of water soluble stabilizer atop burlap covering the embroidering area of design. Secure in place using tape or straight pins. Ensure that the tape/straight pins are out of the embroidering design area.
(Click Image to Enlarge)
Step 5:
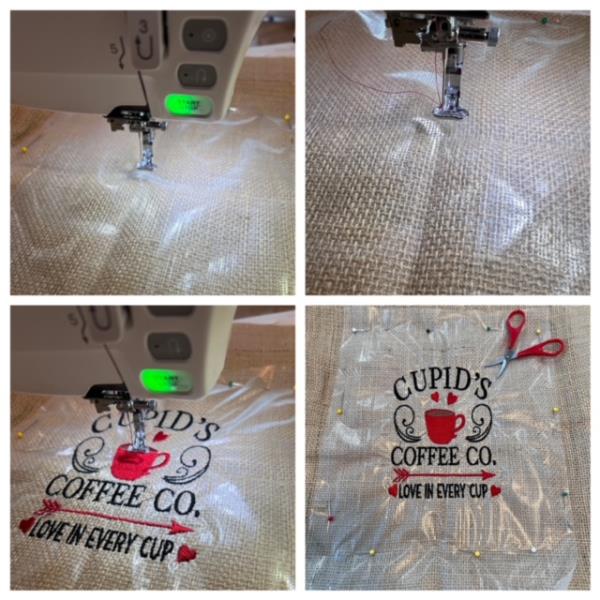
Attach hoop to machine. Confirm center needle placement to center of creased crosshair. Refer to design file thread color chart for colors. Begin the design stitch out process. Embroidering stitch out complete. Cut/Trim all jump stitches and loose thread ends. Remove pins/tape and water soluble stabilizer. Trim stabilizer on back. Iron press to remove creased crosshair
(Click Image to Enlarge)
Step 6:
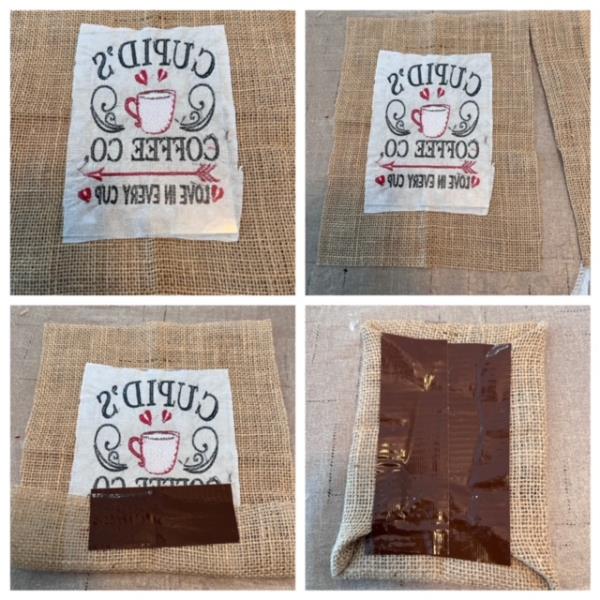
Using the glass from your picture frame, center and place onto back of your burlap covering stitched design. Trim excess burlap to help reduce bulk when taping in place. Fold up bottom, tape in place. Fold down top, tape in place. Fold in the two sides and tape in place. Flip over to ensure embroidered design is centered. Make any needed adjustments.
(Click Image to Enlarge)
Step 7:
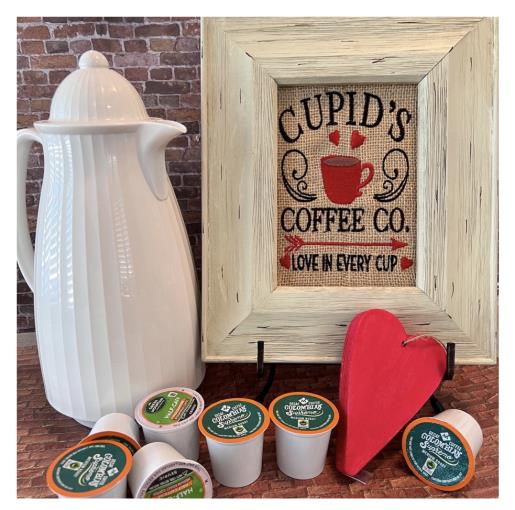
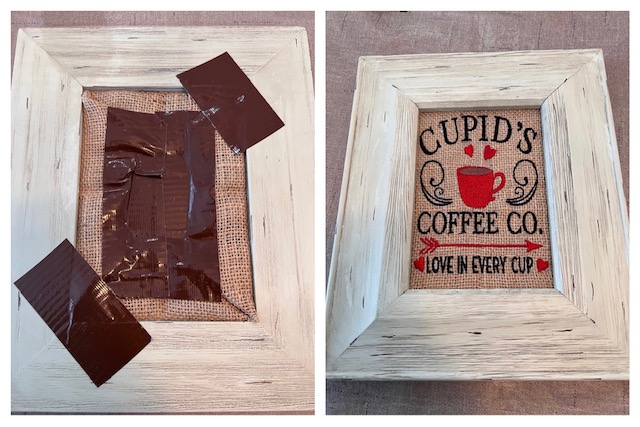
Place into frame. Tape corners to hold in place if needed. Viola! Cupids Coffee Signage is complete and ready to display at your coffee corner!