Sew Smart ITH Scissor Pouch
Zoom Watch Video View Larger
View Project Instructions
Sew Smart ITH Scissor Pouch Embroidery Project
Description
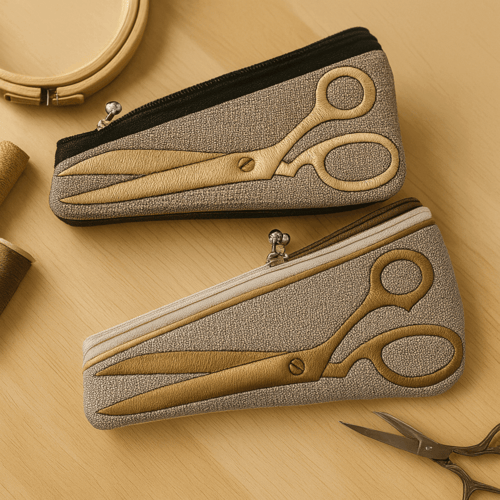
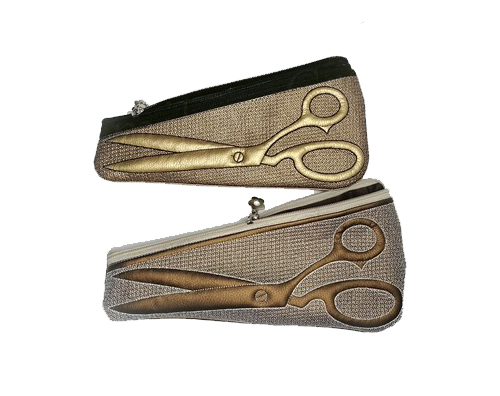
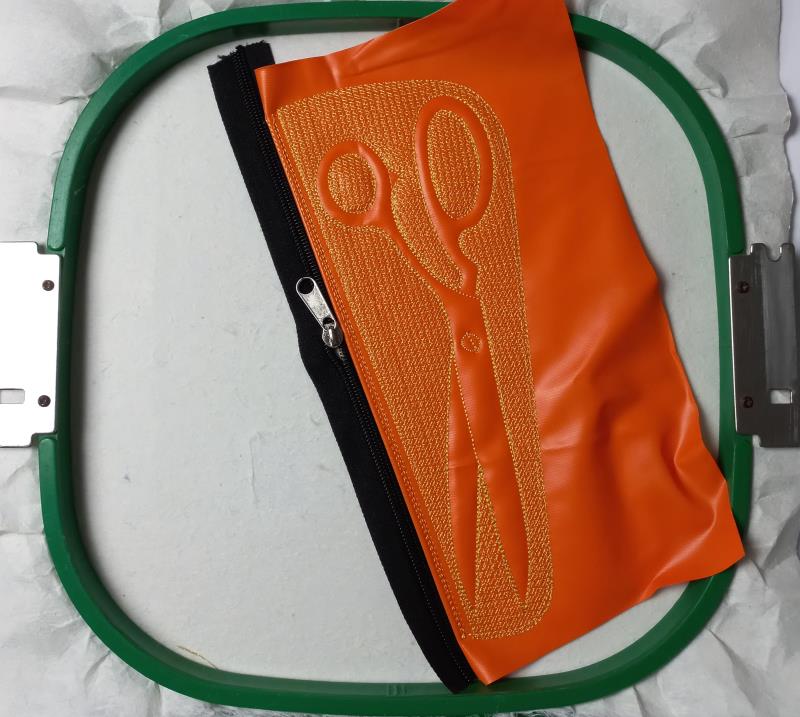
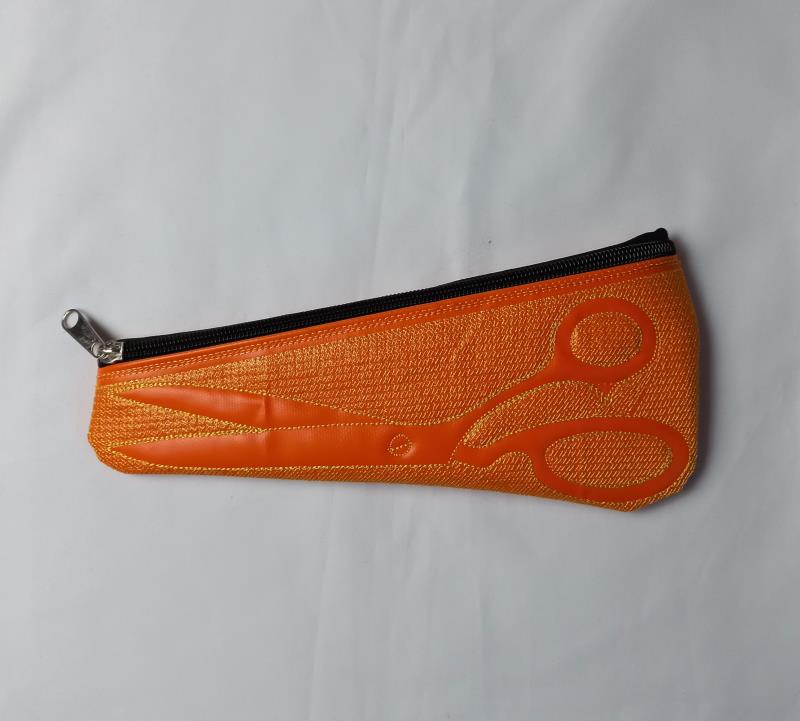
Organize your sewing tools in style with this clever ITH scissor pouch! Featuring a sleek embroidered scissor motif, this pouch adds charm and function to any sewing setup. A must-have for crafters who love both creativity and order.
Jump to
Sew Smart ITH Scissor Pouch
By Sew Chic
Materials
Print Materials
Materials ● 4” x 4 - 5” x 7” - 6” x 10” or an extra-large embroidery hoop.
● Fabric or leatherette in your favorite colors.
● 2.5-ounce Cut-away Stabilizer.
● Repositionable adhesive spray
● Fabric scissors
Designs used in this project
Final Product: What You Will Create
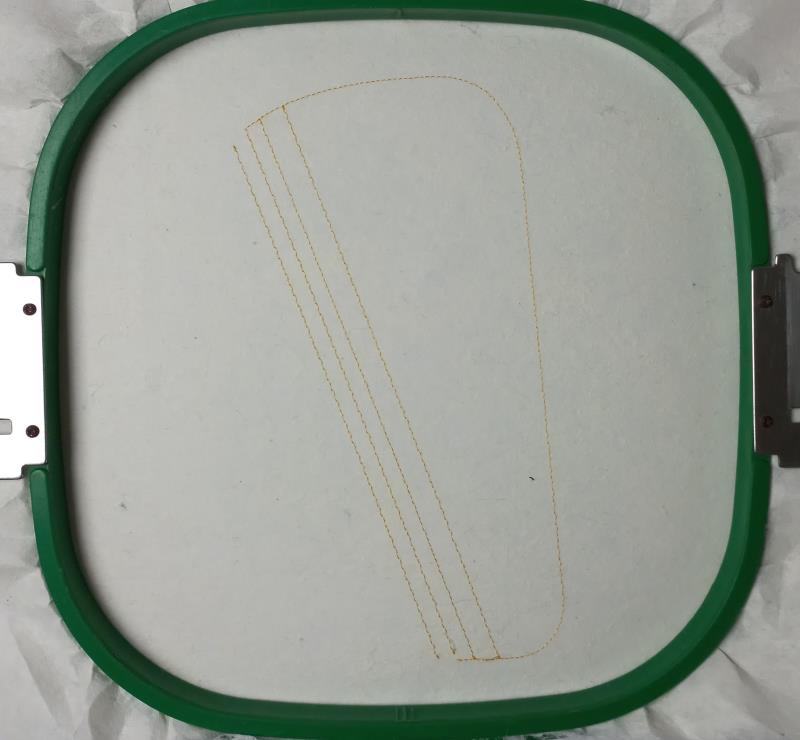
Step 1: Tautly hoop 2.5-ounce cutaway stabilizer in your embroidery hoop and run color-stop 1 and color-stop 2 as placement lines.
(Click Image to Enlarge)
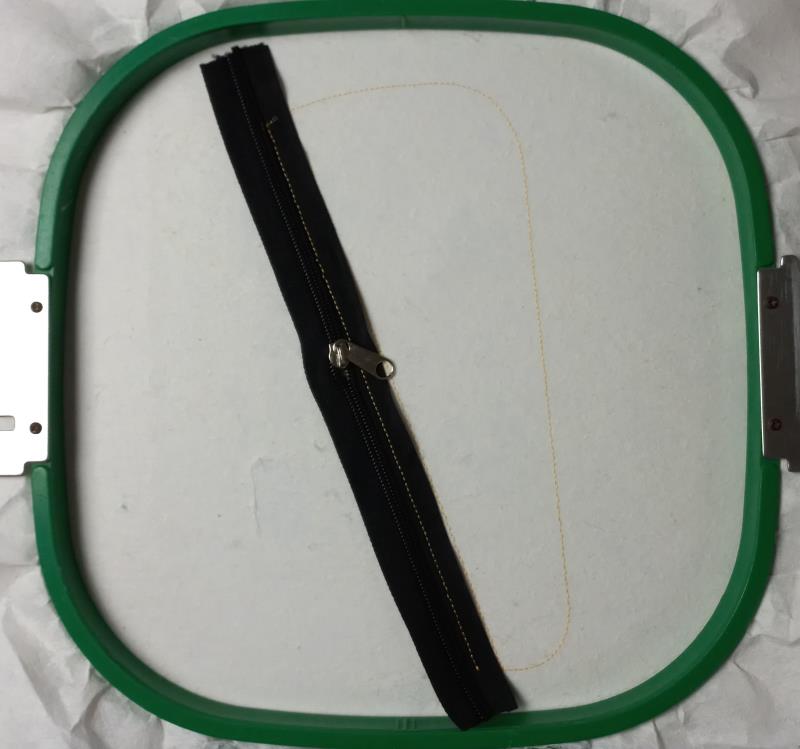
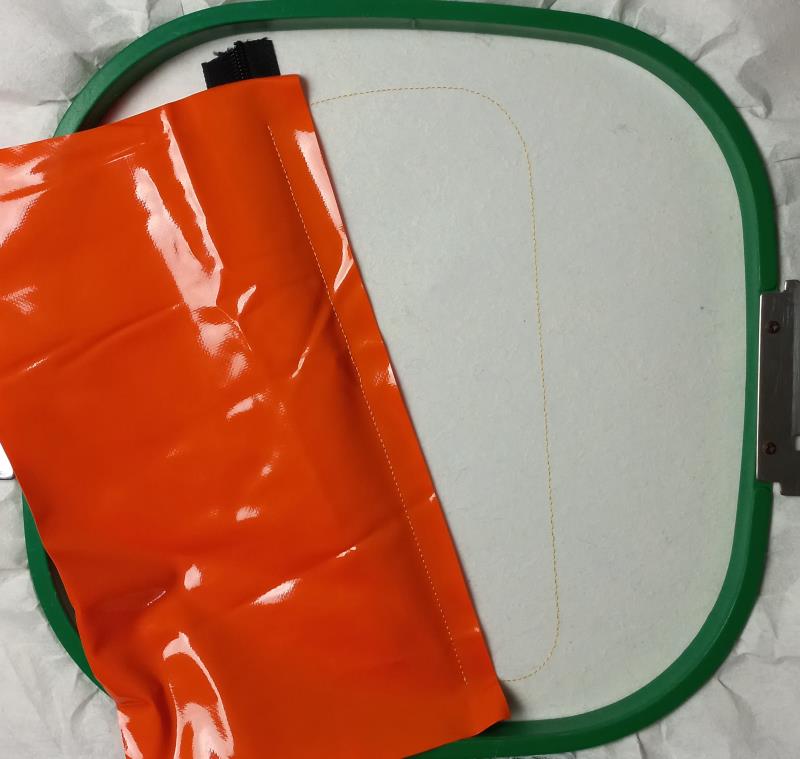
Step 2: Remove the hoop from the machine, do not unhoop. Place the zipper between the 4 guide lines on the side and, run color-stop 3.
(Click Image to Enlarge)
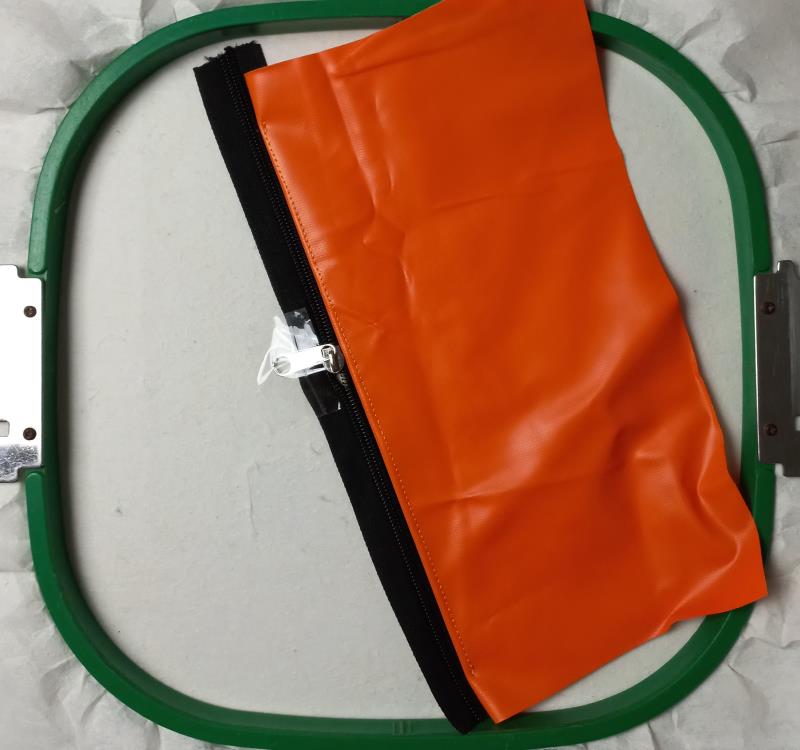
Step 3: Place the fabric or leatherette as shown in the image, and repeat color-stop 3.
(Click Image to Enlarge)
Step 4: Fold by edge left by color-stop 3, and repeat color stop 3 to fix it.
(Click Image to Enlarge)
Step 5: Run color-stop 4 through color-stop 7
(Click Image to Enlarge)
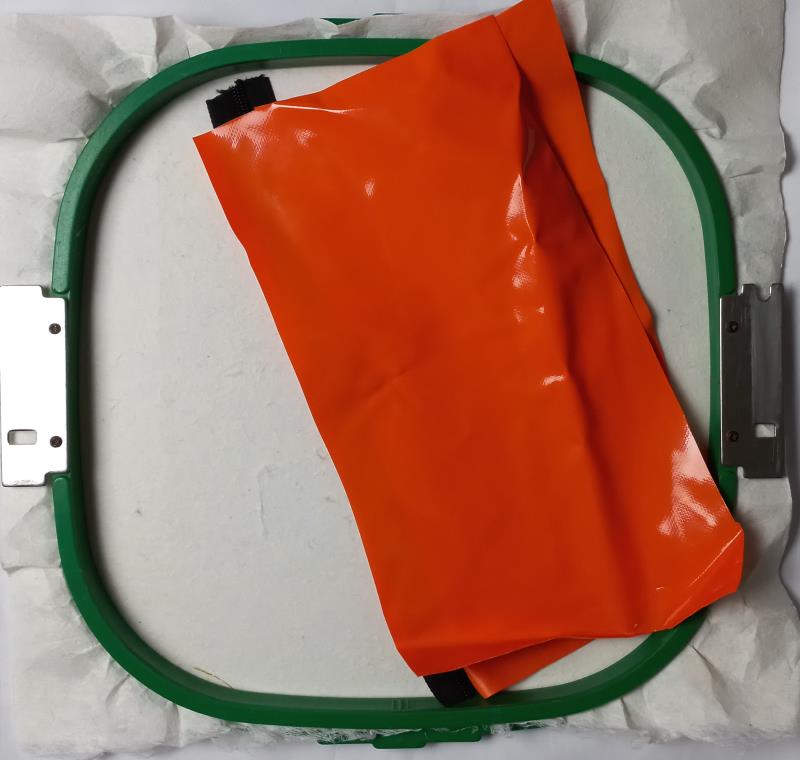
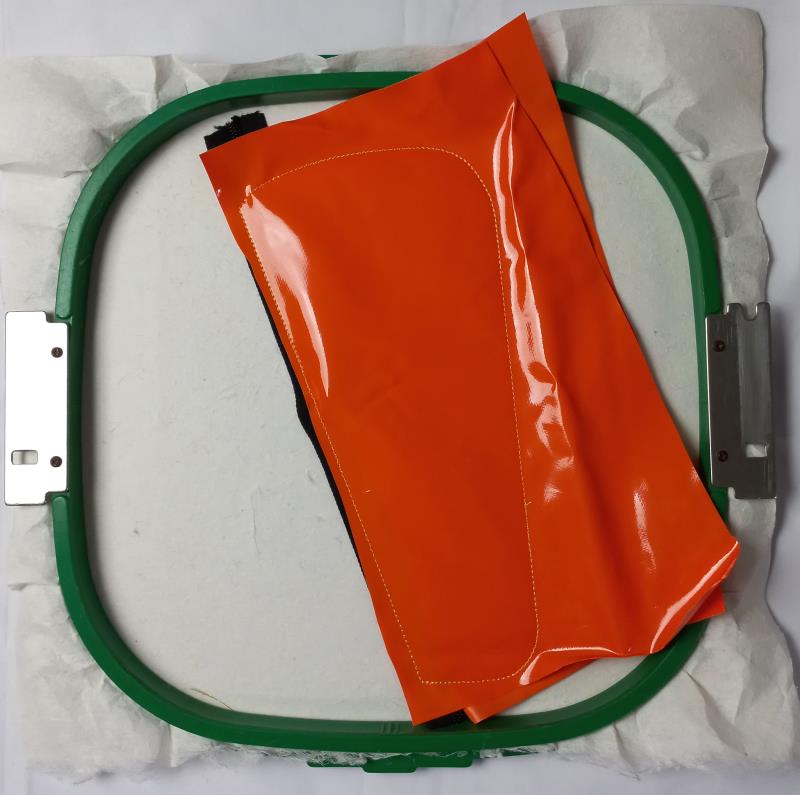
Step 6: Cover with a layer of fabric or leatherette upside down
(Click Image to Enlarge)
Step 7: Run color-stop 8 and color-stop 9
(Click Image to Enlarge)
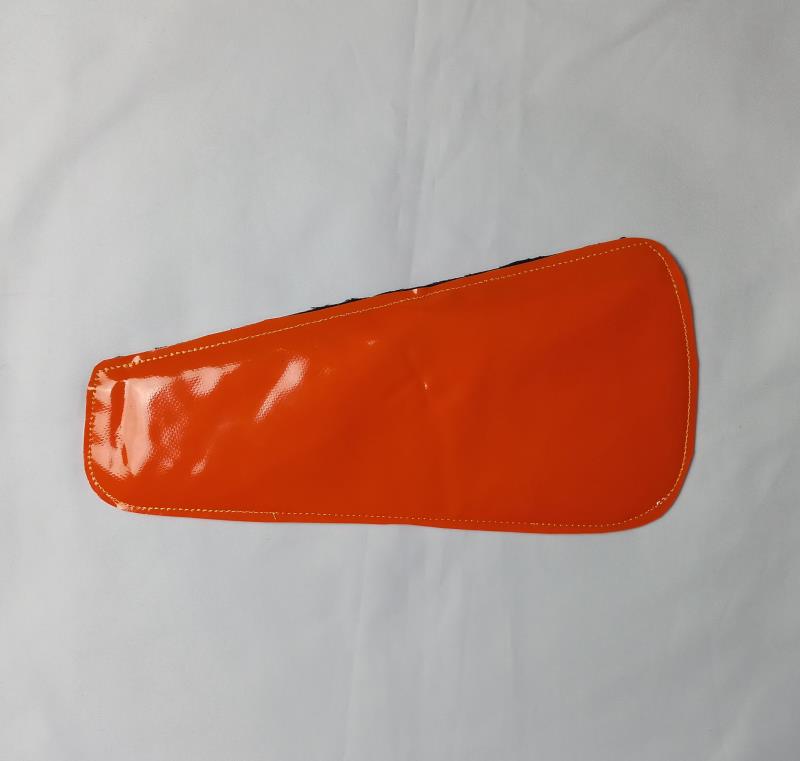
Step 8: Remove the project from the hoop and cut out the outline of the design with sharp scissors.
(Click Image to Enlarge)
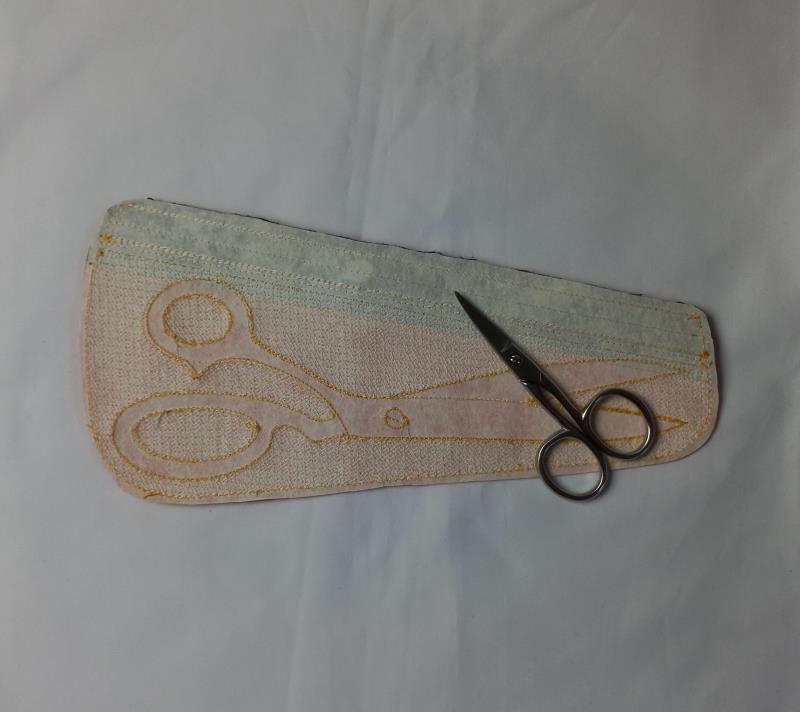
Step 9: With the help of scissors, cut a straight line on the stabilizer to be able to reach the zipper.
(Click Image to Enlarge)
Step 10: Open the zipper and turn it inside out so you can finish this beautiful project. Enjoy it.
(Click Image to Enlarge)
Feedback
Please Login to Submit a Feedback
Invalid Characters, Please enter a valid Comment
Please enter a valid Comment
LOG IN
Submit
Link is Broken, Please check the URL