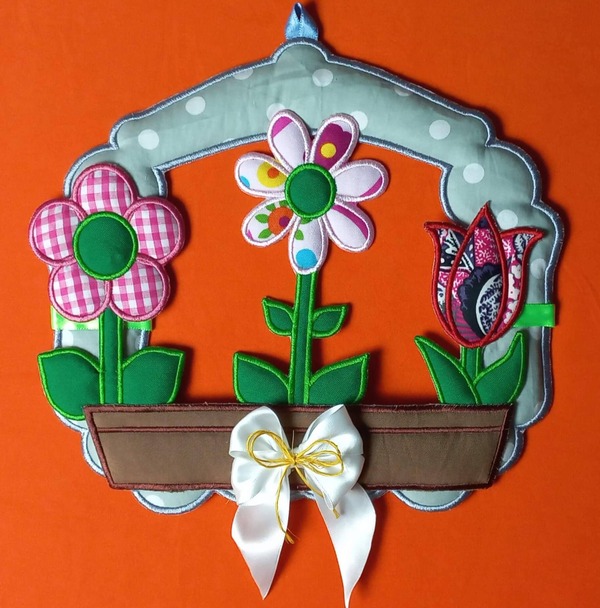
The best ITH Flower Wreath ever! ITH Flower Wreath is made with fabric, just take all the work out of the project. Make these in less than 60 minutes. :00
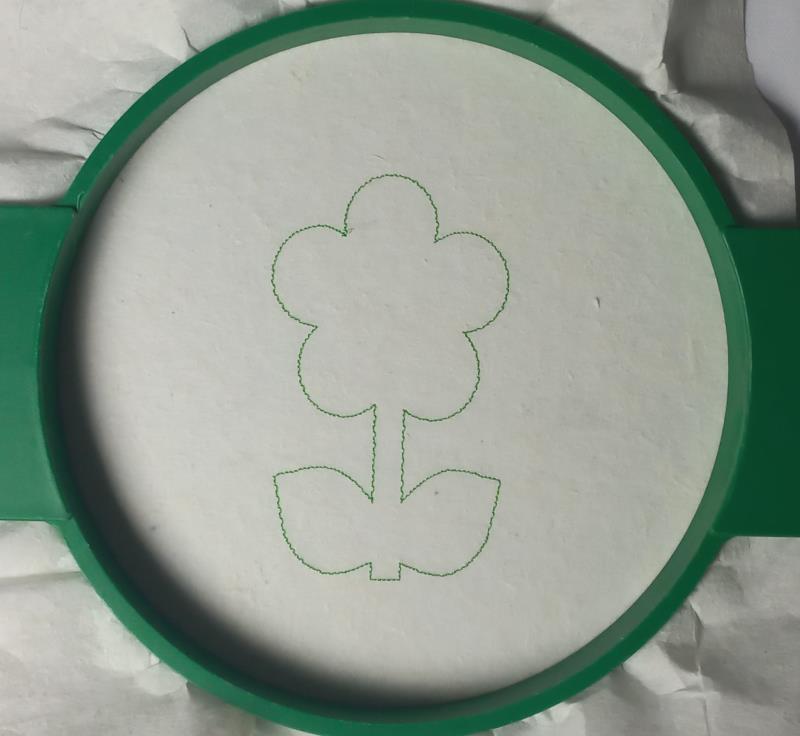
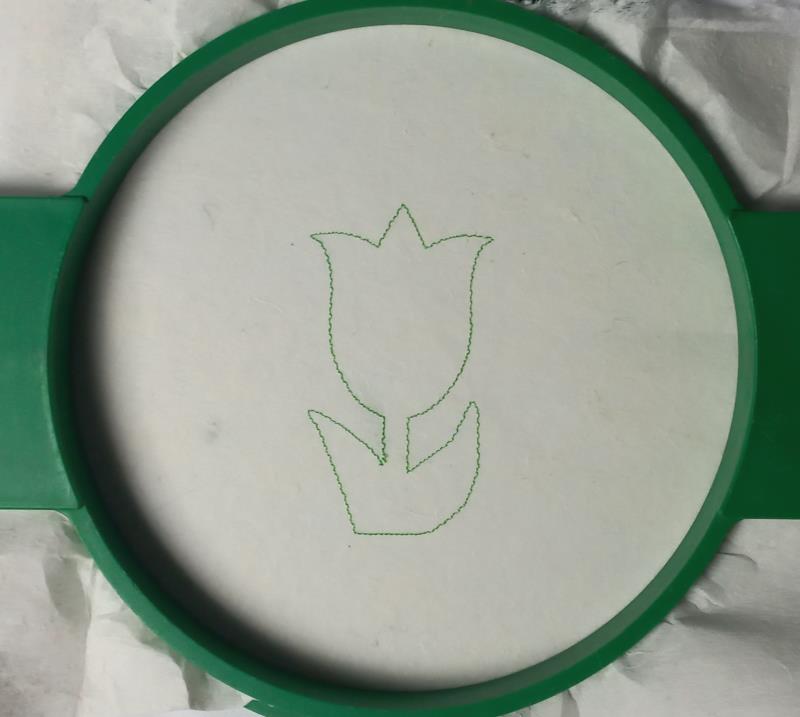
For the first flower, tautly hoop a 2.5-ounce cutaway stabilizer in
your embroidery hoop and run color-stop 1 as a placement line.
(Click Image to Enlarge)
Step 2:
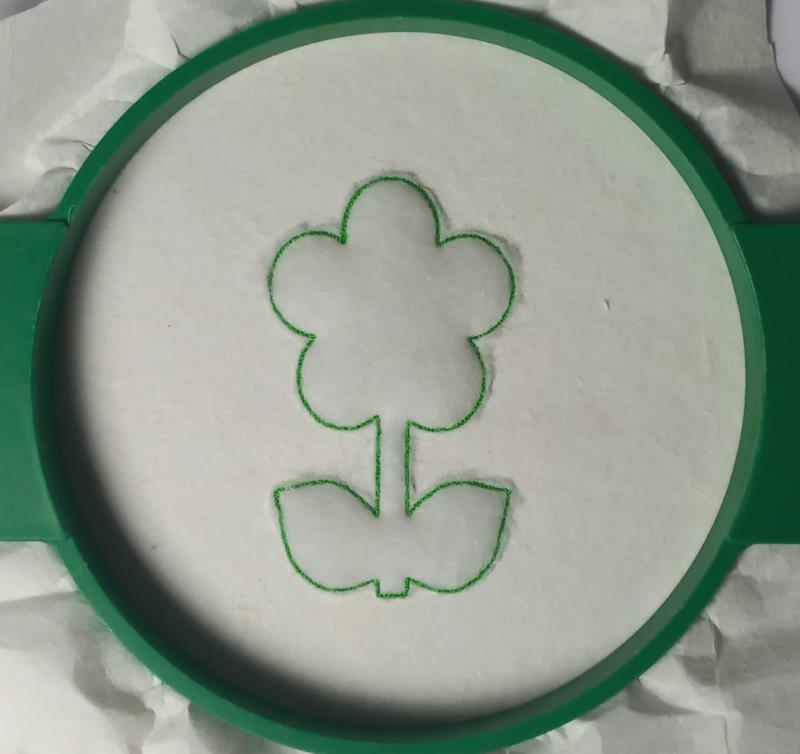
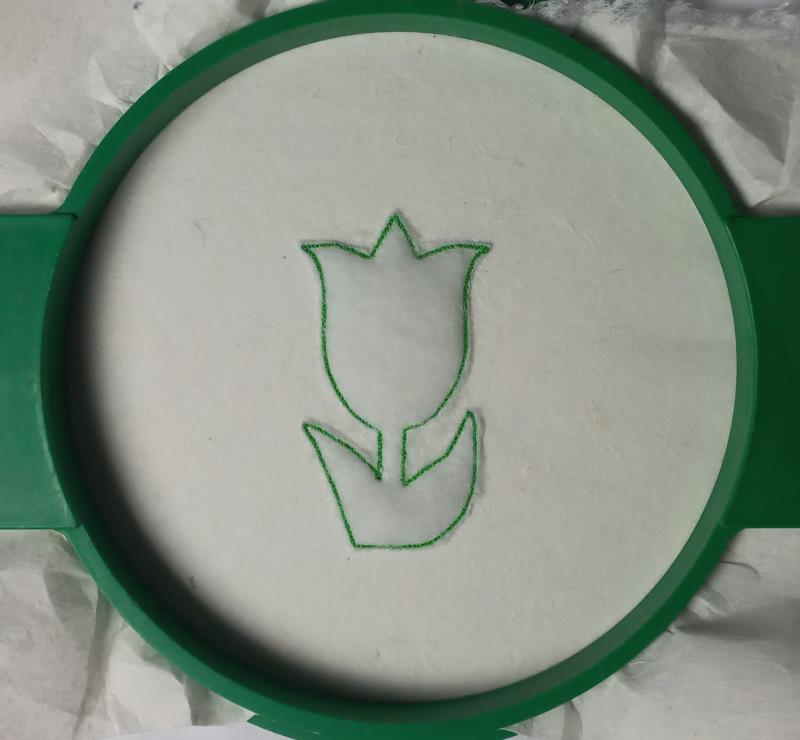
Remove the hoop from the machine, do not unhoop. Cover the
placement line with wadding, with the help of the repositionable
adhesive spray, and run color-stop 2 through color-stop 3. Cut off
the excess wadding.
(Click Image to Enlarge)
Step 3:
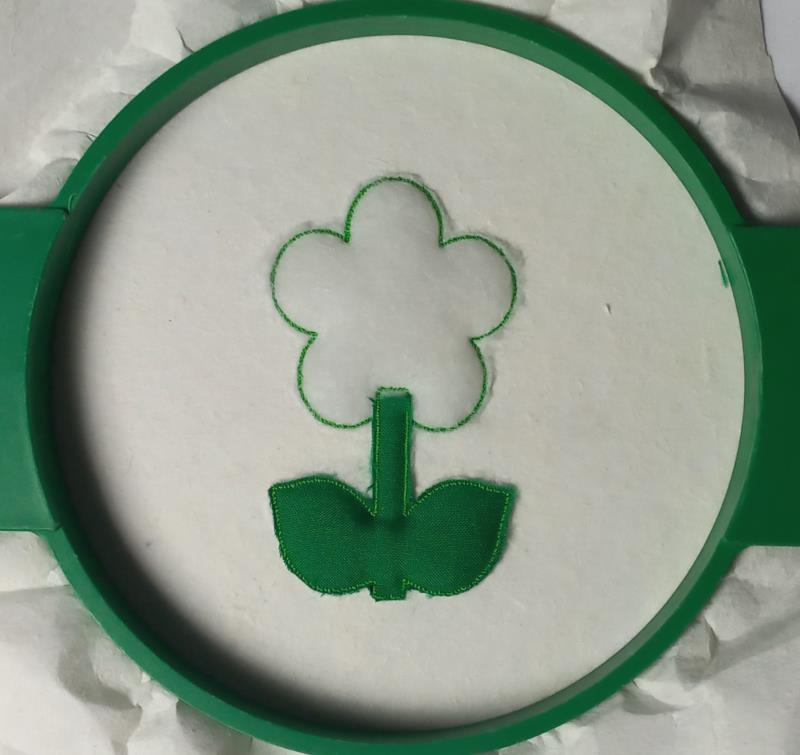
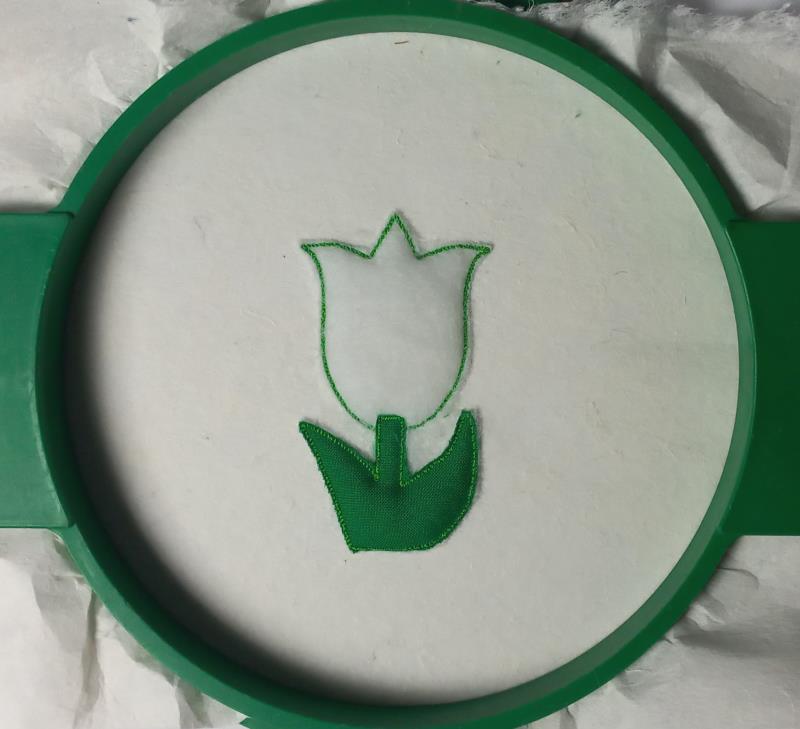
Cover the placement line for the leaves and stem with green
fabric, with the help of the repositionable adhesive spray, and run
color-stop 4. Cut off the excess fabric.
(Click Image to Enlarge)
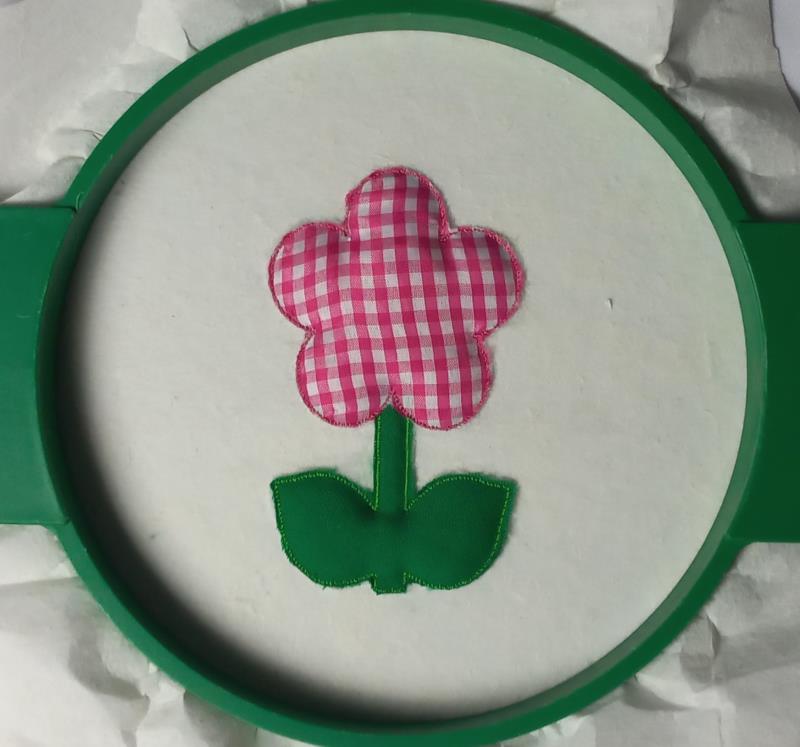
Step 4:
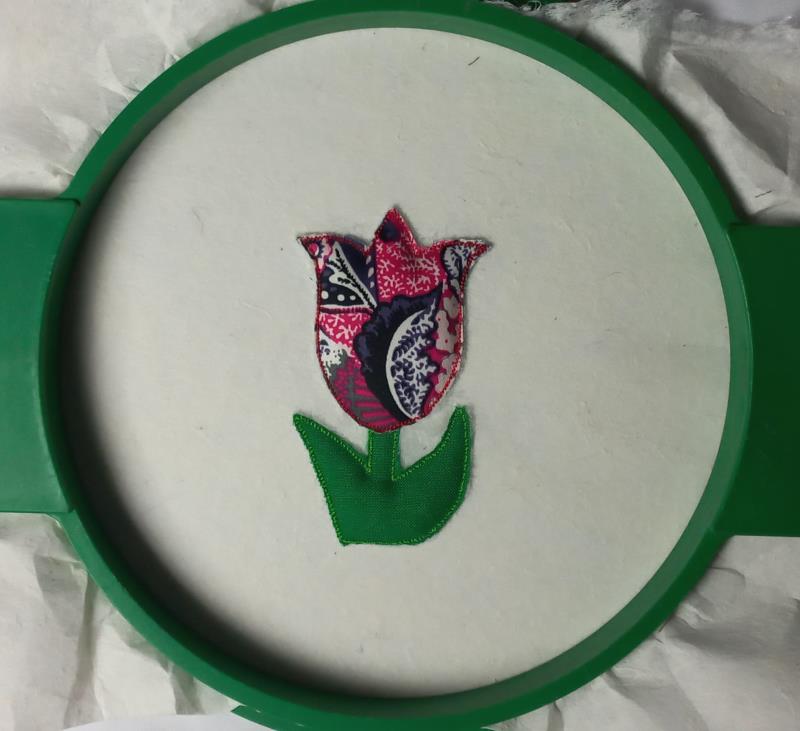
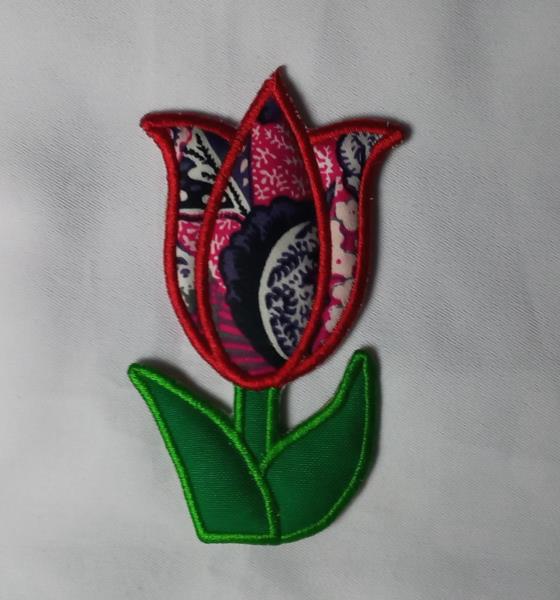
Cover the placement line for the flower part with printed fabric,
with the help of the repositionable adhesive spray, and run
color-stop 5. Cut off the excess fabric.
(Click Image to Enlarge)
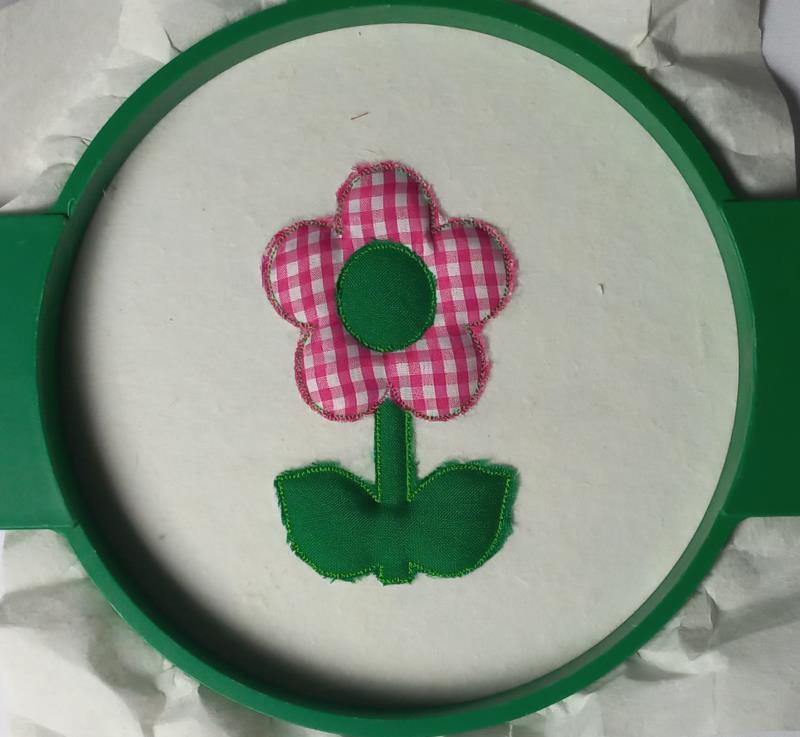
Step 5:
Cover the placement line in the center of the flower part with green
fabric, with the help of the repositionable adhesive spray, and run
color-stop 6 through color-stop 7. Cut off the excess fabric.
(Click Image to Enlarge)
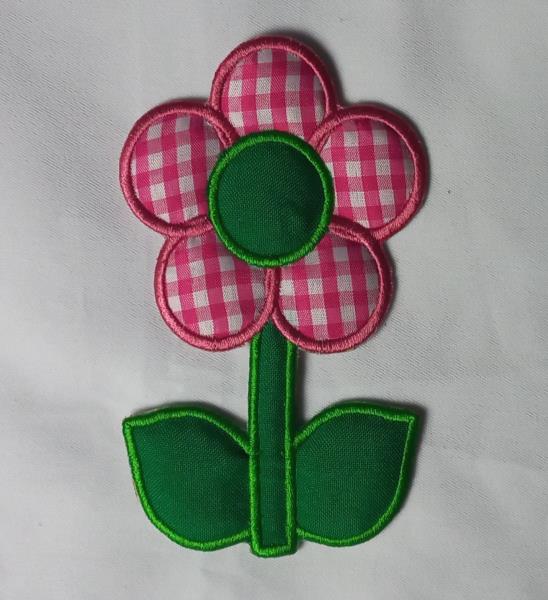
Step 6:
Remove the project from the hoop, and cut out the design's outline
with sharp scissors. Look like this.
(Click Image to Enlarge)
Step 7:
For the second flower, follow the steps of the first flower. And look
like this.
(Click Image to Enlarge)
Step 8:
For the third flower, tautly hoop a 2.5-ounce cutaway stabilizer in
your embroidery hoop and run color-stop 1 as a placement line.
(Click Image to Enlarge)
Step 9:
Remove the hoop from the machine, do not unhoop. Cover the
placement line with wadding, with the help of the repositionable
adhesive spray, and run color-stop 2 through color-stop 3. Cut off
the excess wadding.
(Click Image to Enlarge)
Step 10:
Cover the placement line for the leaves and stem with green
fabric, with the help of the repositionable adhesive spray, and run
color-stop 4. Cut off the excess fabric.
(Click Image to Enlarge)
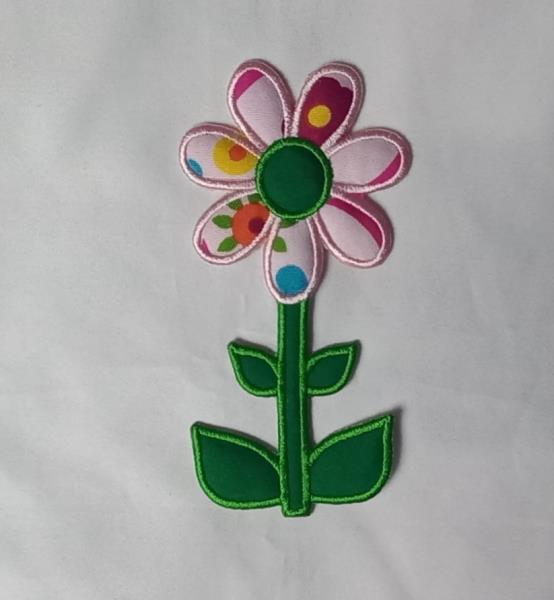
Step 11:
Cover the placement line for the flower part with printed fabric,
with the help of the repositionable adhesive spray, and run
color-stop 5. Cut off the excess fabric. And run color-stop 6
through color-stop 8.
(Click Image to Enlarge)
Step 12:
Remove the project from the hoop, and cut out the design's outline
with sharp scissors. Look like this.
(Click Image to Enlarge)
Step 13:
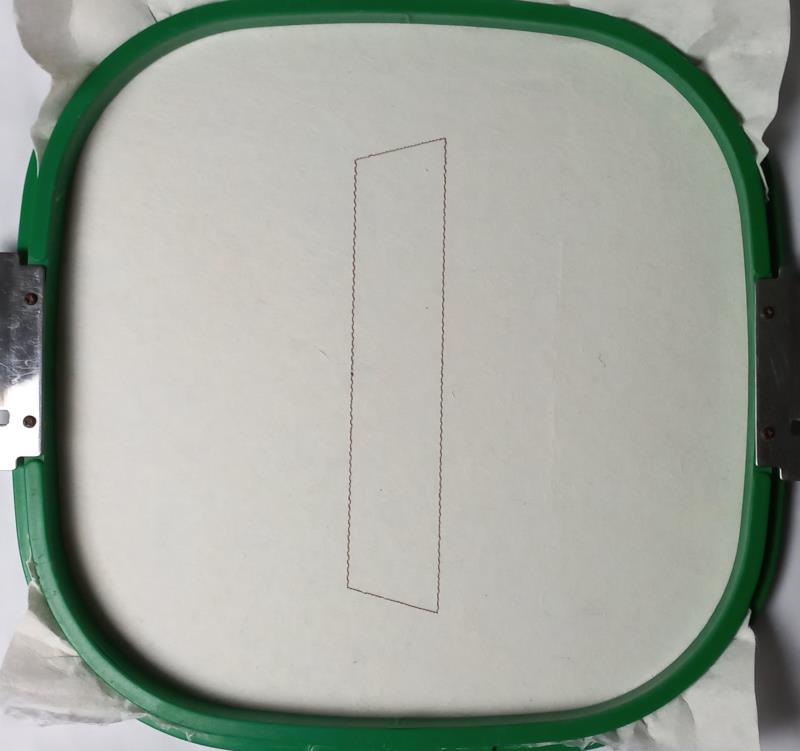
For the flower pot, tautly hoop a 2.5-ounce cutaway stabilizer in
your embroidery hoop and run color-stop 1 as a placement line.
(Click Image to Enlarge)
Step 14:
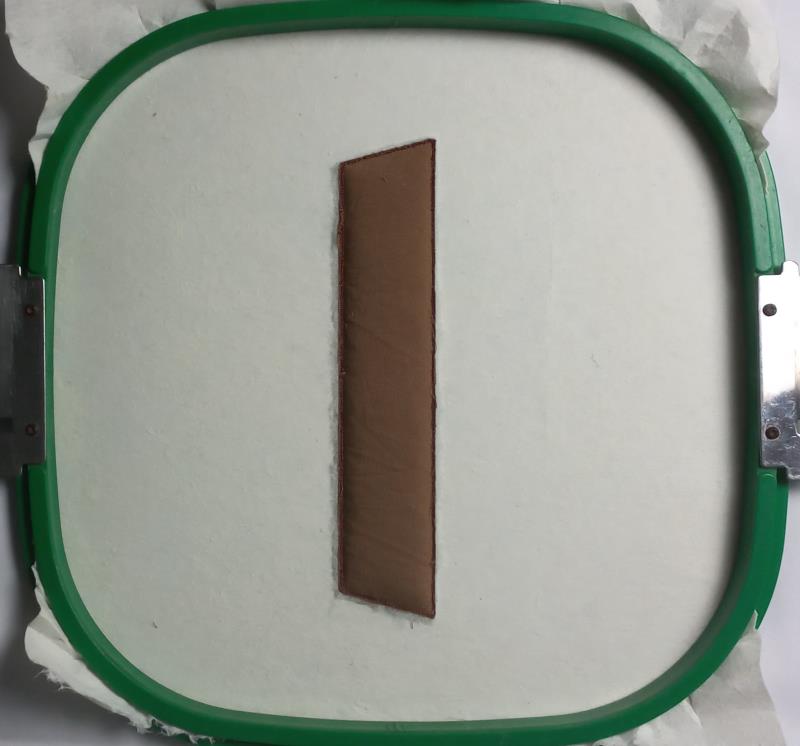
Remove the hoop from the machine, do not unhoop. Cover the
placement line with wadding and brown fabric with the help of the
repositionable adhesive spray, and run color-stop 2 through
color-stop 5. Cut off the excess fabric/wadding. And run color-stop
6.
(Click Image to Enlarge)
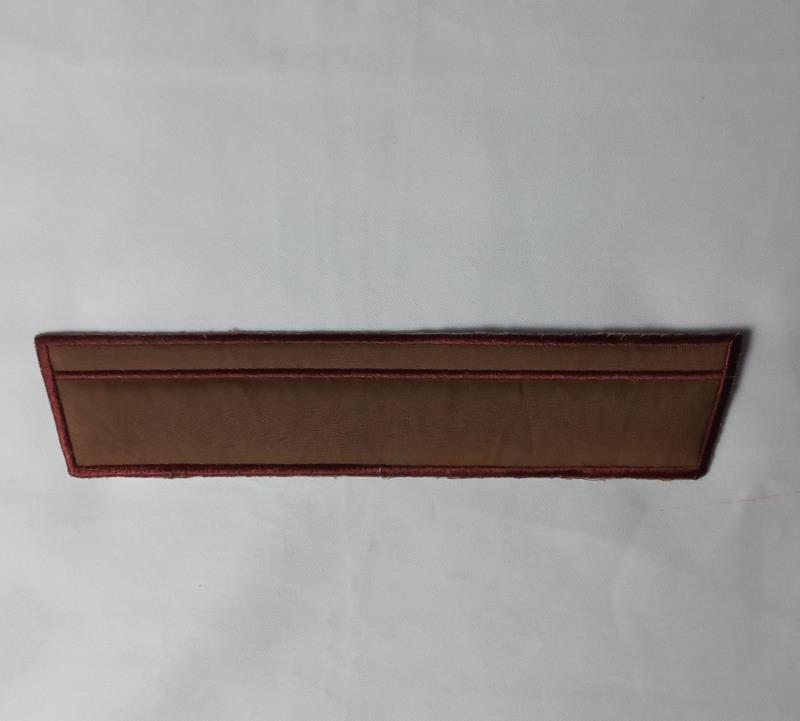
Step 15:
Remove the project from the hoop, and cut out the design's outline
with sharp scissors. Look like this.
(Click Image to Enlarge)
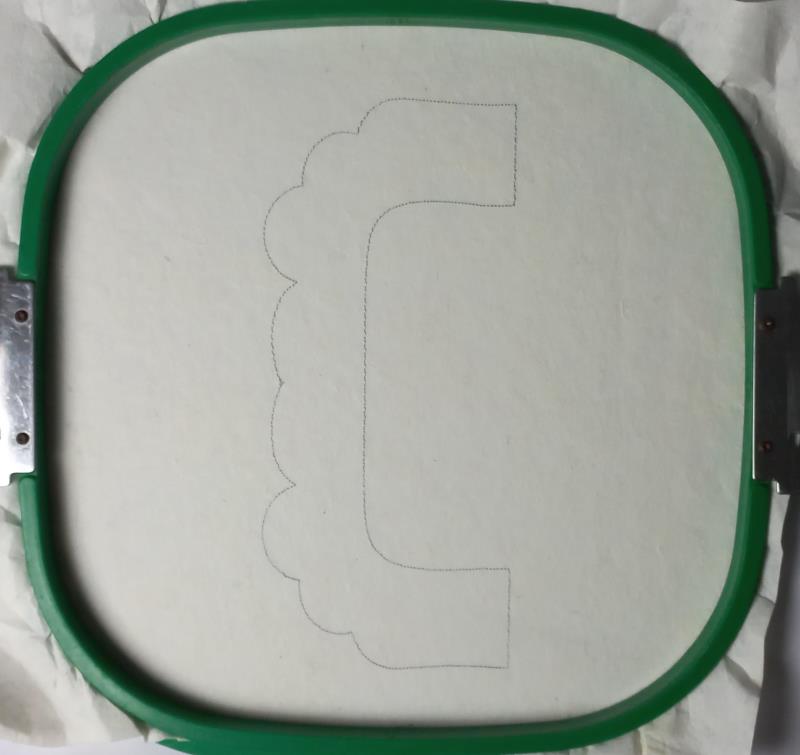
Step 16:
For the bottom wreath part tautly hoop 2.5-ounce cutaway
stabilizer in your embroidery hoop, and run color-stop 1 as a
placement line.
(Click Image to Enlarge)
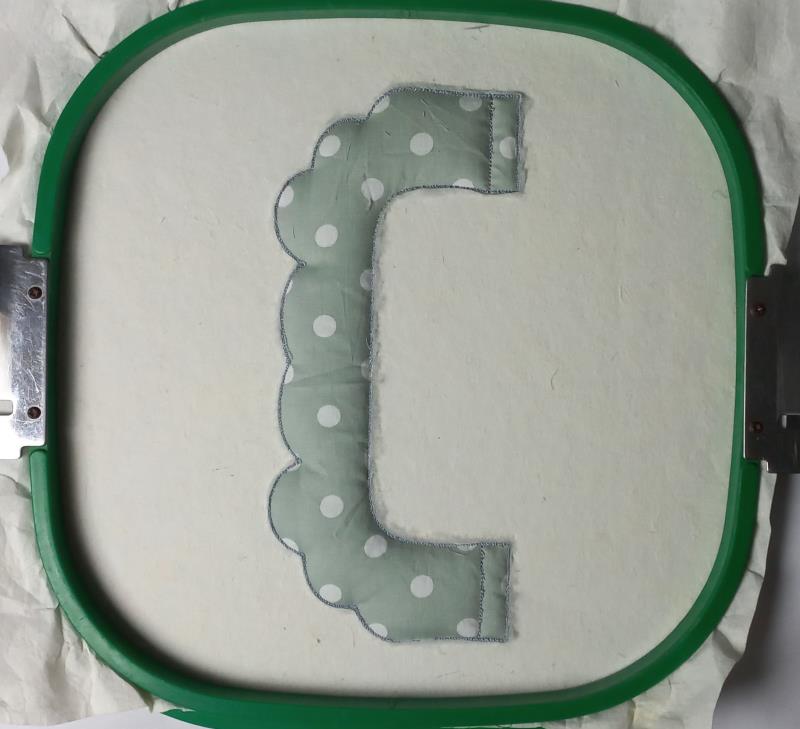
Step 17:
Remove the hoop from the machine, do not unhoop. Cover the
placement line with wadding and printed fabric with the help of the
repositionable adhesive spray, and run color-stop 2 through
color-stop 4. Cut off the excess fabric/wadding. And run color-stop
5.
(Click Image to Enlarge)
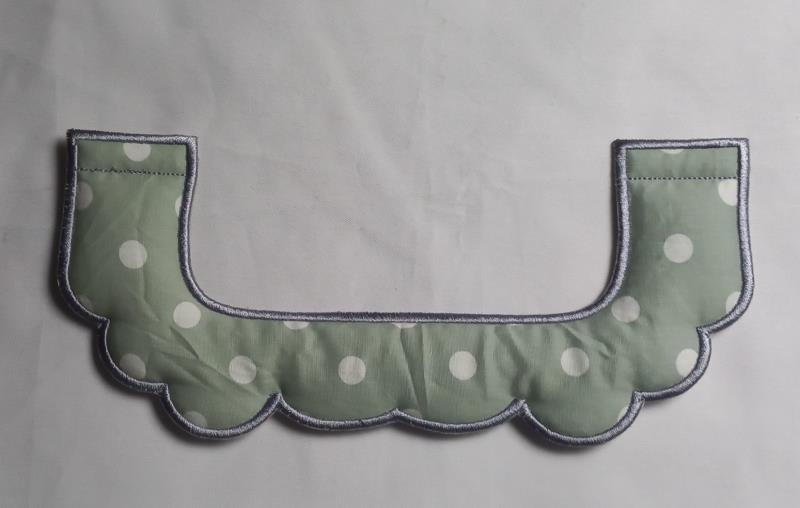
Step 18:
Remove the project from the hoop, and cut out the design's outline
with sharp scissors. Look like this.
(Click Image to Enlarge)
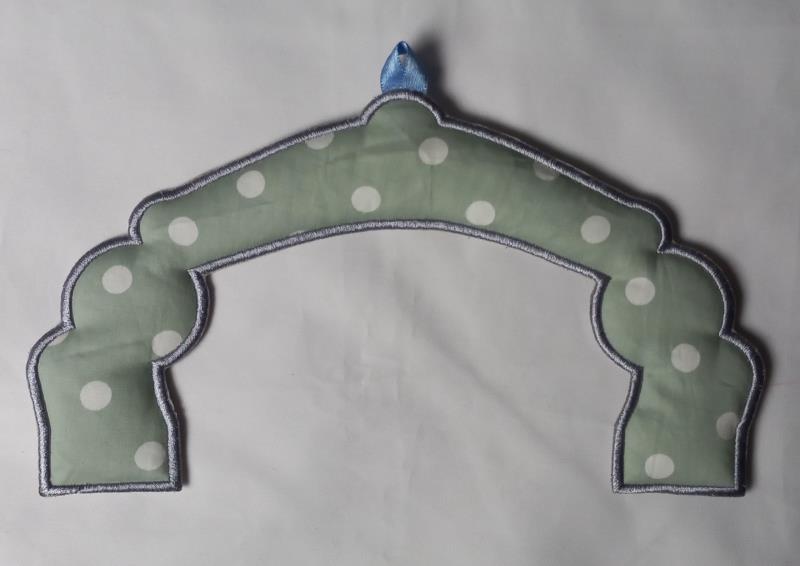
Step 19:
For the top wreath, follow the steps from the bottom wreath. And
look like this.
(Click Image to Enlarge)
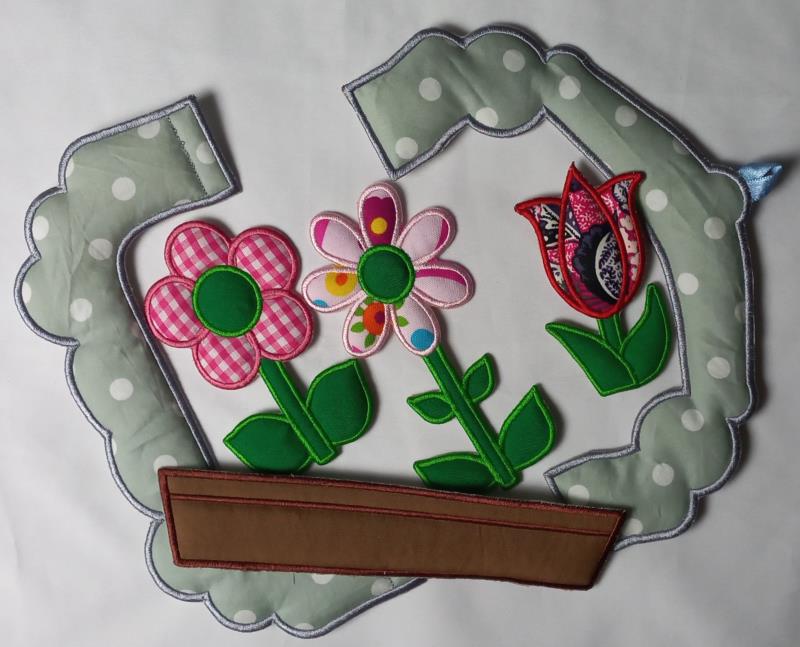
Step 20:
Remove the project from the hoop, cut out the design's outline
with sharp scissors and then put all the pieces together
(Click Image to Enlarge)
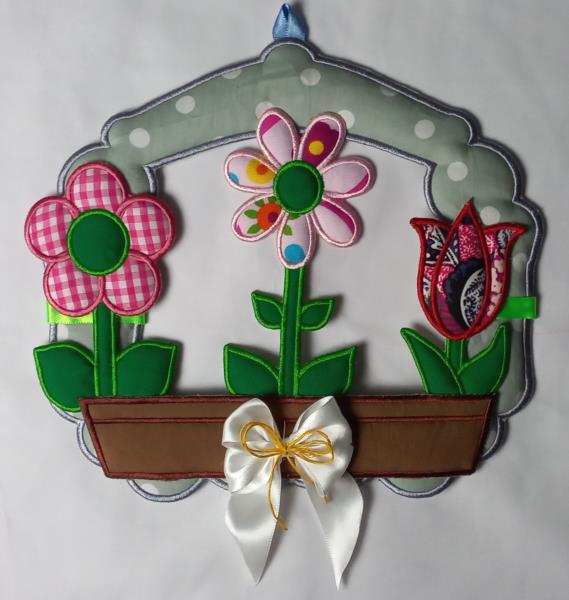
Step 21:
With the help of a needle and thread or some type of textile glue,
join the pieces as they are arranged in the image.
Use a ribbon or cord as a complementary decoration.
Have fun doing this beautiful project.