There are two design files to this basket. Filenames given above.
Step 2:
(Click Image to Enlarge)
.
Step 3:
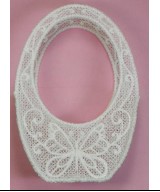
(Click Image to Enlarge)
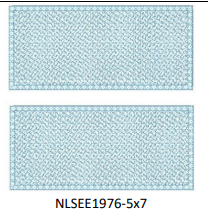
Transfer the basket side design (NLSEE1977-5x7) to your embroidery machine. Hoop a double layer of water-soluble stabilizer in your 5x7 inch embroidery hoop and attach to machine.
Step 4:
Thread machine with choice of color and also thread bobbin with same color.
Step 5:
Stitch the design.
Step 6:
Once stitching is completed, remove hoop from machine and project from hoop.
Step 7:
Cut stabilizer from around the design, leave about 1 inch to prevent accidently cutting border stitches.
Step 8:
Using warm water in a container, submerge each piece. Leave in water only long enough for the outside stabilizer to fall away. Leaving some of the stabilizer in the design will give it body.
Step 9:
Blot with paper towels and lie flat to dry.
Step 10:
Sew the other pieces (a second side and the basket bottom). Follow the same procedure as in step 6 to remove the outside stabilizer.
Step 11:
(Click Image to Enlarge)
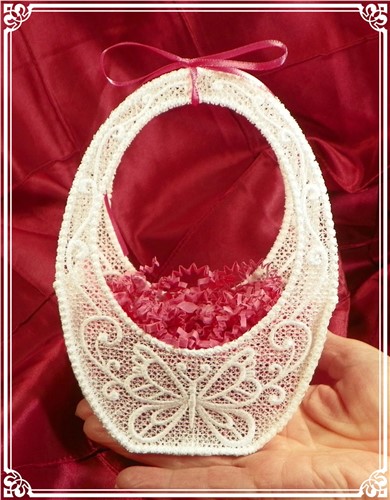
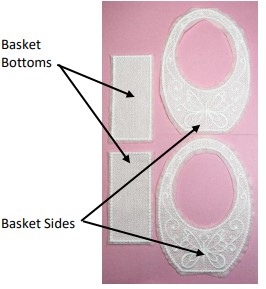
You should have four lace pieces: two basket bottoms, and two basket sides.
Step 12:
(Click Image to Enlarge)
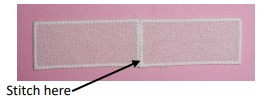
To begin assembling the basket, stitch the two basket bottoms together using a zig-zag stitch on your sewing machine, as shown in the photo. Make sure the zig-zag width catches both border stitches of the pieces. It is a good idea to back-stitch a few stitches at the beginning and end to secure the pieces.
Step 13:
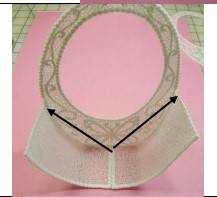
Line up the center of the basket side with the center of the basket bottom and pin in place.
Step 14:
(Click Image to Enlarge)
Hand stitch from the bottom center to here
Step 15:
(Click Image to Enlarge)
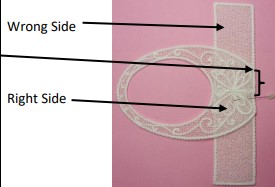
Make sure the wrong sides of both pieces are facing each other (right sides out )
Step 16:
Align the next part of the basket side to the basket bottom and hand stitch the bottom in place.
Step 17:
(Click Image to Enlarge)
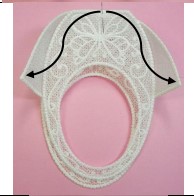
Stitch the other side of the basket bottom to the side beginning at the bottom center and sewing outward
Step 18:
Align the remaining basket side with the basket bottom as you did in #11 and pin in place.
Step 19:
(Click Image to Enlarge)
Beginning at the center of the basket bottom, hand stitch as you did before and then repeat the process from the basket bottom to the point where the basket bottom ends on the handles.
Step 20:
(Click Image to Enlarge)
Your basket is completed. You can add a piece of ribbon to hold the handles together or leave them as they are