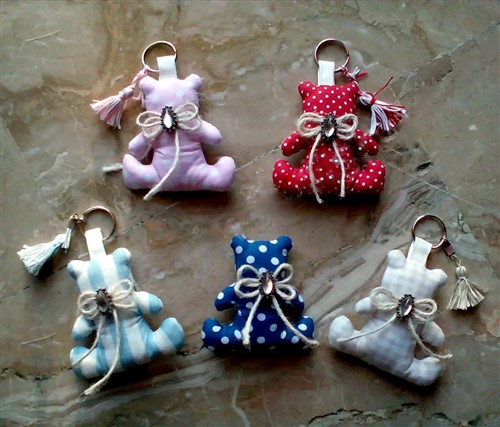
This project is in collaboration with ITH Boutique and Laura workshop.
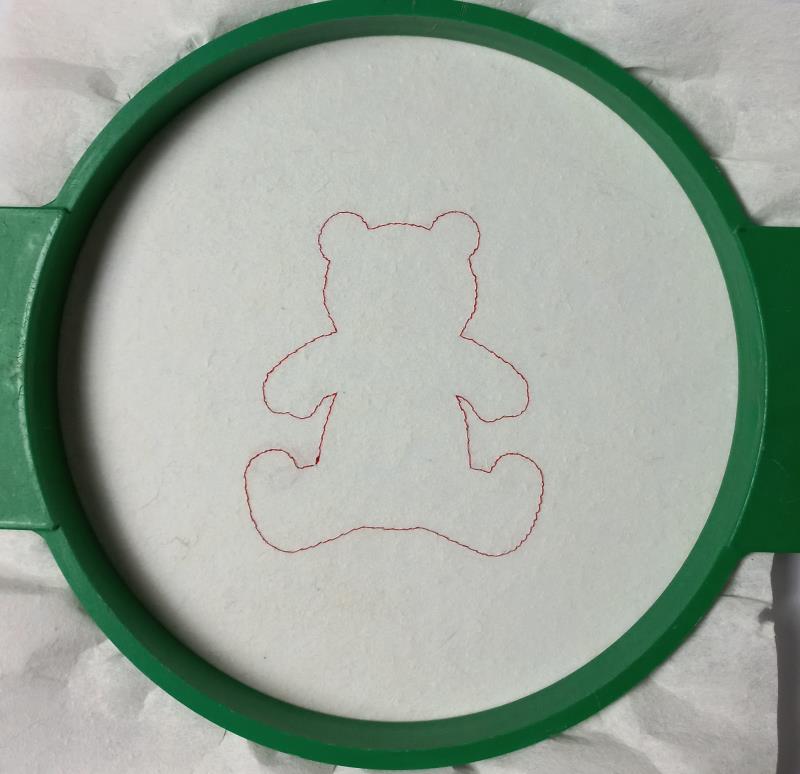
Step 1:
Tautly hoop 2.5-ounce cutaway stabilizer in your embroidery hoop and run color-stop 1 as a placement line.
(Click Image to Enlarge)
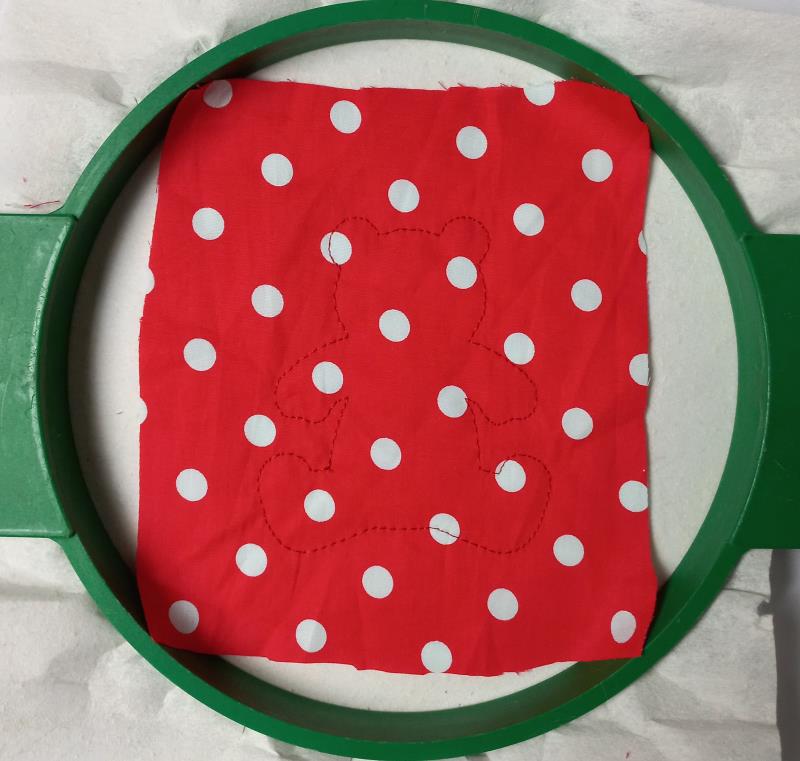
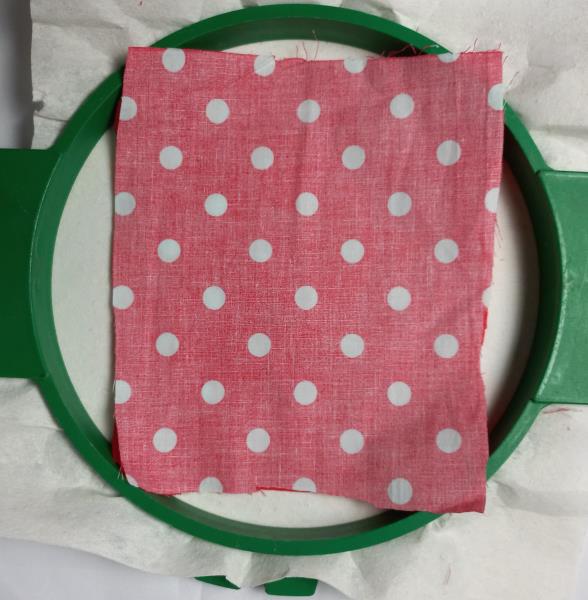
Step 2:
Remove the hoop from the machine, do not unhoop. Cover the placement line with printed fabric with the help of the repositionable adhesive spray, and run color-stop 2 to fix the fabric,
(Click Image to Enlarge)
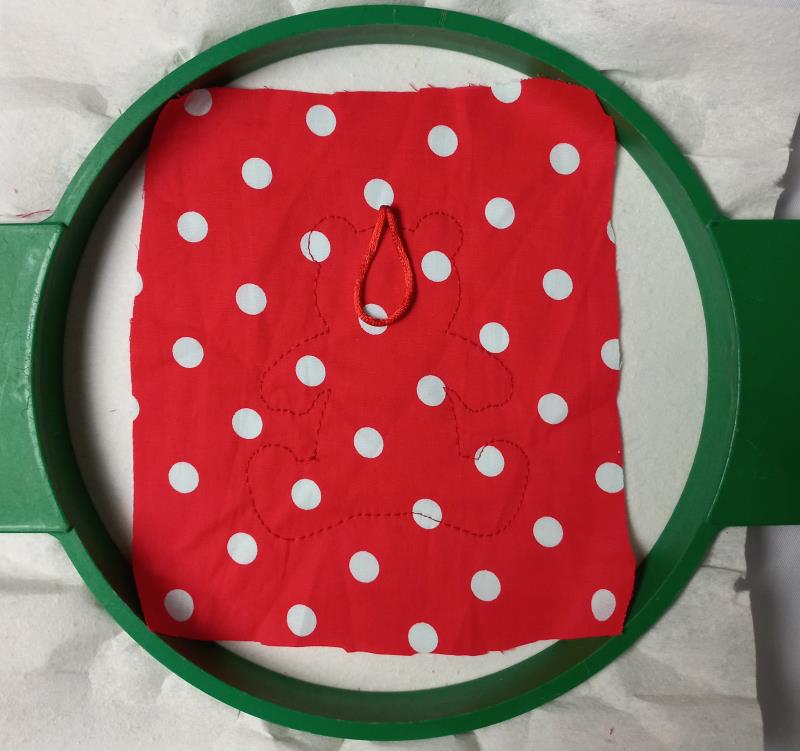
Step 3:
Remove the hoop from the machine, do not unhoop. Place a folded ribbon or cord on top of the bear, as shown in the image, and repeat color-stop 2.
(Click Image to Enlarge)
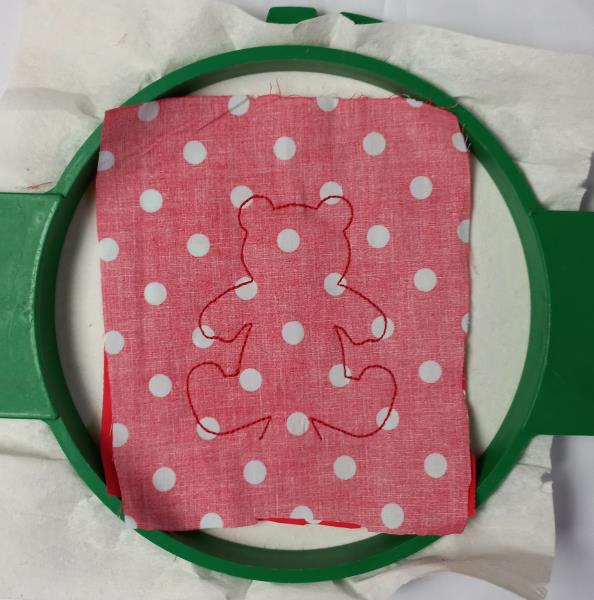
Step 4:
Remove the hoop from the machine, do not unhoop. Cover with patterned fabric from the patterned side down.
(Click Image to Enlarge)
Step 5:
Run color-stop 3 to fix the fabric.
(Click Image to Enlarge)
Step 6:
Remove the project from the hoop, and cut out the design's outline with sharp scissors.
(Click Image to Enlarge)
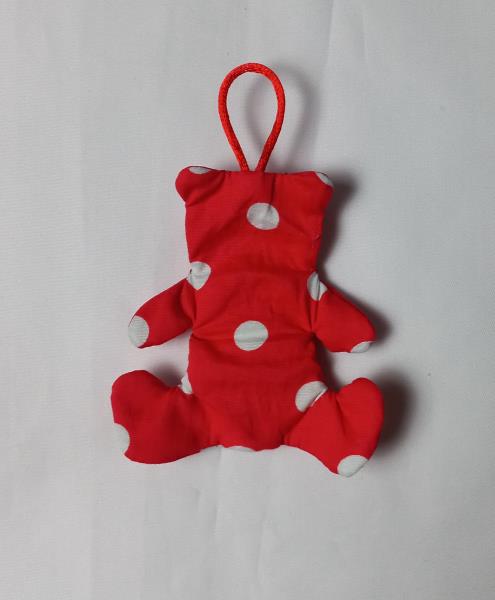
Step 7:
Flip it over through the hole at the bottom.
(Click Image to Enlarge)
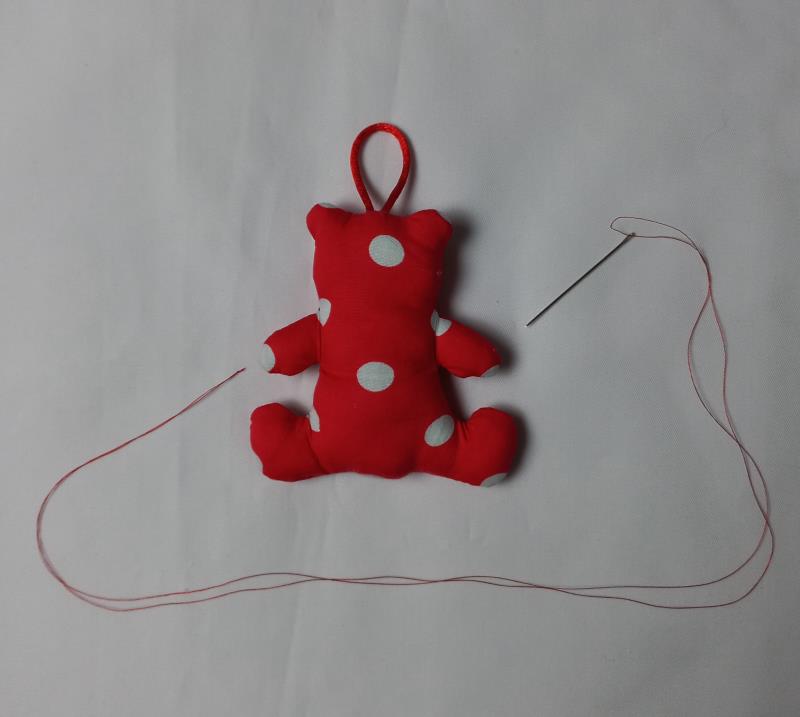
Step 8:
Fill with wadding and close the hole by hand sewing with a needle and thread.
(Click Image to Enlarge)
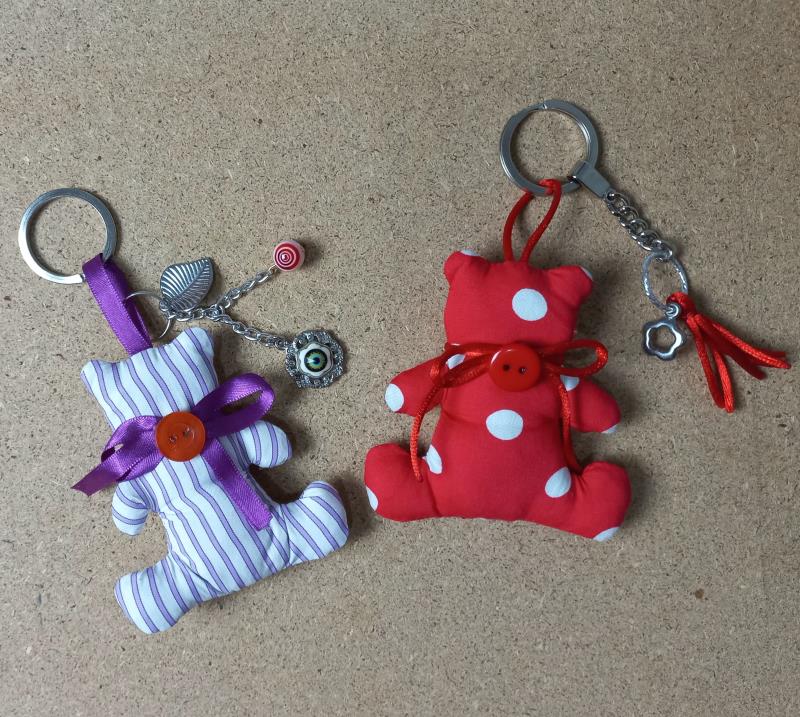
Step 9:
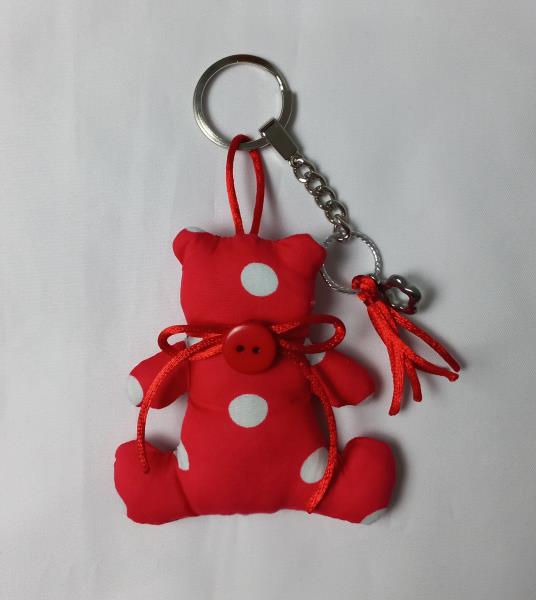
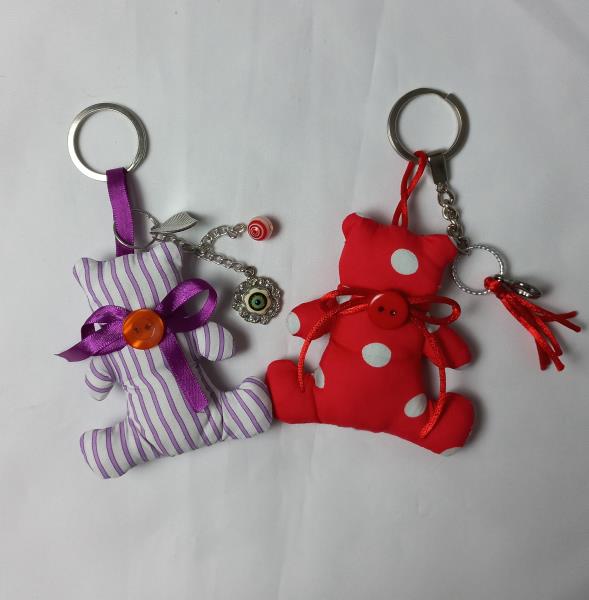
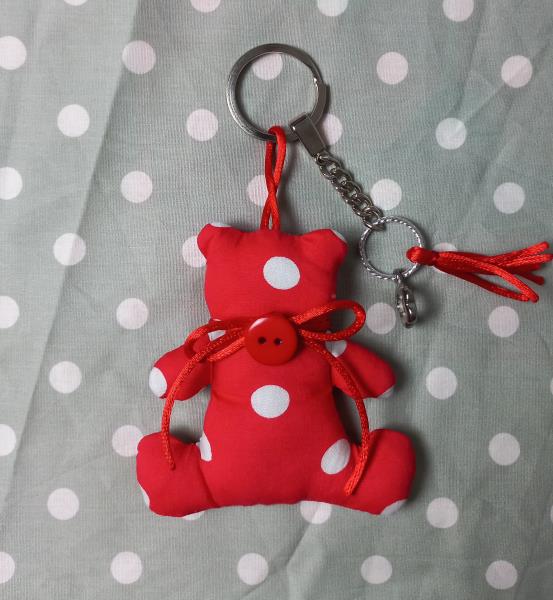
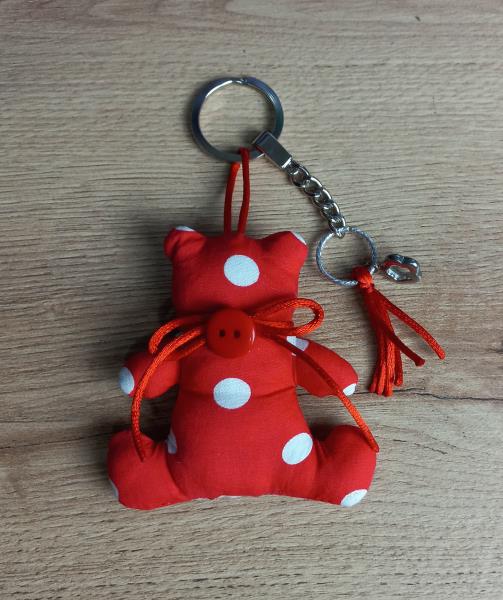
Decorate with a cord or ribbon. add a button and a key ring. Have fun doing this beautiful project.