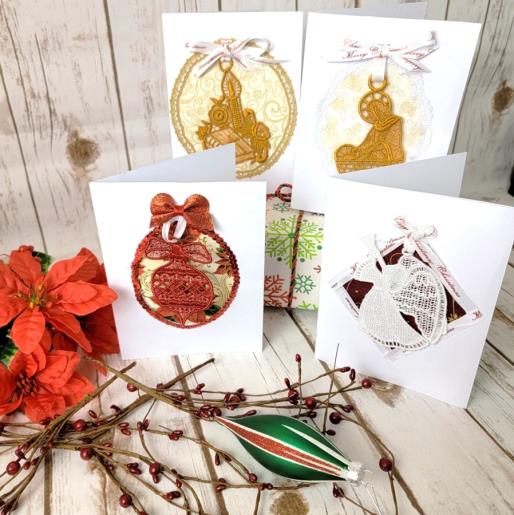
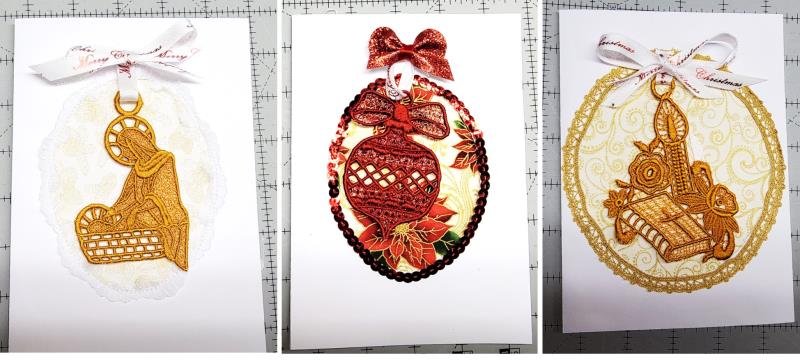
Each card takes about 25 minutes to make, excluding drying time for the lace. Use scraps of fabric, ribbon, and other trims to complete the card.
Step 1:
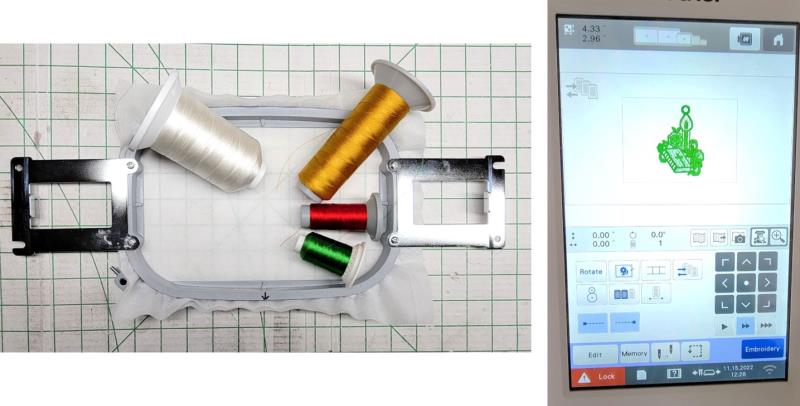
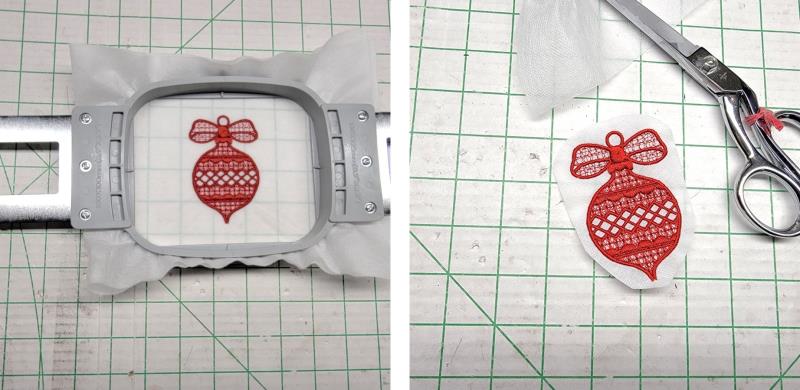
Read through the instructions thoroughly before beginning and assemble all the materials needed to complete the project. Chose thread colors appropriate for the design. Load the chosen design on the machine with the chosen thread color. Hoop two layers of fibrous water-soluble stabilizer. Embroider the design.
(Click Image to Enlarge)
Step 2:
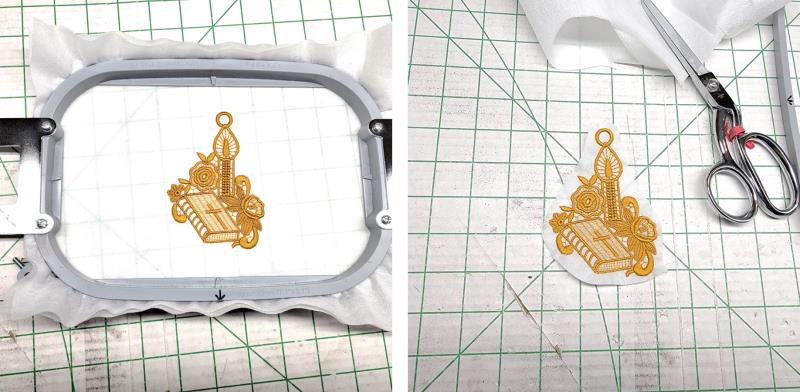
Remove the design from the hoop and generally trim away the excess stabilizer.
(Click Image to Enlarge)
Step 3:
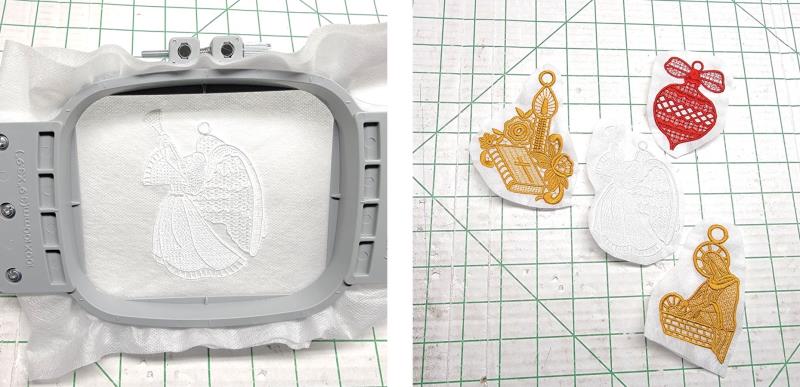
Stitch the next design on two layers of fibrous water-soluble stabilizer and then trim away the excess stabilizer.
(Click Image to Enlarge)
Step 4:
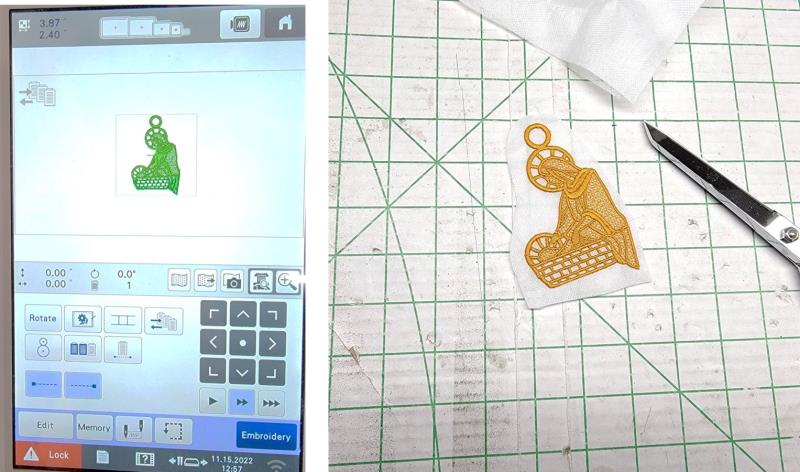
Stitch another design, perhaps changing the thread color and then trim away the excess stabilizer.
(Click Image to Enlarge)
Step 5:
Stitch the last design used in these projects on two layers of water-soluble stabilizer and trim away the excess stabilizer.
(Click Image to Enlarge)
Step 6:
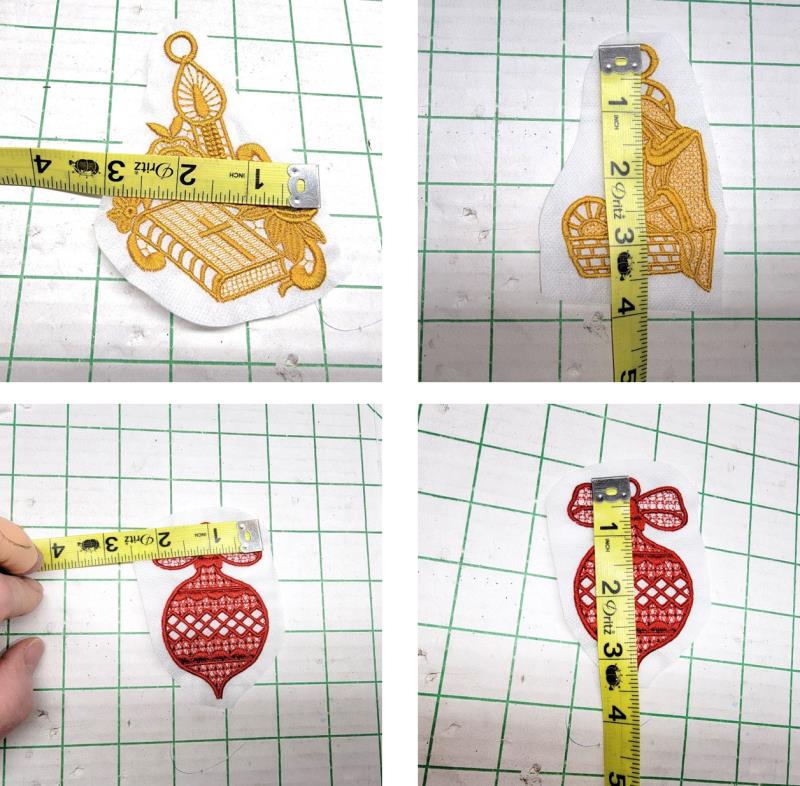
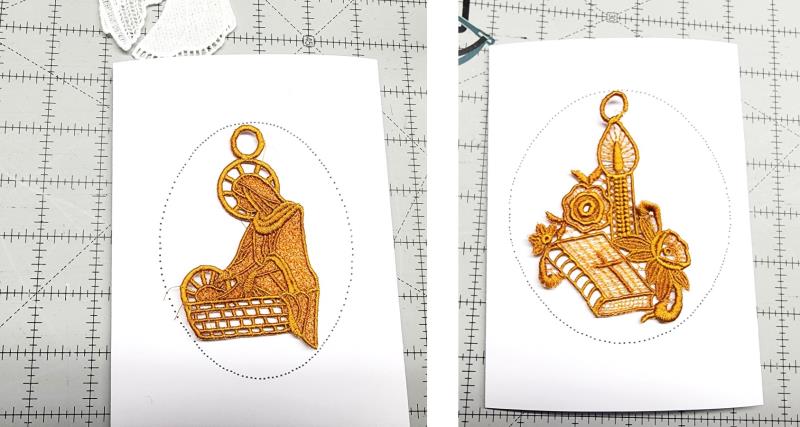
Before rinsing away the remaining stabilizer, measure the width and height of each ornament. Write down the measurements.
(Click Image to Enlarge)
Step 7:
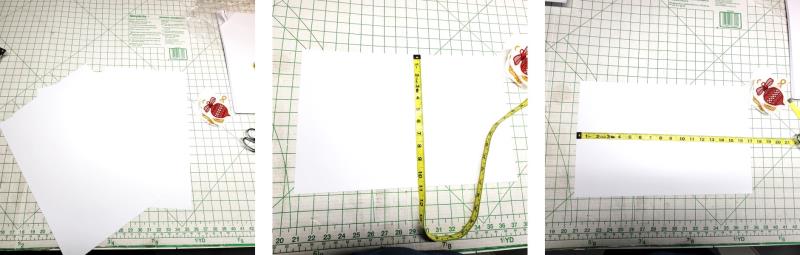
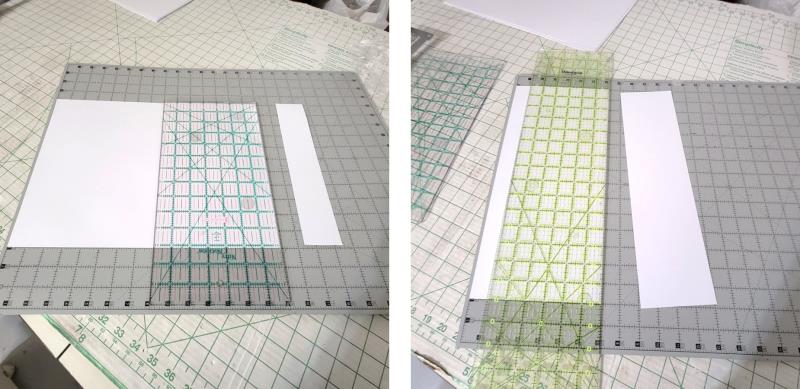
For each ornament, measure the card stock. The finished measurement of each card will be 5” x 7”. The card stock chosen was 11” x 17” and has to be cut down.
(Click Image to Enlarge)
Step 8:
Carefully measure and cut the piece of card stock to 15” long by 7” high.
(Click Image to Enlarge)
Step 9:
Measuring across the long edge, score lines at the 5” and 10” measurements.
(Click Image to Enlarge)
Step 10:
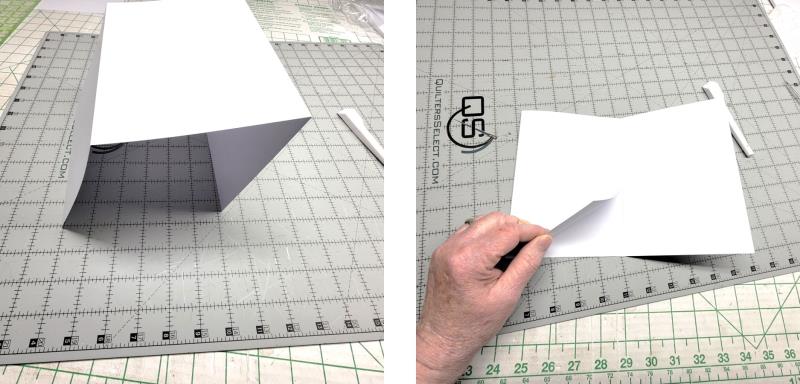
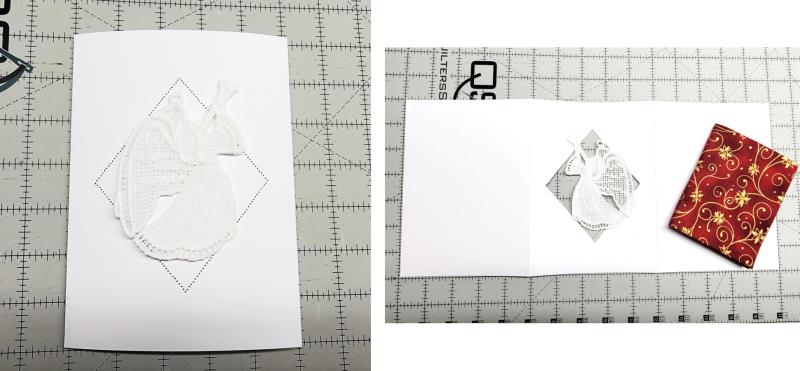
Fold along the scored lines. The middle of the card stock will be the front of the card. The left side will fold behind the middle section. The right side is the inside of the card.
(Click Image to Enlarge)
Step 11:
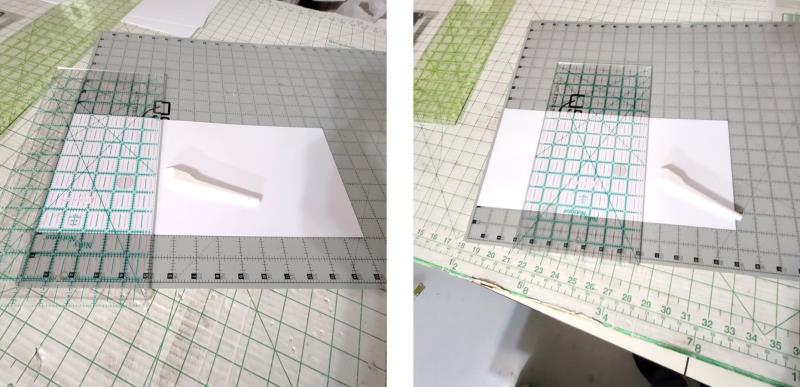
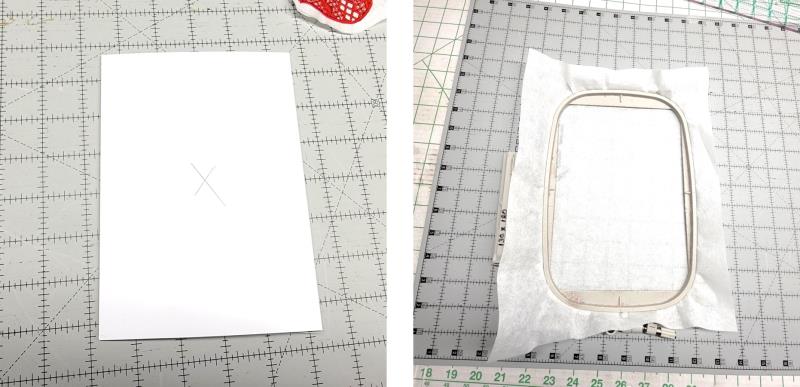
Fold the card stock so the middle section is on top. Place a ruler from corner to corner in each direction as shown, placing a tick mark in the center of the card. Rinse out the remaining stabilizer from the designs and use the time doing the next steps as drying time for the designs.
(Click Image to Enlarge)
Step 12:
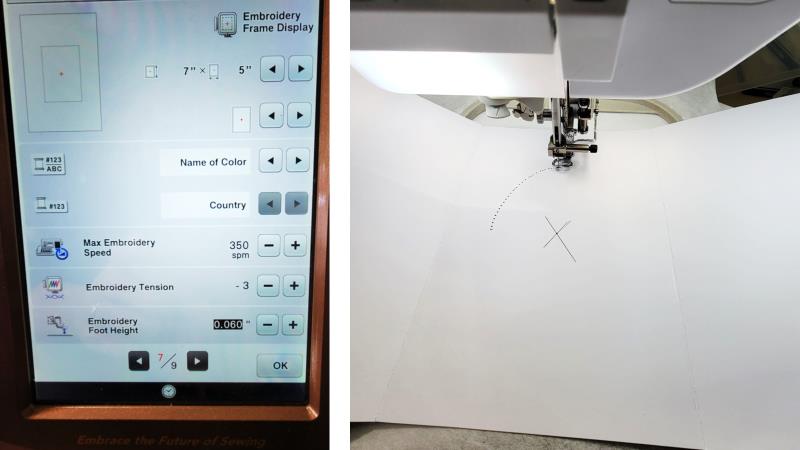
Where the marks intersect is the center of the card which will be aligned with the machine needle in the next step. The machine will be used to “cut out” an opening in the card for the ornament. Hoop a layer of tearaway stabilizer (the same stabilizer can be used for all the cards being done.)
(Click Image to Enlarge)
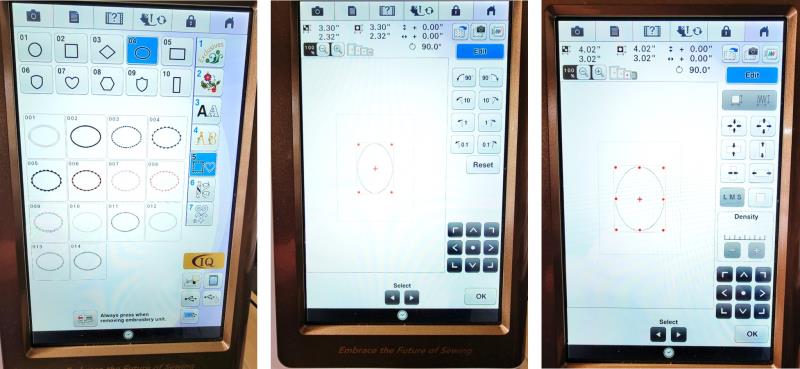
Step 13:
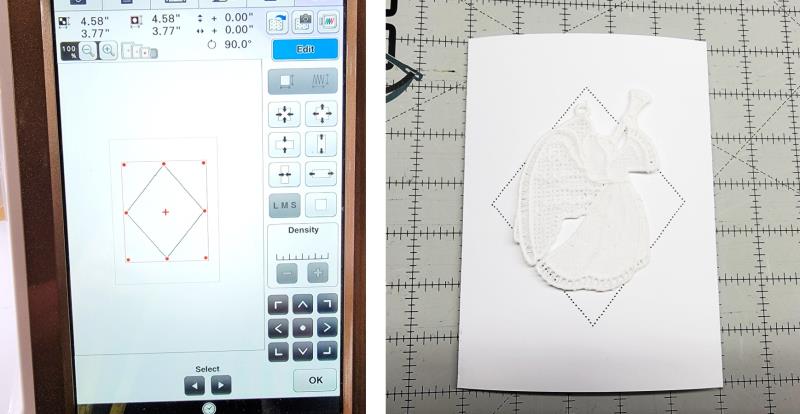
Choose a single-stitch design in the machine that will be appropriate for the design such as a rectangle, square, circle, oval, diamond, etc. Rotate the design if required. Size the chosen design to accommodate the dimensions as measured in step 6.
(Click Image to Enlarge)
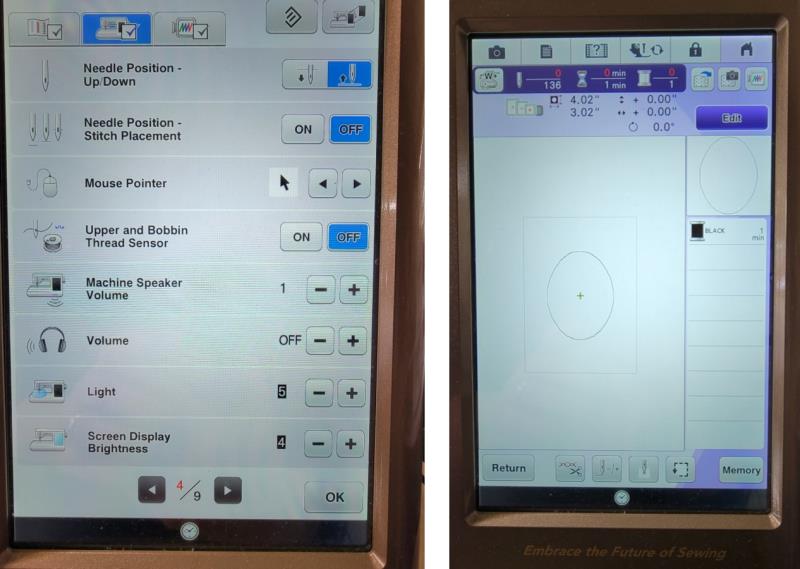
Step 14:
Take out the bobbin and unthread the machine. Turn off the machine thread sensor. Now the machine will be able to stitch without thread.
(Click Image to Enlarge)
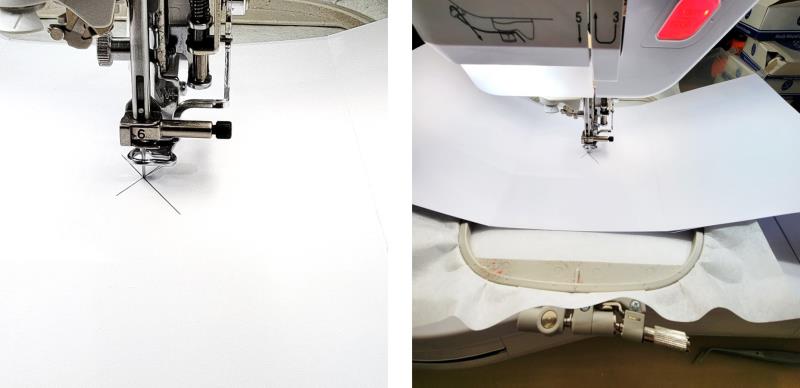
Step 15:
Place the hoop on the machine. Spray the back of the middle section of the card lightly with temporary spray adhesive. Align the mark on the cardstock to the needle and make sure it is straight in the hoop. Sinking the needle in the card helps to temporarily hold the card stock in place while squaring the paper up in the hoop.
(Click Image to Enlarge)
Step 16:
Slow down the machine speed. Stitch the design on the card stock.
(Click Image to Enlarge)
Step 17:
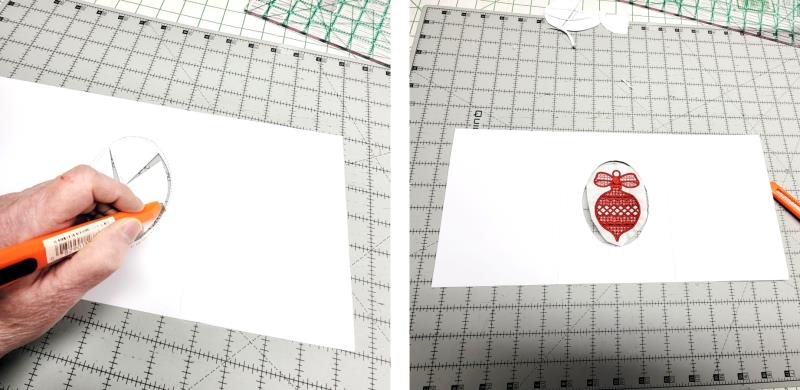
Remove the cardstock from the stabilizer. Using a hobby knife or snap blade knife, cut along the stitching, removing the center area of the stitching.
(Click Image to Enlarge)
Step 18:
Repeat for the remaining designs and card stock.
(Click Image to Enlarge)
Step 19:
Try out different stitching patterns as cutouts.
(Click Image to Enlarge)
Step 20:
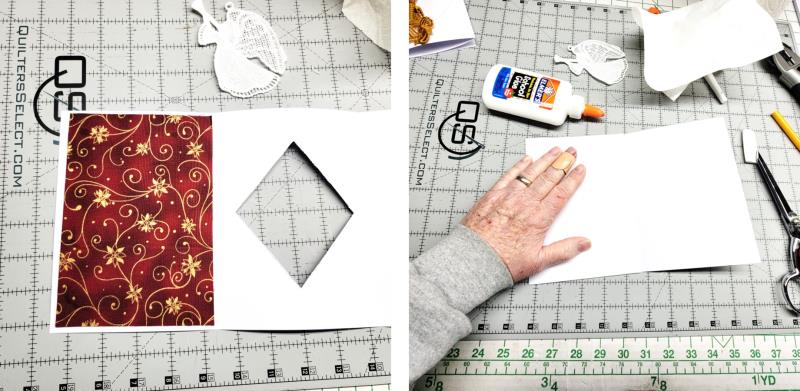
Chose scraps of fabric that will set off the embroidery design.
(Click Image to Enlarge)
Step 21:
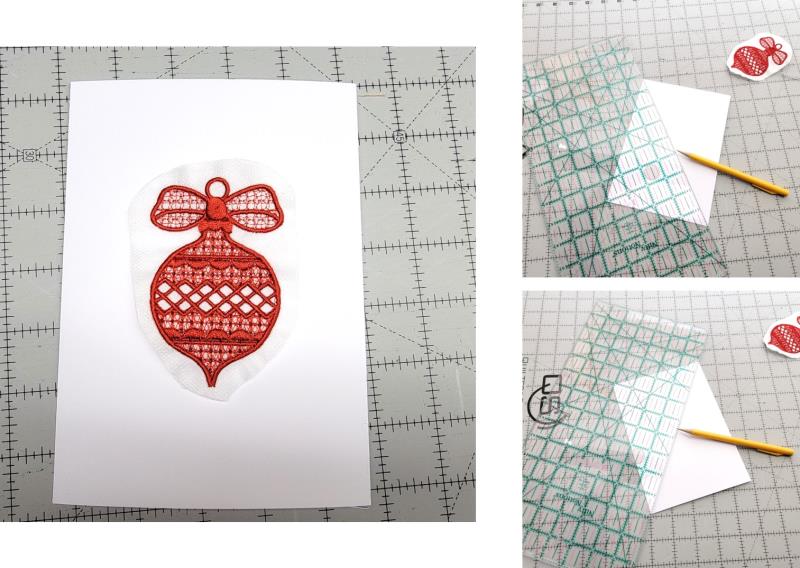
Cut the fabric scraps about 1/8”-1/4” smaller than the inside of the left side of the card. Use glue to secure the fabric in place. Place glue around the outer edges of the left side of the card, fold the left section over the middle section and firmly attach the two together. Allow the glue to dry while completing the other cards to this step.
(Click Image to Enlarge)
Step 22:
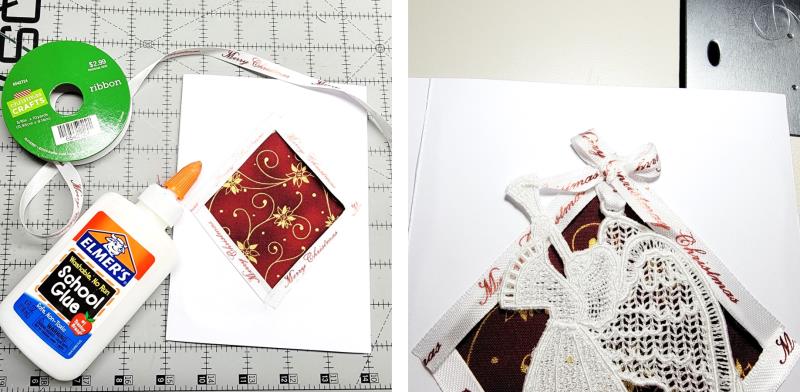
Using glue, cut ribbon, sequins, or other trim to outline the cut edge of the card front. Secure using glue. Add a small hanging ribbon and bow to finish the card front.
(Click Image to Enlarge)
Step 23:
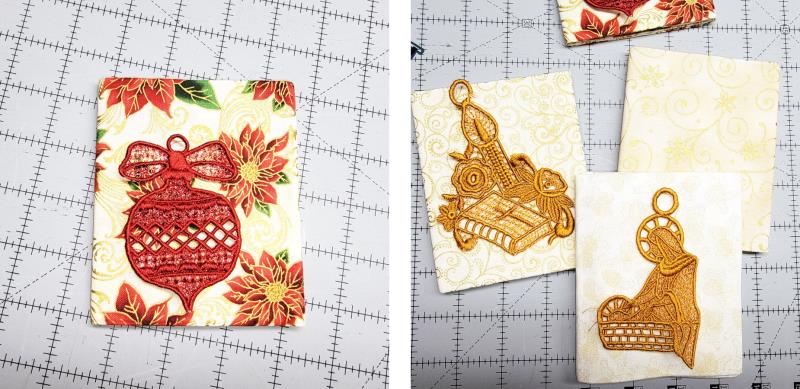
Repeat auditioning fabrics for the remaining cards.
(Click Image to Enlarge)
Step 24:
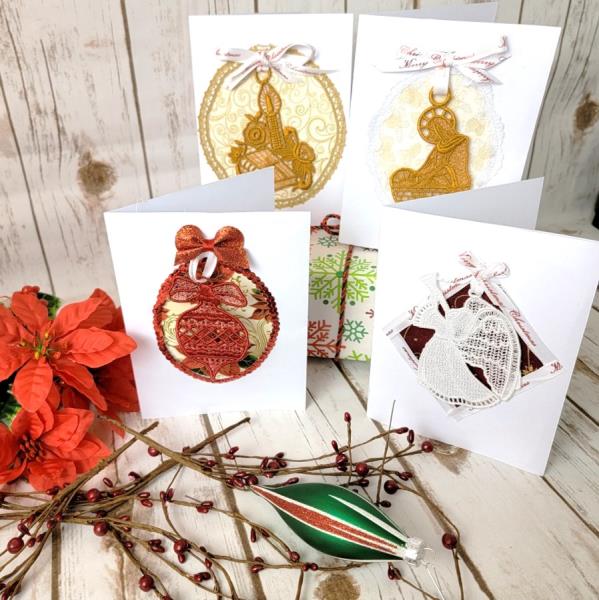
Trim with other scraps of lace, sequins, scrapbooking bows, etc. Note: you can also use a cutting machine if you have one to cut out the openings. Some cutters have writing capabilities, too. Add a written sentiment to your cards.
(Click Image to Enlarge)
Step 25:
Congratulations! Your family and friends will be delighted to receive a beautiful card this holiday season.
Ramona Baird has been in the embroidery industry for over 23 years. She and her husband owned a commercial and retail embroidery store in Arizona for many years. She is an experienced digitizer having been mentored by award-winners Pat Williams and Lindee Goodall. Ramona is a contributor to “Creative Machine Embroidery” magazine having 5 covers to her credit. Ramona has worked for Wilcom America and served many years as Education Director for the American Sewing Guild. With a degree in fashion design, she is able to design and execute patterns which Pat Williams says are “out of the box” in creativity and application. Ramona likes to challenge the boundaries of embroidery and bring new and exciting designs, ideas, and projects to EmbroideryDesigns.com. She wants embroiderers of all levels to increase their skills and enjoyment in using their embroidery machine for gift-making and personal pleasure.