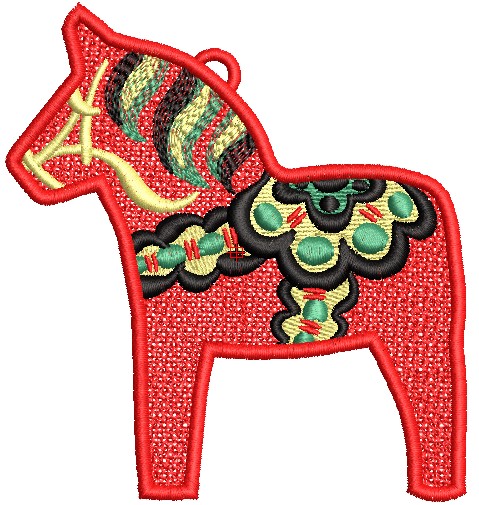
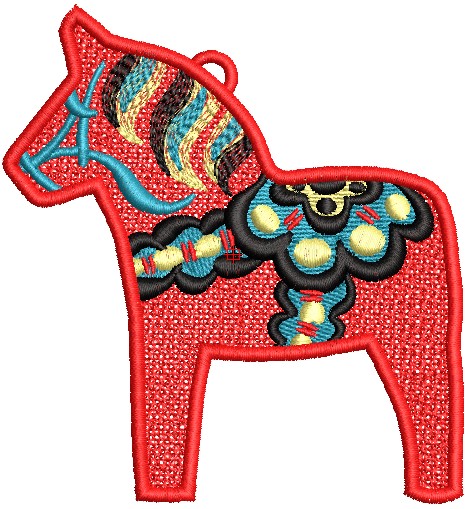
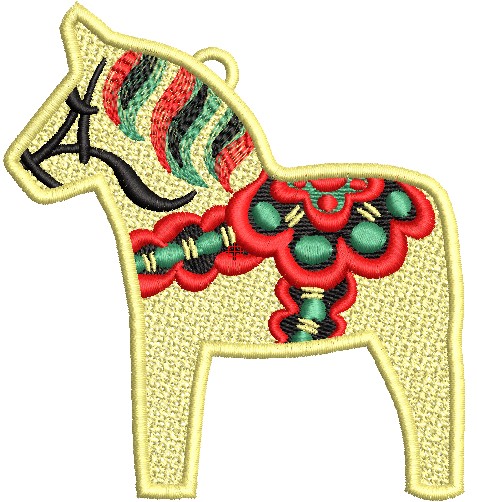
Fast and easy to stitch Scandinavian Dala Horses, a symbol of strength and courage, add magic and mystique to the holidays. Use as ornaments on the tree, on wreathes, and on gift packages.
The stitching time for each horse is about 30 minutes. This does not include the time required to dissolve the stabilizer and dry the piece. Stitch all of them and then finish them all up by dissolving the stabilizer, drying, and attaching a hanging ribbon. The horse for the project was stitched in various colorways; they are listed at the bottom of the instructions.
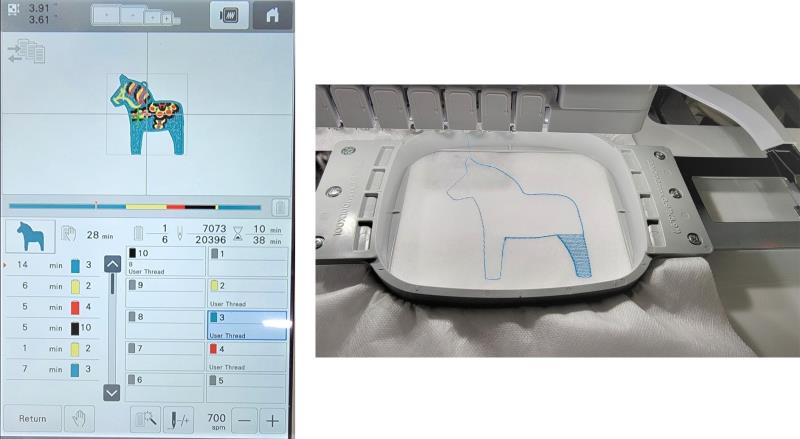
Step 1:
Read through the instructions thoroughly before beginning and assemble all the materials needed to complete the project. Load the chosen Dala Horse on the machine. Hoop two layers of fibrous water-soluble stabilizer. Place the hoop on the machine and stitch the first color which is the base color of the horse. The horse was stitched at 600 spm.
(Click Image to Enlarge)
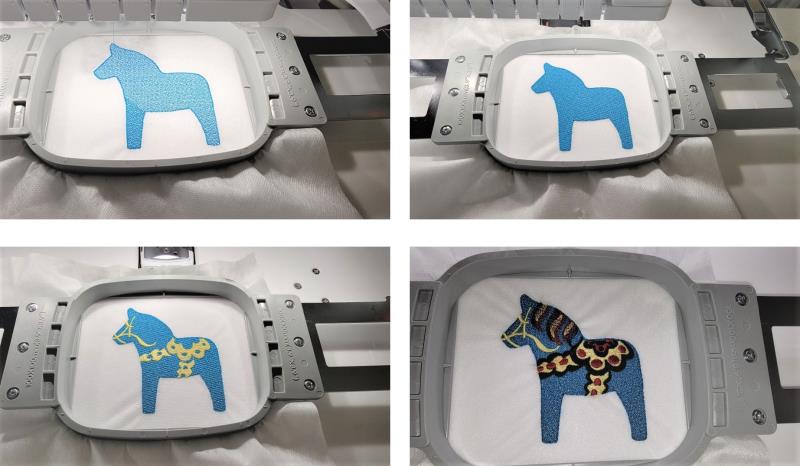
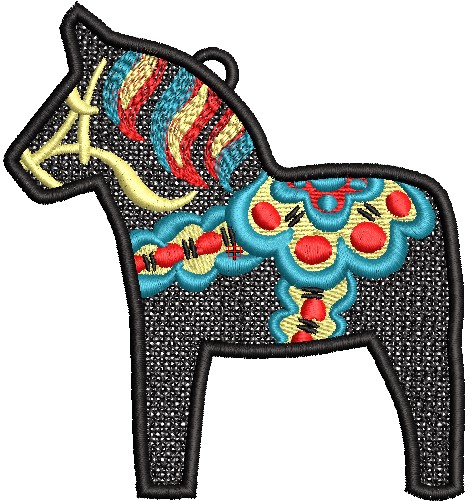
Step 2:
Stitch the remaining colors to complete all the details on the Dala Horse.
(Click Image to Enlarge)
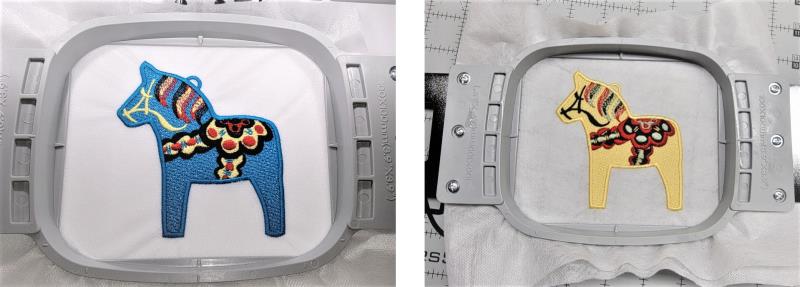
Step 3:
The last color to stitch is the outline with the hanging loop. Repeat hooping and stitching the remaining horses, following the color sequence for each.
(Click Image to Enlarge)
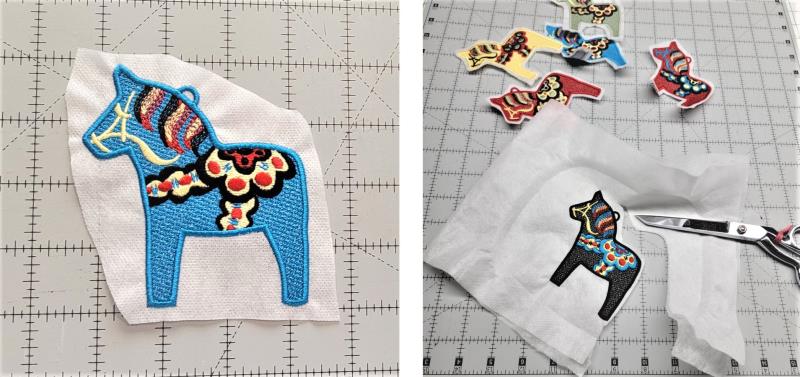
Step 4:
Trim away the excess stabilizer around each horse.
(Click Image to Enlarge)
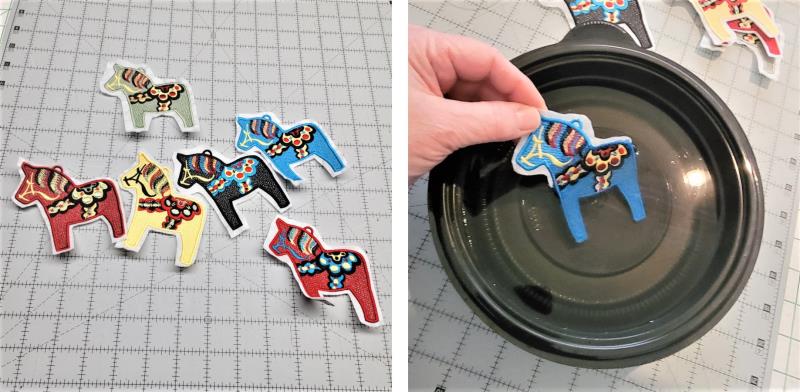
Step 5:
Place each horse in water to dissolve the remaining stabilizer, following the manufacturers’ instructions. Soak only until the stabilizer is dissolved—most of it needs to be left in the horse to keep it stiff when it is dry.
(Click Image to Enlarge)
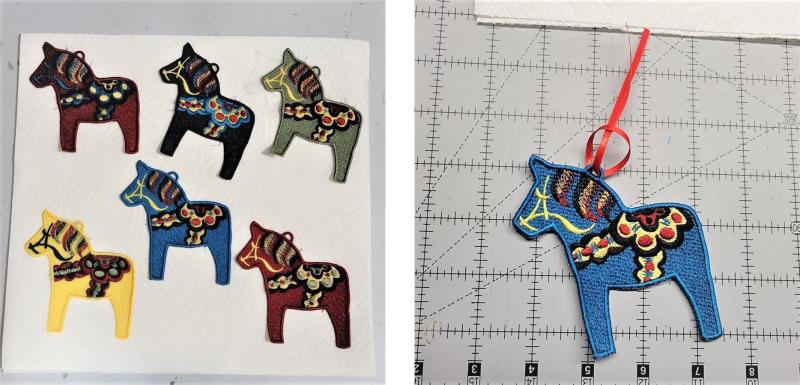
Step 6:
Lay down layers of paper towels, lay the wet horse on the towel and pat dry with additional paper towels. Leave the pieces to dry thoroughly.
(Click Image to Enlarge)
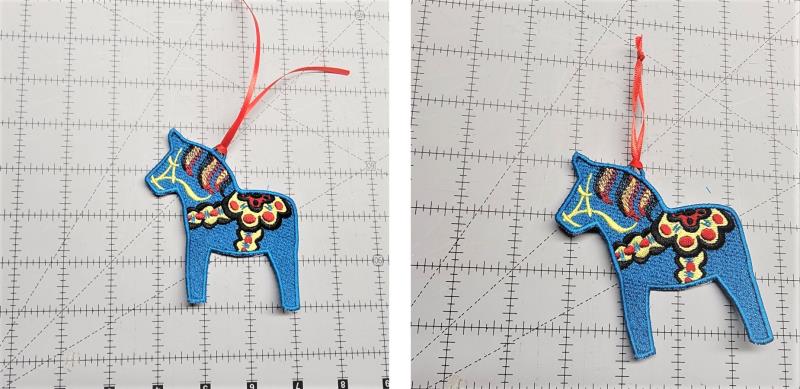
Step 7:
Cut 10” lengths of ribbon. Insert the cut ends of the ribbon from the back to the front of the loop and then insert the cut ends through the loop.
(Click Image to Enlarge)
Step 8:
Snug the loop next to the thread loop on the horse and then tie a knot at the end of the ribbon and snip the ends of the ribbon about ¼” away from the knot.
(Click Image to Enlarge)
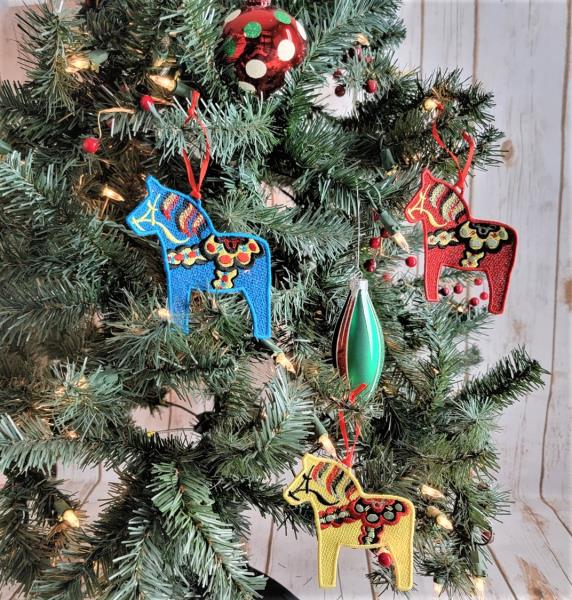
Step 9:
These Dala Horses are a wonderful addition to the Christmas tree, as additions to a wreath, and attached to a gift ribbon that the recipient can hang on their tree. These are fun to watch stitch and would be easy for children to create to introduce them to holiday stitching!
(Click Image to Enlarge)
Step 10:
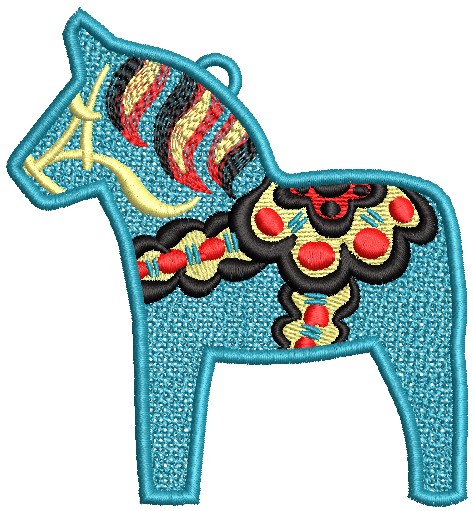
Colorway 1: 1. Blue teal, 2. Buttery yellow, 3. Red, 4. Black, 5. Butter yellow, 6. Blue teal
Ramona Baird has been in the embroidery industry for over 23 years. She and her husband owned a commercial and retail embroidery store in Arizona for many years. She is an experienced digitizer having been mentored by award-winners Pat Williams and Lindee Goodall. Ramona is a contributor to “Creative Machine Embroidery” magazine having 5 covers to her credit. Ramona has worked for Wilcom America and served many years as Education Director for the American Sewing Guild. With a degree in fashion design, she is able to design and execute patterns which Pat Williams says are “out of the box” in creativity and application. Ramona likes to challenge the boundaries of embroidery and bring new and exciting designs, ideas, and projects to EmbroideryDesigns.com. She wants embroiderers of all levels to increase their skills and enjoyment in using their embroidery machine for gift-making and personal pleasure.