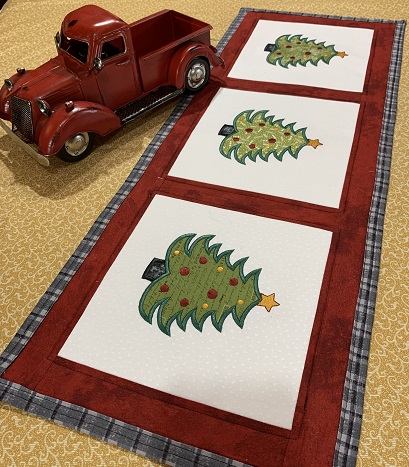
Spruce up your holiday decor with this 'Christmas Tree Runner'. The applique design is scrap fabric friendly. This project combines an appliqued machine embroidery design with simple sewing skills.
Spruce up your holiday decor with this 'Christmas Tree Runner'. The applique design is scrap fabric friendly. This project combines an appliqued machine embroidery design with simple sewing skills. Beginner quilting techniques are used to finish the runner. The 5"x5.68" size design was used for this project. The machine embroidery technique is applique. Applique uses smaller fabric pieces to fill in parts of a design. The three basic parts of applique are placement stitches, tack down stitches, and finishing stitches.
Step 1:
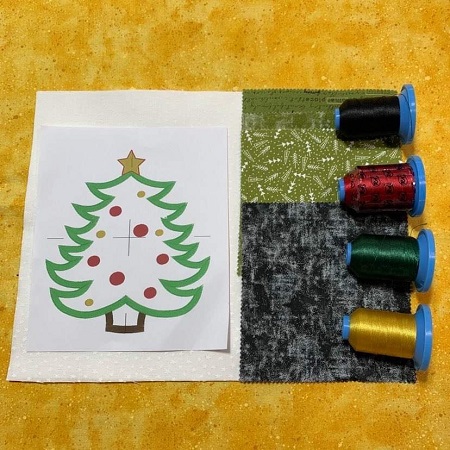
Read the directions before beginning the project. Gather the materials needed for the project. Iron all fabrics before beginning. The 9"x9" fabric pieces need to be starched to help stabilize the pieces when embroidering them. Wait until you have finished sewing the blocks together before cutting the backing, border, or batting for the topper. Your final topper size may be different than the sample project. A 1/4" seam allowance is used for all sewing unless stated otherwise.
TIP: An essential tool for embroidery position and placement is a design template. A design template is a printout of the actual size of the design. It has the center of the design identified, as well as the horizontal and vertical axis lines. An embroidery program can print a template of any design. (Embrilliance Essentials embroidery software program was used to print the design template). If using a design template, print the template.
Step 2:
Using one 9"x9" piece of neutral background fabric and one 9"x9" pieces of SF101 Super Flex interfacing, follow package directions to fuse the SF101 to the WRONG SIDE of the background fabric. Repeat for the other two 9"x9" pieces of fabric and SF101.
Step 3:
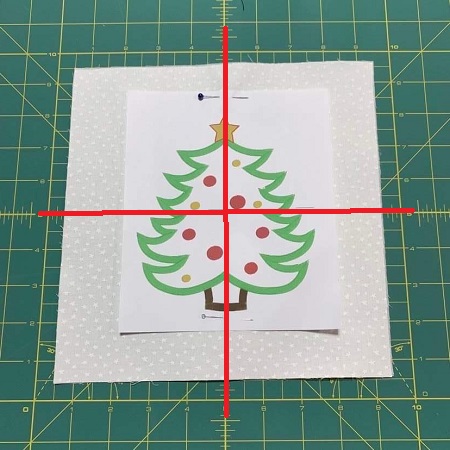
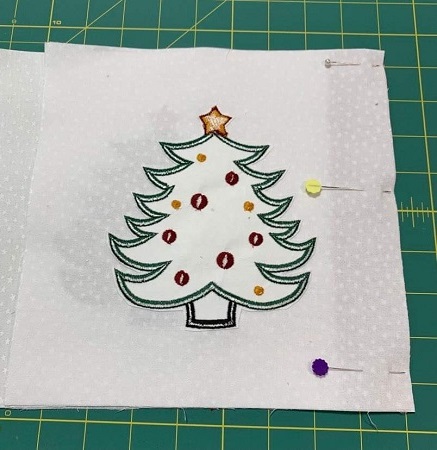
Center the design template on the 9"x9" background fabric. Pin the template to the fabric. If not using a template, use a fabric pen to mark placement on the fabric.
Step 4:
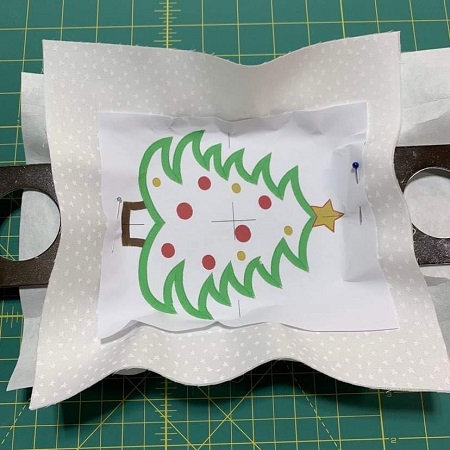
Hoop one piece of medium weight (2.5 oz.) cut away stabilizer. Center the fabric in the hoop. Using a light mist of 505 Temporary Adhesive spray on the stabilizer. Gently press the fabric onto the stabilizer. Use wonder pins to secure the fabric to the stabilizer.
Step 5:
Load the design on the machine. A 75/11 size embroidery needle is suggested for this project. Attach the hoop to the machine. Check the stitching field area to make sure there is nothing in the way. Use the color guide to stitch the design. Stitch color 1 is the placement stitches for the trunk. Stitch color 1.
Step 6:
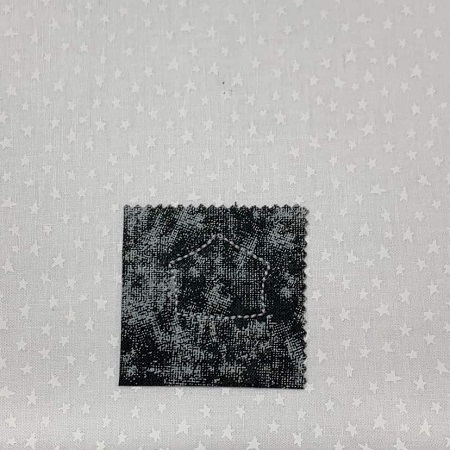
Cover the placement stitches with one 2"x2" piece of brown fabric. Make sure that all of the placement stitches are covered with the fabric. Stitch the next color. This step is the tack down stitches.
Step 7:
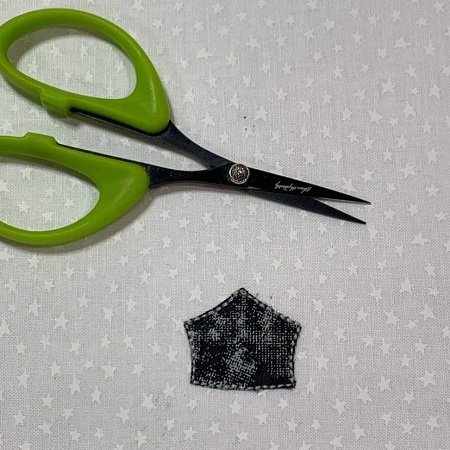
Remove the hoop from the machine. Do not remove the fabric from the hoop. Carefully trim excess fabric from around the trunk.
Step 8:
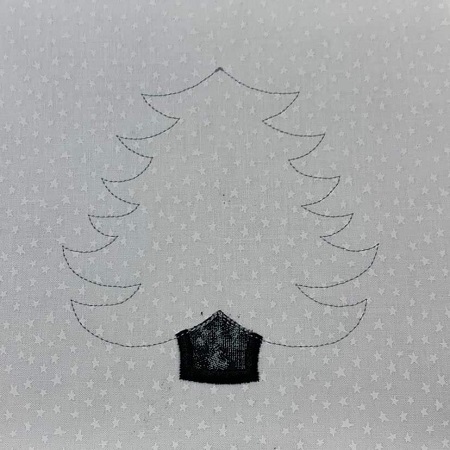
The next stitch color is the placement stitches for the tree. Stitch the next color.
Step 9:
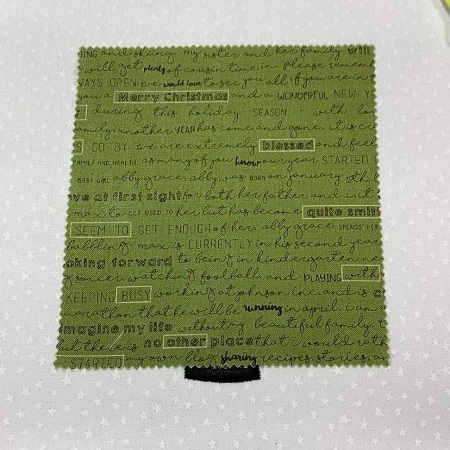
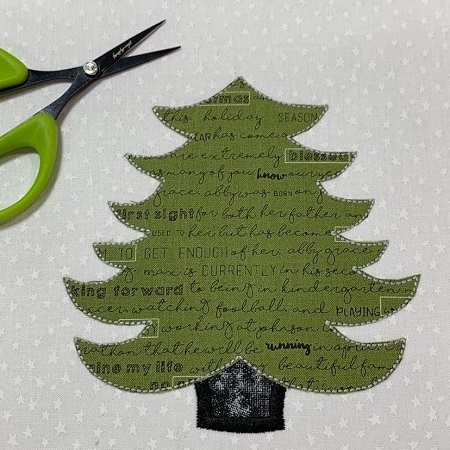
Place one 6"x7" piece of green fabric over the placement stitches. Make sure all the placement stitches are covered with the fabric. The next stitch color is the tack down stitches for the green/tree fabric.
Step 10:
Remove the hoop from the machine. Do not remove the fabric from the hoop. Carefully trim excess fabric from around the tree.
Step 11:
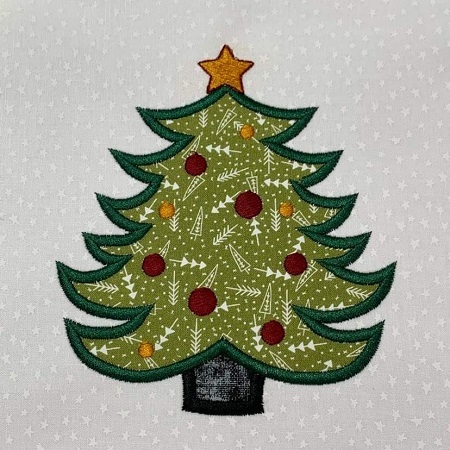
The last step of the applique process is the finishing stitch. Follow the color guide to stitch the finishing stitches.
Step 12:
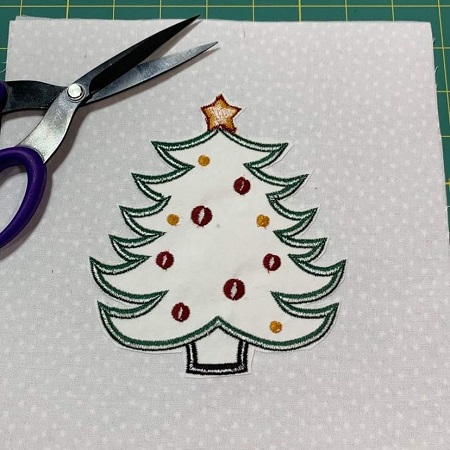
Remove the embroidered fabric from the hoop. Carefully trim excess stabilizer from around the design. Leave about 1/4" to 1/2" margin.
Step 13:
Repeat steps 3-12 to make two more 9"x9" embroidered blocks.
Step 14:
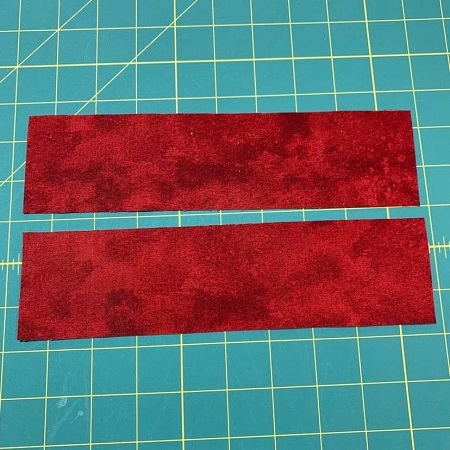
Using one of the 2"xWOF red strips, cut four 2"x9" strips.
Step 15:
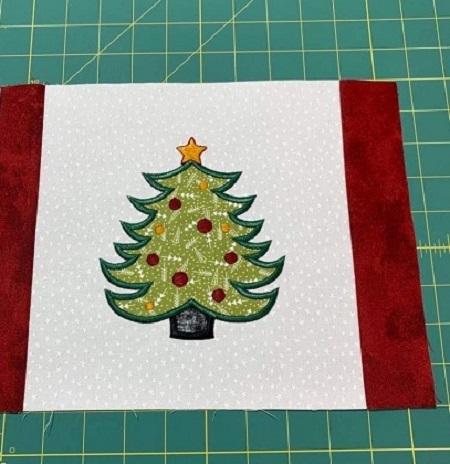
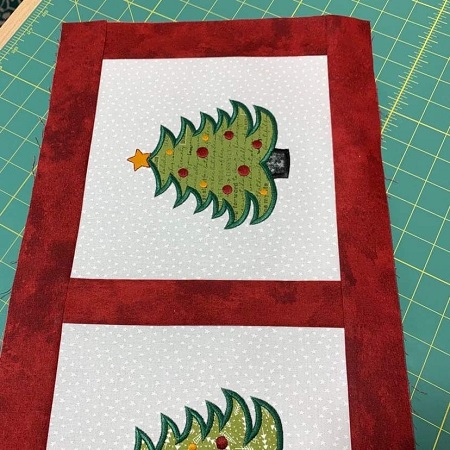
Pin one 2"x9" strip with RIGHT sides together to the sides of a 9"x9" block. Sew a 1/4" seam. Press seam with an iron.
Step 16:
Next, sew a 9"x9" white block to a red strip.
Step 17:
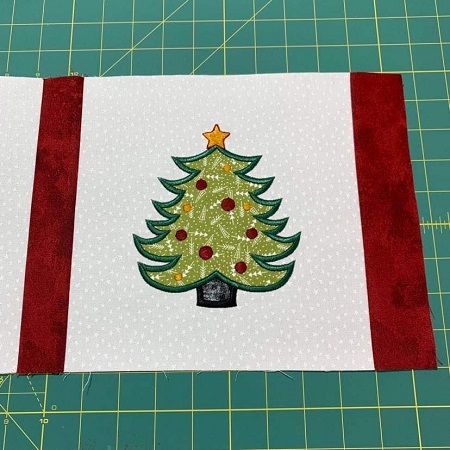
Pin a 2"x9" strip to the other side of the block. Sew a 1/4" seam and press with an iron.
Step 18:
Pin a 9"x9" block to the other side of the strip. Sew a 1/4" seam. Press seam with an iron.
Step 19:
Pin a 2"x9" strip to the side of the block. Sew a 1/4" seam. Press seam with an iron.
Step 20:
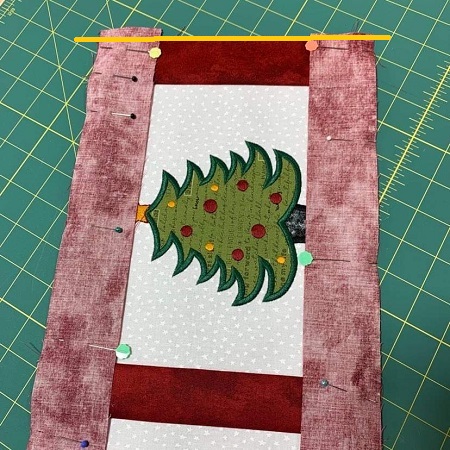
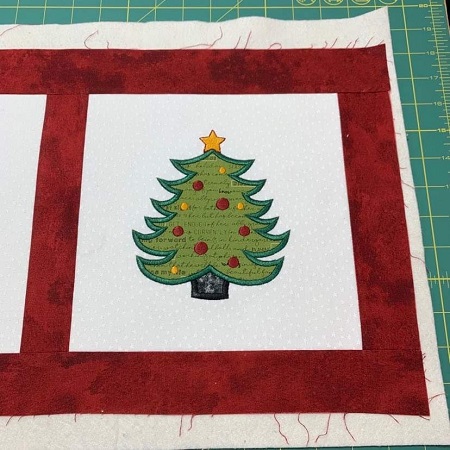
Measure the length of the runner. Cut two border strips 2"x 33". (Your measurements may be different. Cut strips to match your runner.) Pin one strip with RIGHT side together to each long side of the runner. Sew a 1/4" seam. If needed, trim excess fabric so that the sides are even.
Step 21:
Press seam with an iron.
Step 22:
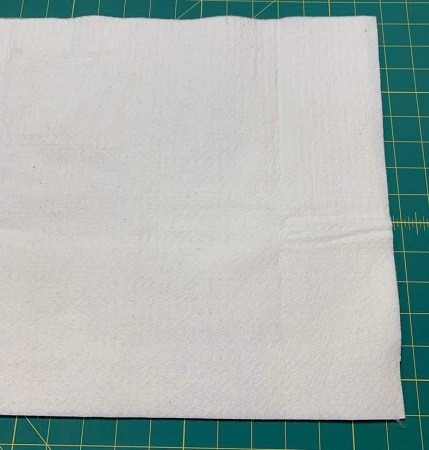
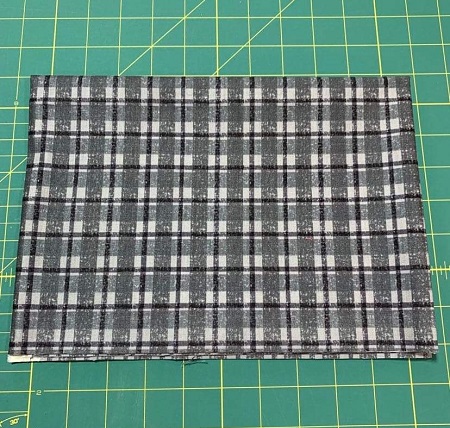
Iron your 'Christmas Tree Runner' top. Measure the length and width of your runner. This sample measures 12"x33". Add 1" to your measurements for the batting. Batting is more pliable and can shift around a bit. Cut one piece of low nap quilt batting 13"x34".
Step 23:
Lay the batting on a flat surface. Lightly mist the batting surface with 505 Temporary Adhesive spray. Place the runner with RIGHT side up onto the batting. Fabric surface must be smooth and wrinkle free.
Step 24:
Trim excess batting from around the runner leaving about 1/4" overlap of batting.
Step 25:
Using your runner measurements, add 1.5" to the length and width. The sample measures 12"x33". Add 1.5" to width: 12 +1.5+1.5=15" width. Add 1.5" to length: 33"+1.5"+1.5"=36". So, the background fabric was cut 15"x36". The 1.5" will make a self-binding finish for the runner.
Step 26:
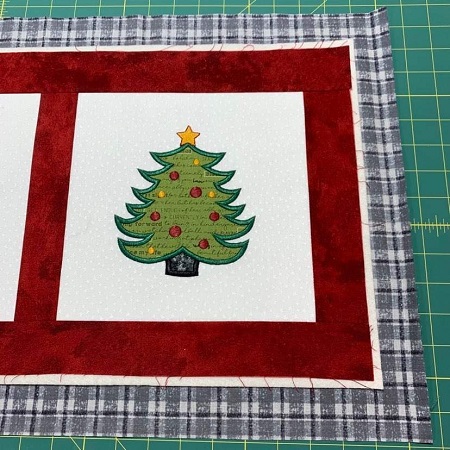
Lay the background fabric on a flat surface with WRONG side facing you. Center the runner on the fabric leaving a 1.5" overlap on all sides. Once centered, fold the runner over in half. Use a light mist of Temporary 505 Adhesive spray on the background fabric. Press the runner onto the fabric. Smooth the fabric surface. Repeat for the other side of the runner.
Step 27:
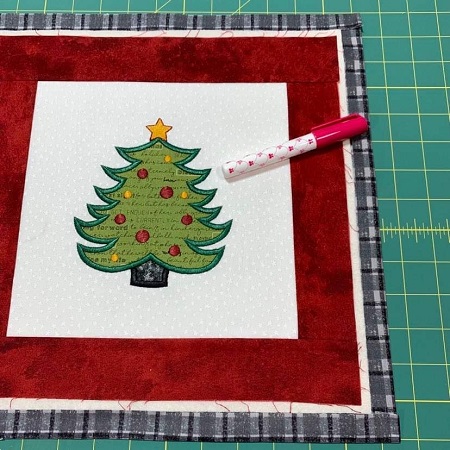
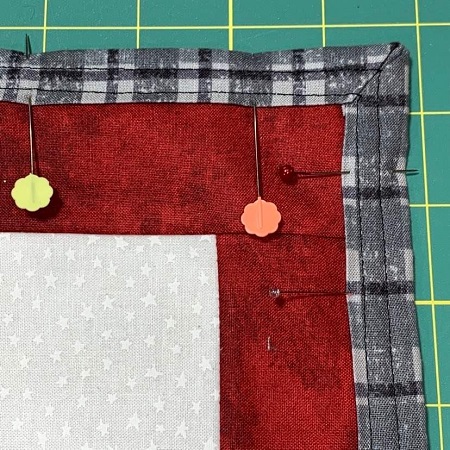
Fold the overlap in half to the edge of the runner. Use a rolling press to make a crease at the fold. Use dabs of fabric glue to hold the fabric in place.
Step 28:
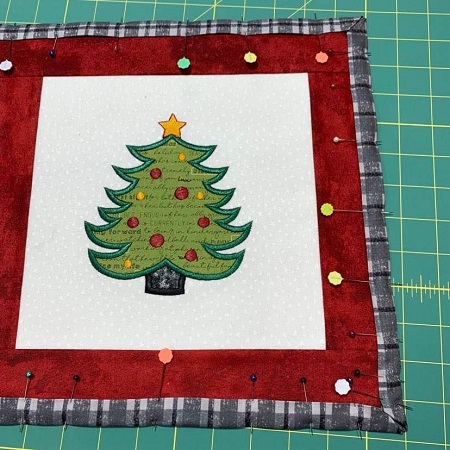
Fold the binding fabric in half again. Pin the binding in place.
Step 29:
Topstitch two rows around the runner.
Step 30:
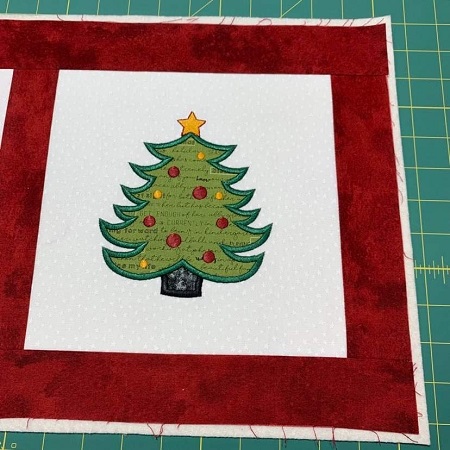
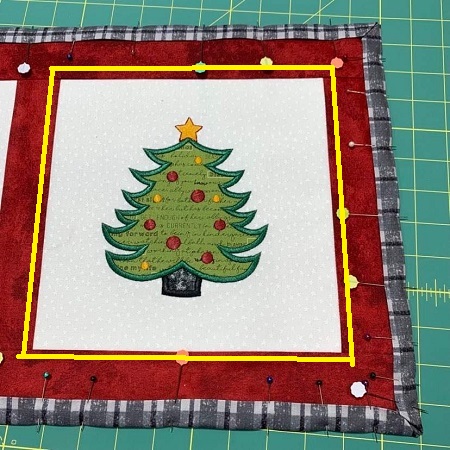
Add some pins around each white block. Stitch a seam around each white block.
Step 31:
Congrats! You have completed an appliqued 'Christmas Tree Runner'.
Marisa Littleton is a retired educator with a love for teaching and learning. Interests include machine embroidery, hand embroidery, quilting, cooking, and antiques.