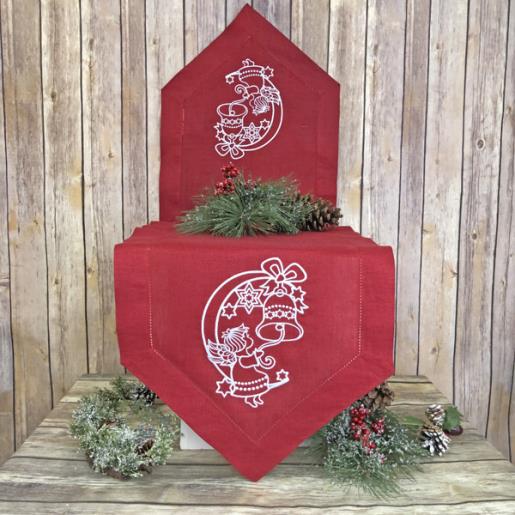
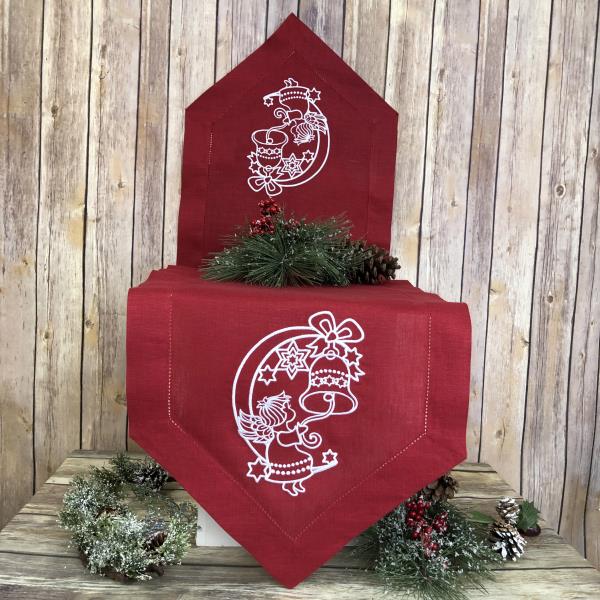
A sweet and simple table runner to add to your Christmas Décor or as a thoughtful gift. Stitched on a 14” wide X your preferred length purchased table runner so there is no sewing machine stitching required.
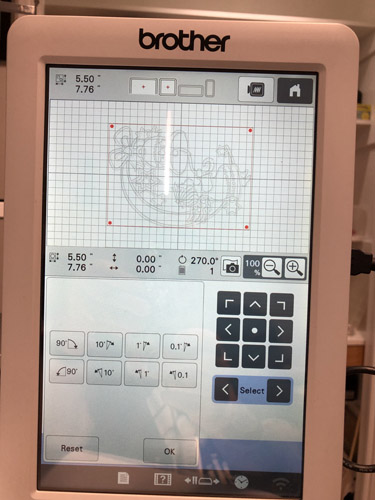
This design is available in two sizes. The size used in this project is 5.484” x 7.749” and is the smaller version of this design. Its SKU number is SWAG01_ver_2.
Step 1:
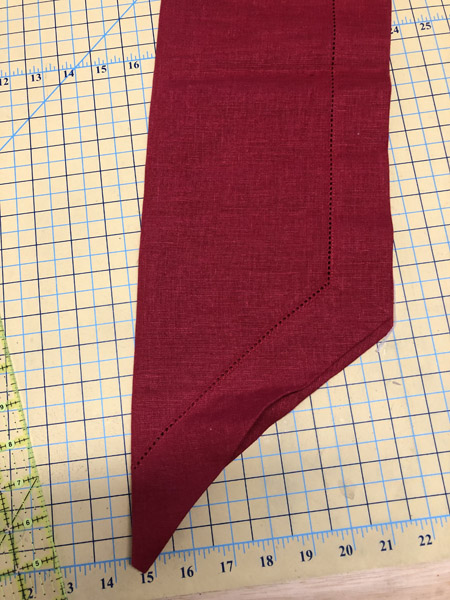
Fold you table runner in half lengthwise and finger crease a line down the center.
(Click Image to Enlarge)
Step 2:
(Click Image to Enlarge)
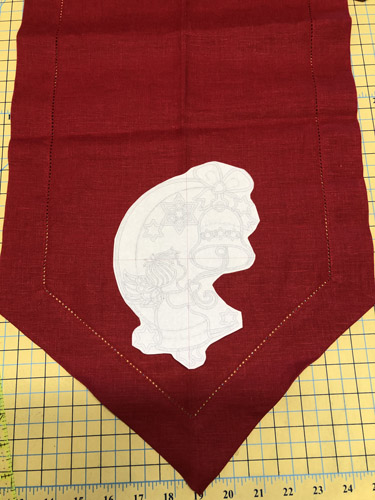
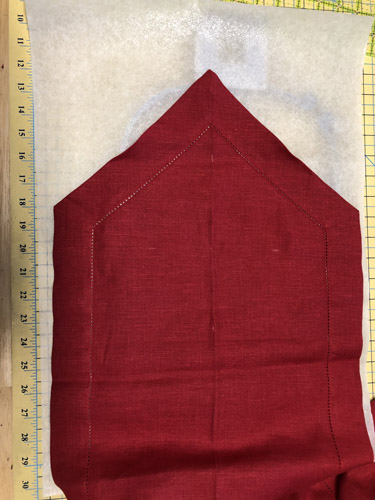
Print and cut out a template of your design. Place the template on the table runner to decide how you would like the design to be stitched on the table runner. I used 8” from the bottom of the table runner to the center of the design. Write down how far from the point of the table runner you used so that you can use the same measurement on the other end.
Step 3:
(Click Image to Enlarge)
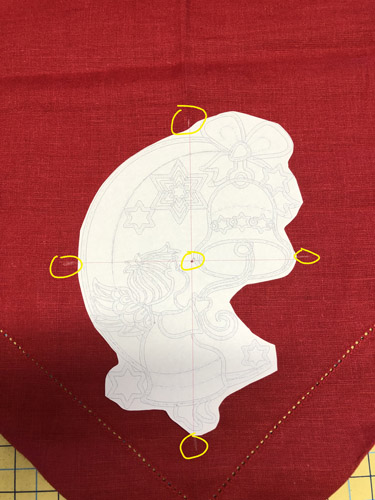
With the white chalk pen punch right though the paper template to mark the center of the design. Make marks on all four sides of the design to ensure you get it lined up in the center of the hoop.
Step 4:
(Click Image to Enlarge)
Cut a piece of fusible tear-away stabilizer larger than needed for your hoop to allow you some extra room for moving the project into its proper location in the hoop. Fuse the table runner to the stabilizer following the manufacturer’s instructions.
Step 5:
(Click Image to Enlarge)
Rotate the design in your software if necessary to make sure it will stitch in the correct orientation.
Step 6:
(Click Image to Enlarge)
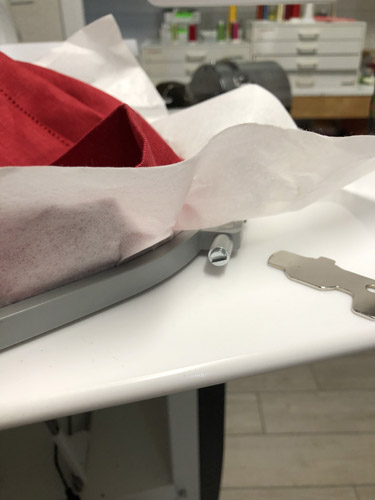
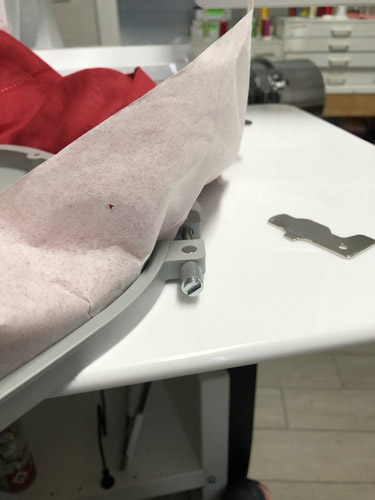
To avoid hoop burns on the table runner, loosed the screw on the side of your hoop, position the table runner that is fused to the stabilizer so that the marks you made for center of design and the marks on the sides and top and bottom of your hoop are aligned. Then tighten the screw on the hoop making sure the table runner is taut in the hoop.
Step 7:
(Click Image to Enlarge)
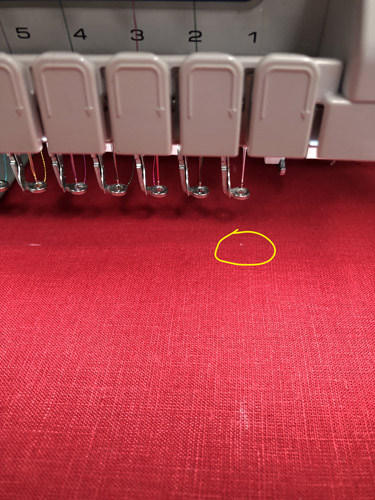
Put the hoop in the machine and make sure your center of design mark is aligned with the needle. Due to the stitch count in this design slide a second sheet of tear-away stabilizer under the hoop.
Step 8:
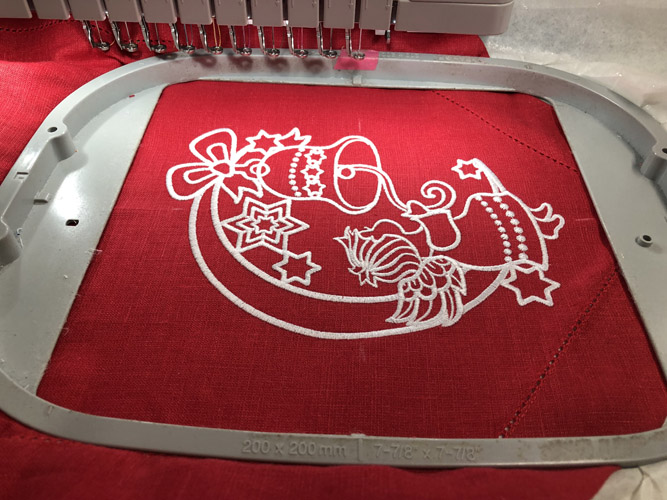
Stitch the one-color design.
(Click Image to Enlarge)
Step 9:
(Click Image to Enlarge)
To avoid hoop burn loosen the screw on the hoop before removing the table runner.
Step 10:
(Click Image to Enlarge)
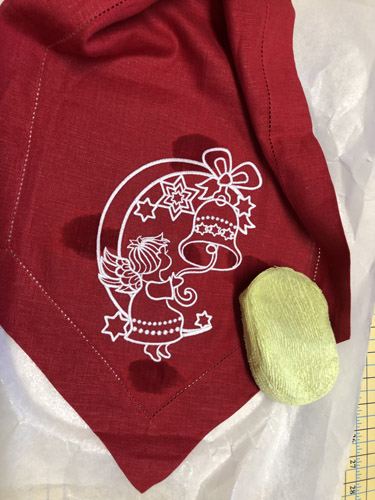
Remove the white chalk marks made on the table runner brush them away with a damp sponge or cloth.
Step 11:
(Click Image to Enlarge)
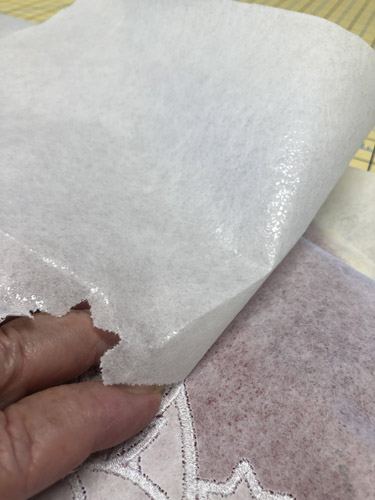
Gently tear away the top layer of stabilizer. Always place your fingers on the satin stitches and tear away and not towards the satin stitches. Remove the large pieces of the fused tear-away in the same manner. If the fused tear-away is difficult to remove heat it again with your iron and it should remove easily.
Step 12:
(Click Image to Enlarge)
Remove the tear-away from inside the designs in the same manner. Using a small pair or splinter tweezers (tweezers with a sharp point) you can easily lift the second layer and fused layer of the stabilizer from most of the little elements of the design. Do not worry if small pieces remain as they will wash away when the table runner is washed.
Step 13:
Repeat the above steps on the opposite end of the table runner.
(Click Image to Enlarge)
Step 14:
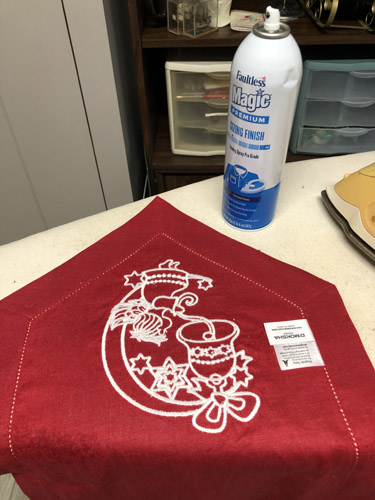
(Click Image to Enlarge)
Once the second side is complete place your table runner face down on the ironing board and iron with Magic Sizing® or spray starch.
Step 15:
Congratulations your Swinging Angel Table Runner is complete! Display it with pride.
Award winning Digitizer, Embroidery Educator, Author and a Consultant to the Industry, Pat Williams has 30 years of experience in the embroidery industry. Pat has won multiple awards for her digitizing expertise including the 2007 Impressions Awards Grand Championship, Best of Show as well as the 1st and 2nd Place Awards. Pat’s love of digitizing has afforded her the opportunity to write numerous articles for Impressions magazine in the United States and Images Magazine in Europe. In 2001 Pat was named “Embroidery Educator of the Year.” For many years Pat taught digitizing seminars at the ISS Shows in Long Beach, CA and for Compucon software. She now resides in Tucson, AZ.