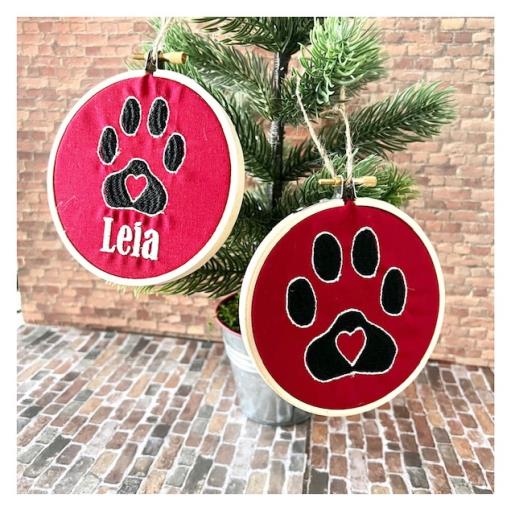
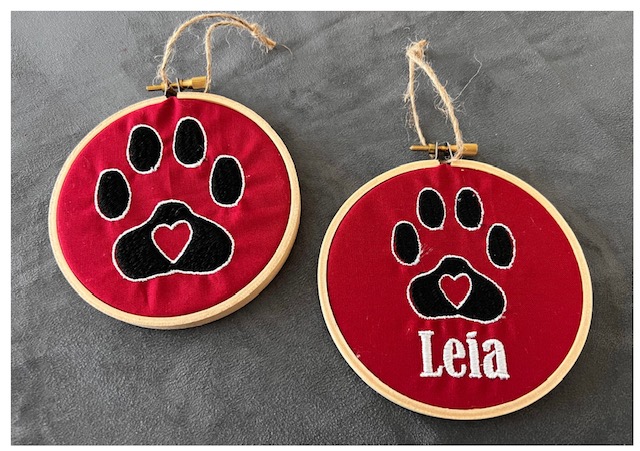
The ornament is made using a solid cotton fabric to embroider the beautiful Paw Heart Print design from the King Grahics collection, then stretched onto a 4” embroidery hoop along with buffalo fabric print for the backing and finished off with a twine for hanging on the tree. It's the perfect addition to your holiday decor to display the unconditional love from your pet. Optional: Can be personalized with your pet’s name using an embroidery software program. Time stated of 30 min is for one ornament. Allow additional stitch out time for the name personalization.
Step 1:
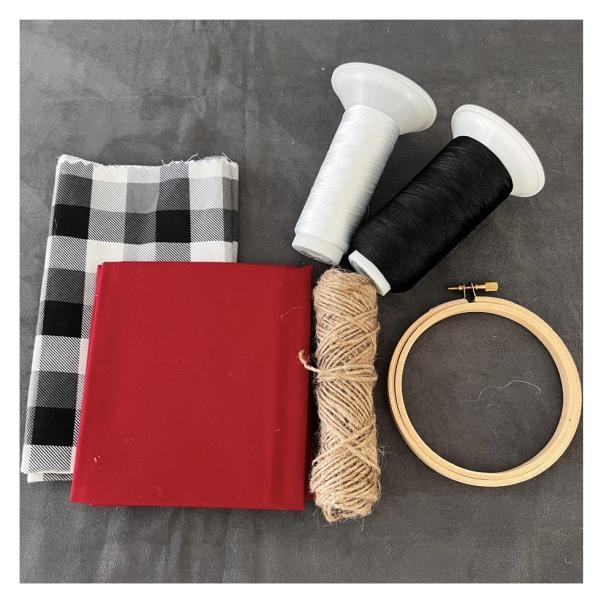
Gather all supplies and review instructions before beginning.
(Click Image to Enlarge)
Step 2:
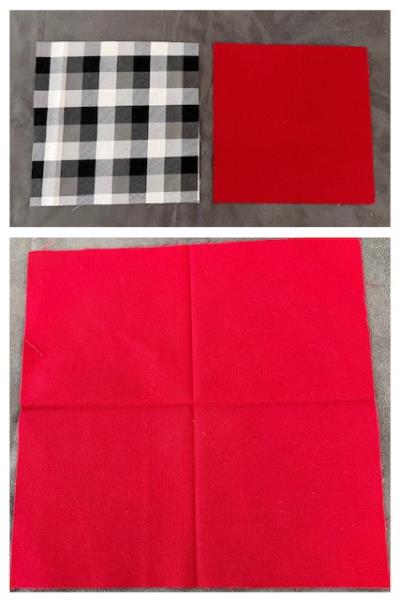
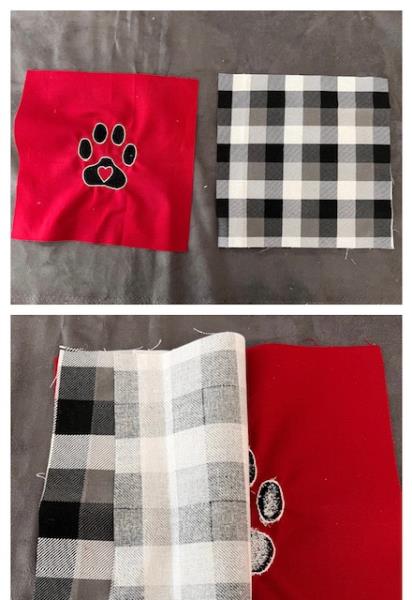
Cut 8” x 8” squares from your solid fabric and backing fabric for as many ornaments as needed. Two fabric squares are needed for each ornament. Quarter fold your solid fabric squares and iron press for a creased crosshair.
(Click Image to Enlarge)
Step 3:
Embroidering Design
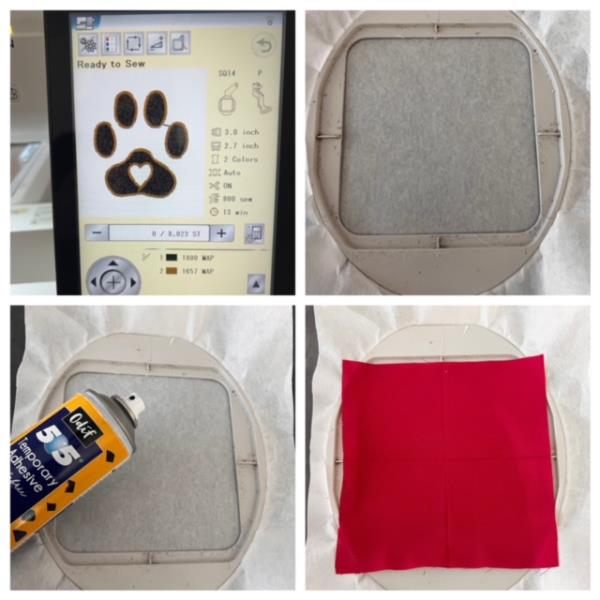
Load design into your machine. Resize design by decreasing design size by 20% in your edit mode. ( Refer to your machine’s instruction manual) Hoop stabilizer. Spray temporary adhesive spray directly onto stabilizer. Center place fabric square matching creased axis points of your crosshair to the hoop's built in axis point markings. Fingertip press smoothing out fabric to adhere to stabilizer.
Optional: Personalize your ornament by bringing into your software program the paw print design and editing by adding a name below the paw print. Resize design to fit within 4" hoop area. ( Refer to your embroidery software's program instructions.)
(Click Image to Enlarge)
Step 4:
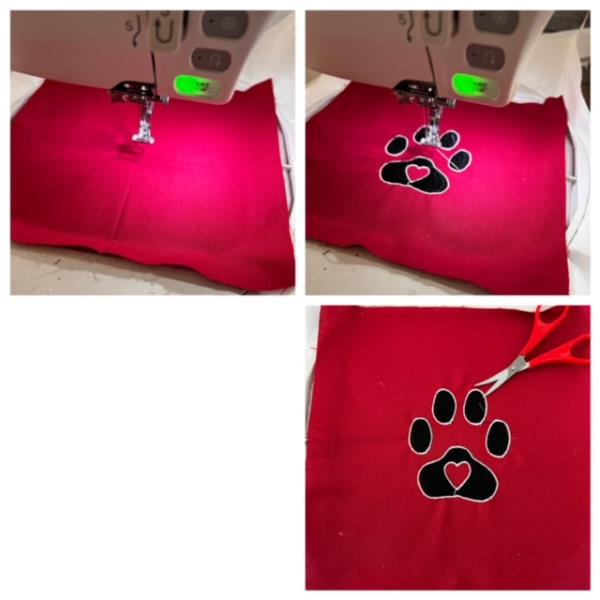
Attach hoop to machine . Confirm center needle placement to crosshair. Make any necessary adjustments if needed to center. Refer to design thread color chart. Begin the embroidery stitch out. Stitch out complete. Detach hoop. Cut and trim all jump stitches and loose thread ends. Remove stabilizer.
(Click Image to Enlarge)
Step 5:
Construction of Ornament
With wrong sides together place your embroidered design square onto your backing fabric square.
(Click Image to Enlarge)
Step 6:
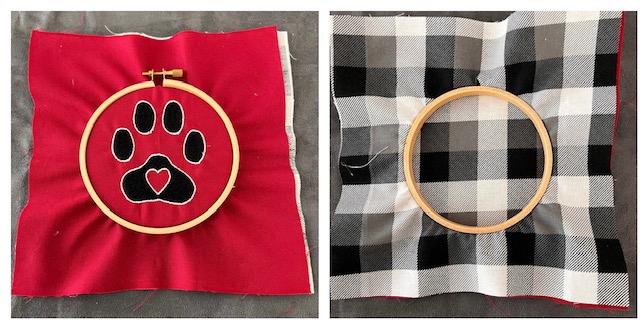
Place fabric square over inner hoop. Centering embroidered design within the hoop area. Place outer hoop over the inner hoop. Using both hands press it down onto the inner hoop. Once centered to your liking then tighten the screw.
(Click Image to Enlarge)
Step 7:
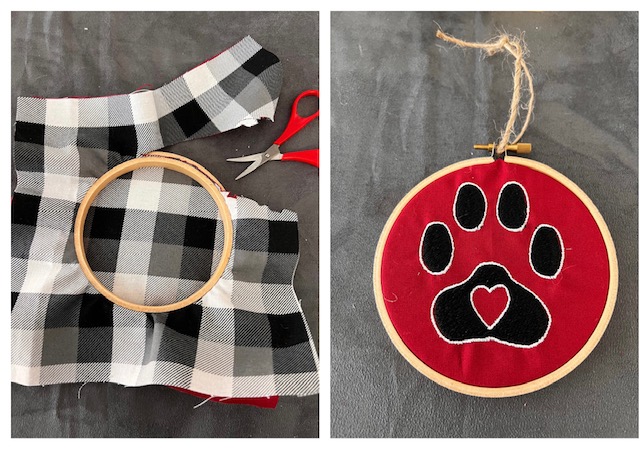
Turn hoop over and trim excess fabric around the hoop. Cut (1) 10” length of twine. Loop through screw hardware of hoop and tie a knot to close the ends.
(Click Image to Enlarge)
Step 8:
Great job! Your Paw Print ornament is complete. Repeat steps for all your additional ornaments.