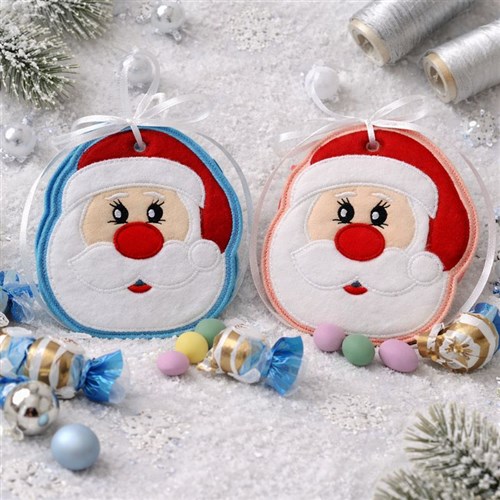
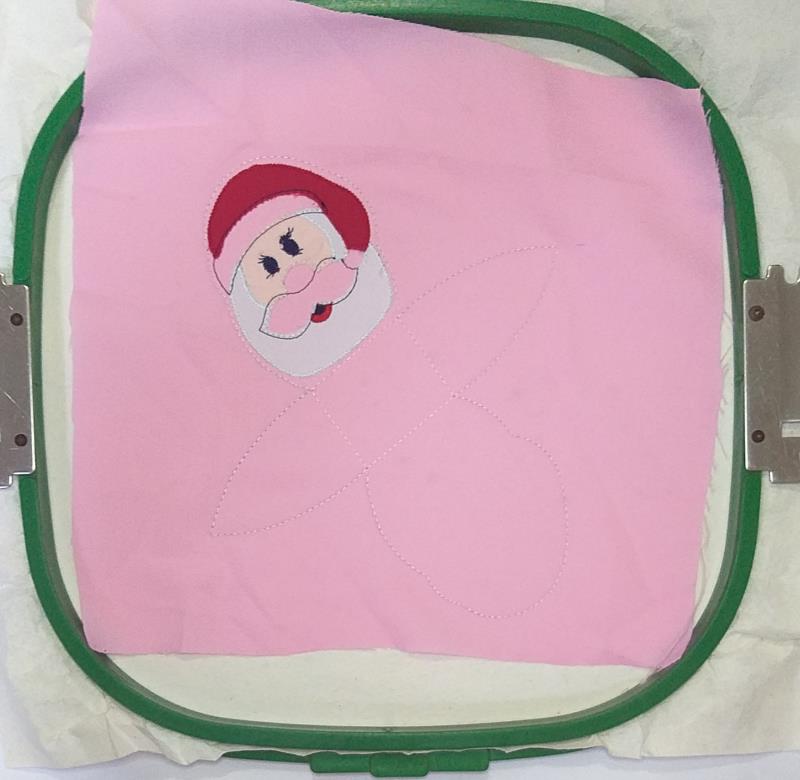
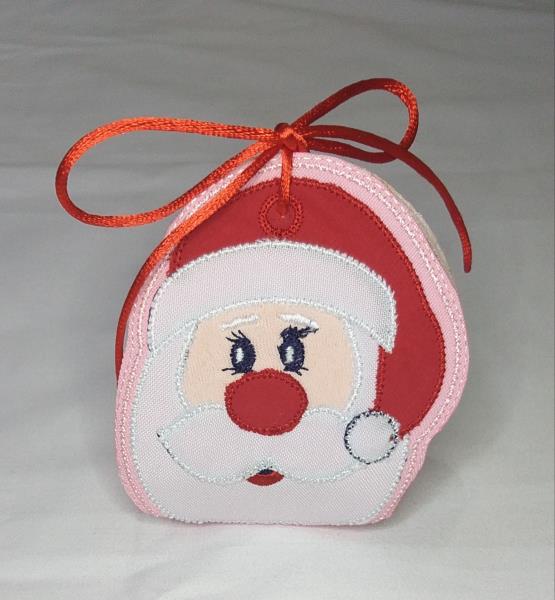
The best ITH Felt Candy Box Santa! ITH Felt Candy Box Santa is made with felt or fabric, just take all the work out of the project. Make these in less than 45 minutes.
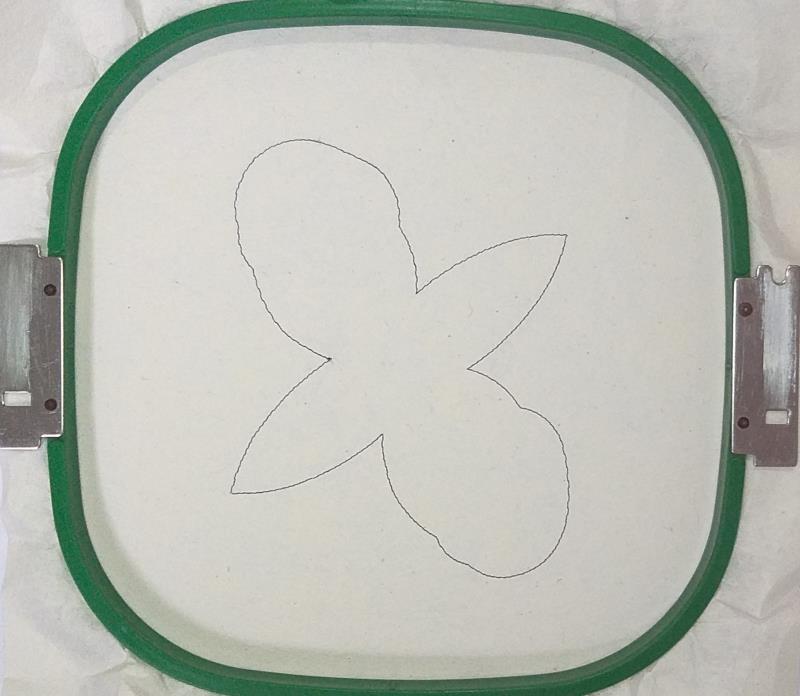
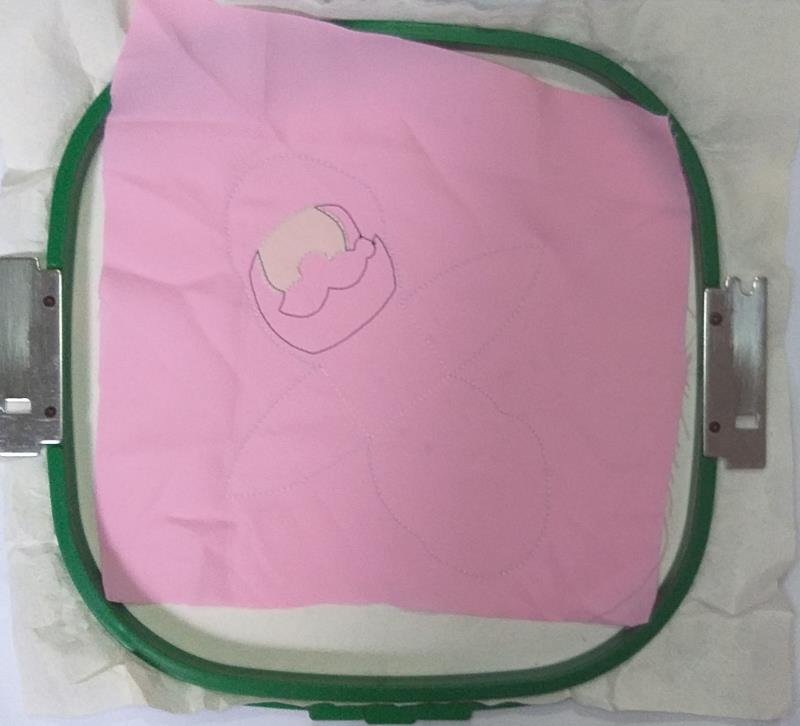
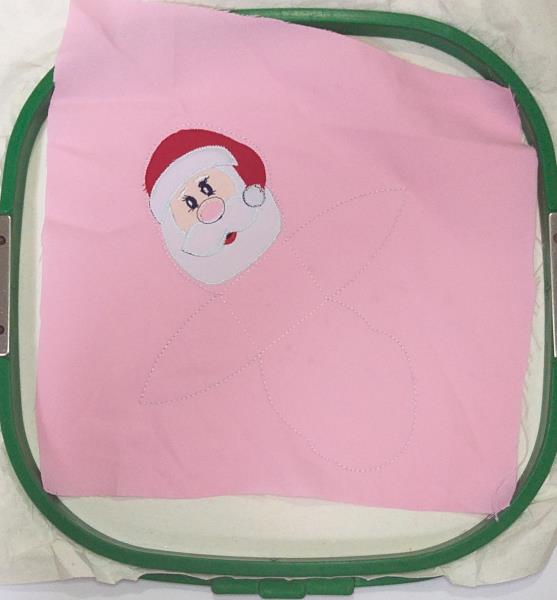
For this project tautly hoop 2.5-ounce cutaway stabilizer in your embroidery hoop, and run color-stop 1 as a placement line.
(Click Image to Enlarge)
Step 2:
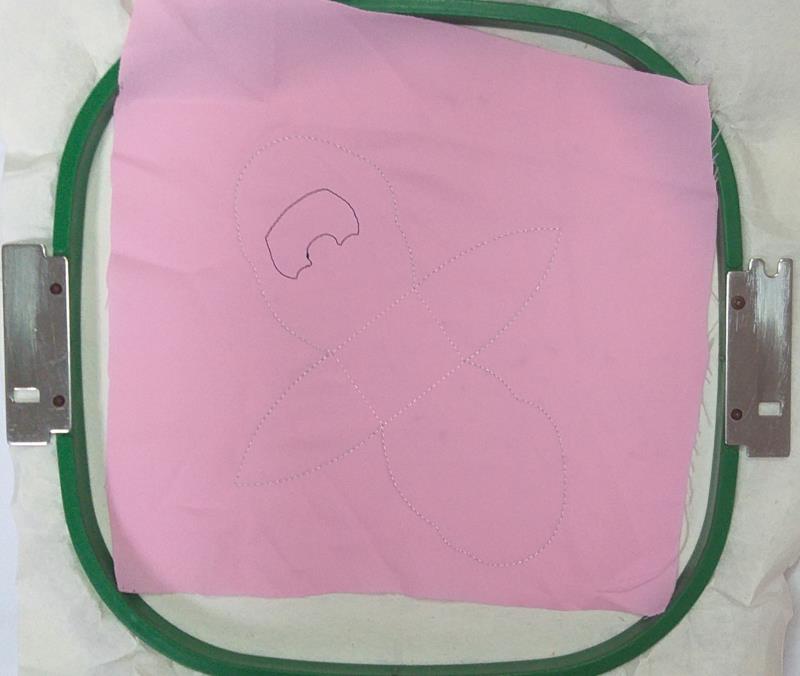
Remove the hoop from the machine, do not unhoop. Cover the placement line with your favorite color felt or fabric and run color-stop 2 and color-stop 3.
(Click Image to Enlarge)
Step 3:
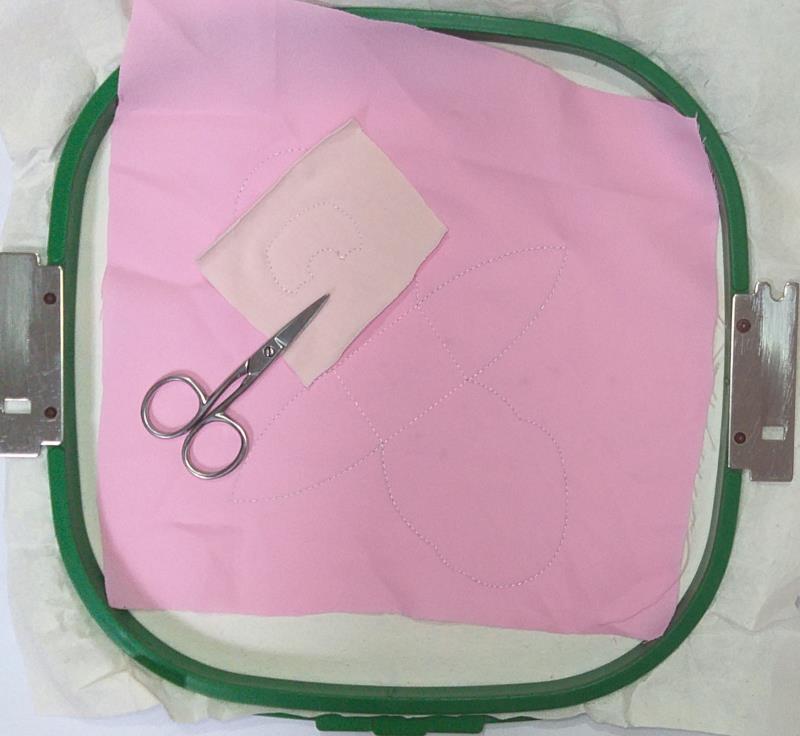
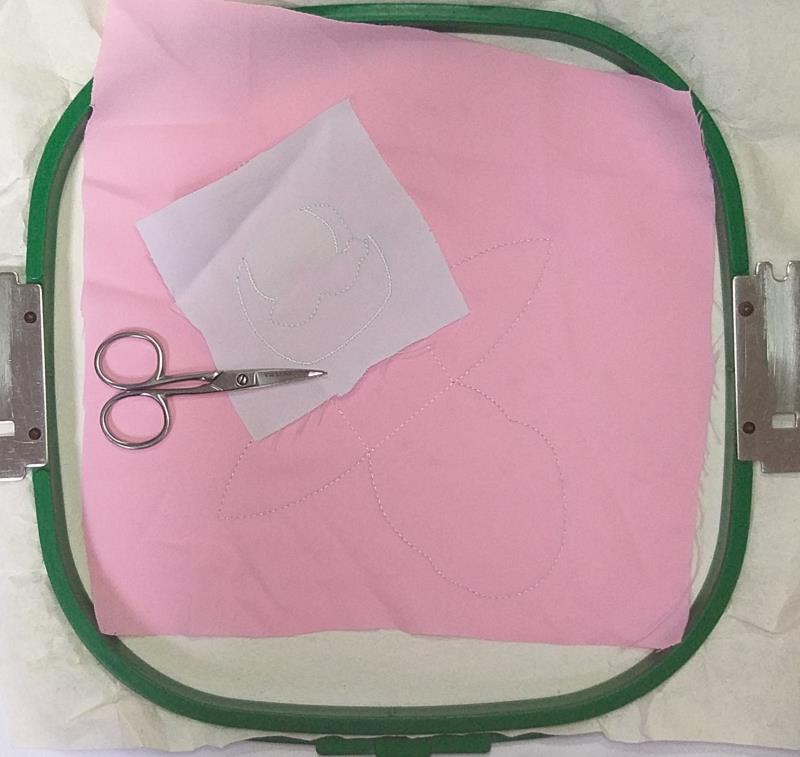
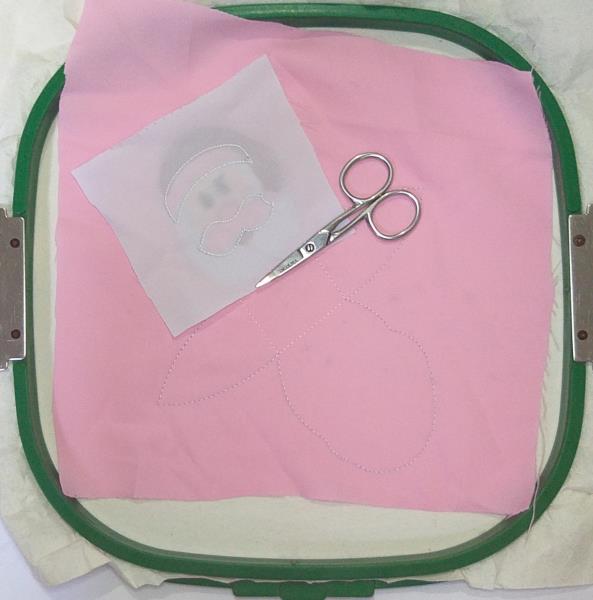
Remove the hoop from the machine, do not unhoop. Cover the placement line with sand felt or fabric and run color-stop 4.
(Click Image to Enlarge)
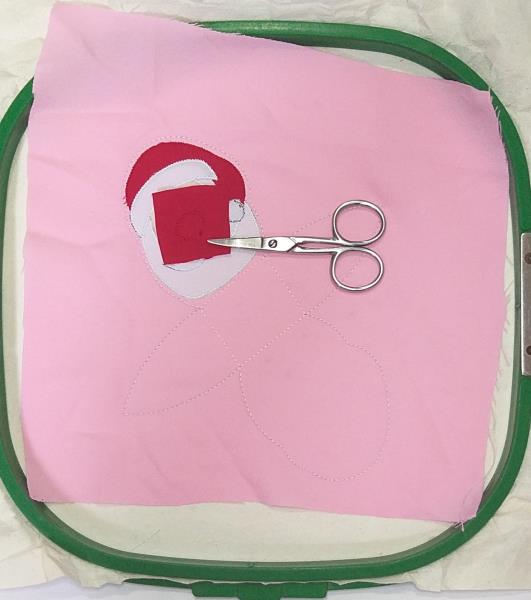
Step 4:
Cut off the excess fabric and run color-stop 5.
(Click Image to Enlarge)
Step 5:
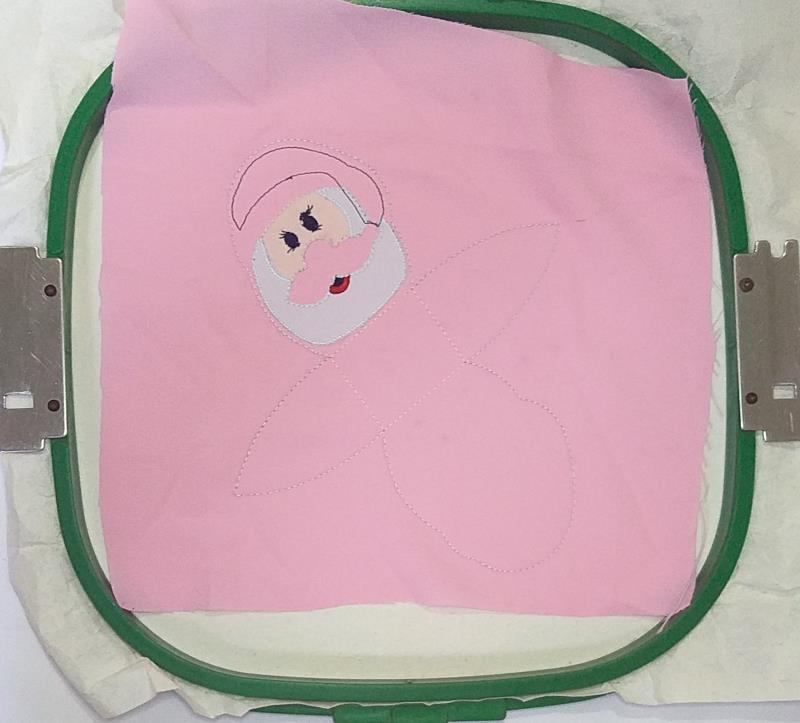
Remove the hoop from the machine, do not unhoop. Cover the placement line with white felt or fabric and run color-stop 6.
(Click Image to Enlarge)
Step 6:
Cut off the excess fabric and run color-stop 7 through color-stop 9.
(Click Image to Enlarge)
Step 7:
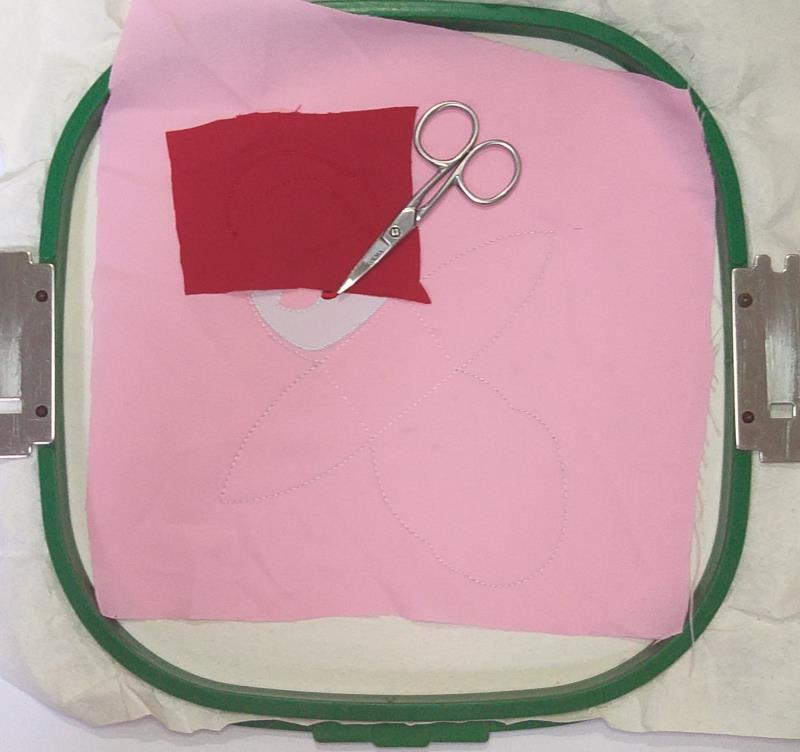
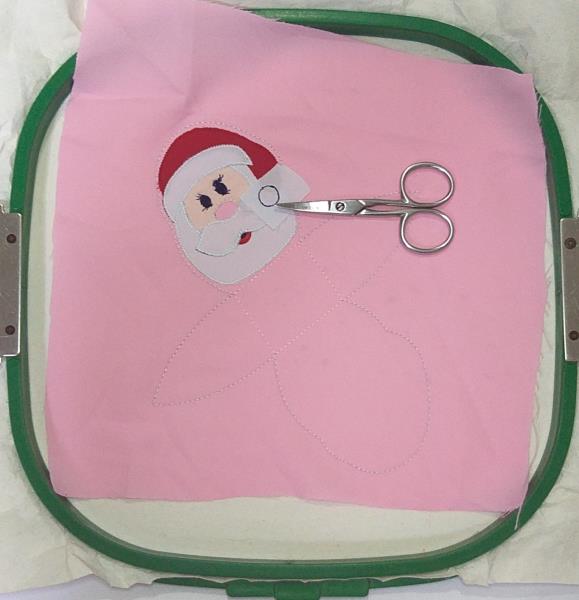
Remove the hoop from the machine, do not unhoop. Cover the placement line with red felt or fabric and run color-stop 10.
(Click Image to Enlarge)
Step 8:
Cut off the excess fabric and run color-stop 11.
(Click Image to Enlarge)
Step 9:
Remove the hoop from the machine, do not unhoop. Cover the placement line with white felt or fabric and run color-stop 12.
(Click Image to Enlarge)
Step 10:
Cut off the excess fabric and run color-stop 13.
(Click Image to Enlarge)
Step 11:
Remove the hoop from the machine, do not unhoop. Cover the placement line with white felt or fabric and repeat color-stop 13.
(Click Image to Enlarge)
Step 12:
Cut off the excess fabric and run color-stop 14 and color-stop 15.
(Click Image to Enlarge)
Step 13:
Remove the hoop from the machine, do not unhoop. Cover the placement line with red felt or fabric and repeat color-stop 16.
(Click Image to Enlarge)
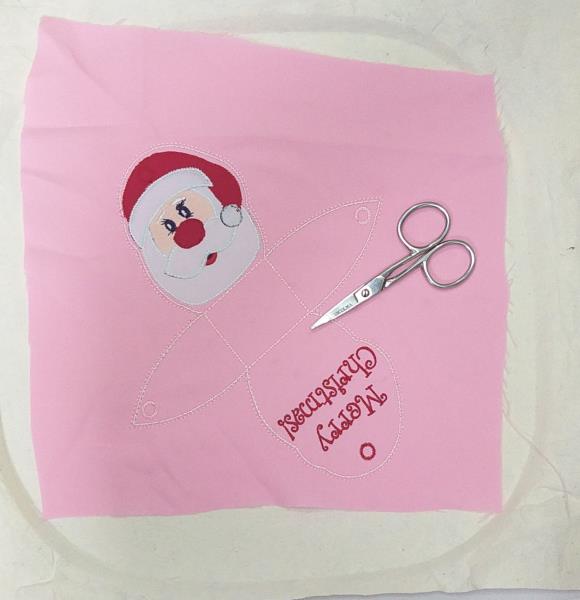
Step 14:
Cut off the excess fabric and run color-stop 17 through color-stop 20.
(Click Image to Enlarge)
Step 15:
Remove the project from the hoop.
(Click Image to Enlarge)
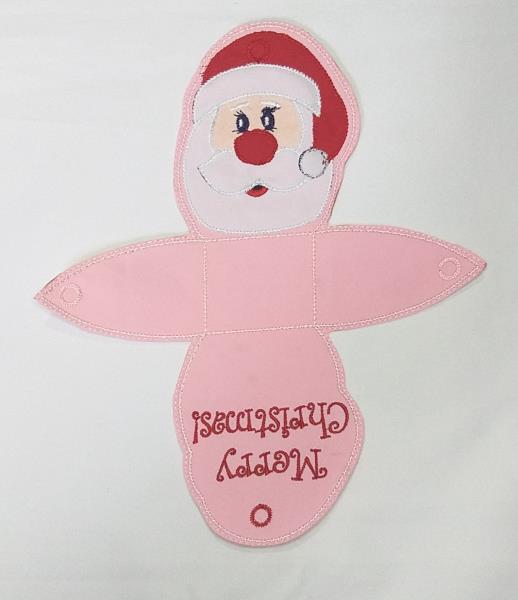
Step 16:
Cut out the design's outline with sharp scissors.
(Click Image to Enlarge)
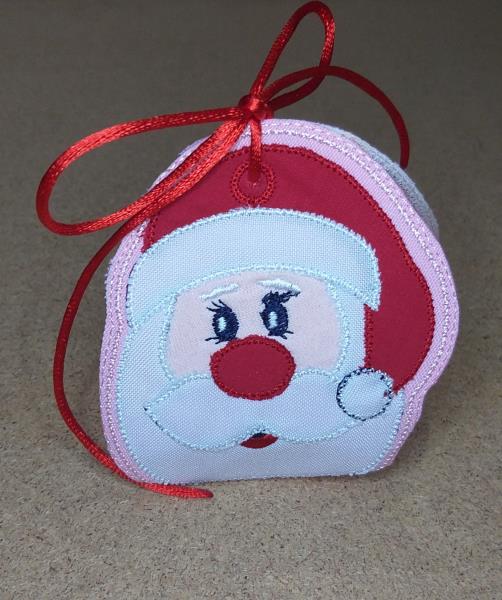
Step 17:
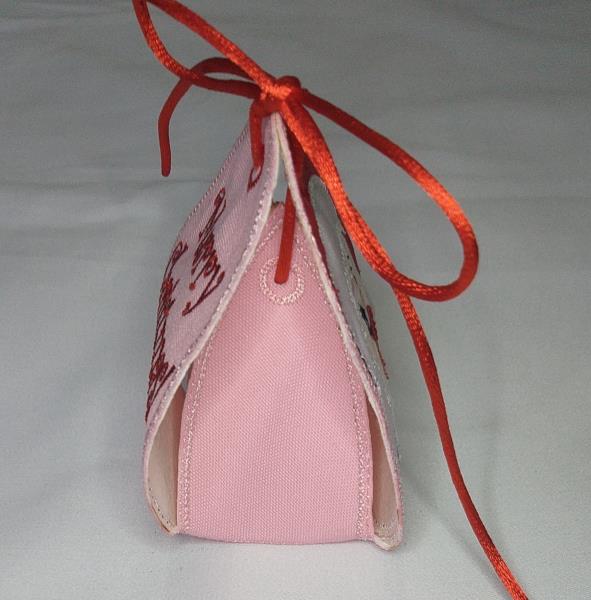
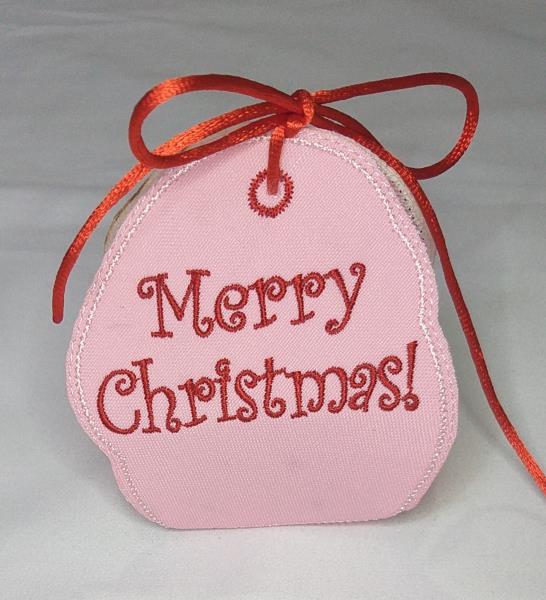
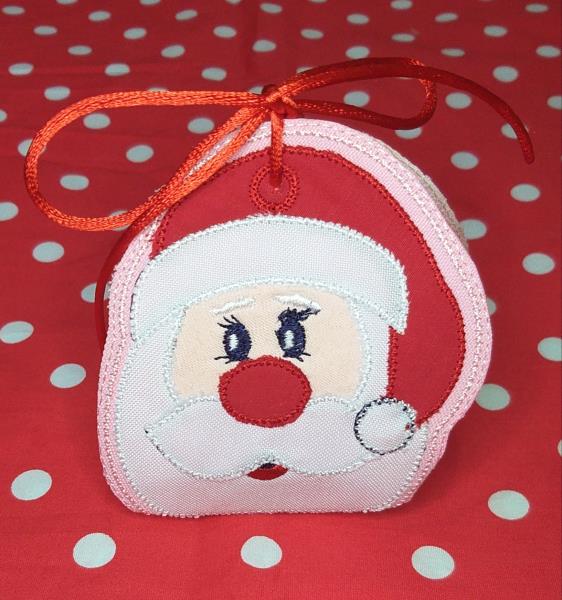
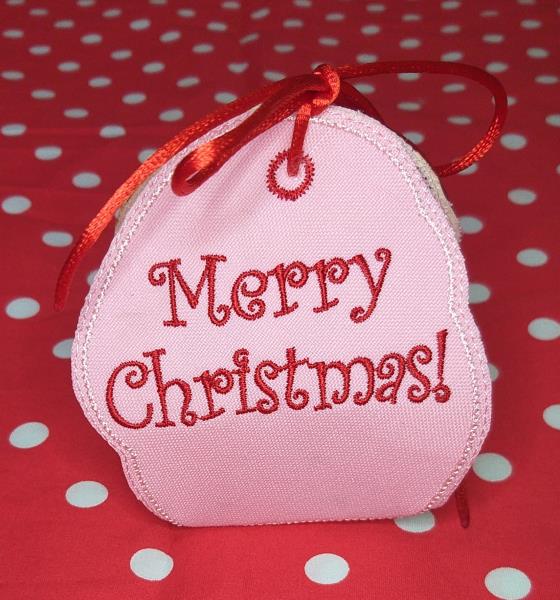
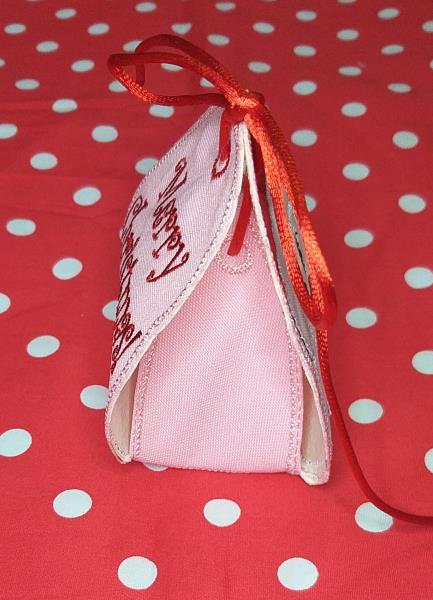
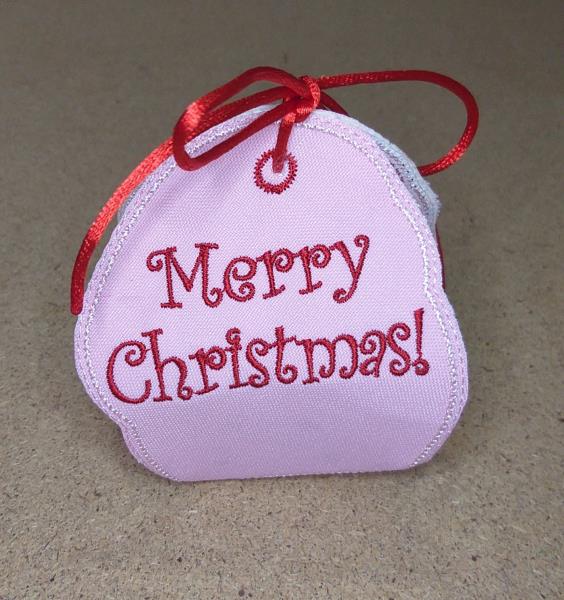
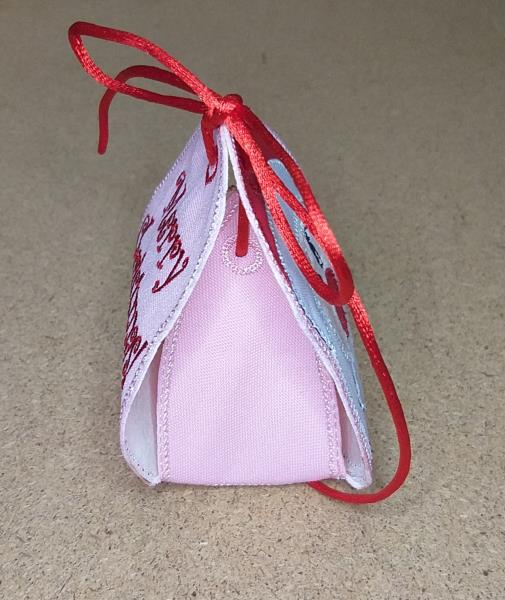
We organize the project as shown in the image and add a fabric ribbon to decorate it. You can also do it in different colors. Have fun doing this beautiful project