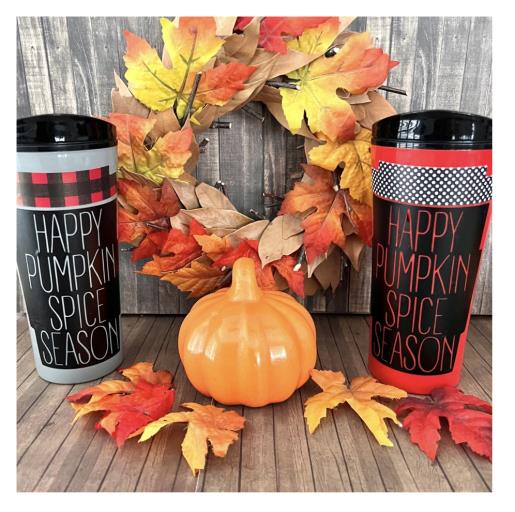
Cutting of two color/decorative vinyls using registration marks for easier decal application onto tumbler. Using a solid color tumbler will show the wording through the weeding of the cut vinyl. This tutorial requires experience with the basics of a cutting machine, how to weed cut vinyl for a decal and to navigate using your cutting machine’s design software program. It is stated for intermediate but those with some experience of the basics may be up to the challenge!
Step 1:
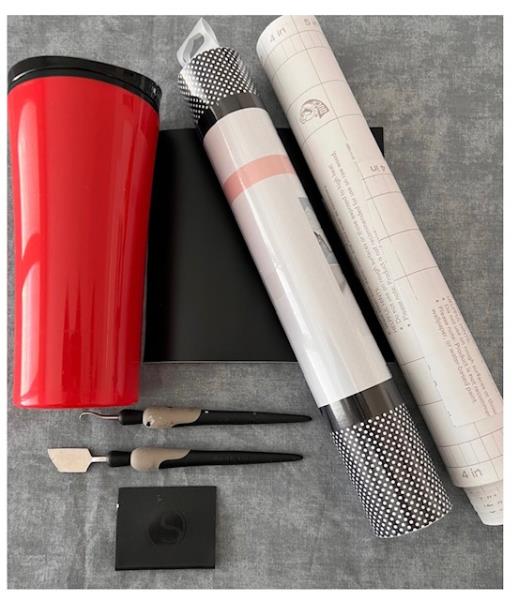
Gather all supplies and review instructions before beginning.
(Click Image to Enlarge)
Step 2:
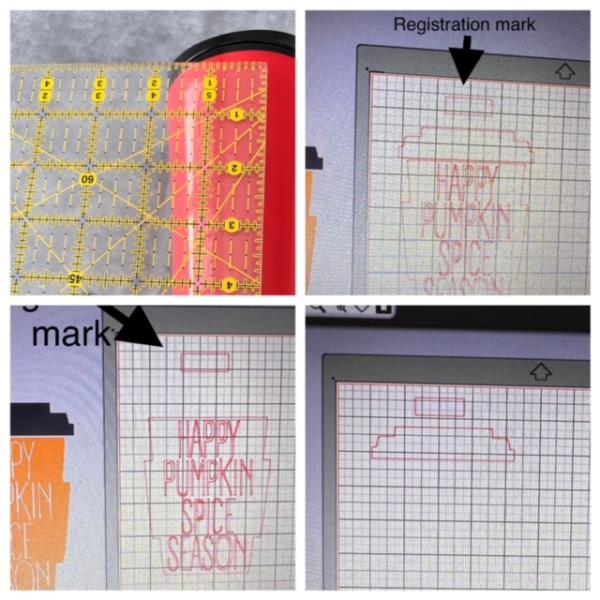
Measure the application area of your tumbler. Bring design into your cutting machine’s design space. Cut design. Resize design to fit your tumbler’s application area. Add a rectangular registration mark at top . Copy design and registration mark. Open another design board and paste as we will be cutting two colors of vinyl. Lid will be your decorative vinyl and cup will be the black solid vinyl. For tumbler used in this tutorial design was resized to 5.8” x 4.2” Delete the lid from one and the cup from the other . Use pictures for reference.
(Click Image to Enlarge)
Step 3:
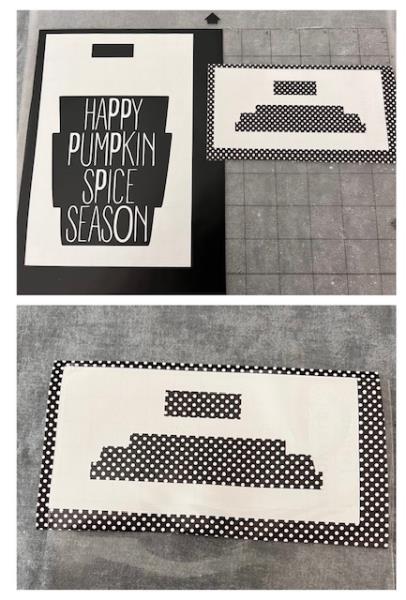
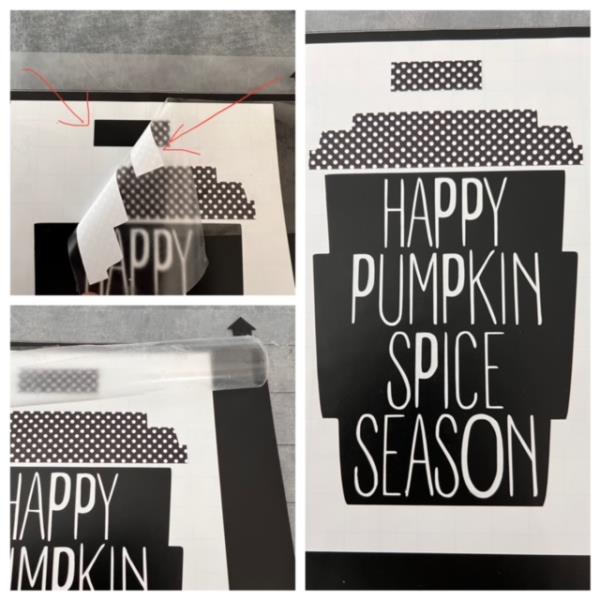
Prepare cutting mat with the black vinyl. Cut cup. Prepare cutting mat with other vinyl of choice for the lid. Cut lid. Weed both for a decal. Apply transfer tape to lid decal.
(Click Image to Enlarge)
Step 4:
Remove adhesive back from lid decal and apply to cup decal by matching up registration marks so that your decal now becomes one. Remove transfer tape.
(Click Image to Enlarge)
Step 5:
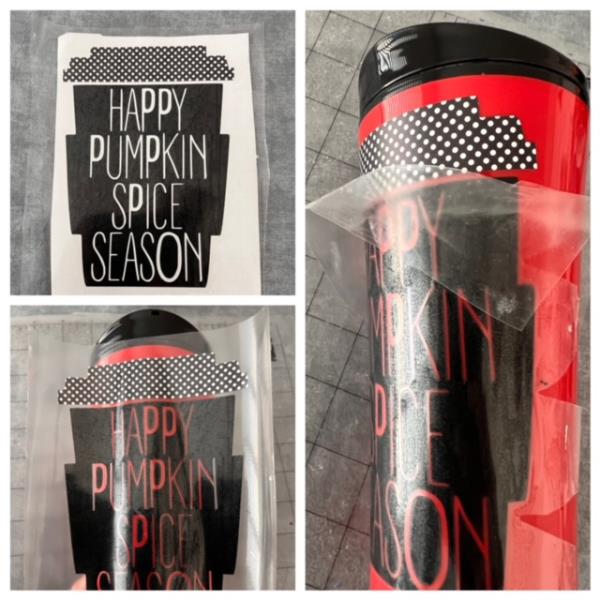
Trim around decal (if needed) and apply transfer tape. Remove adhesive back. Center onto tumbler application area. Finger press down and smooth out decal around tumbler. Carefully remove transfer tape.
(Click Image to Enlarge)
Step 6:
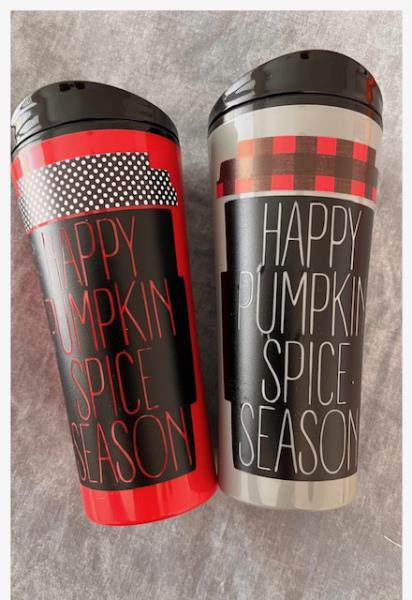
And you are done! Way to go! Now just add your favorite fall beverage and you’re ready for a road trip with your perfect companion!