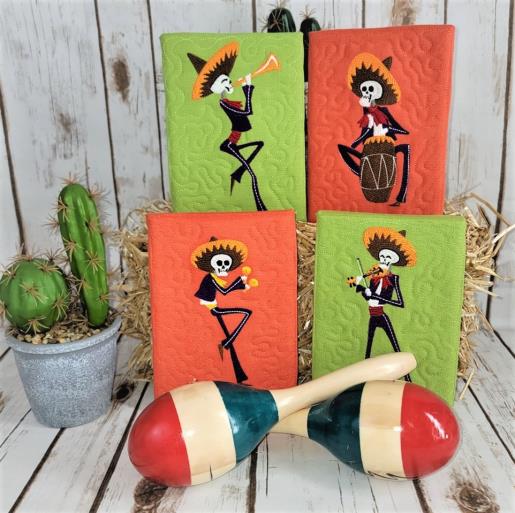
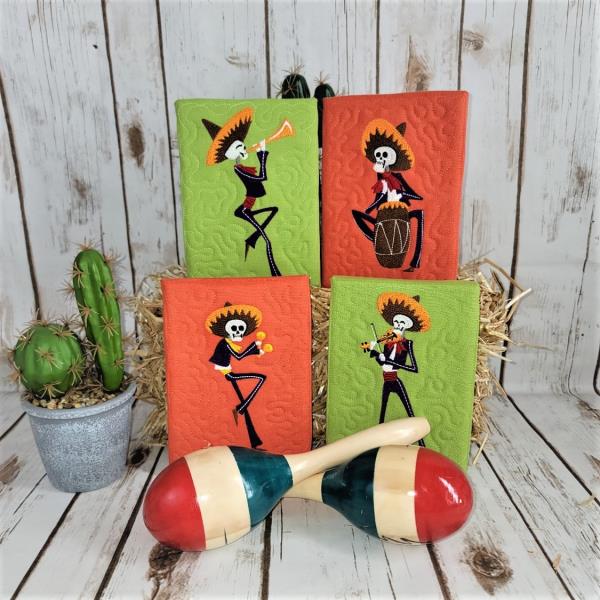
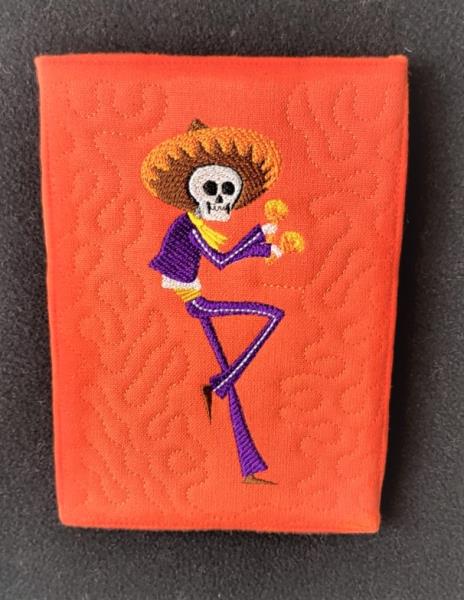
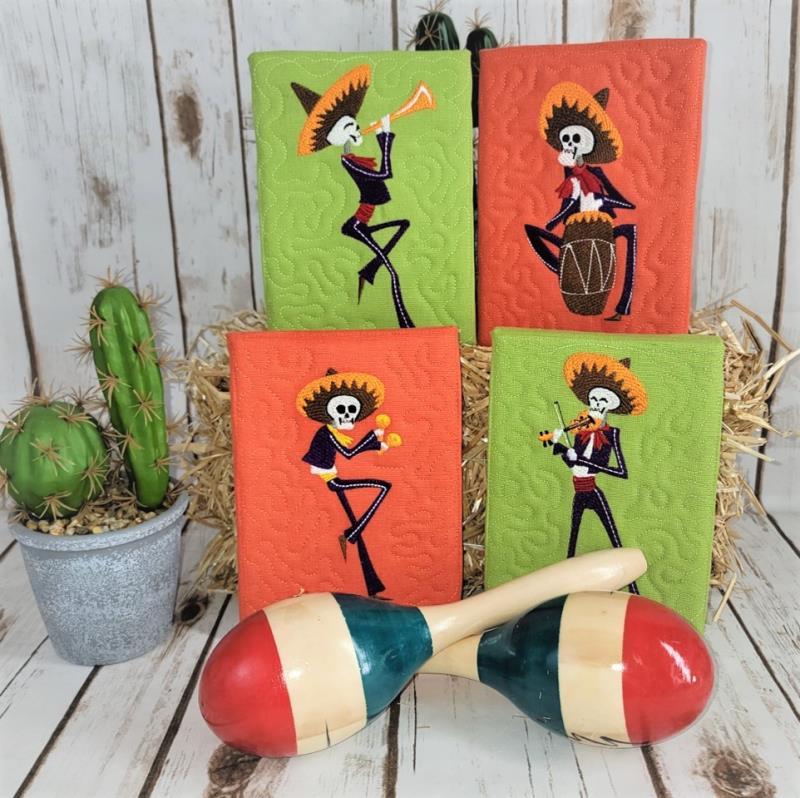
This project is very simple and stitches fast. The quilting is done in the hoop and attached to canvas frames.
Step 1:
Read through the instructions thoroughly before beginning and assemble all the materials needed to complete the project. The fabric used for the project were orange and lime colored kitchen towels. They stitched up very nicely and the colors were perfect for the project. Use thread colors that coordinate with the towels. The digitizing is also done a little differently. A denser double tatami is used for the underlay and then a looser cover stitch tatami is used. I found that for these designs and this project, it gave good coverage on the colored fabric.
(Click Image to Enlarge)
Step 2:
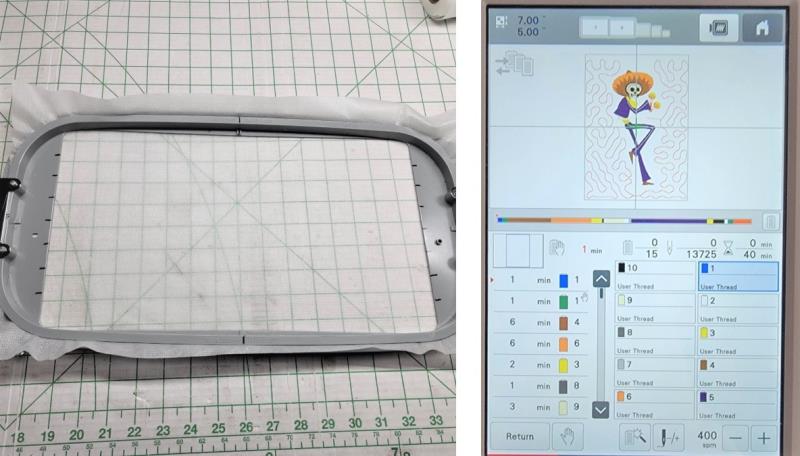
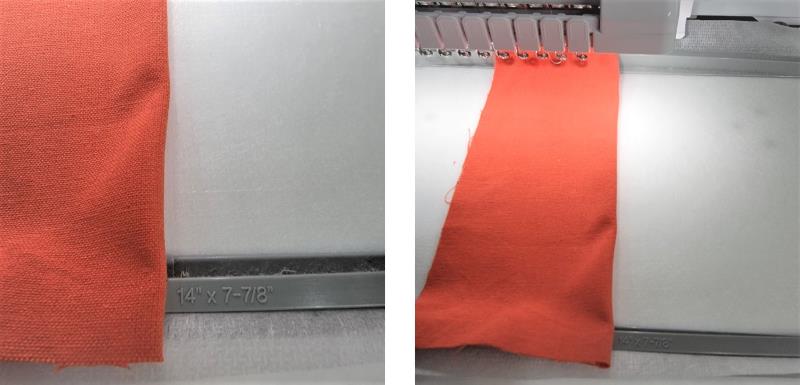
For each of the framed pieces, hoop one layer of poly mesh stabilizer. Load the first design.
(Click Image to Enlarge)
Step 3:
Stitch Color 1, the placement line with water-soluble thread. Float one piece of tearaway underneath the placement line.
(Click Image to Enlarge)
Step 4:
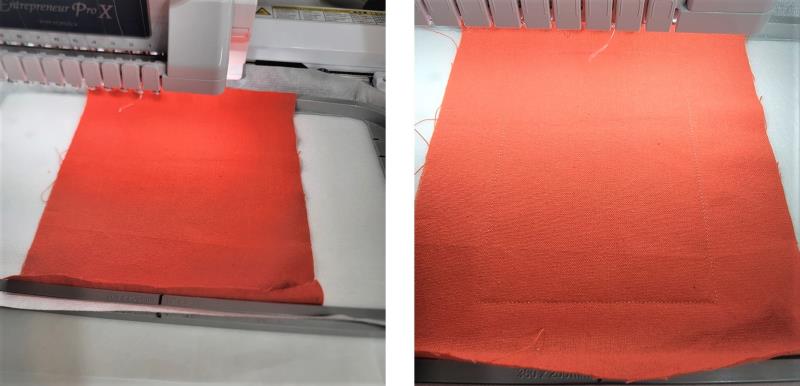
Center one piece of fabric over the placement line.
(Click Image to Enlarge)
Step 5:
Stitch Color 2, with water-soluble thread, to tack all the layers together.
(Click Image to Enlarge)
Step 6:
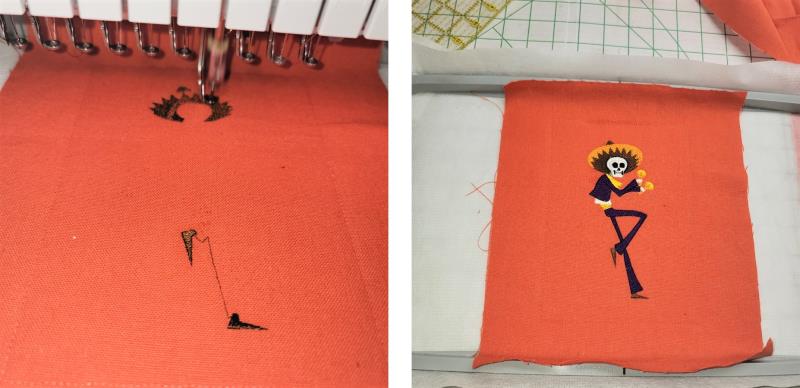
Stitch the design following the color sequence.
(Click Image to Enlarge)
Step 7:
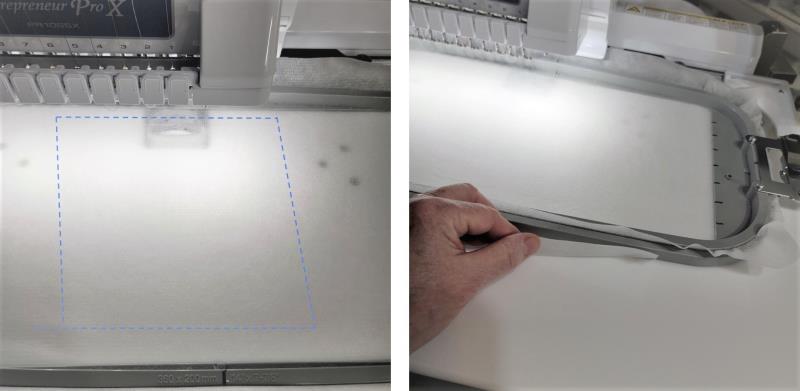
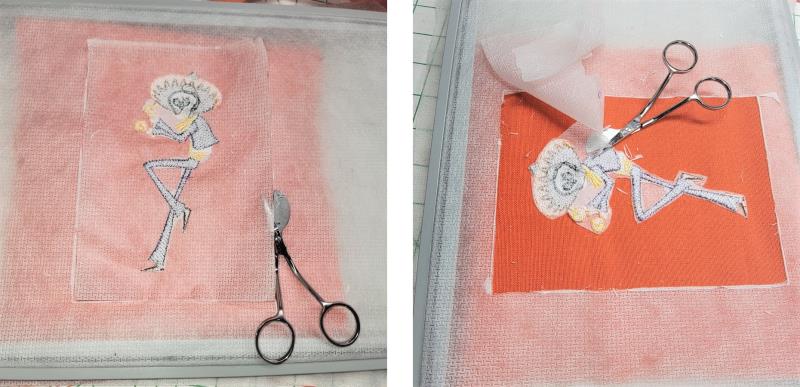
Remove the hoop from the machine, but DO NOT remove the fabric from the hoop. Flip the hoop over. Very carefully, without disturbing the fabric, remove the excess tearaway stabilizer.
(Click Image to Enlarge)
Step 8:
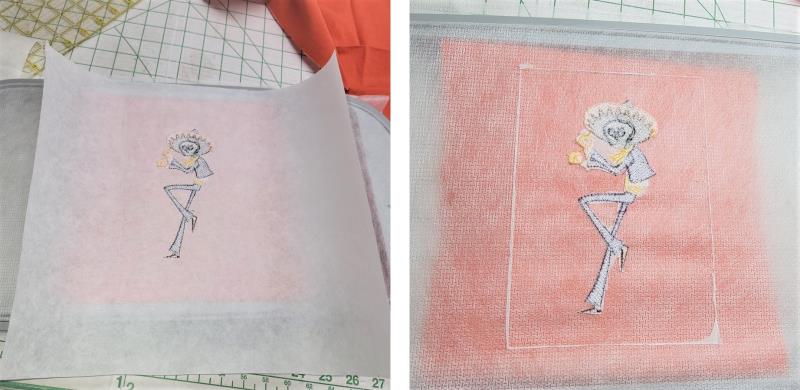
Then very carefully cut out the poly mesh stabilizer from around the design, inside the placement line.
(Click Image to Enlarge)
Step 9:
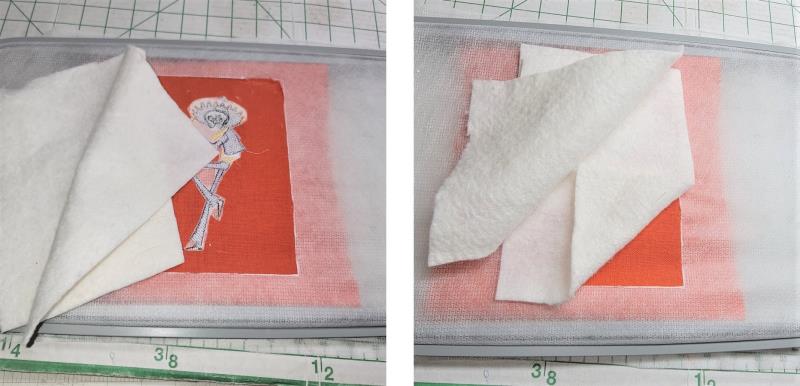
Very lightly spray temporary adhesive on two layers of batting and place over the back of the embroidery,
(Click Image to Enlarge)
Step 10:
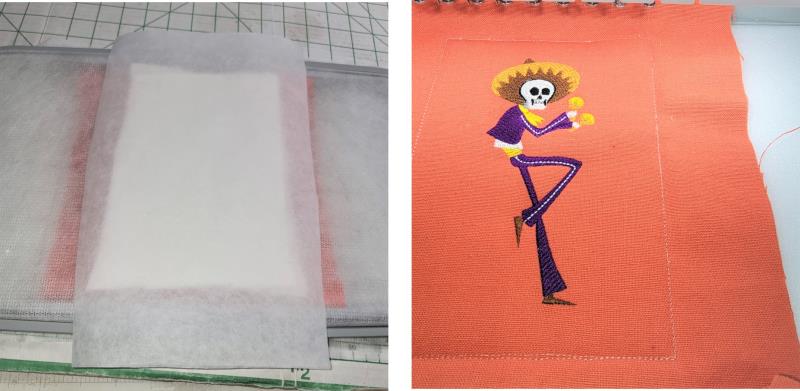
and then lightly spray a piece of tearaway stabilizer and place on top of the quilt batting. Place the hoop back on the machine. Be sure the batting and stabilizer stay flat under the hoop.
(Click Image to Enlarge)
Step 11:
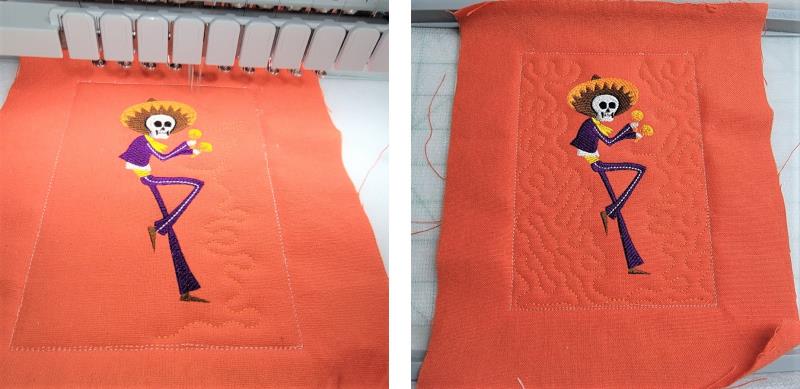
Stitch the tack down stitch with water soluble thread, and then the quilting.
(Click Image to Enlarge)
Step 12:
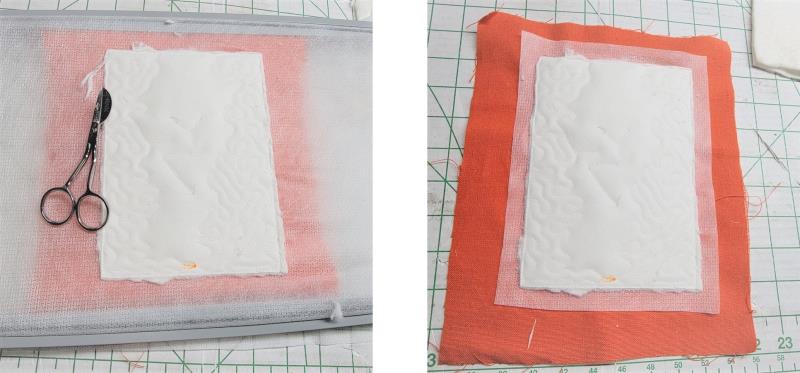
While the piece is still in the hoop, trim away the stabilizer and the batting right next to the tack down line; trim the remainder of the poly mesh about 1” away from the batting.
(Click Image to Enlarge)
Step 13:
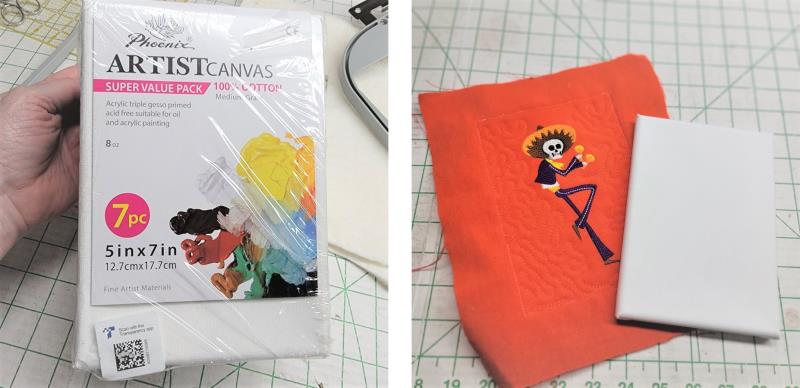
The Artist Canvas are a great way to display these types of embroidery pieces.
(Click Image to Enlarge)
Step 14:
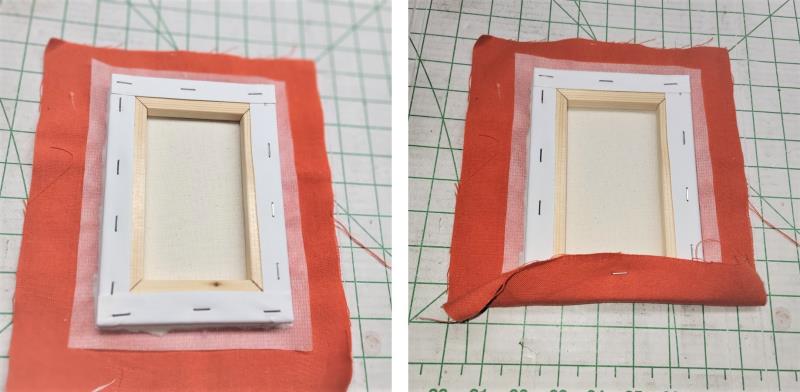
Place the embroidery, face down, and then center the canvas frame inside the placement/tackdown stitching.
(Click Image to Enlarge)
Step 15:
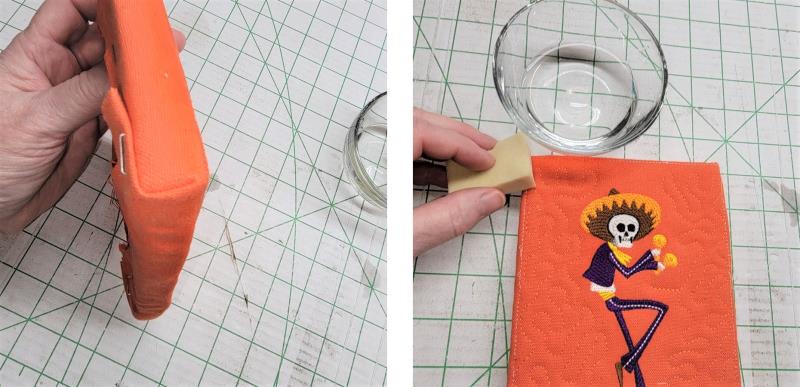
Wrap and staple the fabric to the back, wrapping the corners neatly. Use a small new cosmetic sponge and water to dissolve the water-soluble threads.
(Click Image to Enlarge)
Step 16:
Let the piece dry. Repeat the steps for the remaining three pieces.
(Click Image to Enlarge)
Step 17:
Thank you for purchasing the Sugar Skull Mariachi designs. You’ll have fun stitching and displaying this project.
Ramona Baird has been in the embroidery industry for over 23 years. She and her husband owned a commercial and retail embroidery store in Arizona for many years. She is an experienced digitizer having been mentored by award-winners Pat Williams and Lindee Goodall. Ramona is a contributor to “Creative Machine Embroidery” magazine having 5 covers to her credit. Ramona has worked for Wilcom America and served many years as Education Director for the American Sewing Guild. With a degree in fashion design, she is able to design and execute patterns which Pat Williams says are “out of the box” in creativity and application. Ramona likes to challenge the boundaries of embroidery and bring new and exciting designs, ideas, and projects to EmbroideryDesigns.com. She wants embroiderers of all levels to increase their skills and enjoyment in using their embroidery machine for gift-making and personal pleasure.