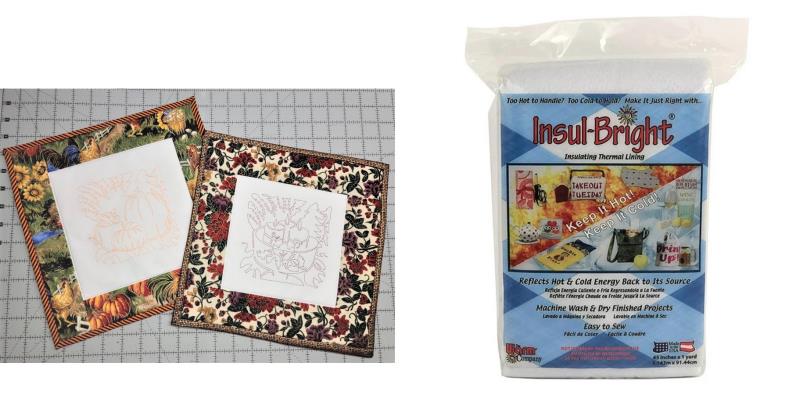
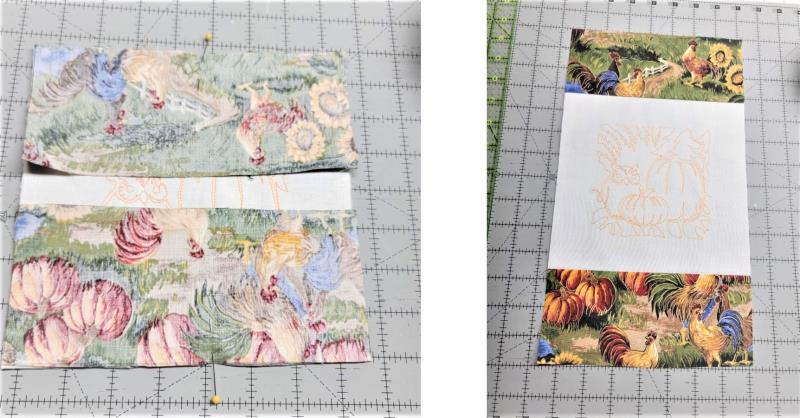
Read through the instructions thoroughly before beginning and assemble all the materials needed to complete the project. Fabrics are cut larger than needed and then cut down. If you need a larger or smaller mat, just change the dimensions for what you need. Notice the mat on the left is larger than the one on the right. All borders are 2”, but it is the trimming of the center embroidered square that is different, affecting the finished size of the mat. Use leftover fabrics in your stash to create these Counter Mats and coordinate the embroidery thread to the fabric, making it appropriate for the design. All seams are sewing with a ¼” seam allowance. Insul-Bright® is used to protect counter surfaces and help keep dishes hot or cool.
(Click Image to Enlarge)
Step 2:
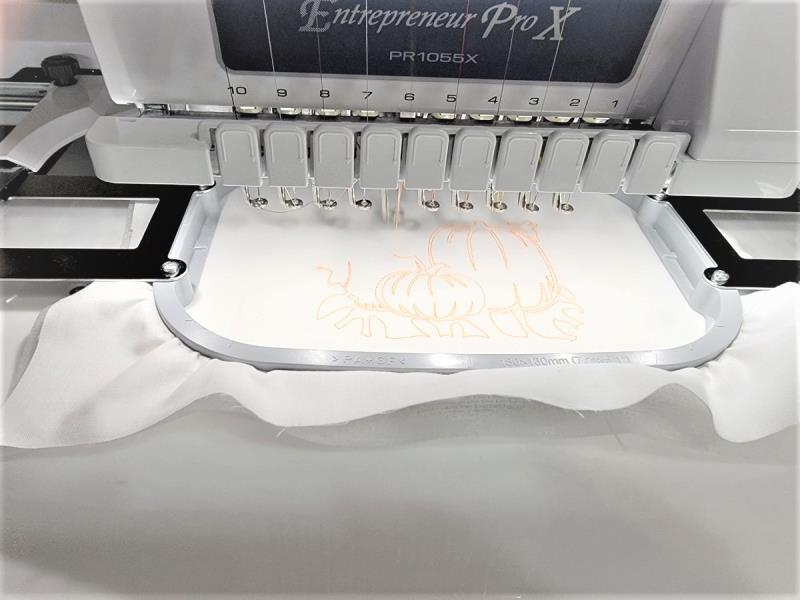
Hoop a layer of poly mesh stabilizer with a piece of starched Kona cotton and stitch the embroidery design.
(Click Image to Enlarge)
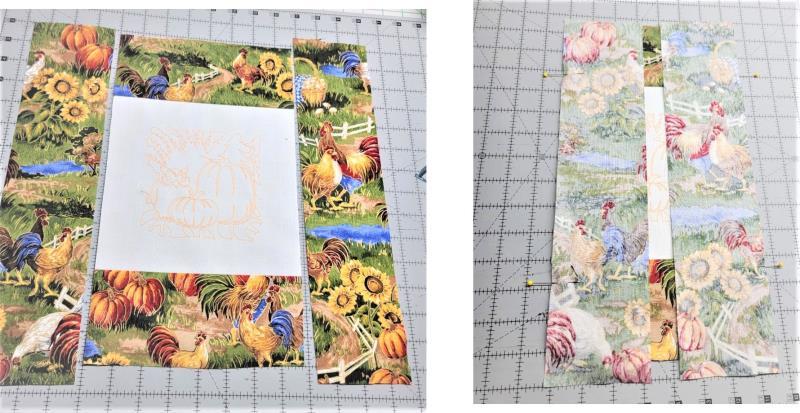
Step 3:
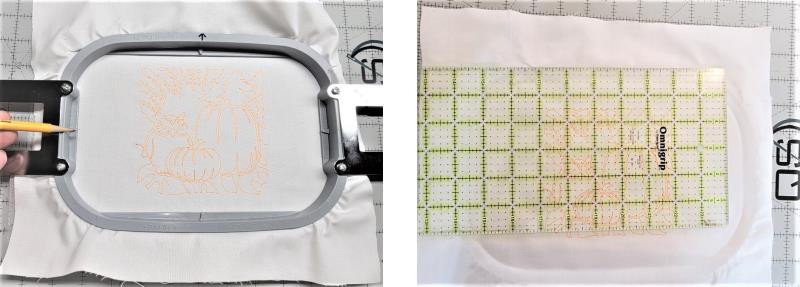
Using the sides and little center marks on the hoop is helpful in centering and trimming the fabric. Lightly mark with pencil and then use a gridded ruler to square up the piece. This one was done at 8” square.
(Click Image to Enlarge)
Step 4:
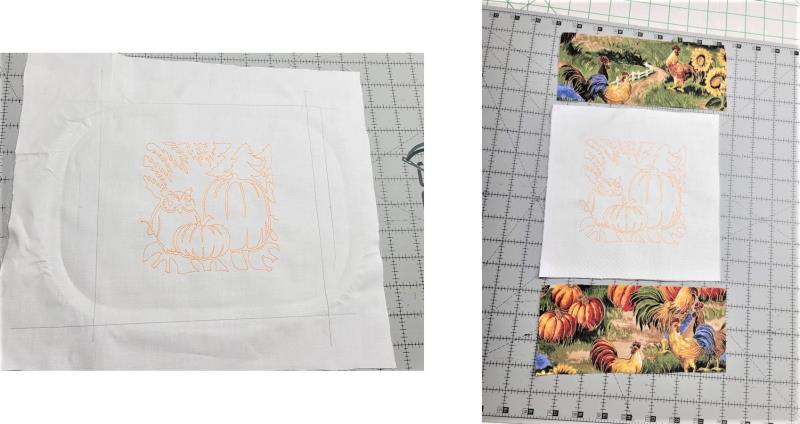
Mark, and then trim to size. Cut the strips for the top and bottom borders. If the fabric being used is directional like this one, then be sure to place the fabric so the designs go in the correct direction. These pieces were cut 9” x 3” wide, and then cut down.
(Click Image to Enlarge)
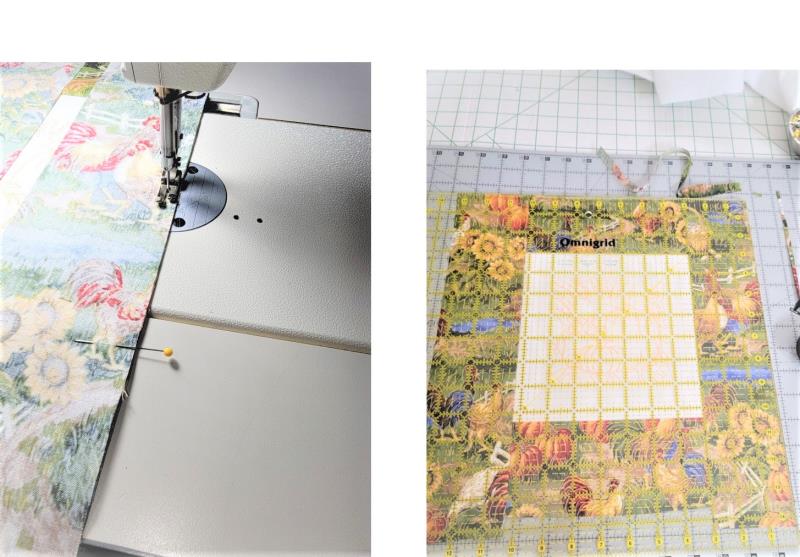
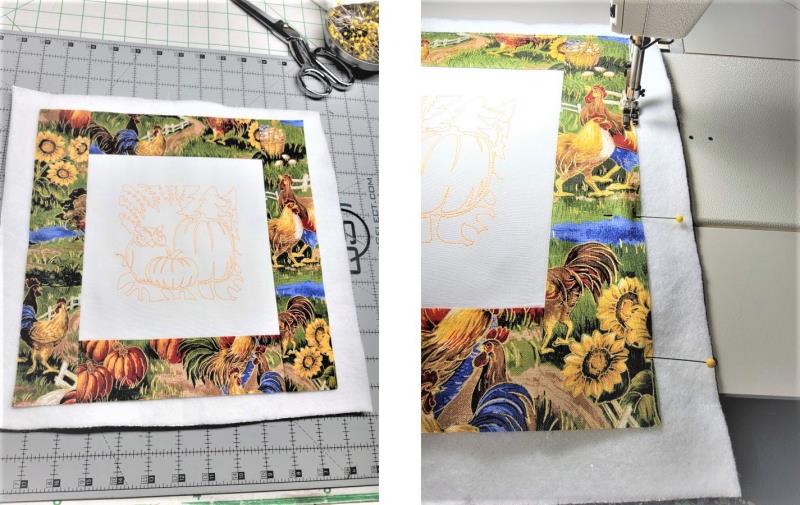
Step 5:
Place the fabric strips right side down and pin in place over the top and bottom of the center piece. Stitch the seam; press the seams toward the strips. Trim the edges of the strips even with the left and right sides of the center fabric.
(Click Image to Enlarge)
Step 6:
Cut the left and right border strips a little bit longer than needed. Place the strips right side down over the center, matching the cut edges and pin in place.
(Click Image to Enlarge)
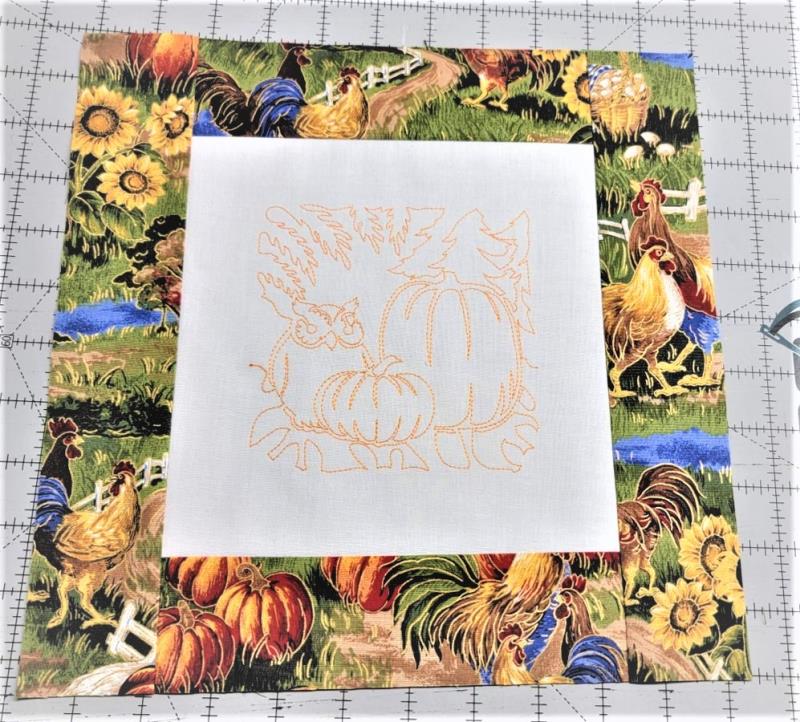
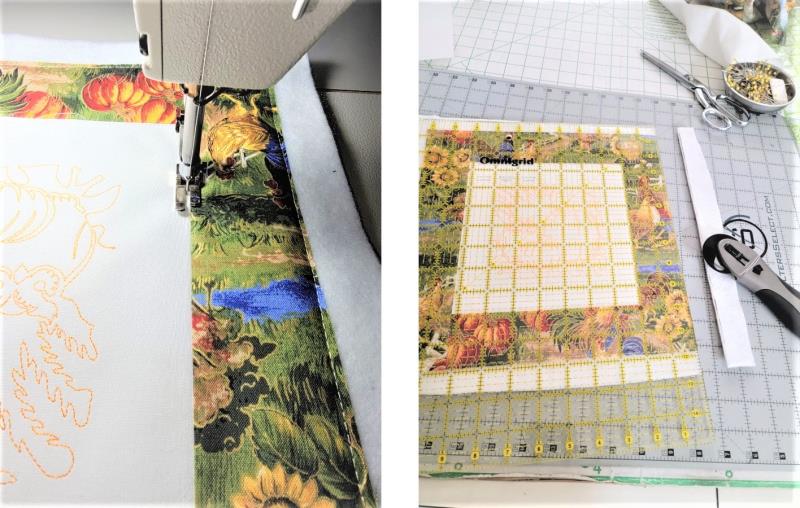
Step 7:
Stitch the strips in place and press the seams toward the strips. Trim the strips even with the top and bottom strips.
(Click Image to Enlarge)
Step 8:
Square up the piece so the borders 2 ¼” wide.
(Click Image to Enlarge)
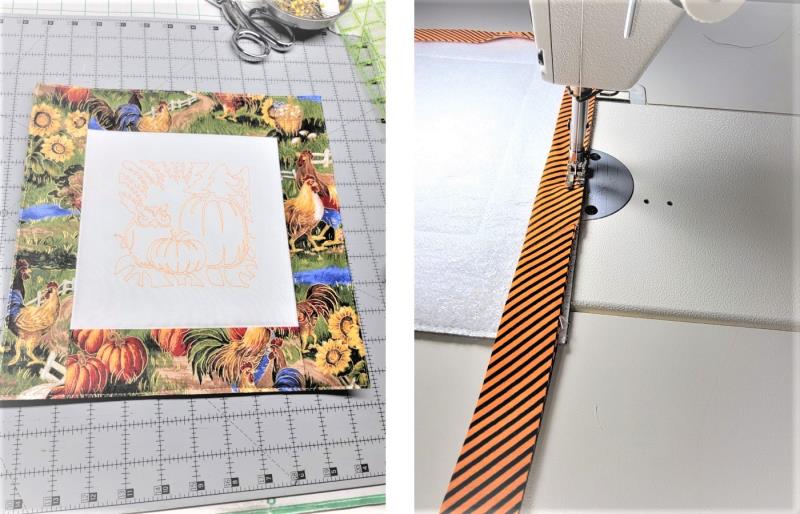
Step 9:
Cut the piece of Insul-Bright® so it is about ½” wider than the top all around. Place the silver side down, and the batting side up on the cutting board. Center the top and pin in place to the batting. Baste around all edges through all layers.
(Click Image to Enlarge)
Step 10:
To secure all layers further, stitch around the inside edges of the border about 1/8”. Trim the Insul-Bright® to the side of the top.
(Click Image to Enlarge)
Step 11:
Use your favorite method to prepare the binding and stitch it on the mat. Here it is stitched to the back side.
(Click Image to Enlarge)
Step 12:
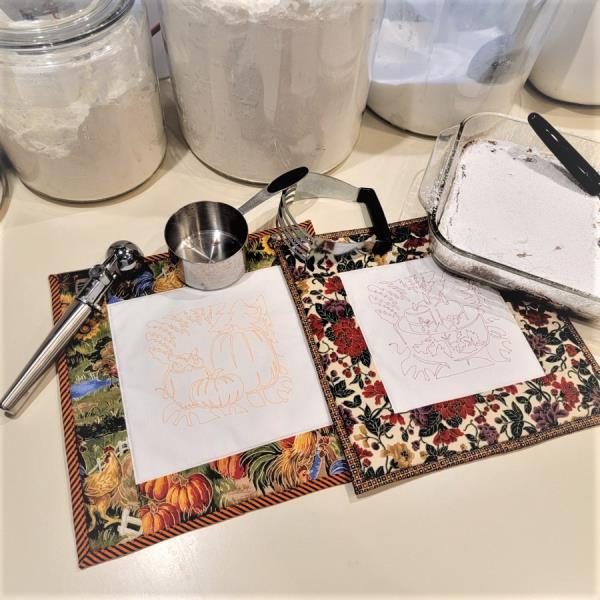
The binding is turned to the front and top stitched in place. Repeat all the steps using different designs and fabrics from your stash to coordinate.
(Click Image to Enlarge)
Step 13:
Thank you for purchasing the outline fall designs! These are so quick to stitch you’ll want to stitch up several and have on hand. When bringing dishes for a pot luck, include a counter mat as a hostess gift. If you do bazaars or craft fairs, these are great sellers.
Ramona Baird has been in the embroidery industry for over 23 years. She and her husband owned a commercial and retail embroidery store in Arizona for many years. She is an experienced digitizer having been mentored by award-winners Pat Williams and Lindee Goodall. Ramona is a contributor to “Creative Machine Embroidery” magazine having 5 covers to her credit. Ramona has worked for Wilcom America and served many years as Education Director for the American Sewing Guild. With a degree in fashion design, she is able to design and execute patterns which Pat Williams says are “out of the box” in creativity and application. Ramona likes to challenge the boundaries of embroidery and bring new and exciting designs, ideas, and projects to EmbroideryDesigns.com. She wants embroiderers of all levels to increase their skills and enjoyment in using their embroidery machine for gift-making and personal pleasure.