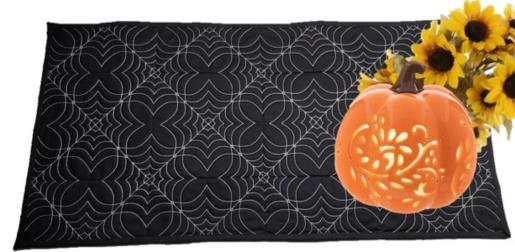
Read through the instructions thoroughly before beginning and assemble all the materials needed to complete the project. Adjust the fabric amounts to make the table runner as wide and long as you’d like. The designs really do stitch quickly. The design is a single run, continuous line stitched pattern. You can use thread to match the fabric, contrasting thread as was done in the sample, metallic thread, variegated, Glow in the Dark, just about anything you’d like! The main design is a spider web design, but when all the pieces are placed together, a secondary design is created.
(Click Image to Enlarge)
Step 2:
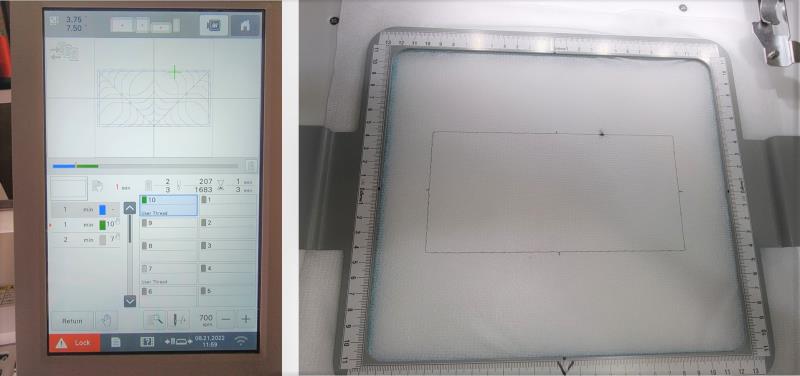
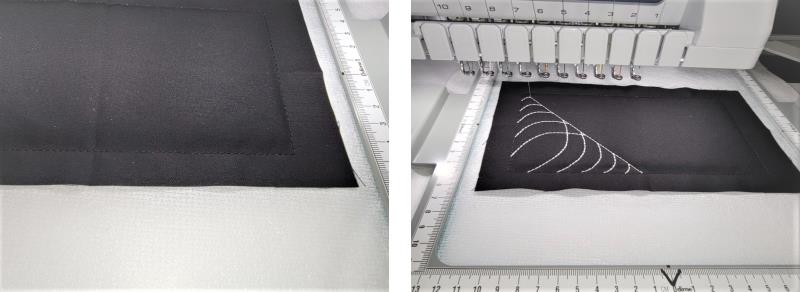
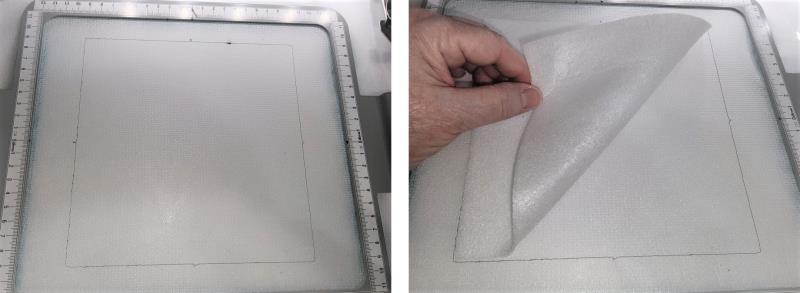
Load the half-web design on the machine and decide on the thread colors. Hoop a piece of Poly Mesh Stabilizer. Stitch Color 1, the placement line. You’ll notice there are tick marks on each side to aid in fabric placement.
(Click Image to Enlarge)
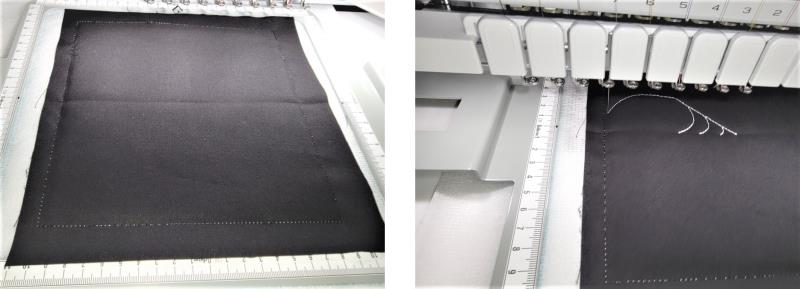
Step 3:
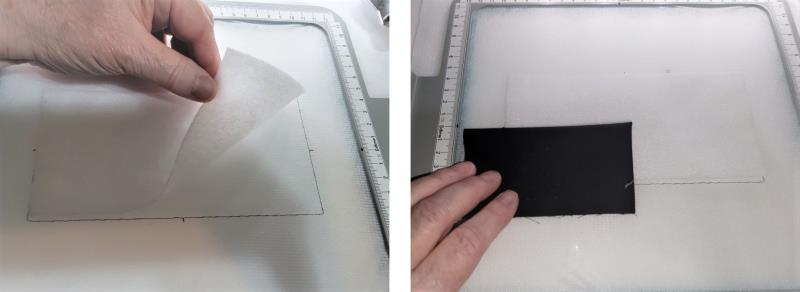
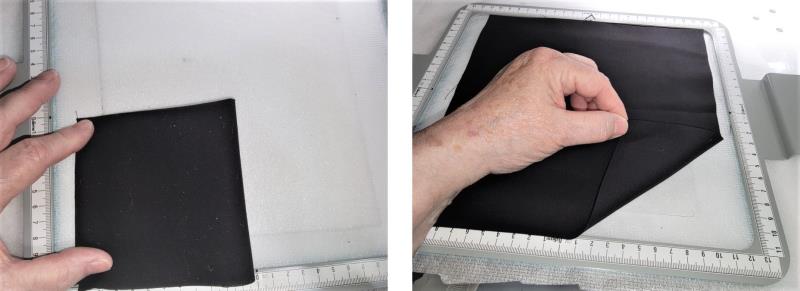
For the next step, use the temporary spray adhesive or fabric glue stick to help hold the pieces in place if you’d like. Place the piece of Battilizer inside the placement line. Quarter fold the black fabric and align the folds at the left and bottom tick marks.
(Click Image to Enlarge)
Step 4:
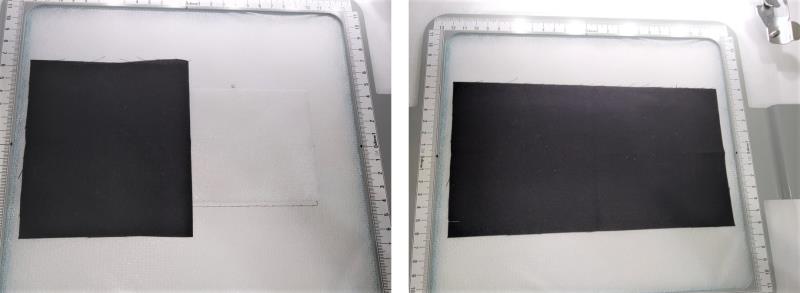
Open up the fabric, making sure the fold aligns with the top and bottom tick marks. Open up the fabric the entire way.
(Click Image to Enlarge)
Step 5:
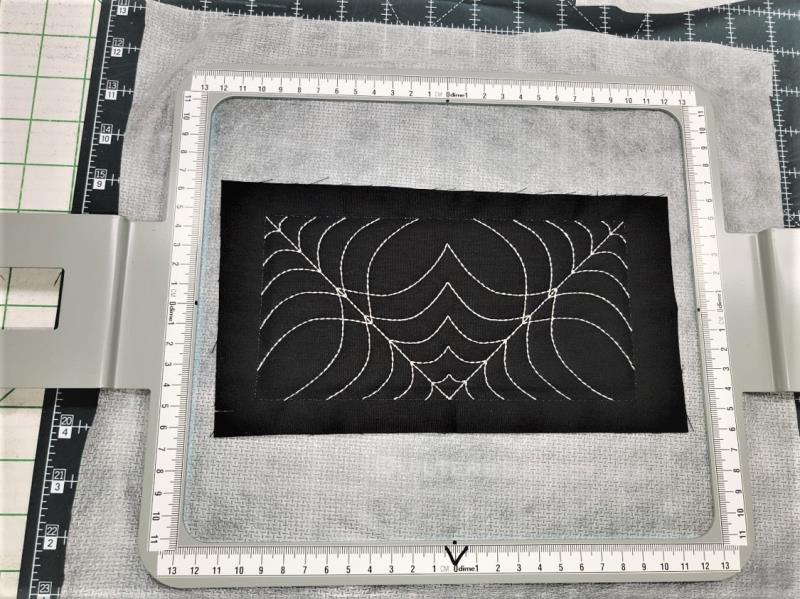
Stitch Color 2 to tack down the fabric. Stitch Color 3, the design.
(Click Image to Enlarge)
Step 6:
Repeat the stitching steps for this half web design 8 times for the project table runner, or as many times as needed for the table runner size you need.
(Click Image to Enlarge)
Step 7:
Stitching the full web design is the same steps as the half design, just larger. Load the full web design on the machine. Hoop a layer of poly mesh stabilizer. Stitch Color 1, the placement line with the tick marks. Place the Battilizer inside the placement line.
(Click Image to Enlarge)
Step 8:
Quarter fold the larger piece of black fabric and place the folds at the left and bottom tick lines. Open it up matching the top and bottom tick marks, and then open the fabric up the entire way; use the adhesive to help hold things in place if you’d like.
(Click Image to Enlarge)
Step 9:
Stitch Color 2, to tack the fabric down. Stitch Color 3, the design.
(Click Image to Enlarge)
Step 10:
Repeat stitching this design three more times for the project table runner, or as many times as you need for the size you are doing.
(Click Image to Enlarge)
Step 11:
On all pieces, trim the stabilizer close to the outer most stitching line. Using applique scissors makes trimming go quickly.
(Click Image to Enlarge)
Step 12:
Lay out the pieces as shown. Notice the half web pieces have the points going outward from the center pieces. Next will be to stitch the half pieces to the center pieces.
(Click Image to Enlarge)
Step 13:
At this point there are several ways matching can be done—use the method which is most comfortable for you for good results. The pieces can be hand basted together, pinned, or simply matched at the machine as the stitching is done—that is what was done for the project.
(Click Image to Enlarge)
Step 14:
The outer stitching line and design lines are aligned and the seam sewn just a thread to the inside of the outer stitching line. I just began by making sure the outer most corner matched,
(Click Image to Enlarge)
Step 15:
and then I worked slowly down the stitching line in small sections, making sure the lines were matched.
(Click Image to Enlarge)
Step 16:
The seams are left open. After all the bottoms are sewn to the middle full pieces, then sew the top half sections to the top of the middle sections.
(Click Image to Enlarge)
Step 17:
Repeat the same steps of placing right sides together, pinning, or just sewing and matching the seams and design points.
(Click Image to Enlarge)
Step 18:
I left a bit larger seam allowance, trimming them to 3/8”. Now it is time to sew the vertical seams.
(Click Image to Enlarge)
Step 19:
Place right sides together and sew the seam, matching as before.
(Click Image to Enlarge)
Step 20:
The last thing is to sew the middle seam. This completes the top. All that is left is to add backing and binding.
(Click Image to Enlarge)
Step 21:
Cut a piece of backing larger than the top. Pin the top and backing together.
(Click Image to Enlarge)
Step 22:
Baste around the outside of the top, removing the pins as you sew. Then stitch in the ditch through both the top and bottom on the vertical seams.
(Click Image to Enlarge)
Step 23:
Trim the backing to match the top. Cut the fabric for the binding strips and use your favorite method for binding the piece. As you can see, it is easy to stitch and add additional units, both full and half, to make a table runner the size you need. Don’t you think it would be fun to do the pattern stitching in Glow in the Dark thread for a party? Adults and children alike would find it fascinating and it would add a great element to the party décor.
(Click Image to Enlarge)
Step 24:
Thank you for purchasing the designs and have fun making your table runner!
Ramona Baird has been in the embroidery industry for over 23 years. She and her husband owned a commercial and retail embroidery store in Arizona for many years. She is an experienced digitizer having been mentored by award-winners Pat Williams and Lindee Goodall. Ramona is a contributor to “Creative Machine Embroidery” magazine having 5 covers to her credit. Ramona has worked for Wilcom America and served many years as Education Director for the American Sewing Guild. With a degree in fashion design, she is able to design and execute patterns which Pat Williams says are “out of the box” in creativity and application. Ramona likes to challenge the boundaries of embroidery and bring new and exciting designs, ideas, and projects to EmbroideryDesigns.com. She wants embroiderers of all levels to increase their skills and enjoyment in using their embroidery machine for gift-making and personal pleasure.