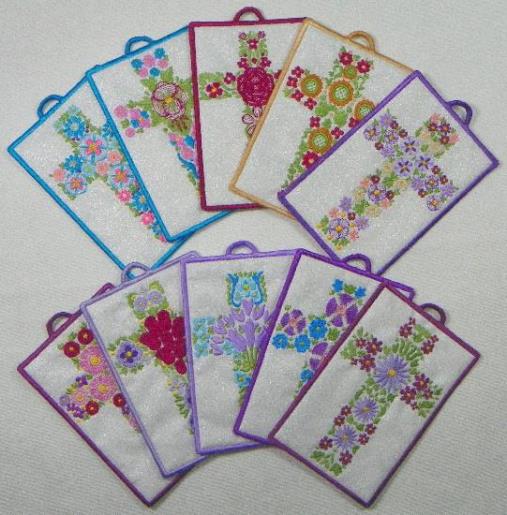
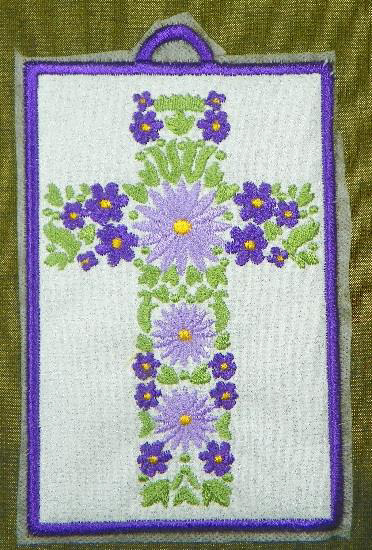
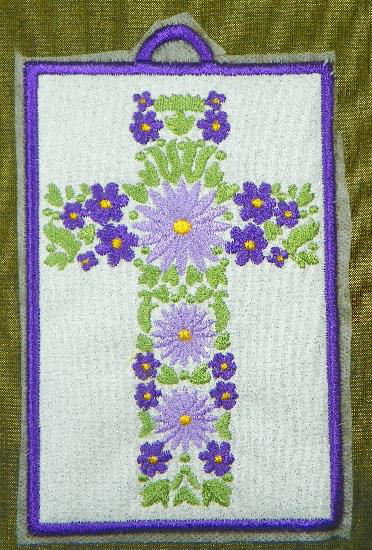
This is a collaboration between Artsy Knots and Holly. The copyrights to the digitizing & some images belongs to Holly
Step 1:
The color sequence chart below will be referred to throughout these instructions.
(Click Image to Enlarge)
Step 2:
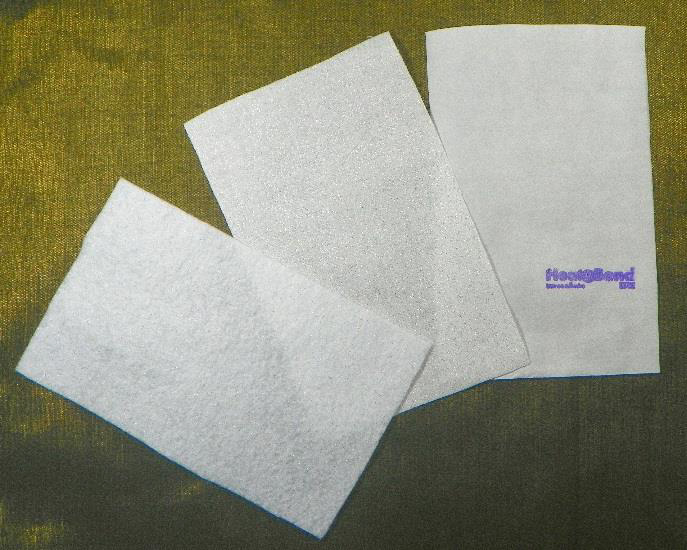
Cut three pieces 4.5 x 6.75 inches each:
a. 1 –from applique fabric
b. 1—from Heat-N-Bond
c. 1—from felt
Press the Heat-N-Bond to the back of the applique fabric.
(Click Image to Enlarge)
Step 3:
(Click Image to Enlarge)
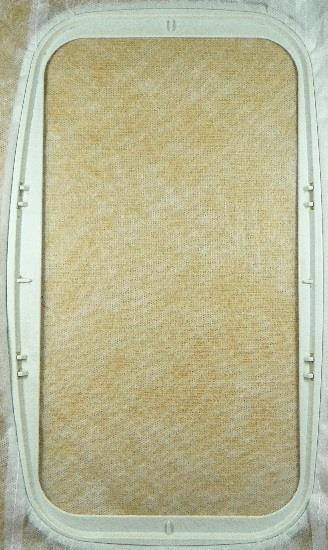
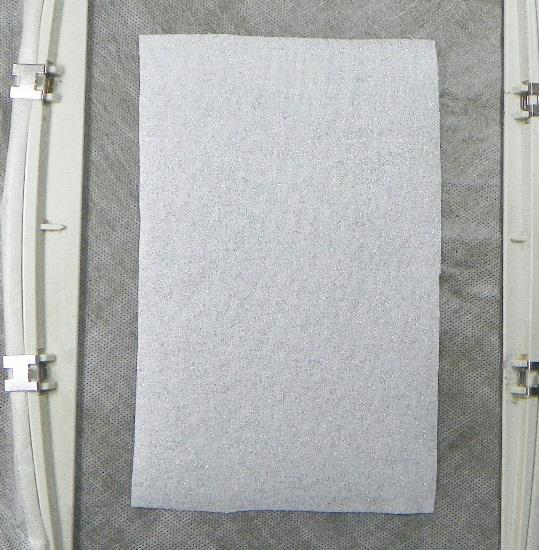
Hoop Water-Soluble stabilizer in 5 x 7 inch hoop.
Step 4:
(Click Image to Enlarge)
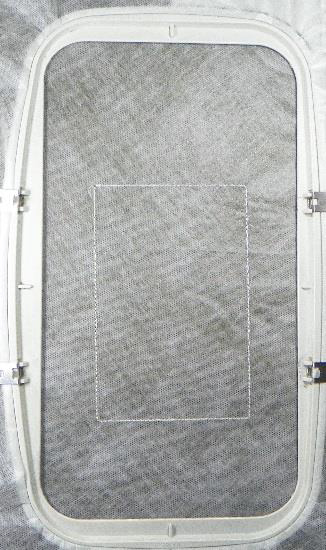
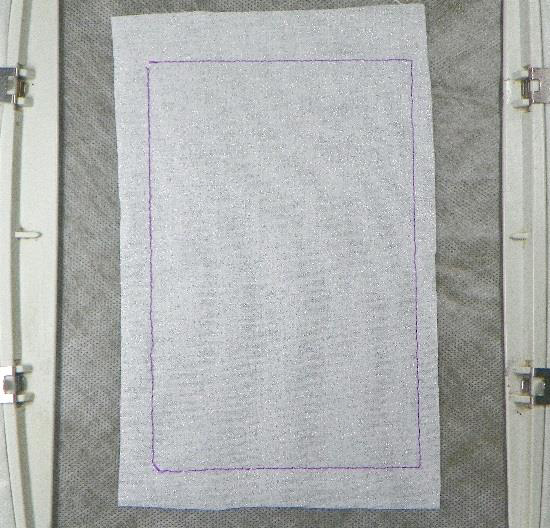
Place hoop in machine and stitch the first set of stitches (#1 in Color Sequence Chart). This will create the “placement stitches”.
Step 5:
Place the Heat-N-Bond backed fabric on top of the placement stitches (right side up-Heat-N-Bond side between the top applique fabric and the stabilizer).
(Click Image to Enlarge)
Step 6:
Stitch the tack-down stitches (#2 in the Color Sequence Chart). These stitches will secure the applique fabric to the stabilizer.
(Click Image to Enlarge)
Step 7:
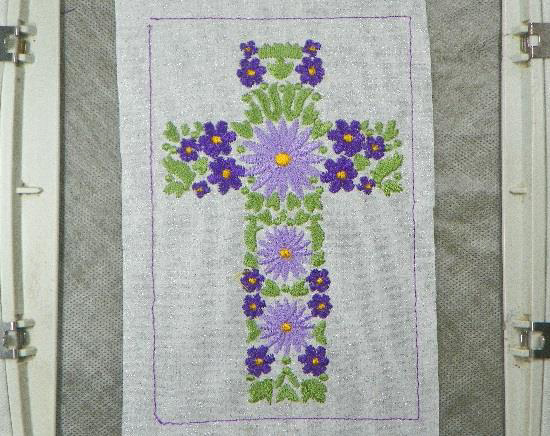
Stitch the design colors (# 3, #4, #5, & #6 in the Color Sequence Chart). It is best to cut jump stitches after each color has sewn so they will not get sewn down and be difficult -if not impossible-to cut. The nature of these designs require cutting many jump stitches.
(Click Image to Enlarge)
Step 8:
(Click Image to Enlarge)
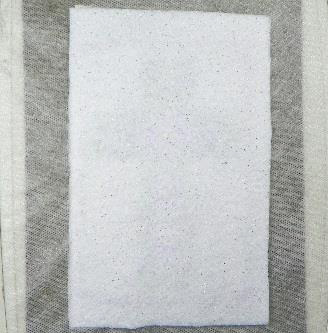
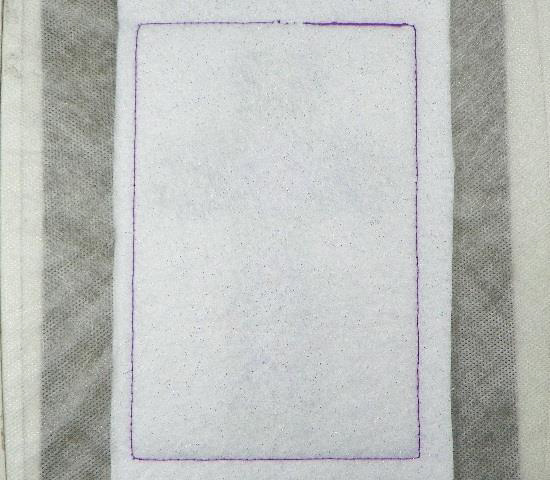
After color 6 has sewn, turn the hoop up-side down. Use temporary spray adhesive to attach the felt to the back of the design.
Step 9:
(Click Image to Enlarge)
Turn right-side up and hand press on a flat surface.
Step 10:
Return hoop to machine and sew the second tack- down stitches (#7 in the Color Sequence Chart). Make sure you use the same color thread for the tack-down stitches (machine thread and bobbin) that you will use for the satin border around the design.
(Click Image to Enlarge)
Step 11:
(Click Image to Enlarge)
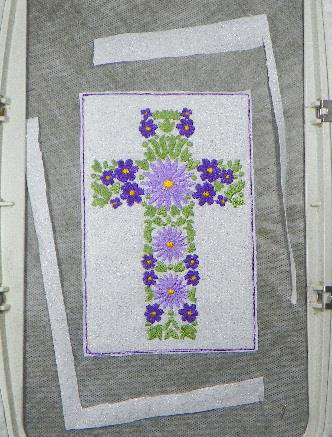
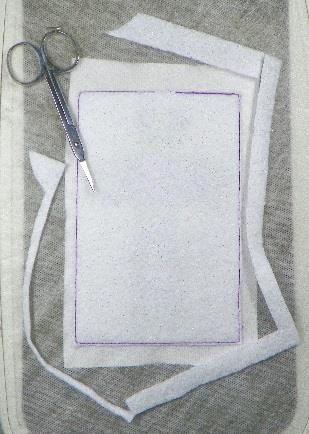
Remove the hoop from the machine and cut away the excess fabric from the front and the felt from the back.
Step 12:
(Click Image to Enlarge)
Take care not to cut the stitches.
Step 13:
(Click Image to Enlarge)
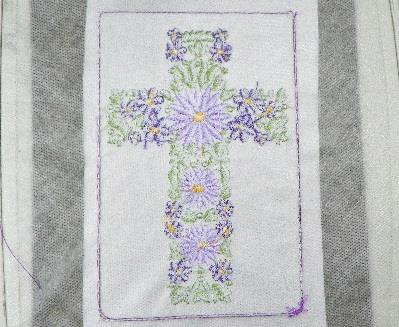
Return the hoop to the machine and sew the satin border around the design (#8 in the Color Sequence Chart).
Step 14:
(Click Image to Enlarge)
Remove the hoop from the machine and remove the design from the hoop. Cut around the design— leaving about 1⁄4 inch of the stabilizer outside the design.
Step 15:
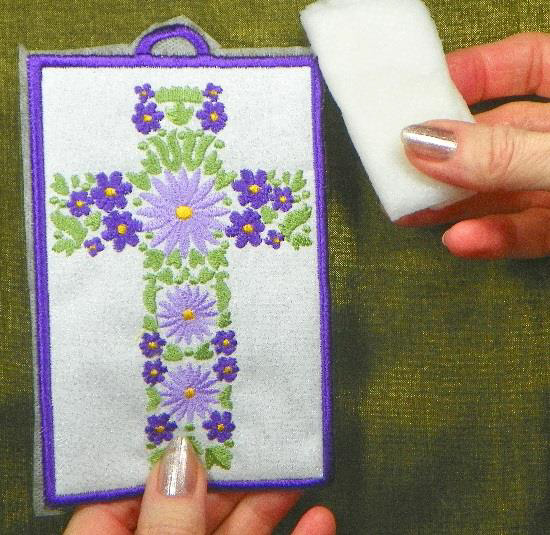
Remove the remaining 1⁄4 inch water-soluble stabilizer using a wet paper towel or a wet cloth.
(Click Image to Enlarge)
Step 16:
(Click Image to Enlarge)
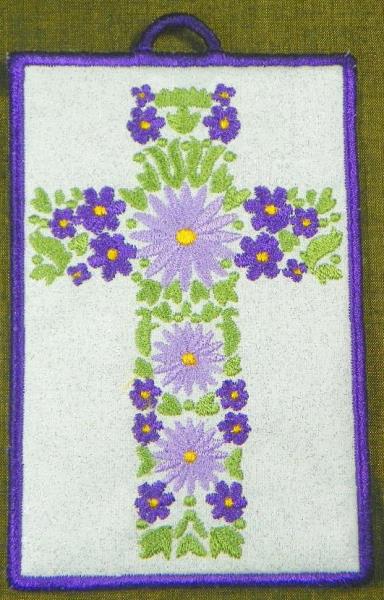
Allow the design to air dry. Your project is ready to hang or give as a gift. I like to tuck such items into cards I send. (Yes, some people do still send cards through the postal system.)