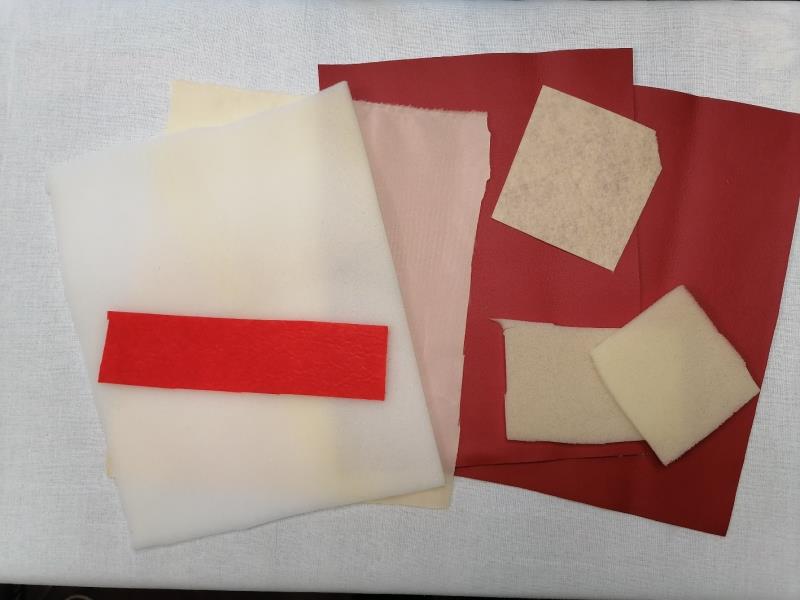
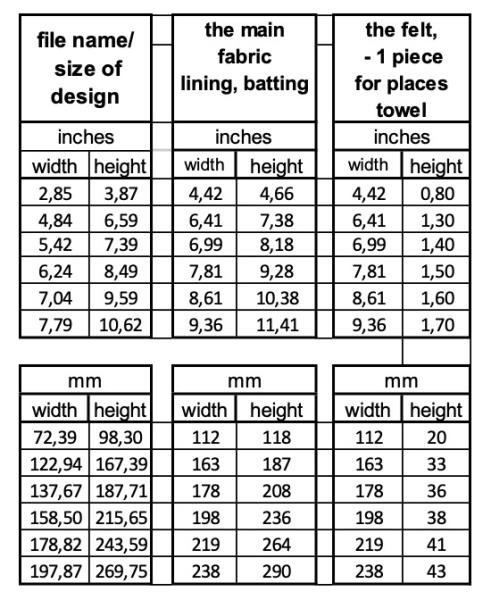
Cut the fabric, lining and batting the size and quantity according to the table.
The main fabric - 2 pieces
The lining and batting - 1 piece each
The small pieces - 2 batting and 1 beige fabric for the nose
The strip of felt (I recommend using felt) to place towels
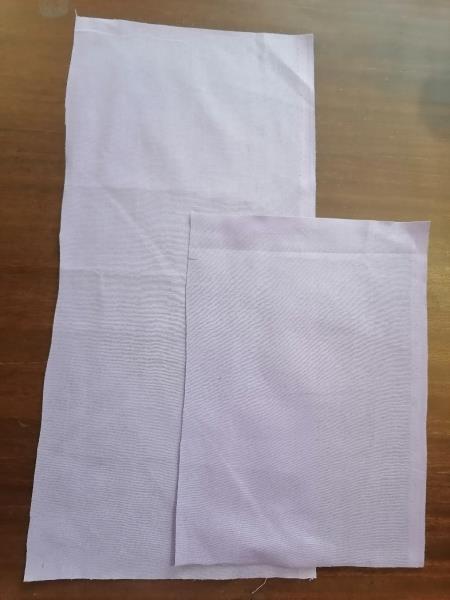
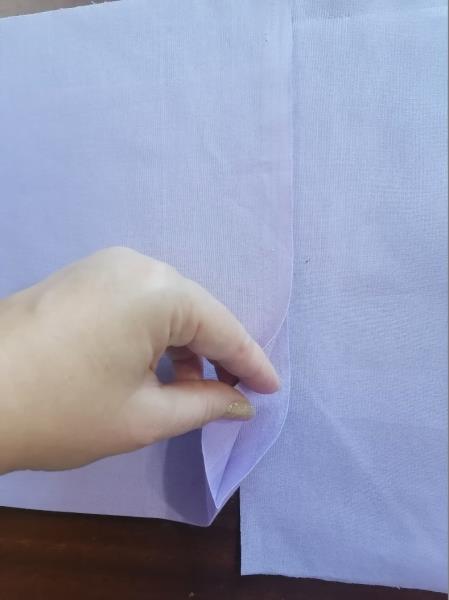
Pay attention if you use linen, cotton or similar fabrics. Take 1 piece of the size according to the table, and the second is 2 times longer in length. Fold this piece in half and iron.
(Click Image to Enlarge)
Step 2:
.
(Click Image to Enlarge)
Step 3:
.
(Click Image to Enlarge)
Step 4:
.
(Click Image to Enlarge)
Step 5:
Download the archive to your computer. Extract the files from the archive.
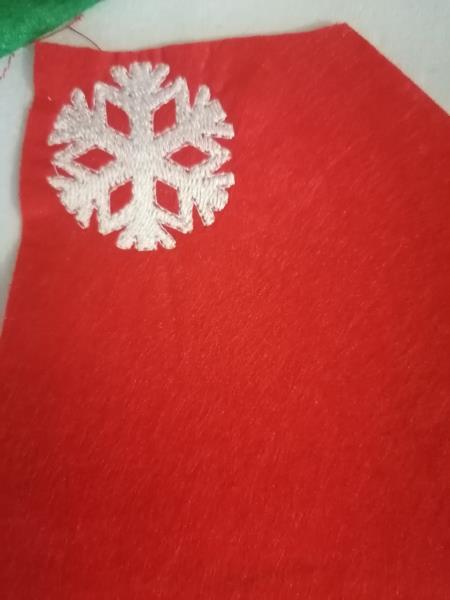
Download file to your embroidery machine in the way you are used to.
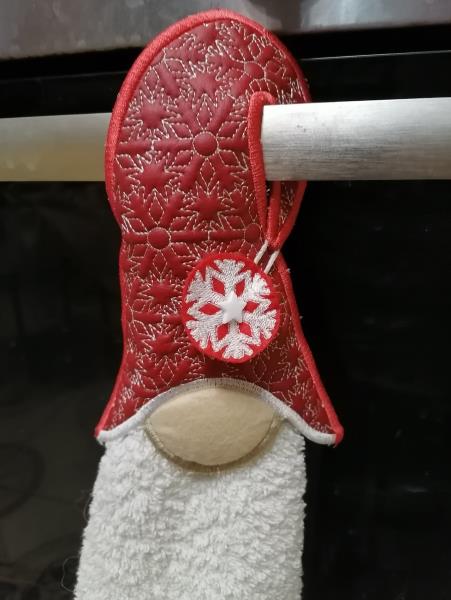
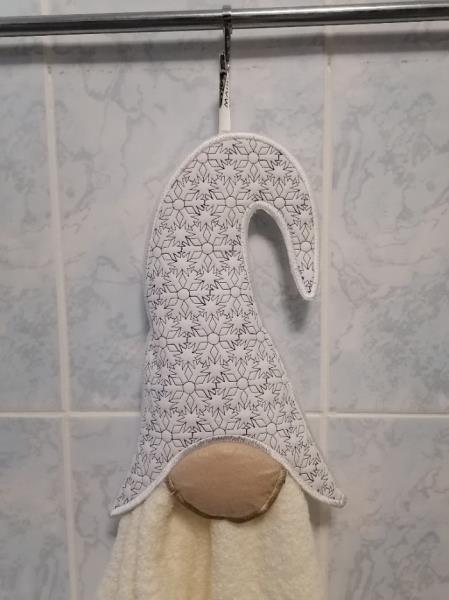
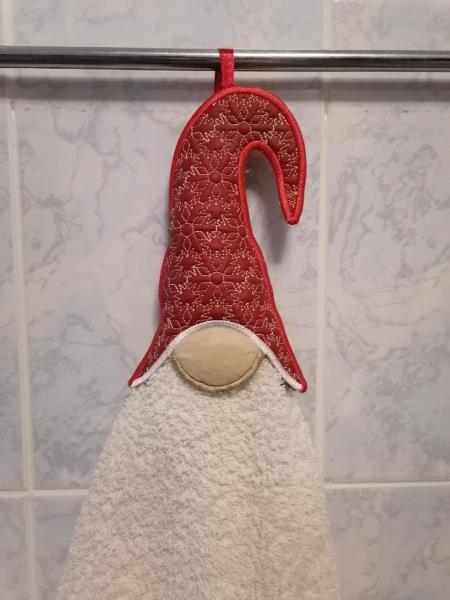
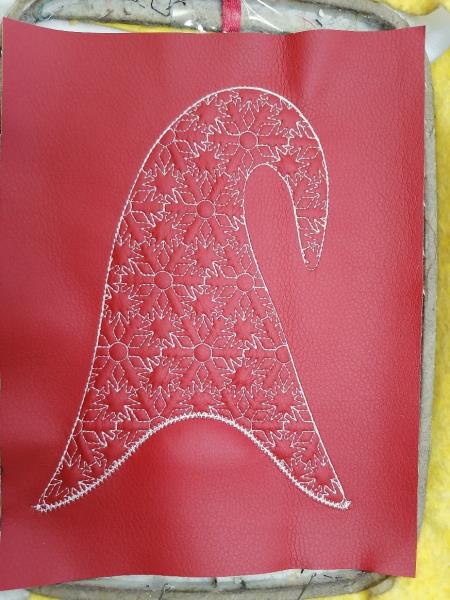
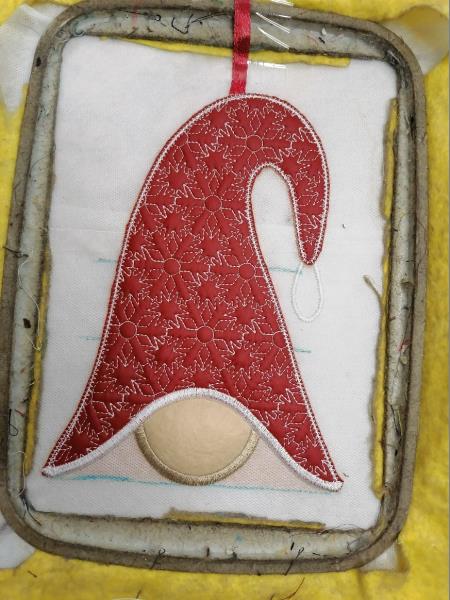
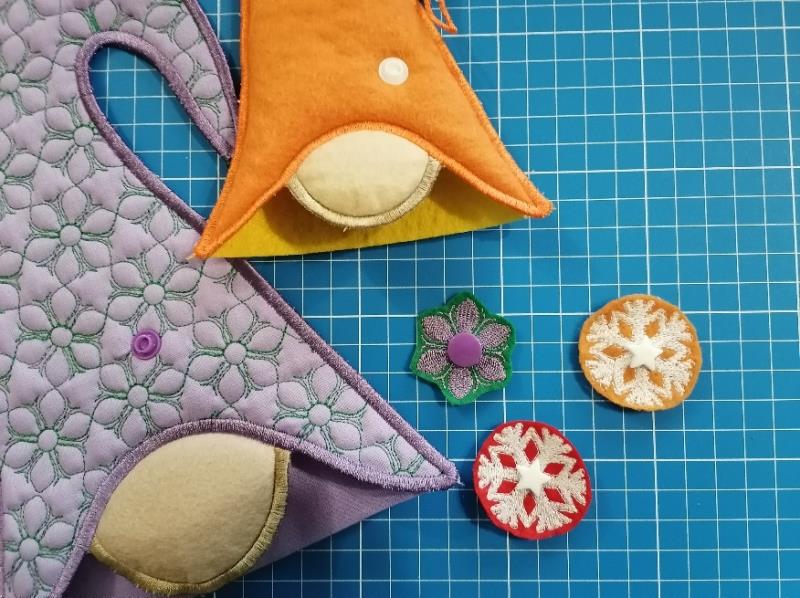
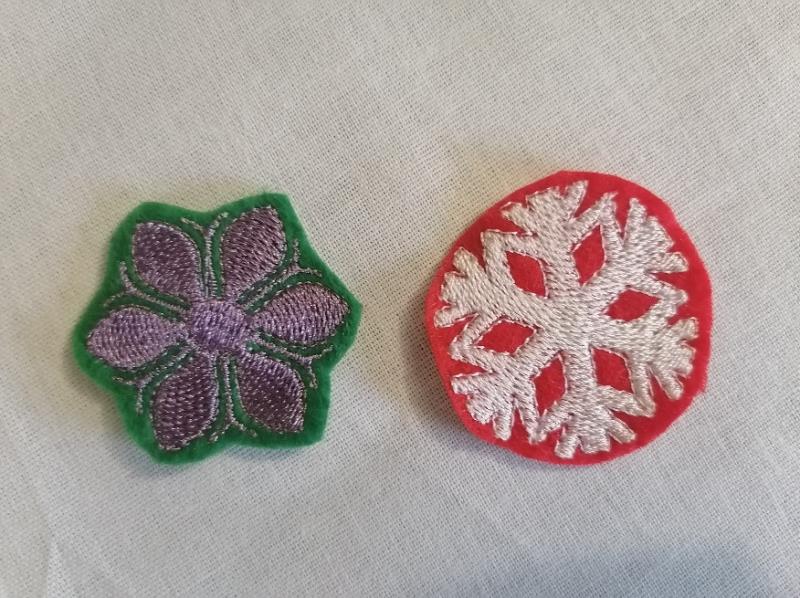
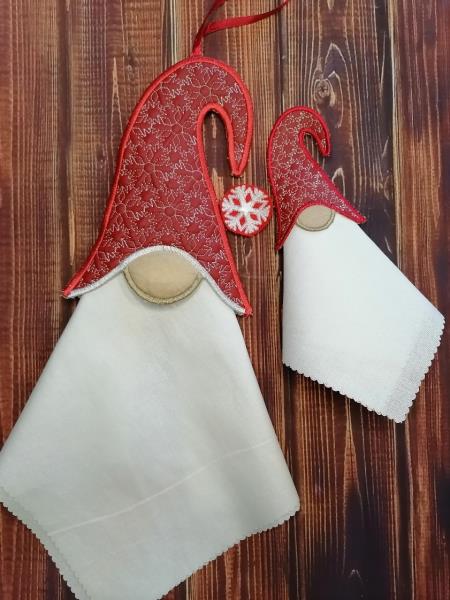
File 1 with snowflakes
(Click Image to Enlarge)
Step 6:
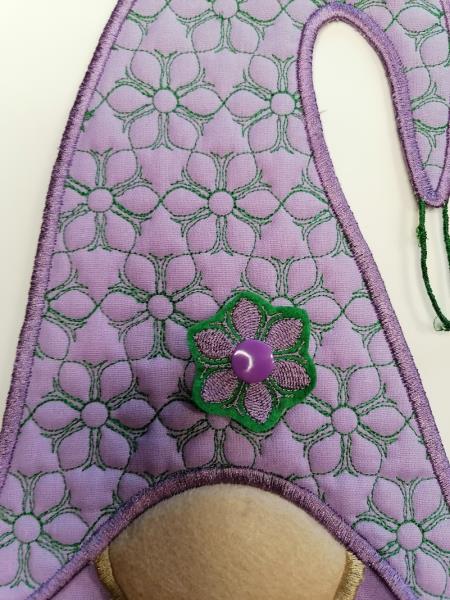
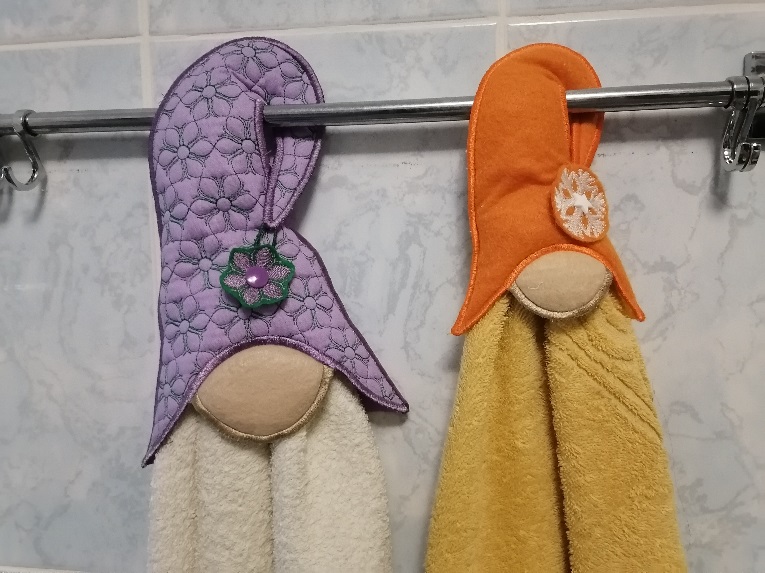
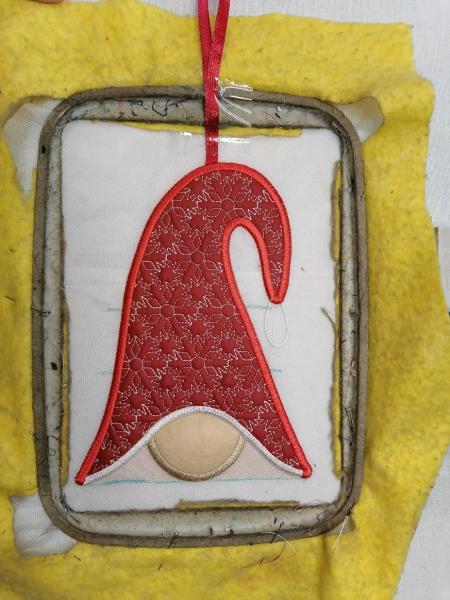
File 2 with flowers
(Click Image to Enlarge)
Step 7:
Short loop
(Click Image to Enlarge)
Step 8:
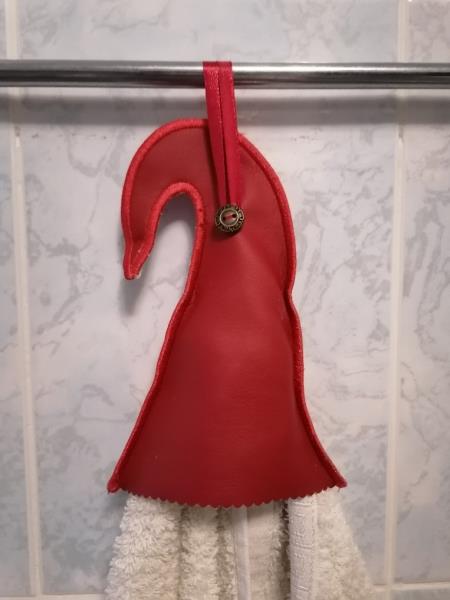
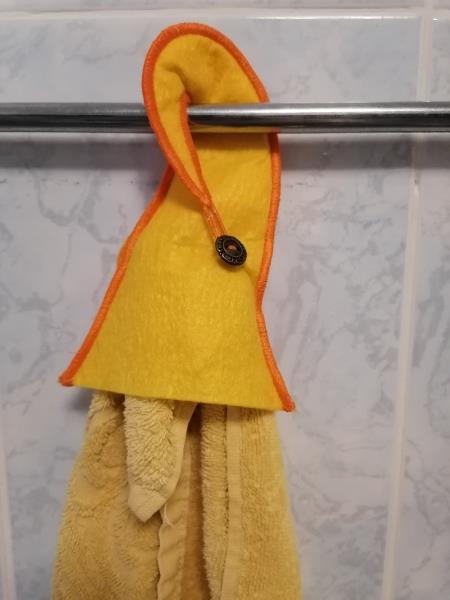
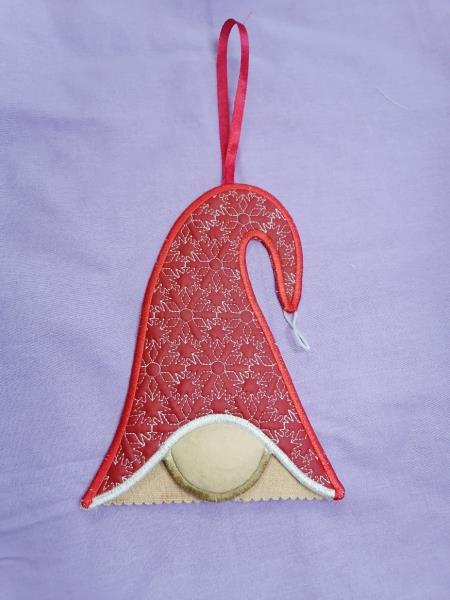
Long loop and button at the back
(Click Image to Enlarge)
Step 9:
.
(Click Image to Enlarge)
Step 10:
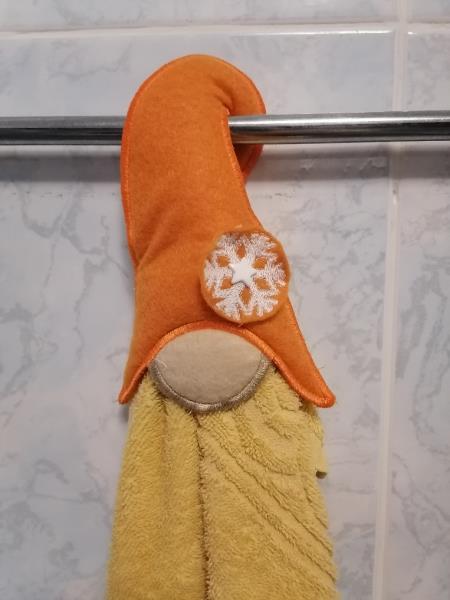
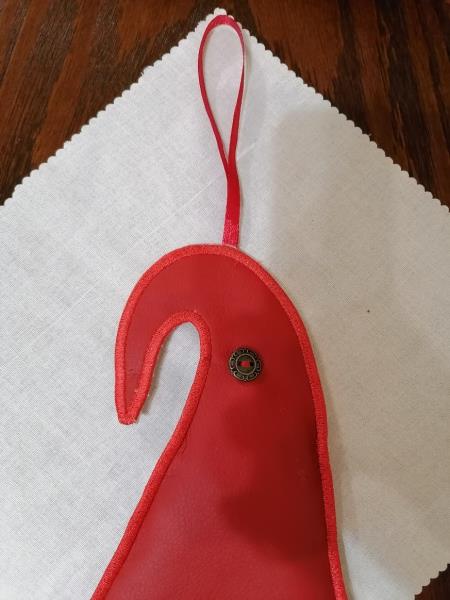
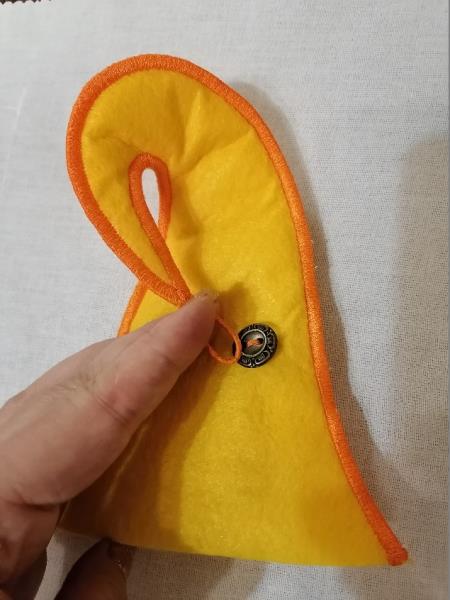
The loop of thread and a snap on an embroidered decorative element
(Click Image to Enlarge)
Step 11:
.
(Click Image to Enlarge)
Step 12:
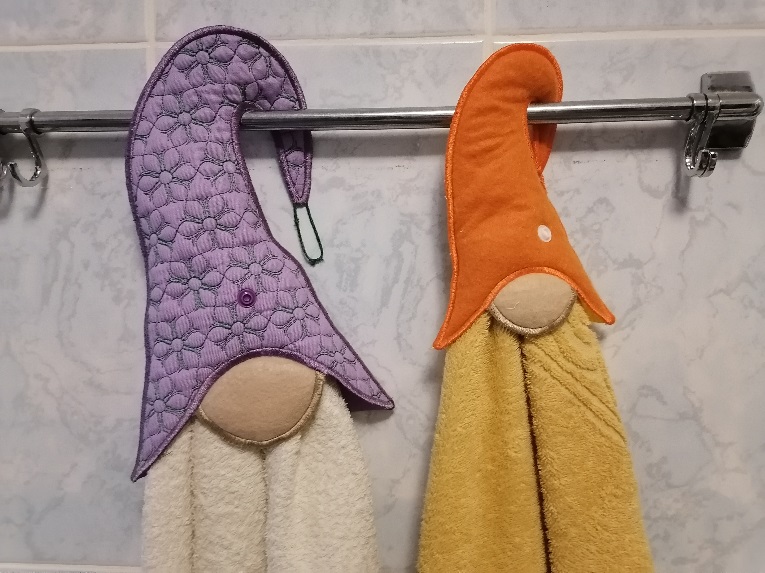
The loop of thread and button at the back
(Click Image to Enlarge)
Step 13:
.
(Click Image to Enlarge)
Step 14:
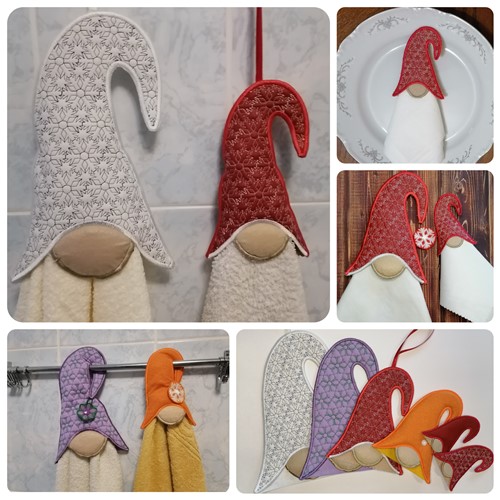
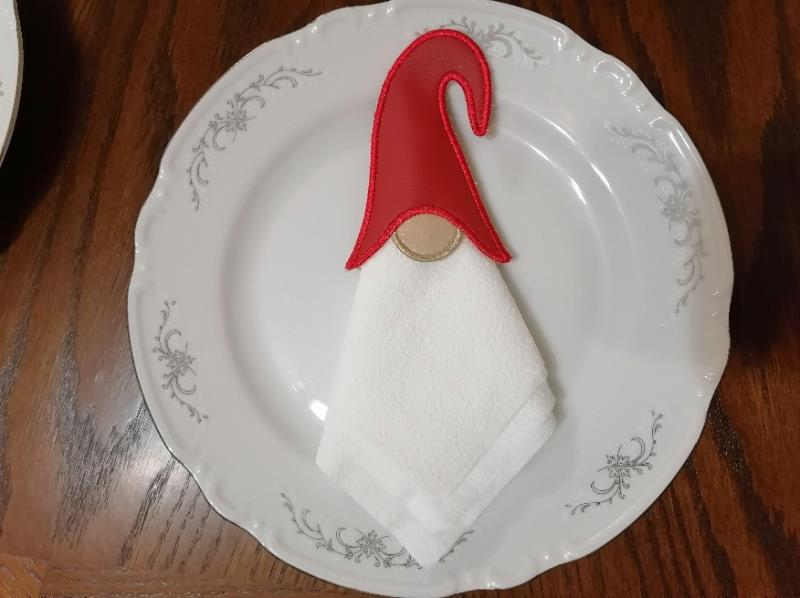
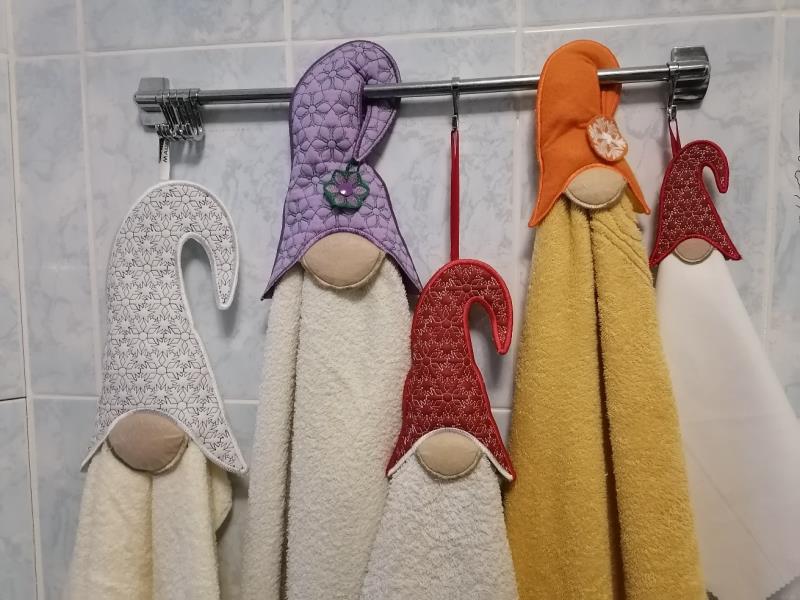
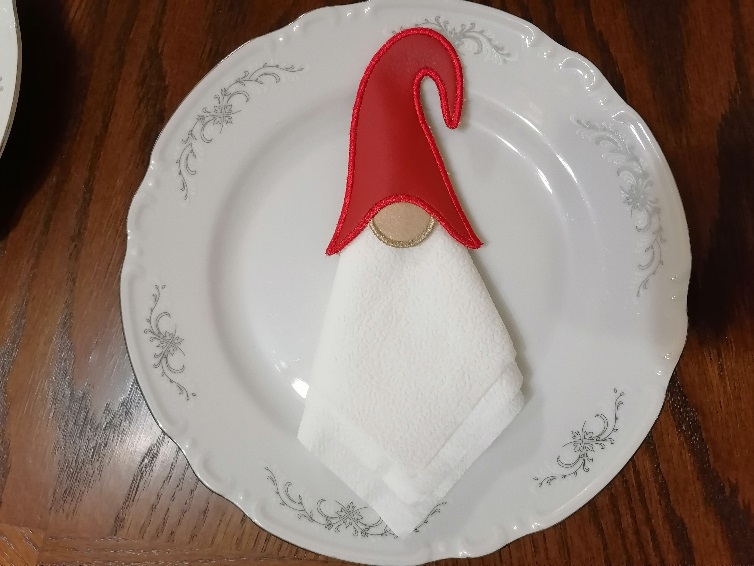
Use it as a napkin ring
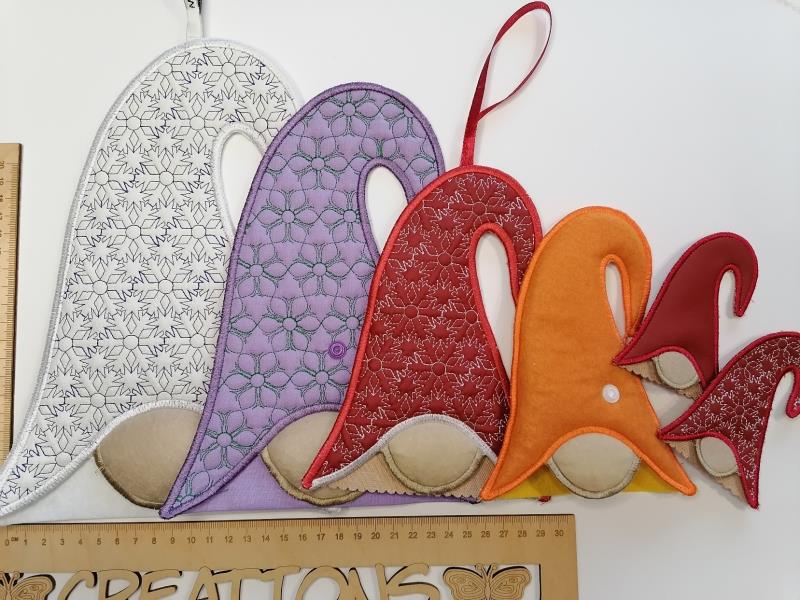
No loops, no batting (small size)
(Click Image to Enlarge)
Step 15:
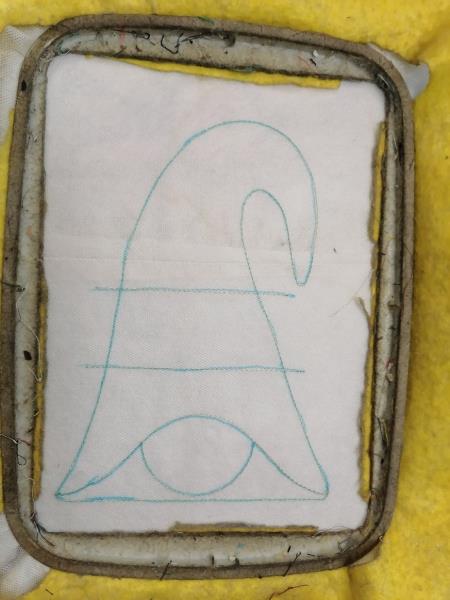
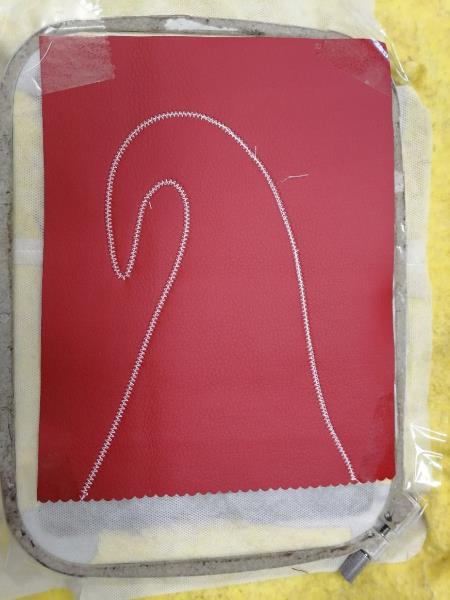
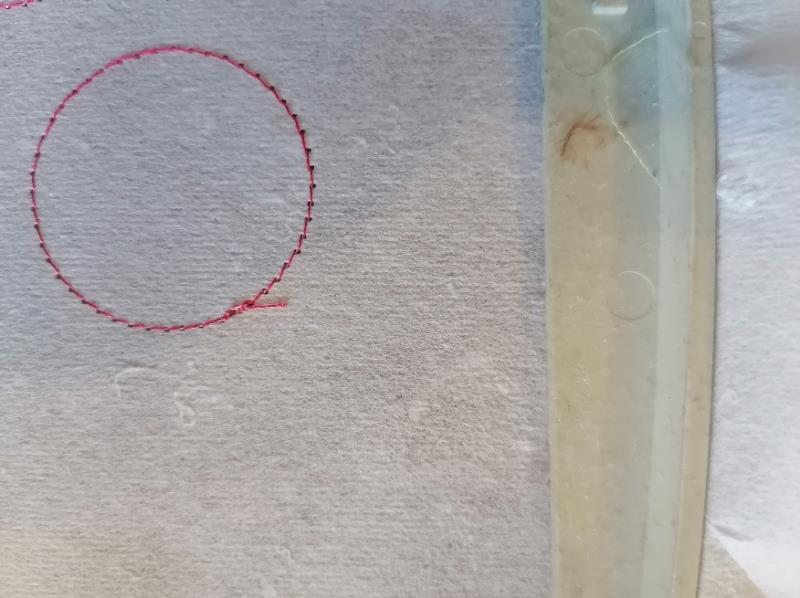
Hoop tearaway or water-soluble stabilizer.
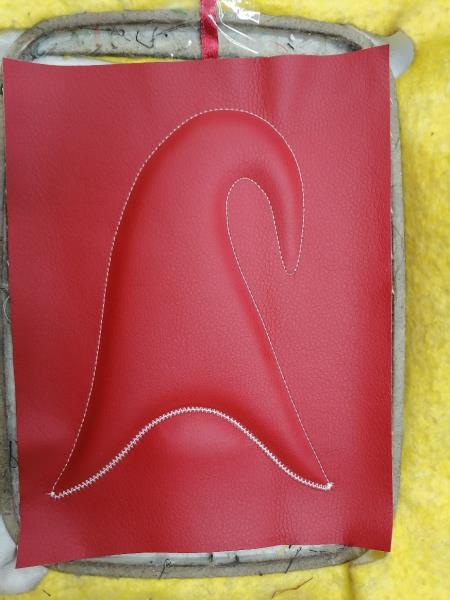
Stitch Color 1 - the placement line for design
(Click Image to Enlarge)
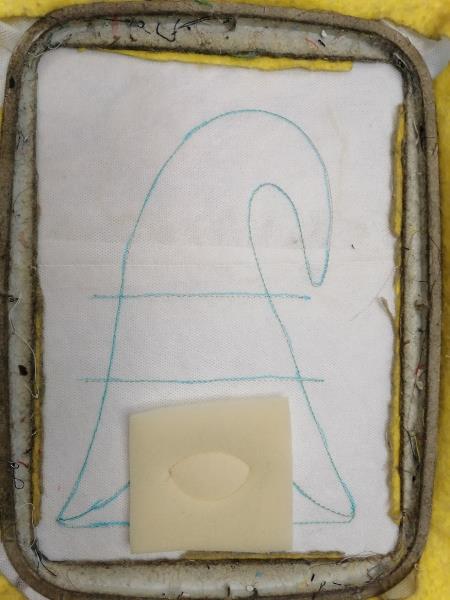
Step 16:
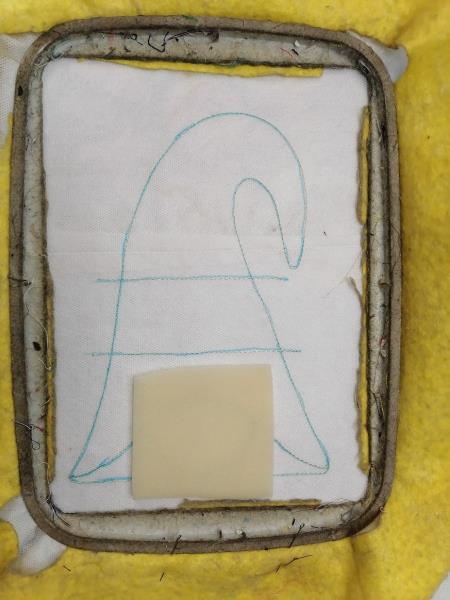
Put the small piece polyester batting on the oval area. This is the nose.
You can use temporary fixation glue.
(Click Image to Enlarge)
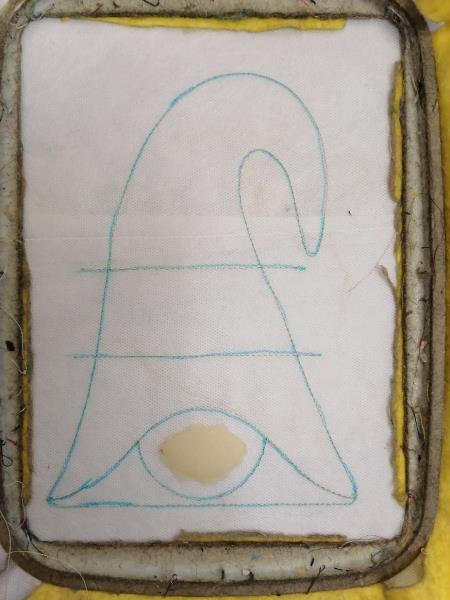
Step 17:
Stitch Color 2
I designed 2 layers for the nose to make the nose more voluminous.
You can skip these steps.
Do not embroider 2 or 3 colors and do not add batting. And the nose will be flat.
I recommend doing this for a small size.
(Click Image to Enlarge)
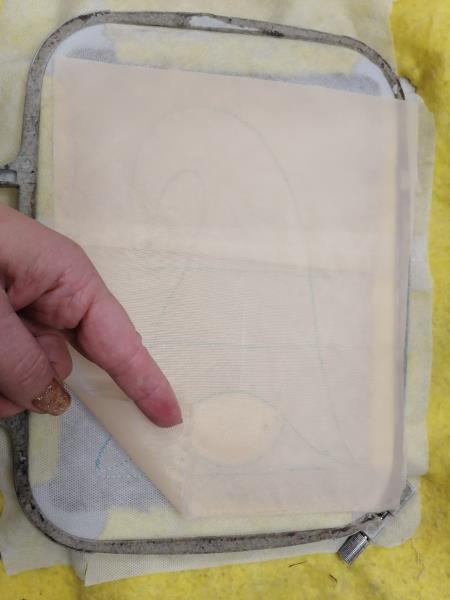
Step 18:
Cut off the exceed the polyester batting around the stitching.
(Click Image to Enlarge)
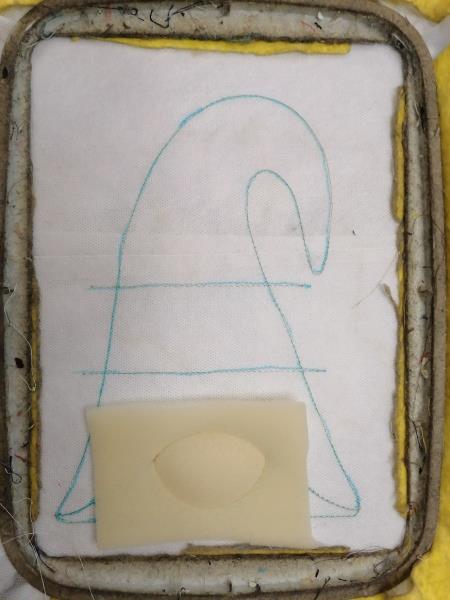
Step 19:
Put the small piece polyester batting on the oval area again.
You can use temporary fixation glue.
(Click Image to Enlarge)
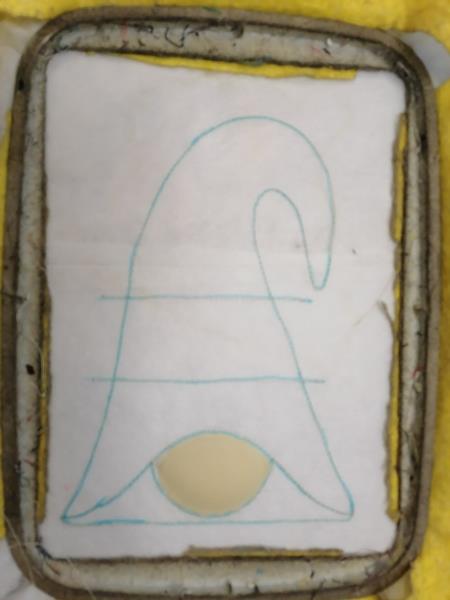
Step 20:
Stitch Color 3
(Click Image to Enlarge)
Step 21:
Cut off the exceed the polyester batting around the stitching.
(Click Image to Enlarge)
Step 22:
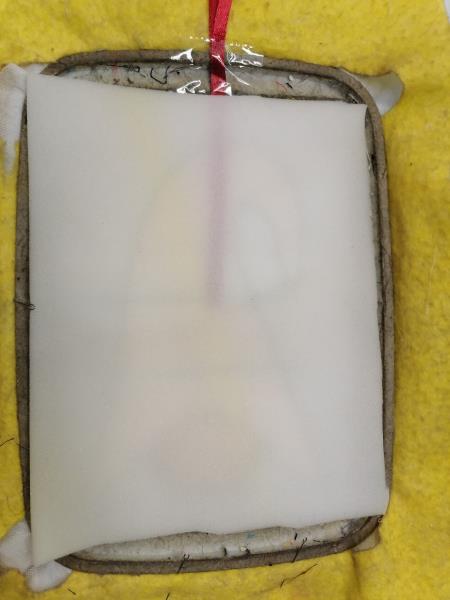
Turn the hoop over so the wrong side is up.
Place Lining right side up.
You can use temporary fixation glue
(Click Image to Enlarge)
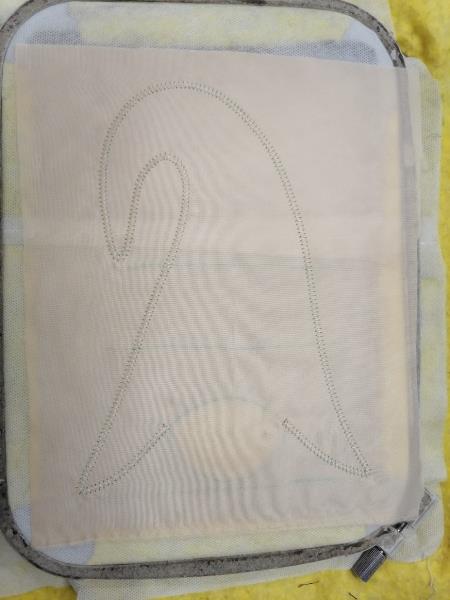
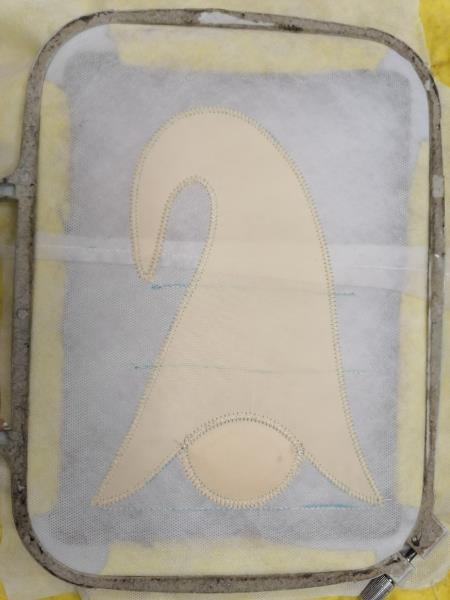
Step 23:
Stitch Color 4 - fixing the lining and zigzag for cutting
(Click Image to Enlarge)
Step 24:
.
(Click Image to Enlarge)
Step 25:
Put the piece of material for nose
(Click Image to Enlarge)
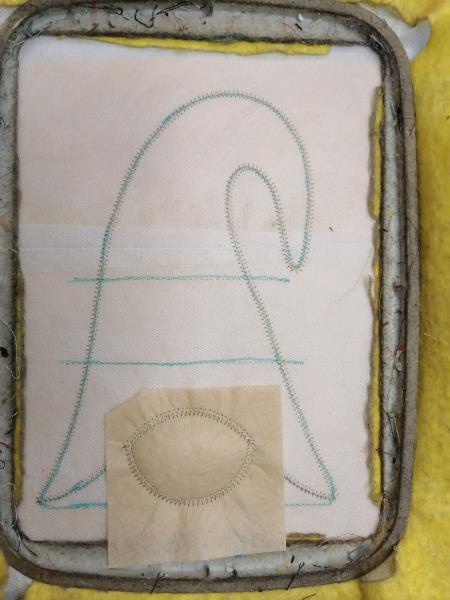
Step 26:
Stitch Color 5 - zigzag for cutting
(Click Image to Enlarge)
Step 27:
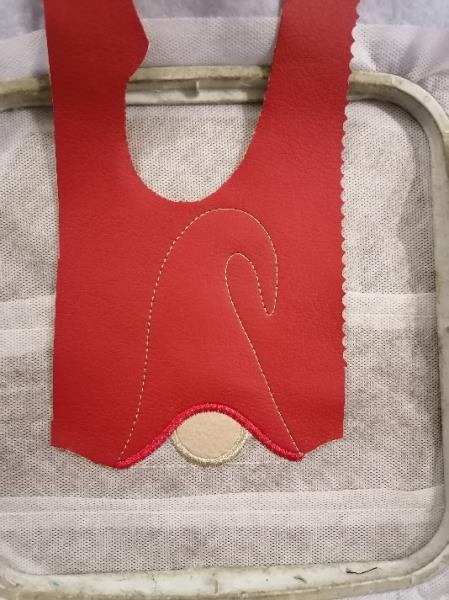
Cut off the exceed fabric close to the stitch on both sides of the hoop.
(Click Image to Enlarge)
Step 28:
Cut off the exceed fabric close to the zigzag stitch on both sides of the hoop.
(Click Image to Enlarge)
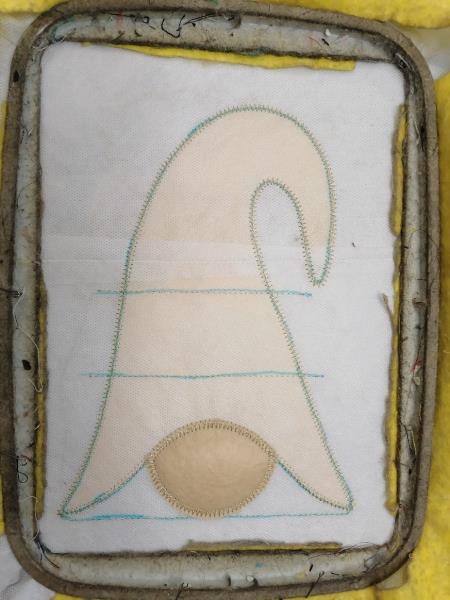
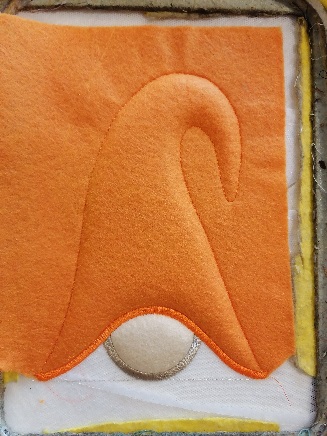
Step 29:
Stitch Color 6 - satin border
(Click Image to Enlarge)
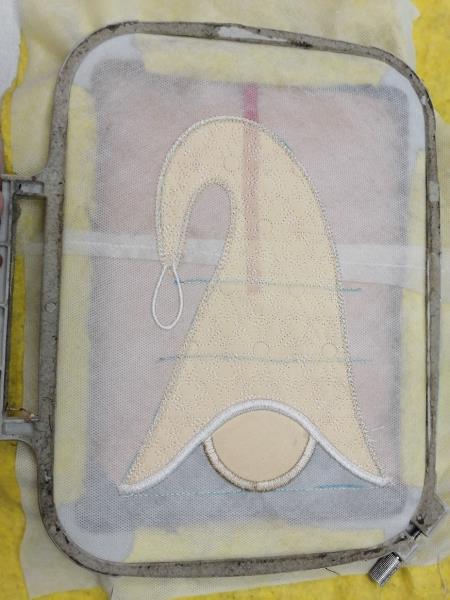
Step 30:
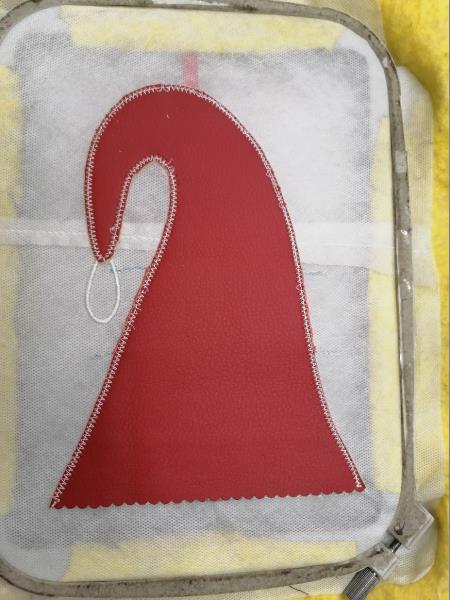
Stitch Color 7 – the loop.
If necessary.
If you don't need such a loop, don't embroider this color.
(Click Image to Enlarge)
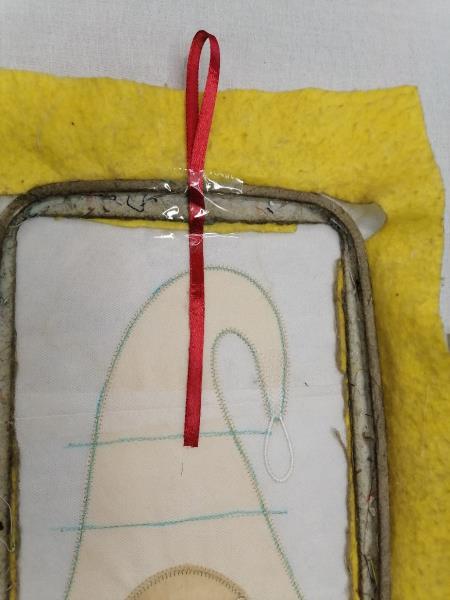
Step 31:
Add a loop of ribbon at this stage.
If you make an option with such a loop.
(Click Image to Enlarge)
Step 32:
Put polyester batting.
You can use temporary fixation glue
Optional.
If you will not do trapunto, skip this step.
(Click Image to Enlarge)
Step 33:
Stitch Color 8
(Click Image to Enlarge)
Step 34:
Cut off the exceed the polyester batting around the stitching.
(Click Image to Enlarge)
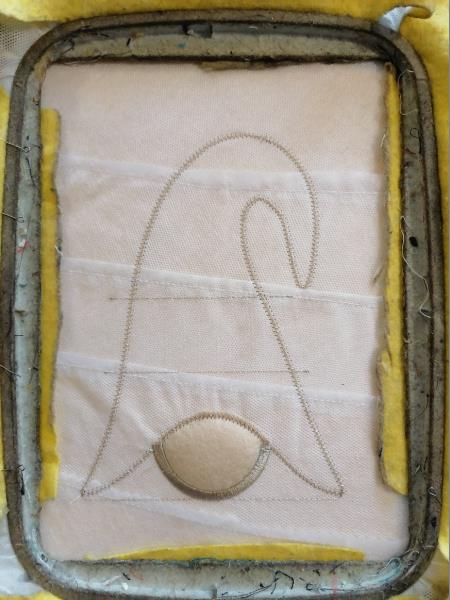
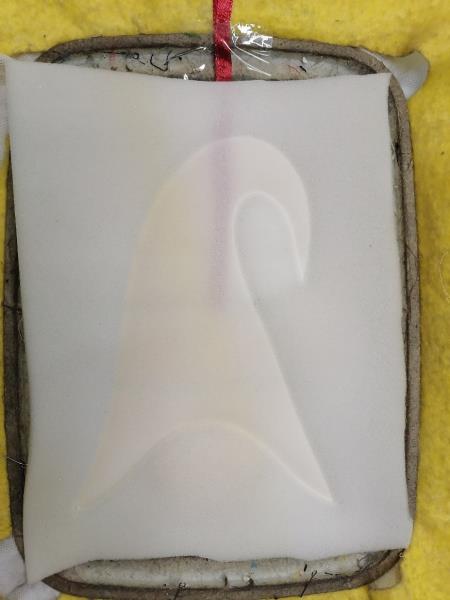
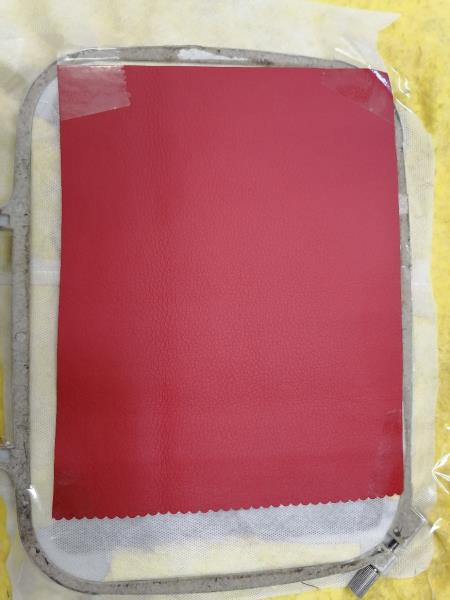
Step 35:
Put the main fabric face up.
You can use temporary fixation glue
(Click Image to Enlarge)
Step 36:
Stitch Color 9 - fixing the fabric and zigzag for cutting
(Click Image to Enlarge)
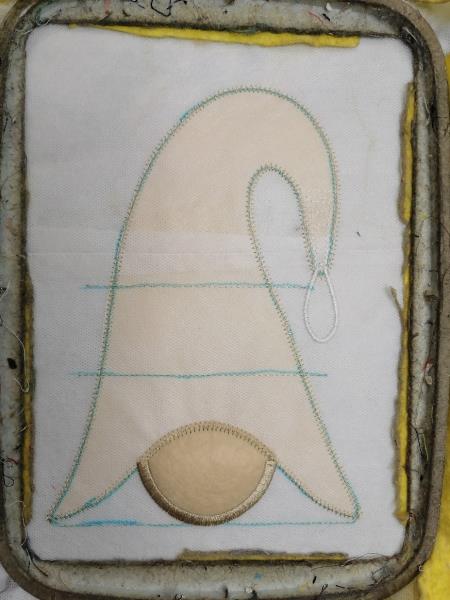
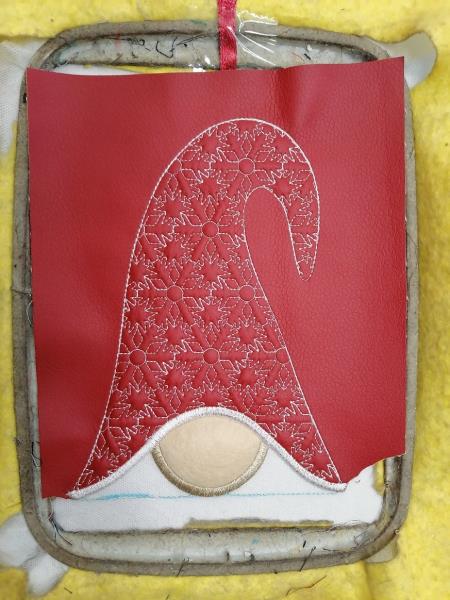
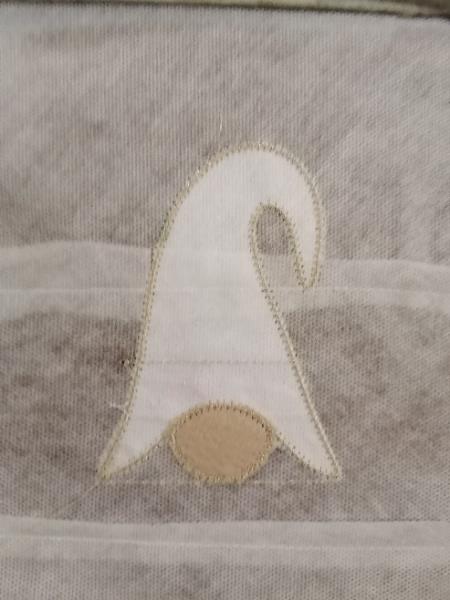
Step 37:
Stitch Color 10
You can skip this color and the hat will be without a pattern. Or add your own pattern.
(Click Image to Enlarge)
Step 38:
(Click Image to Enlarge)
skip color 10
Step 39:
(Click Image to Enlarge)
file 2
Step 40:
Cut off the exceed material around near zigzag stitch only
(Click Image to Enlarge)
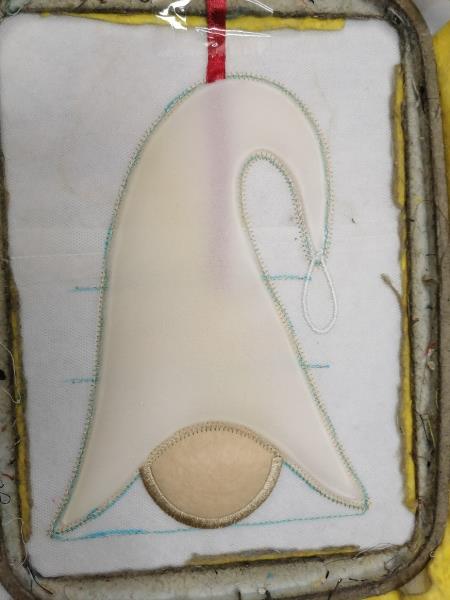
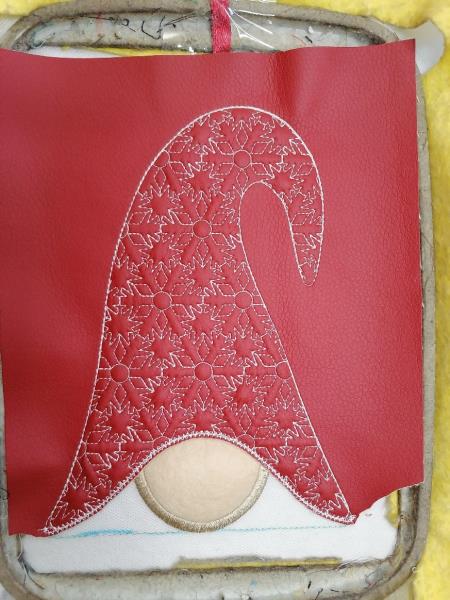
Step 41:
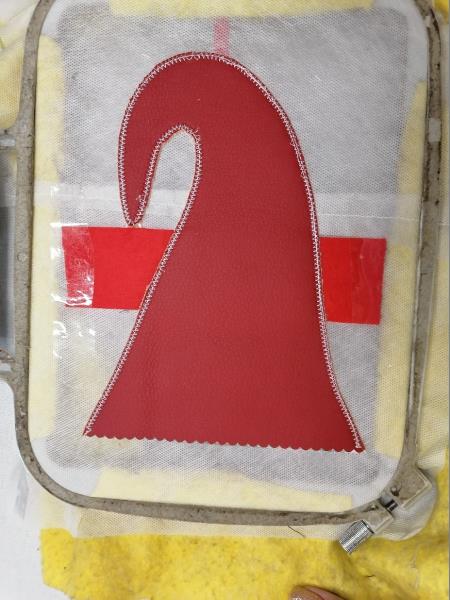
Stitch Color 11- satin border
(Click Image to Enlarge)
Step 42:
Turn to the back side.
(Click Image to Enlarge)
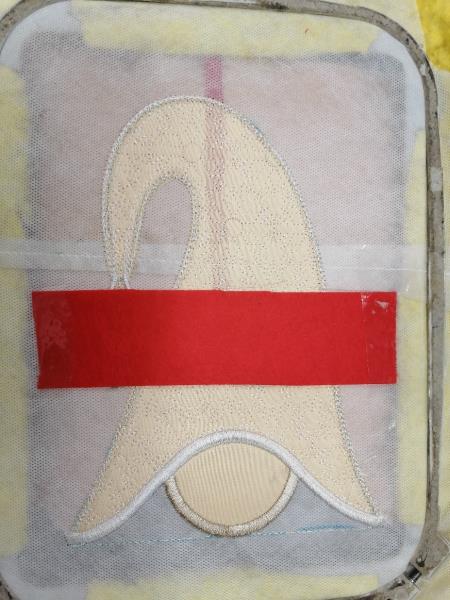
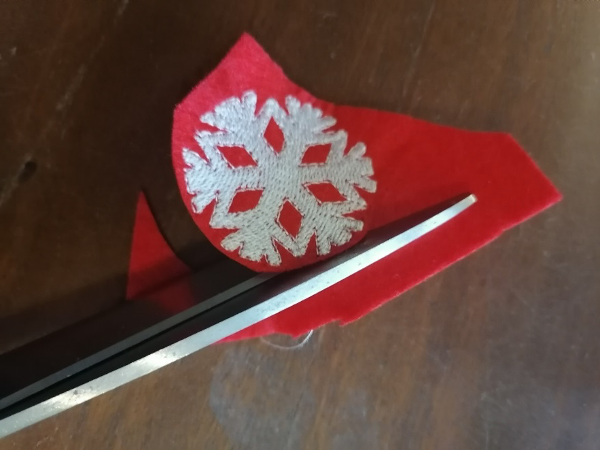
Step 43:
Place a strip of felt.
Fix the adhesive tape
(Click Image to Enlarge)
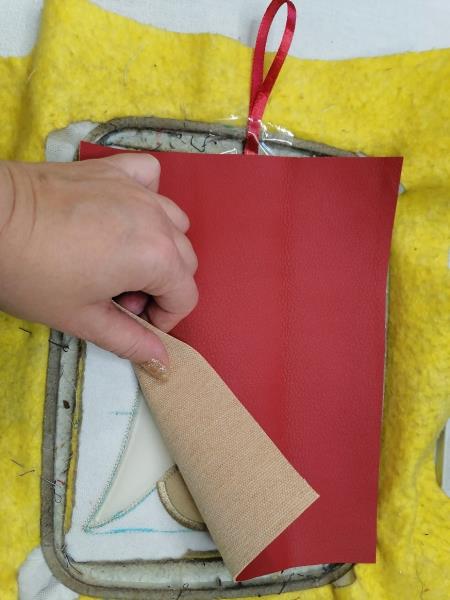
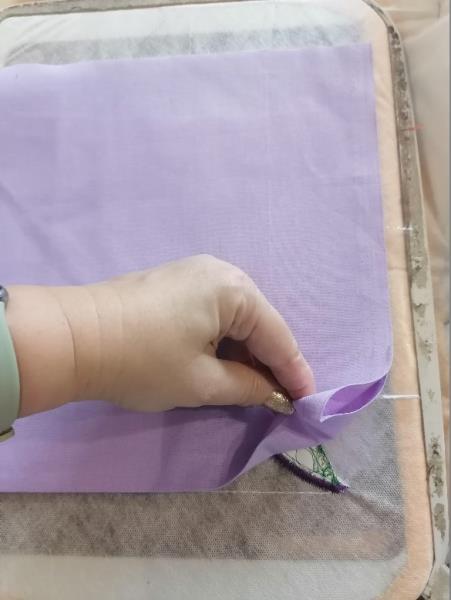
Step 44:
Put the cut of the main fabric on the bottom stitching, wrong side up
Fix the adhesive tape
DON'T USE glue spray
If you use fabric, put the folded edge of the main fabric on the bottom stitching
(Click Image to Enlarge)
Step 45:
.
(Click Image to Enlarge)
Step 46:
Stitch Color 12 - zigzag for cutting
(Click Image to Enlarge)
Step 47:
Cut off the exceed material around zigzag stitch on both sides of the hoop.
(Click Image to Enlarge)
Step 48:
.
(Click Image to Enlarge)
Step 49:
.
(Click Image to Enlarge)
Step 50:
Stitch Color 13 - satin border
(Click Image to Enlarge)
Step 51:
Cut stabilizer. Remove the stabilizer residues with a wet sponge
(Click Image to Enlarge)
Step 52:
Sew the button
or Install the buttons
as in the photo.
If necessary.
Depending on the method of hanging the towel