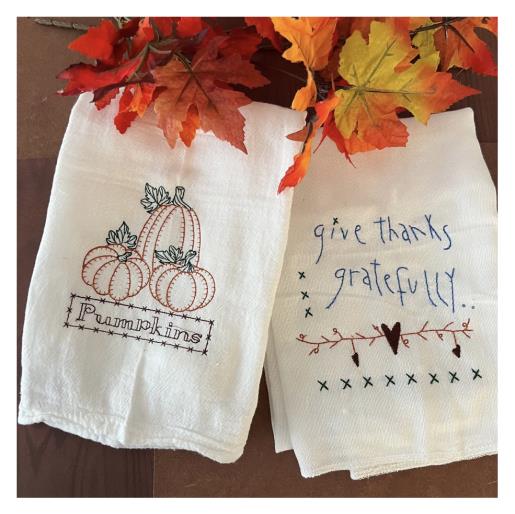
There’s no time like the present to get your home fall décor ready with a quick fall inspired tea towel set tutorial. If you are new to machine embroidery then this is a perfect beginner project for you. Time stated of 1 hour is for completion of both towels. Design sizes used in this tutorial: Vintage Primitive Autumn Pumpkin 4.57" x 4.92" Give Thanks Gratefully 5.16" x 4.99" Let’s get started!
Step 1:
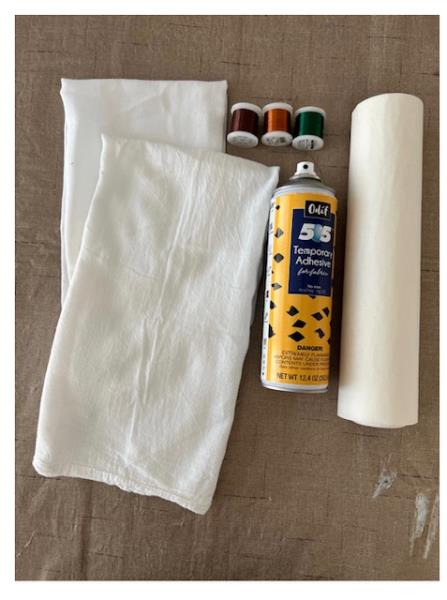
Gather all supplies and review instructions before beginning.
(Click Image to Enlarge)
Step 2:
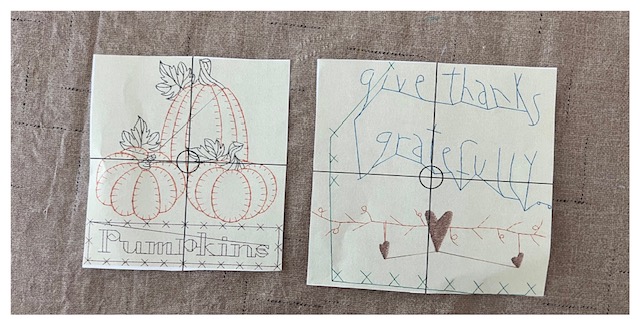
Print out paper embroidery design file templates.
(Click Image to Enlarge)
Step 3:
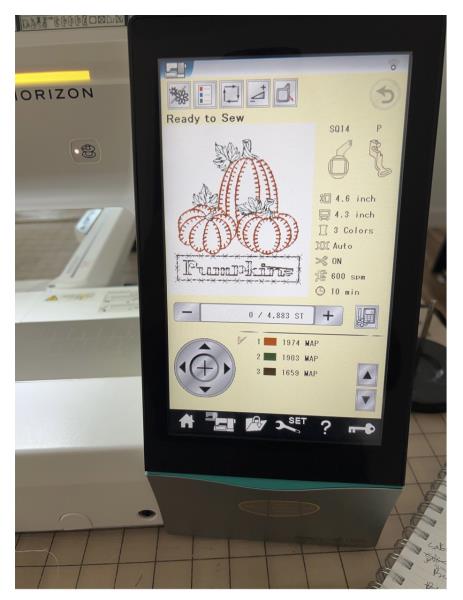
Load embroidery design file Vintage Primitive Autumn Pumpkin into your machine.
(Click Image to Enlarge)
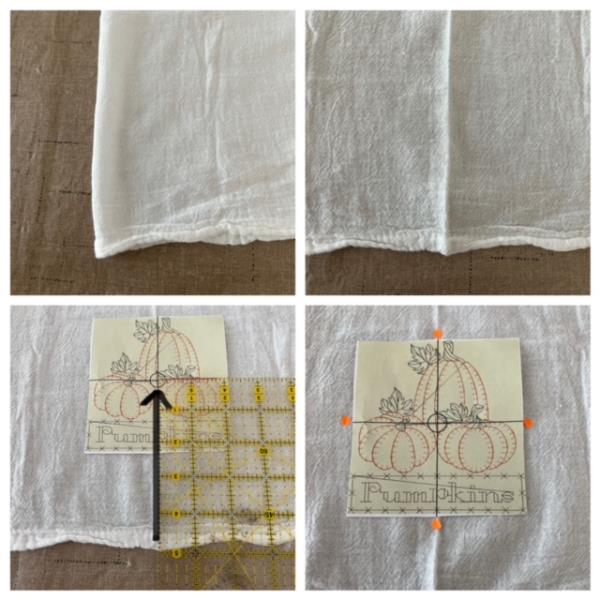
Step 4:
Fold towel in half lengthwise to find center of towel. Finger press to form a crease. Place and center paper design template atop towel 5” up from bottom hemmed edge to center of design. Mark axis points with your air erase fabric pen.
(Click Image to Enlarge)
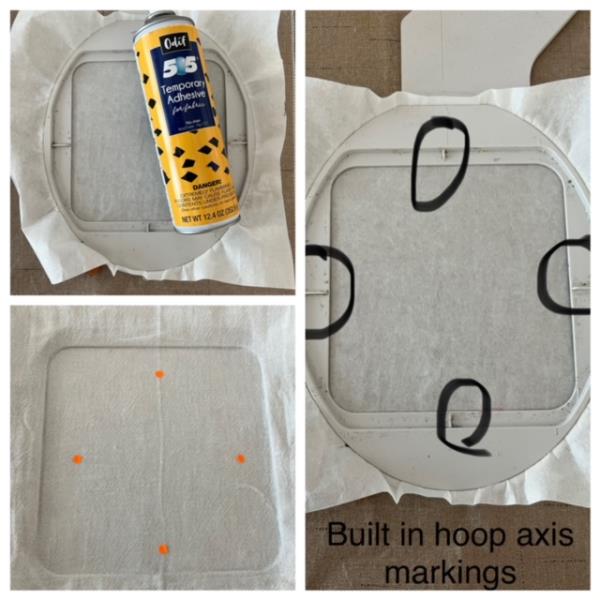
Step 5:
Hoop stabilizer. Spray temporary adhesive spray directly onto stabilizer. Center towel matching axis points to your hoops built in axis markings.( If needed refer to your machine’s instruction manual) Finger press to secure and adhere to stabilizer.
(Click Image to Enlarge)
Step 6:
Attach hoop to machine. Confirm center needle placement to center of axis point markings. Refer to design file thread color chart. Begin embroidery stitch out process. Stitch out complete. Detach hoop from machine. Cut/trim all jump stitches and loose thread ends. Trim cut away stabilizer ¼” – ½” away from stitched design.
(Click Image to Enlarge)
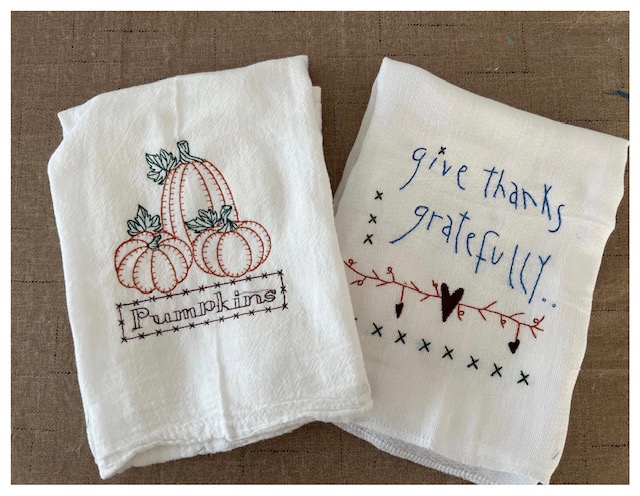
Step 7:
Iron press towel and your first Fall tea towel is done. Congrats! Repeat steps for the design file Give Thanks Gratefully to complete your Fall Tea Towel set