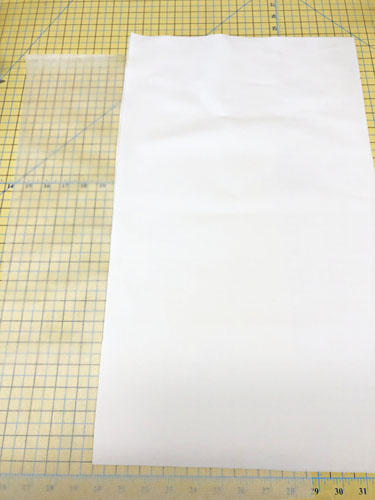
The two pieces of fabric and one piece of stabilizer are cut larger than the pillow in the beginning so that can be properly hooped. They will later be cut down to 12” by 20”. The hoop shown in the samples is a 14” by 8”. For this hoop size the fabrics and stabilizer were cut to 24” x 14”. If you are using a 12” x 8” hoop you can cut the 2 rectangles of fabric and one rectangle of stabilizer at 22” x 14”.
Step 2:
(Click Image to Enlarge)
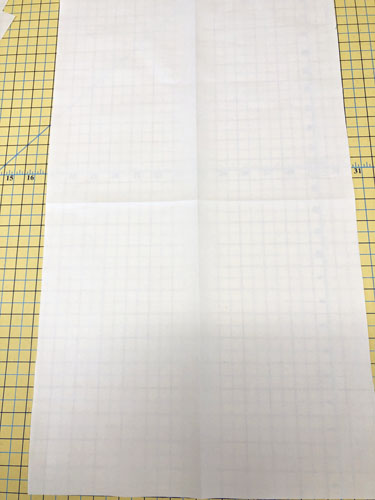
Fold one rectangle of the fabric in half lengthwise and finger press a crease; fold it in half crosswise and finger press a crease to create guidelines for hooping. The marks can be made clearer with a heat removable marking pen.
Step 3:
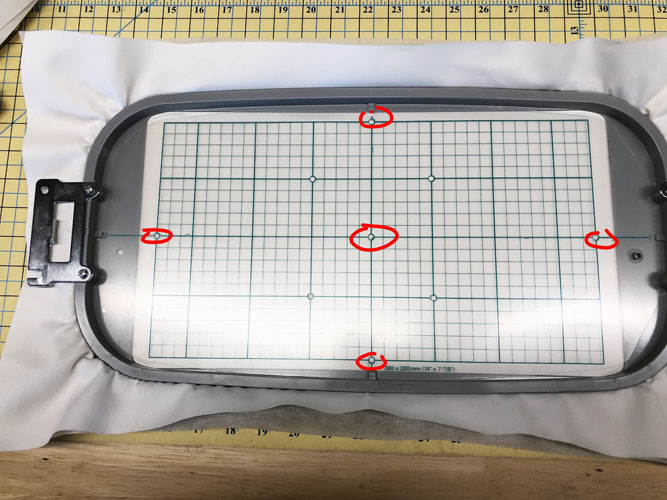
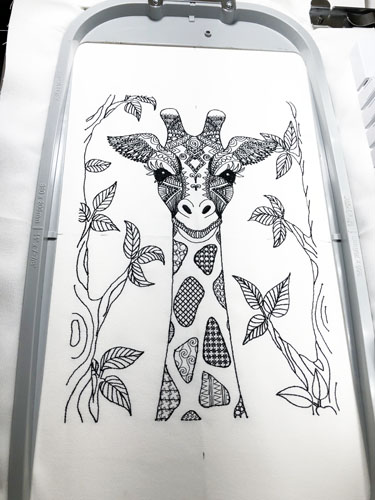
It is very important with this project to get the center creases lined up in the hoop as accurately as possible. Use the grids that came with your hoops to ensure everything is properly lined up.
(Click Image to Enlarge)
Step 4:
(Click Image to Enlarge)
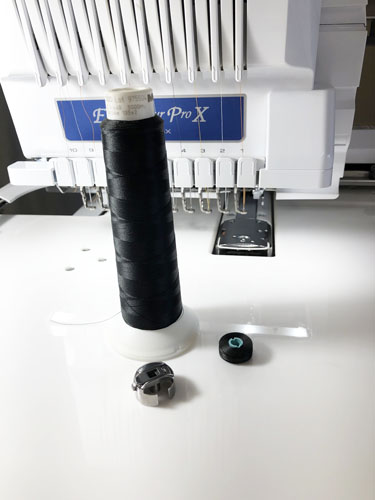
Black on white designs, such as this, always look best if you use a pre-wound black bobbin as well as black embroidery thread in the top of your machine.
Step 5:
(Click Image to Enlarge)
If using a single needle machine you will not have to rotate the design. For a multi-needle machine rotate the design 90° to the right or left and stitch the one-color design.
Step 6:
(Click Image to Enlarge)
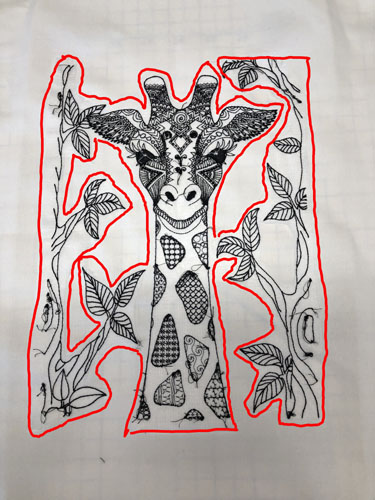
Trim away the stabilizer about ¼” around the whole design and in the larger places between the giraffe and the trees.
Step 7:
(Click Image to Enlarge)
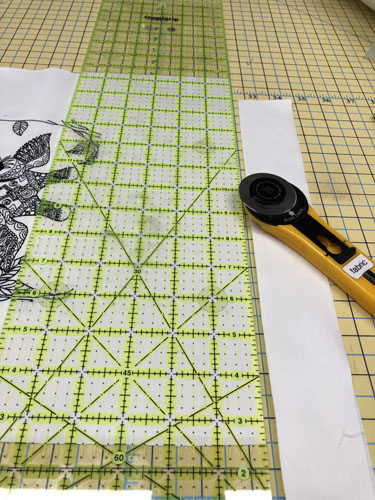
Align the back fabric twill with the embroidered rectangle. Trim away equal amounts from the top and bottom, in this case 2” each, and trim the sides 1” each to obtain a front and back that measure 20” x 12”. If you cut your fabric 22”x 14” for the 12” x 8” hoop trim 1” from each side of the rectangle.
Step 8:
(Click Image to Enlarge)
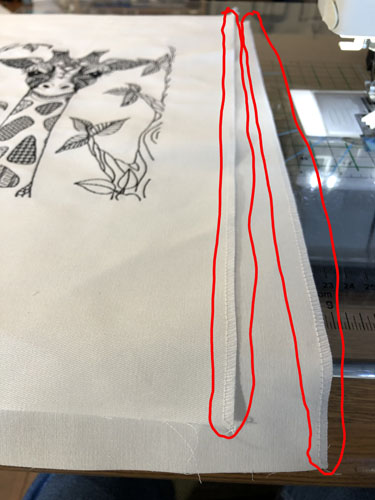
Clean finish the right-hand edge of both the front and back of the pillow cover by stitching with a serger or zig-zag stitch on the sewing machine.
Step 9:
(Click Image to Enlarge)
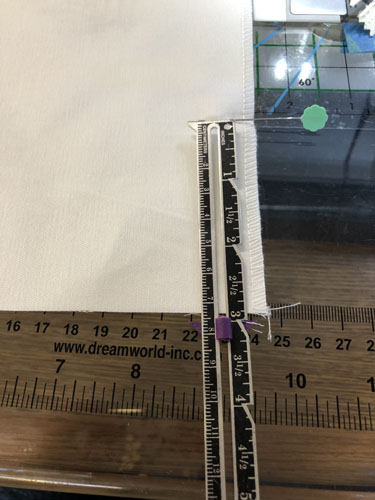
Align the two finished edges right sides together. Measure up 3” from the bottom and mark with a pin. Measure down 3” from the top and mark with a pin.
Step 10:
(Click Image to Enlarge)
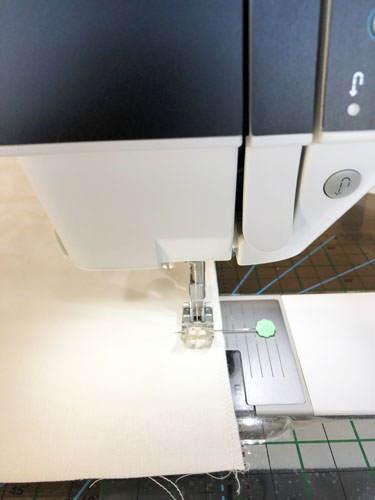
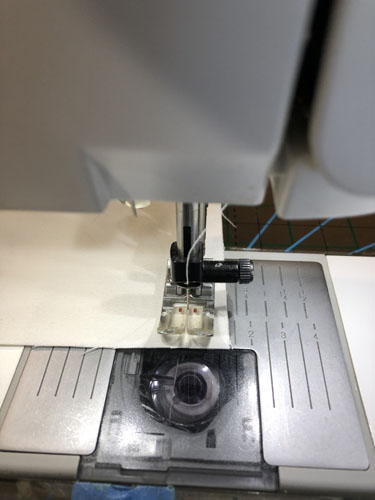
With a regular stitch length of 2.5mm stitch from the top of the pillow to the 1st pin. Do not cut your threads but back stitch and come forward to the pin again. Change your stitch length to 4 to 4.5mm and stitch from the 1st pin to the second pin; change back to your regular 2.5mm stitch length, back stitch, and stitch to the end of the fabric.
Step 11:
(Click Image to Enlarge)
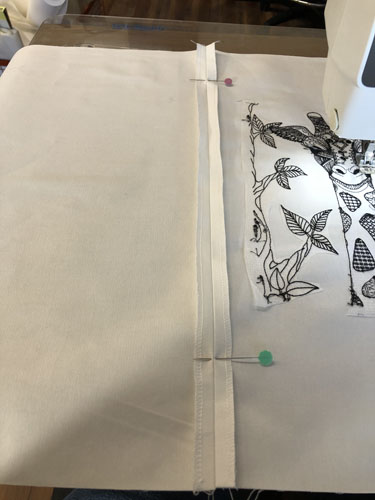
Press this seam open and move your pins again to 3” down from the top and up from the bottom of the seam.
Step 12:
(Click Image to Enlarge)
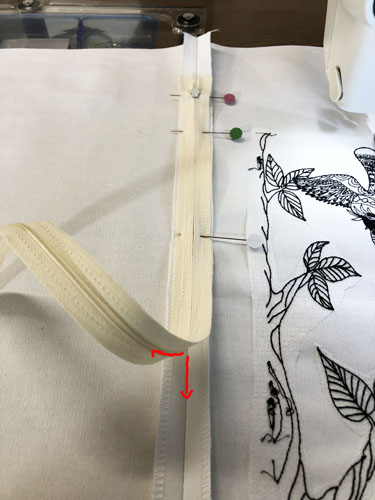
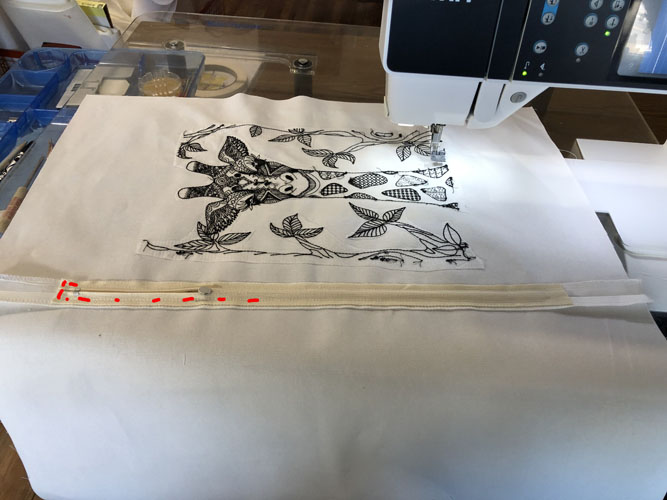
Align the top of the zipper face down, but be sure your zipper tab is pointing up to the top, with your 1st pin and aligning the center of the zipper with the seam line. You can pin down the length of the zipper, but I like to leave mine free so that I can make sure the zipper teeth are staying aligned with the seam all the way down.
Step 13:
(Click Image to Enlarge)
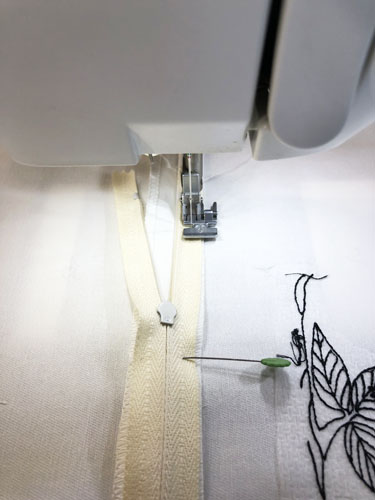
Put your zipper foot on the machine. Unzip the zipper a couple of inches. Aligning the zipper teeth on the unzipped part of the zipper stitch down until you reach the zipper tap.
Step 14:
(Click Image to Enlarge)
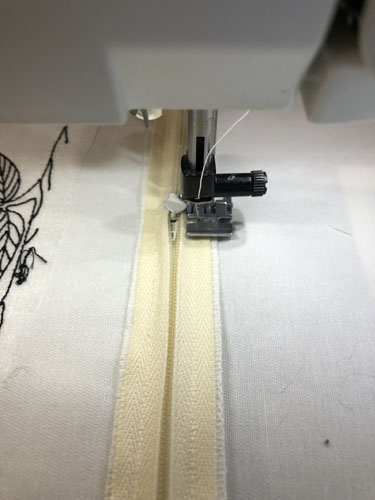
When you get close to the zipper tab stop the machine with the needle in the down position and raise the presser foot. Push the zipper tab down the zipper to get it to the back of the zipper foot. Lower the presser foot and keep sewing the zipper tape down until you reach the pin and the bottom 3” mark.
Step 15:
(Click Image to Enlarge)
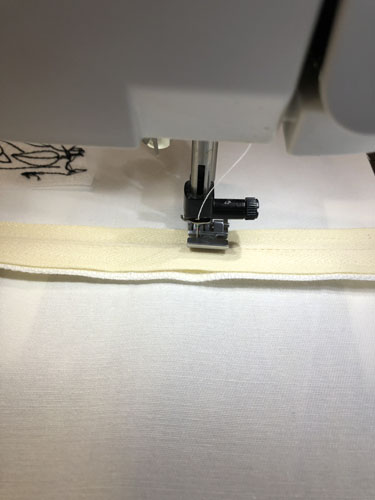
Make sure your needle is down and pivot at the pin that is 3” up from the bottom. Stitch across the zipper and pivot again to stitch down the other side of the zipper.
Step 16:
When you come down the second side of the zipper and come to the zipper pull again, repeat Step 14. When you reach the top of the zipper pivot and stitch across the top end of the zipper and back stitch over your original stitching starting point.
(Click Image to Enlarge)
Step 17:
(Click Image to Enlarge)
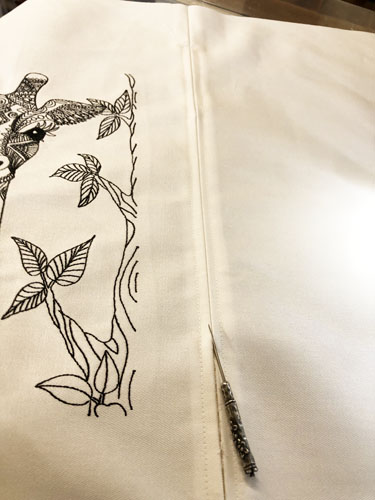
Break a couple of the basting stitches with a seam ripper, the putting the balled tip of the seam ripper inside the zipper casing, cut all of the basting stitches. Pull out the cut threads with your fingers or with a lint roller.
Step 18:
(Click Image to Enlarge)
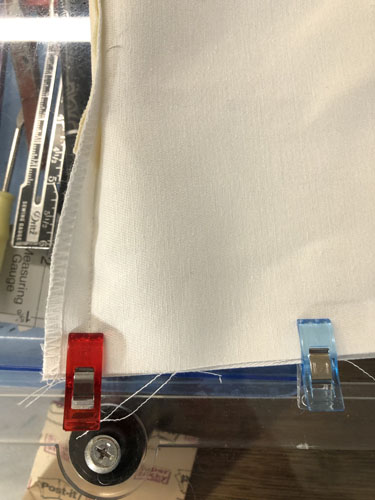
Open the zipper about halfway. Align the pillow front and back together right sides together, use pins or clips to keep them in position. Fold the pressed opened ends of the zipper seam together and clip.
Step 19:
(Click Image to Enlarge)
Stitch the 3 open sides of the pillow with ½” seam allowance pivoting at the corners.
Step 20:
(Click Image to Enlarge)
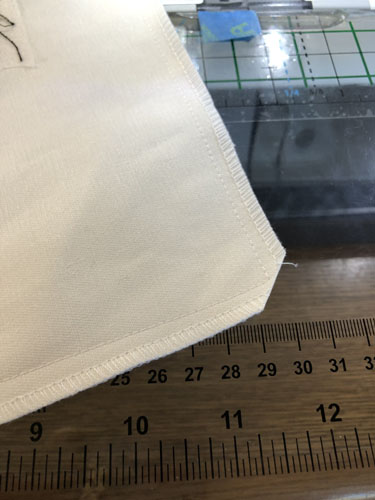
Serge off about ¼” of the three seams or trim to ¼” and stitch together with a zigzag stitch. Trim diagonally across all 4 corners.
Step 21:
(Click Image to Enlarge)
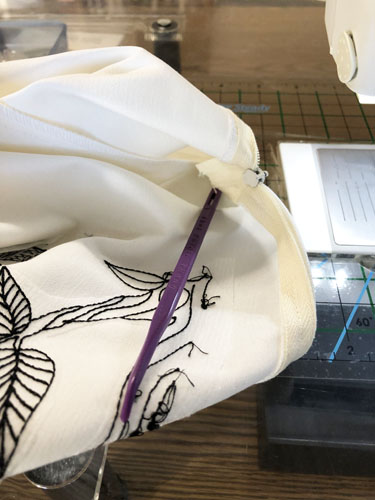
Open the zipper, push out the 4 corners with a Purple Thang or other blunt tool. Then turn the whole pillow cover right side out.
Step 22:
(Click Image to Enlarge)
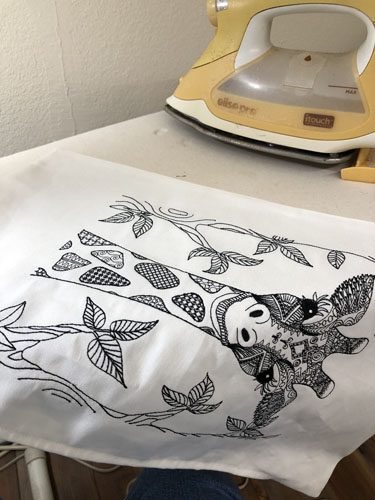
Roll the seams into position and press all around the pillow cover.
Step 23:
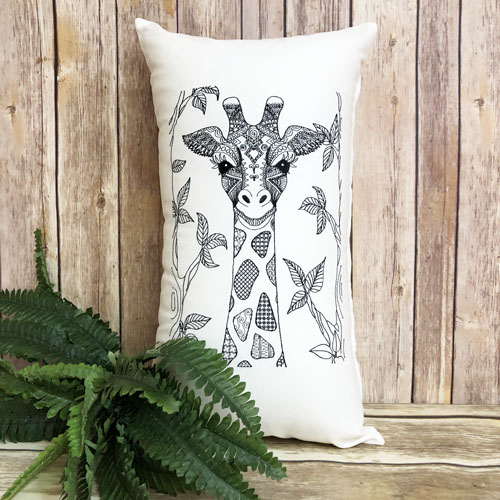
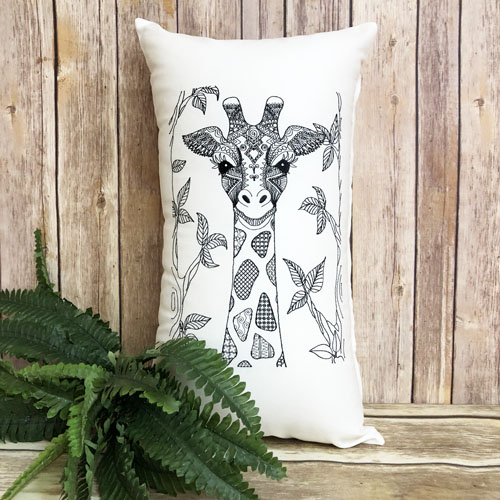
Insert your pillow form and you have completed your Giraffe Art Pillow Cover. Congratulations!
Award winning Digitizer, Embroidery Educator, Author and a Consultant to the Industry, Pat Williams has 30 years of experience in the embroidery industry. Pat has won multiple awards for her digitizing expertise including the 2007 Impressions Awards Grand Championship, Best of Show as well as the 1st and 2nd Place Awards. Pat’s love of digitizing has afforded her the opportunity to write numerous articles for Impressions magazine in the United States and Images Magazine in Europe. In 2001 Pat was named “Embroidery Educator of the Year.” For many years Pat taught digitizing seminars at the ISS Shows in Long Beach, CA and for Compucon software. She now resides in Tucson, AZ.