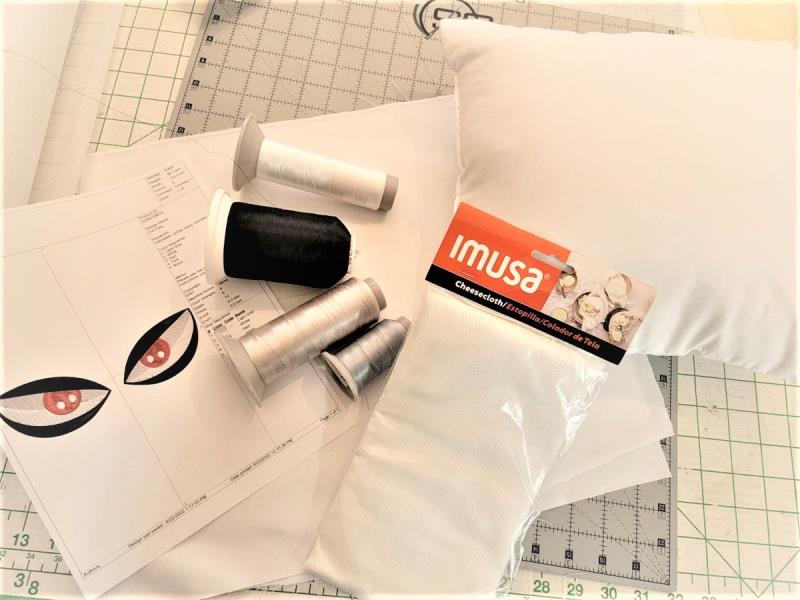
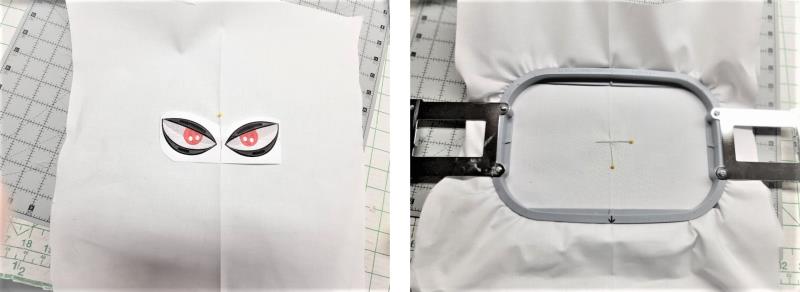
Read through the instructions thoroughly before beginning and assemble all the materials needed to complete the project. Choose the eye design you’d like to use.
(Click Image to Enlarge)
Step 2:
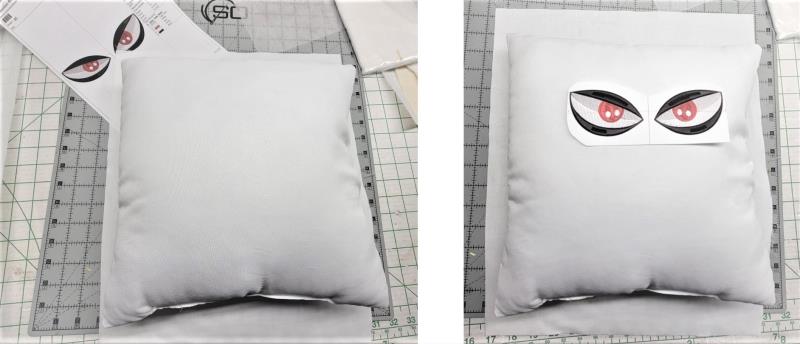
Print a template of the design, and cut out the eyes. Place the eye template about 1/3 of the way down the pillow.
(Click Image to Enlarge)
Step 3:
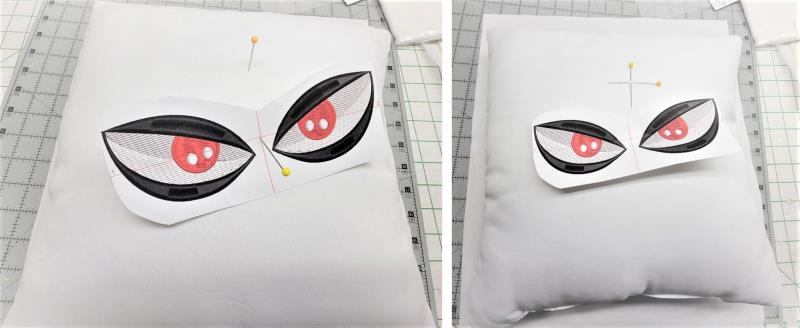
Place a pin at that point, and centered. Mark the point with pins.
(Click Image to Enlarge)
Step 4:
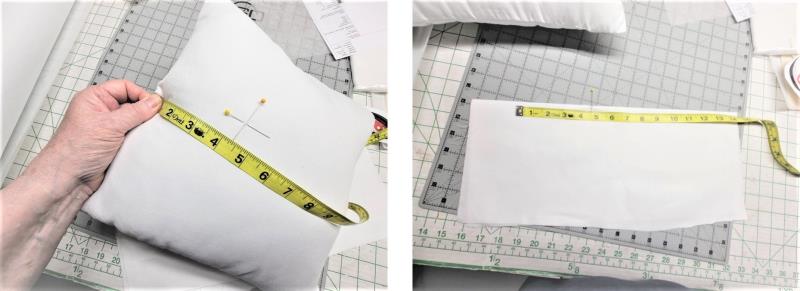
Measure down from the top of the pillow form the distance. It should be about 4-4.5” down. Take one piece of the Kona cotton, press with spray starch, and fold in half lengthwise. The piece of fabric shown here is longer than the 14”, because it was just a piece of fabric in my stash. From the top along the fold, place pins 1t the 4.5” mark, leaving a seam allowance at the top.
(Click Image to Enlarge)
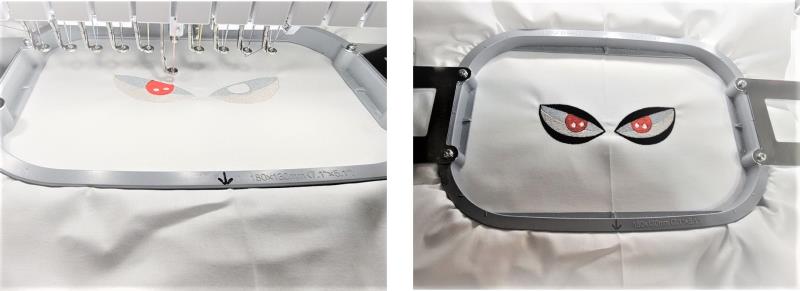
Step 5:
This is the center mark for aligning the eyes in the hoop. Hoop the fabric with the stabilizer, centering the pins within the hoop.
(Click Image to Enlarge)
Step 6:
Load the design on the machine. Place the hoop on the machine. Center the needle over the pin mark.
(Click Image to Enlarge)
Step 7:
Stitch the design following the color sequence.
(Click Image to Enlarge)
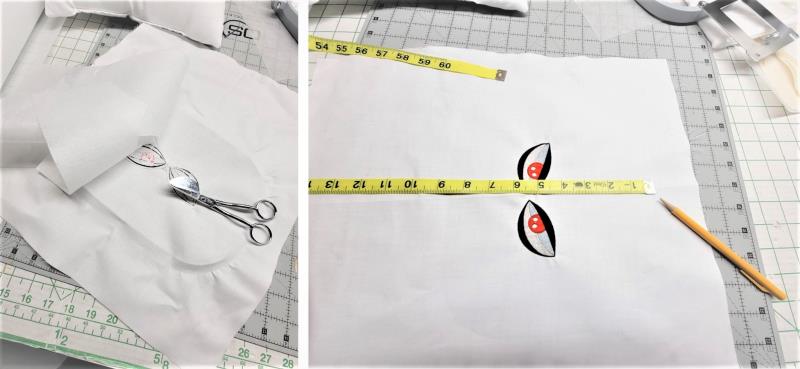
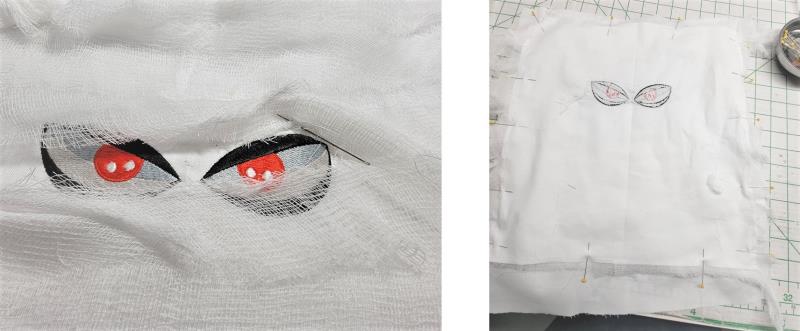
Step 8:
Remove the design from the hoop and trim the stabilizer. Locate the center of the eyes and measure up the measurement determined in Step 4, plus seam allowance. Mark this distance on the cloth.
(Click Image to Enlarge)
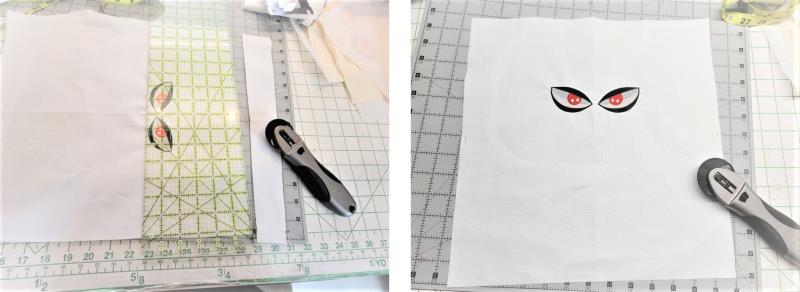
Step 9:
Trim the fabric along this mark. How mark and trim the entire piece of cloth so it measures 13” square.
(Click Image to Enlarge)
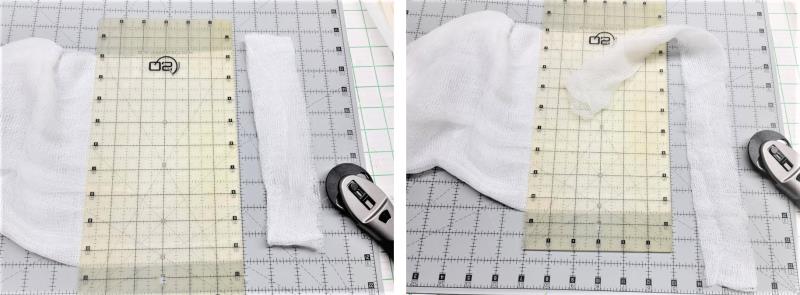
Step 10:
Cut strips of cheesecloth between 1 ½” to 2” wide. Open them up. For wrapping the pillow front. Place two strips, one on top of the other. This will be done for each of the strips. For this project, 30 strips were cut 16” x 2”.
(Click Image to Enlarge)
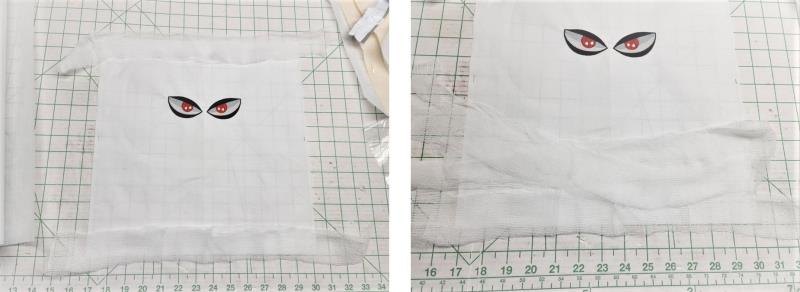
Step 11:
Begin by laying a strip set at the top and bottom. After that, crisscross the strips across the pillow top.
(Click Image to Enlarge)
Step 12:
Strips can also be cut and knotted to add texture and interest to the piece. Continue laying and crossing the strips, overlapping each slightly to fully cover the pillow front. Pin down all the edges of the strips.
(Click Image to Enlarge)
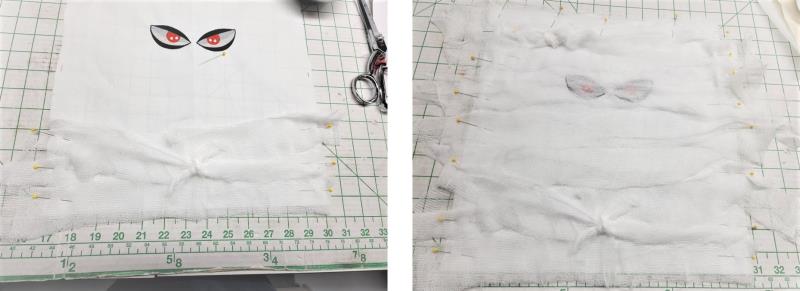
Step 13:
Baste all edges of the strips down to the pillow top.
(Click Image to Enlarge)
Step 14:
Scrunch the strips around the eyes, and use the hand needle and thread to lightly tack the strips into position. With right sides together, pin the remaining Kona cotton to the pillow front.
(Click Image to Enlarge)
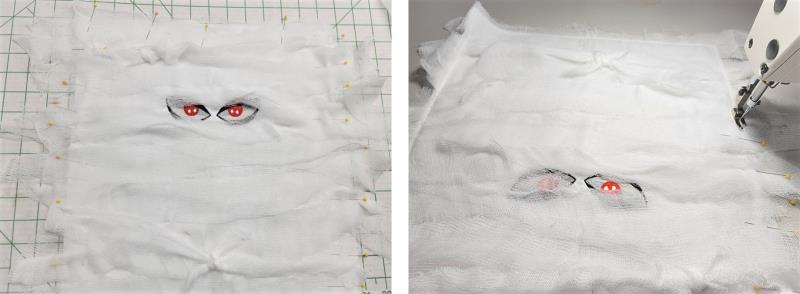
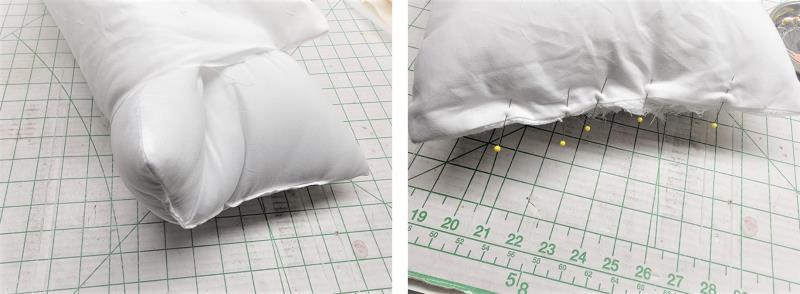
Step 15:
Stitch around all sides, leaving an opening at the bottom for inserting the pillow form; trim away the excess strips. Turn the piece right side out, forming the corners well.
(Click Image to Enlarge)
Step 16:
Insert the pillow form, turn the bottom seam allowances in, and stitch closed.
(Click Image to Enlarge)
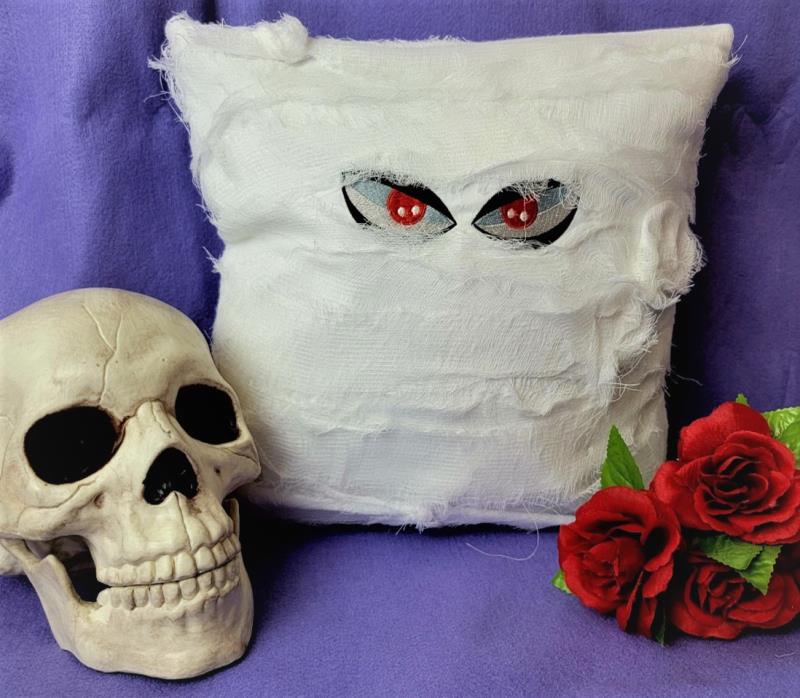
Step 17:
Thank you for purchasing the eye designs. Have fun stitching this quick and novel Halloween project.
Ramona Baird has been in the embroidery industry for over 23 years. She and her husband owned a commercial and retail embroidery store in Arizona for many years. She is an experienced digitizer having been mentored by award-winners Pat Williams and Lindee Goodall. Ramona is a contributor to “Creative Machine Embroidery” magazine having 5 covers to her credit. Ramona has worked for Wilcom America and served many years as Education Director for the American Sewing Guild. With a degree in fashion design, she is able to design and execute patterns which Pat Williams says are “out of the box” in creativity and application. Ramona likes to challenge the boundaries of embroidery and bring new and exciting designs, ideas, and projects to EmbroideryDesigns.com. She wants embroiderers of all levels to increase their skills and enjoyment in using their embroidery machine for gift-making and personal pleasure.