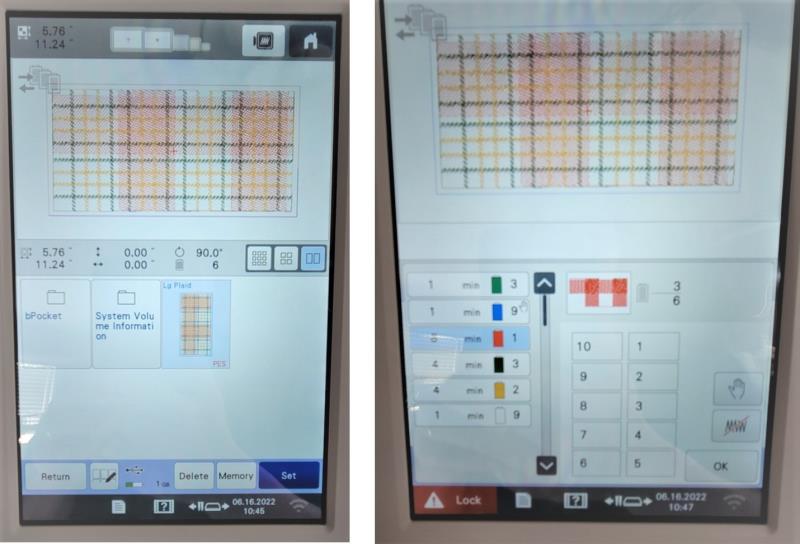
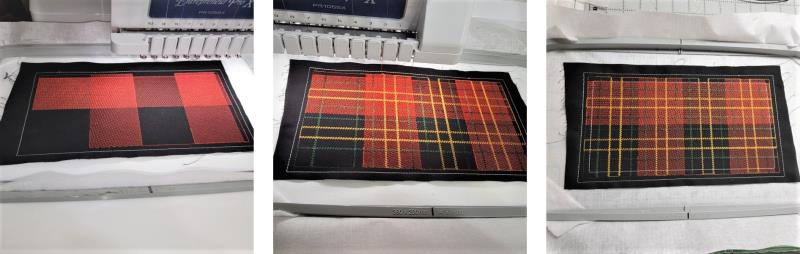
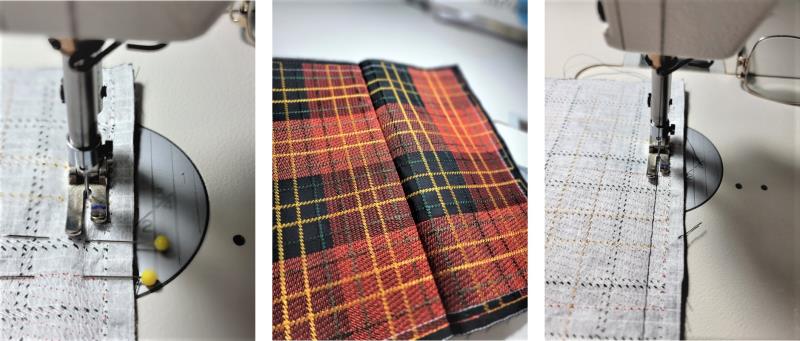
Read through the instructions thoroughly before beginning and assemble all the materials needed to complete the project. Press the black fabric pieces well. Load the design on the machine, rotating if necessary. If your machine doesn’t already do it, set a stop after the first color for the fabric to be laid down. The black cotton fabric forms the base for the “plaid”—the plaid pattern is created by the stitching!
(Click Image to Enlarge)
Step 2:
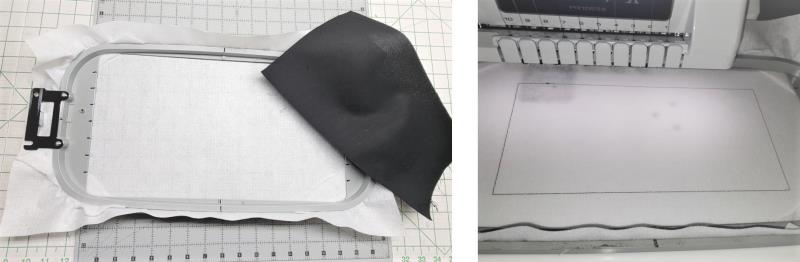
Firmly hoop the cutaway stabilizer. Stitch Color 1, the placement line.
(Click Image to Enlarge)
Step 3:
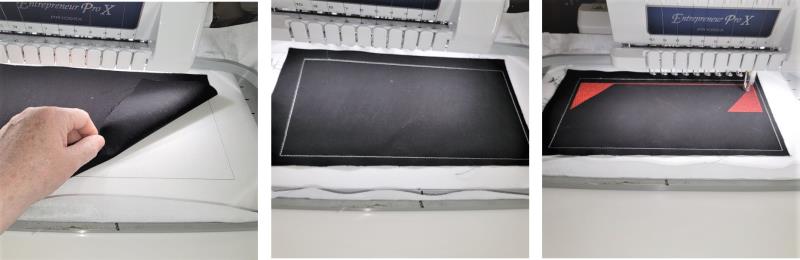
Center the smaller piece of black cotton over the placement line and stitch Color 2 to tack it down. Stitch this in a light color such as white or ivory so it will be visible for the final assembly.
(Click Image to Enlarge)
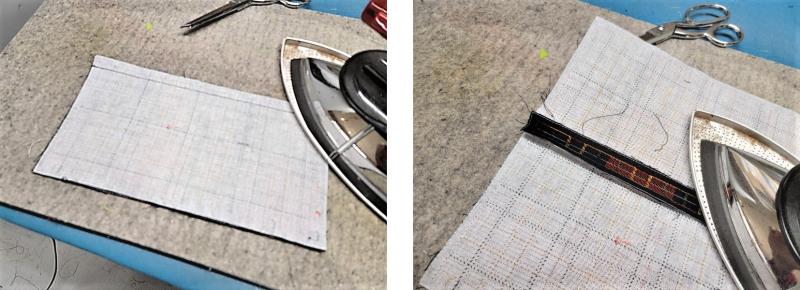
Step 4:
Now just continue stitching the colors in the sequence stated. The last color should also be stitched in white or ivory because it will be used as a guide for aligning the panel pieces together.
(Click Image to Enlarge)
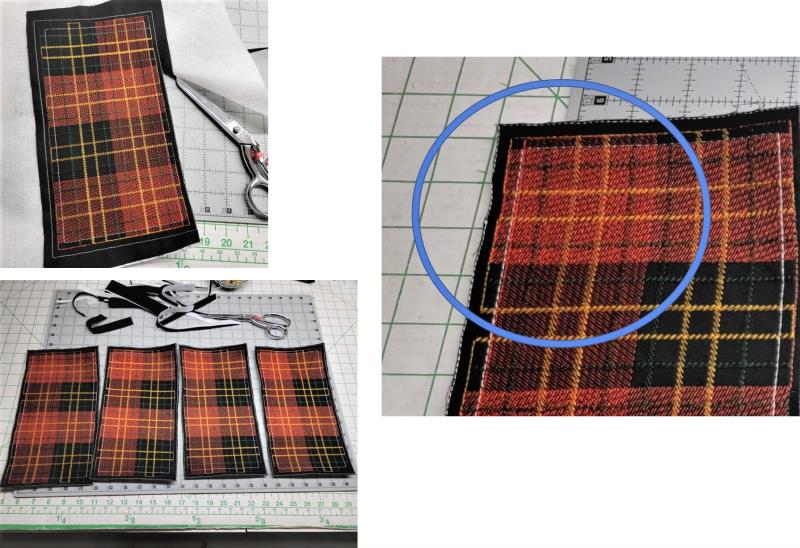
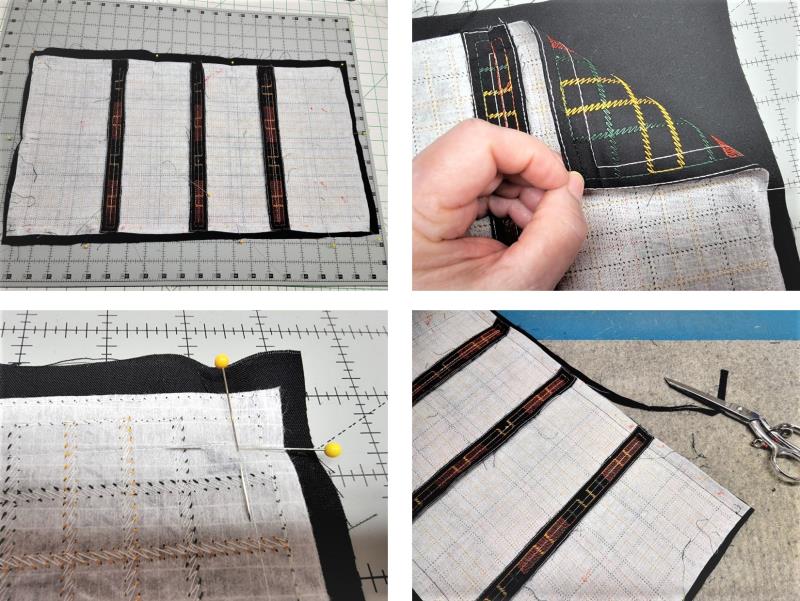
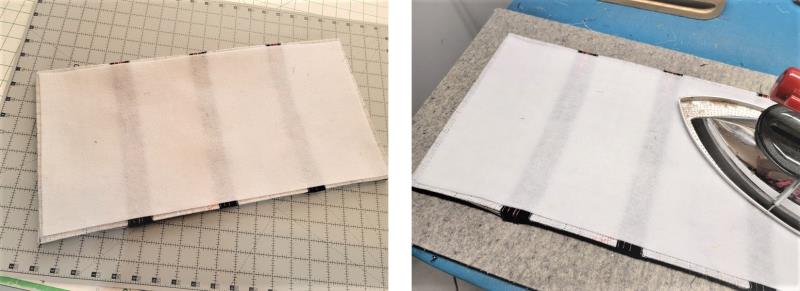
Step 5:
Remove the piece from the hoop and cut close to the outer white stitching line. Repeat the steps to do three more panels. Align the panels as shown. The upper left should be a full cross hatch of a red square.
(Click Image to Enlarge)
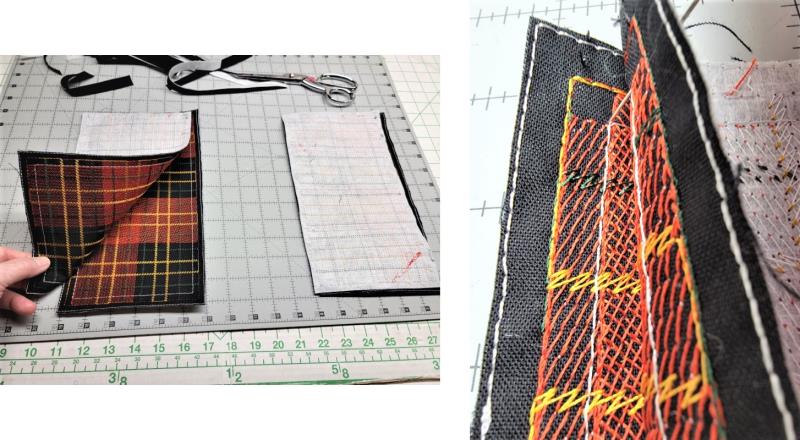
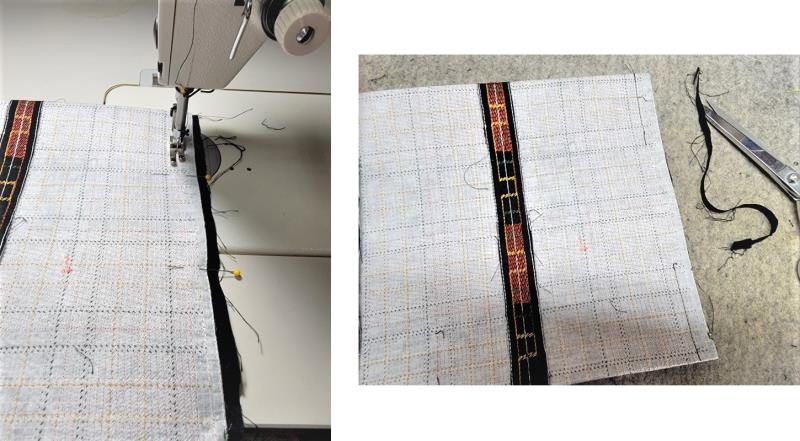
Step 6:
Stitch the panels together. With right sides together, place the second panel over the first matching cut edges. Using the last white line as a guide for aligning the long edges of the panel, place pins at corresponding matching points.
(Click Image to Enlarge)
Step 7:
It is easiest to match if the panel is turned sideways. Continue placing pins at each of the intersecting colors. You’ll use a lot of pins, but it is worth the trouble of doing all the pinning so everything aligns. By doing this, the sewn seam is practically invisible.
(Click Image to Enlarge)
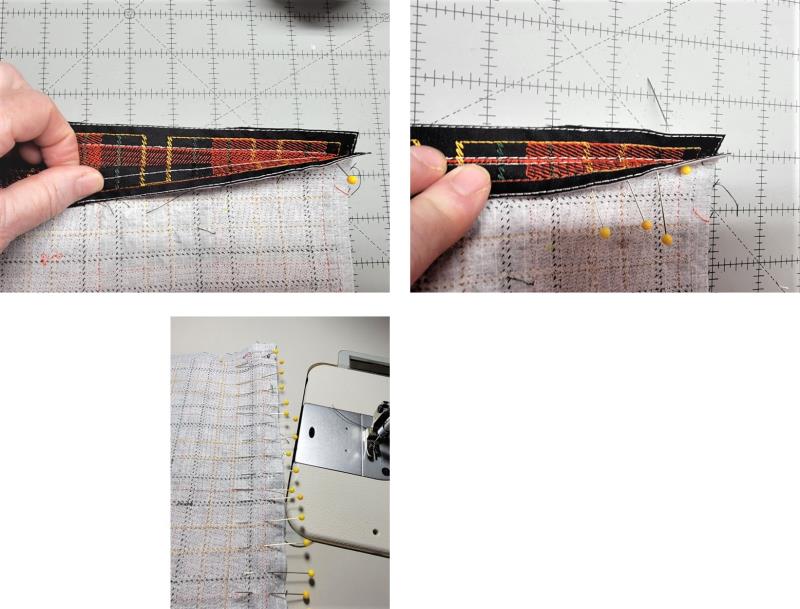
Step 8:
First, baste the seam, removing pins as you go. You’ll be able to see the back side of the white stitching line. Sew the seam so the needle is just to the left of that line, very carefully removing the pins as you go. Open up the pieces and check the alignment. If there is anything not lined up, remove the basting stitches in that area and re-baste. When everything is satisfactory, then sew the seam with a 2.5mm stitch right over the basting line.
(Click Image to Enlarge)
Step 9:
Press the seam flat to set the stitches and then press the seam open.
(Click Image to Enlarge)
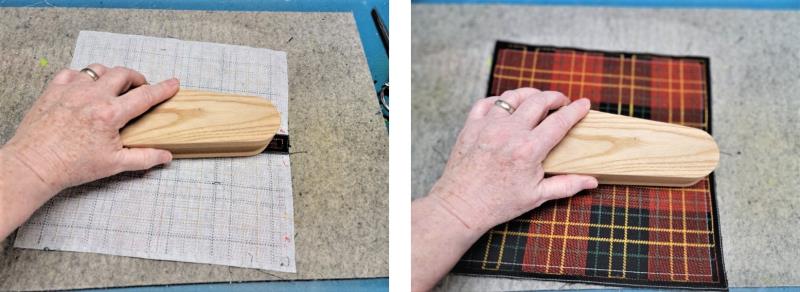
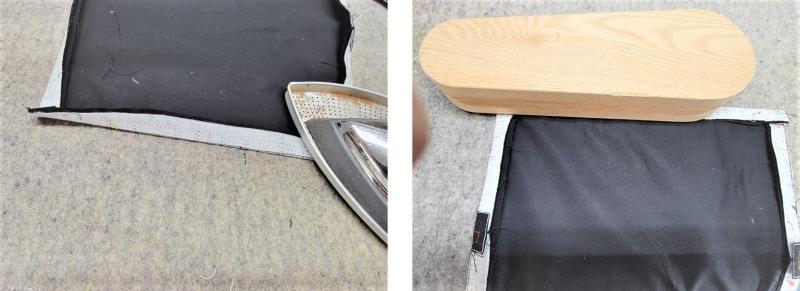
Step 10:
If you have one, use a clapper to make the seam nice and flat. Press the seam from the front (use a press cloth if there isn’t a Teflon shoe on the iron) and use the clapper to make sure it is flat.
(Click Image to Enlarge)
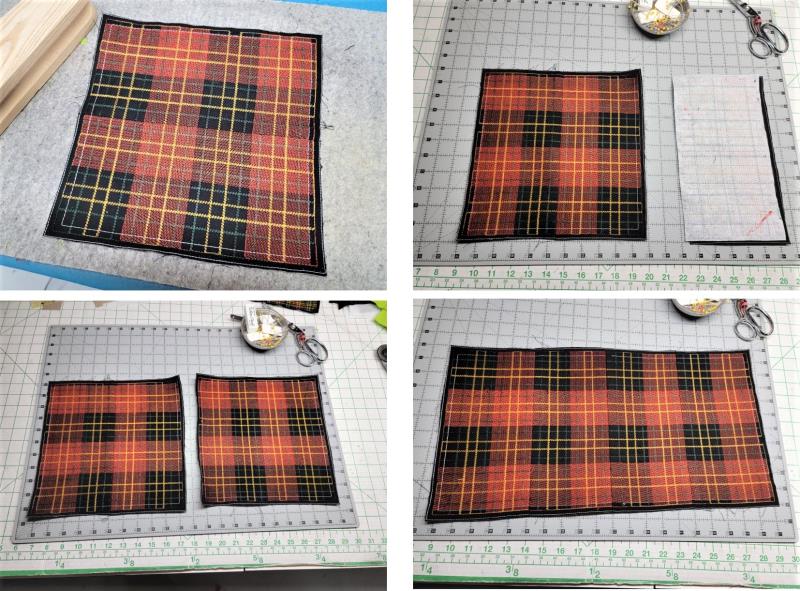
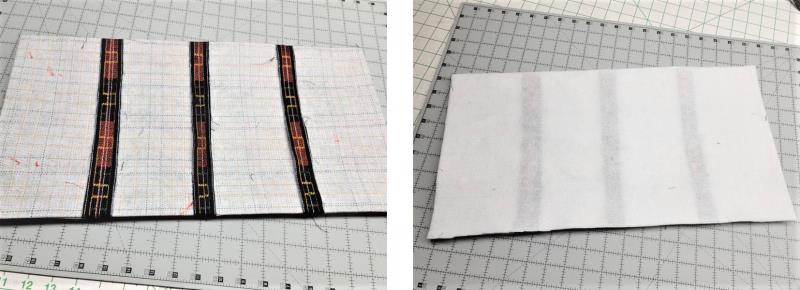
Step 11:
This completes the first two sections. Now place panel three over four, match and pin, baste, check then sew the seam; press. The final seam is down the middle pinning and matching the two sections together. Baste, sew, and press the seam. The panels, when sewn and pressed, should look like a continuous piece of plaid fabric.
(Click Image to Enlarge)
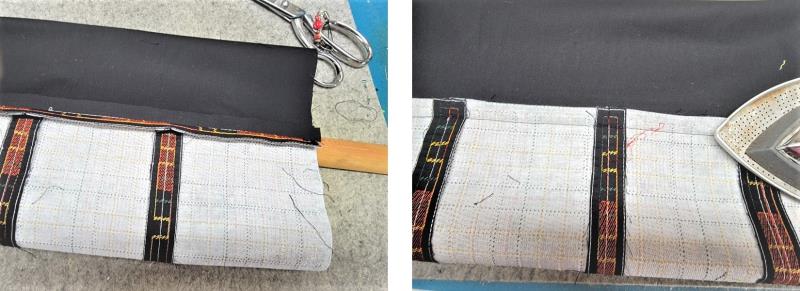
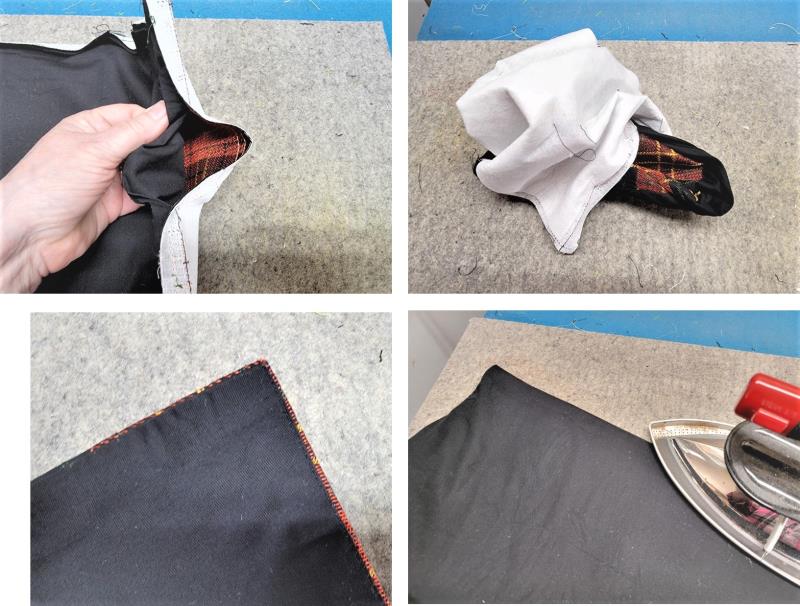
Step 12:
Lay the larger piece of black fabric on the table and then place the “plaid” right side down on top of it and pin the pieces together at the long edges. When sewing the two pieces together, the inner white thread at the top, bottom, and outer edges will be used as a guide for stitching like before—the pins show the top and side intersection of this thread line. Sew the two long edges first; trim the black fabric to match the plaid.
(Click Image to Enlarge)
Step 13:
Press to set the stitches, press the seam open first (this helps keep a nice crisp edge when the piece is turned), and then press the seams toward the black fabric.
(Click Image to Enlarge)
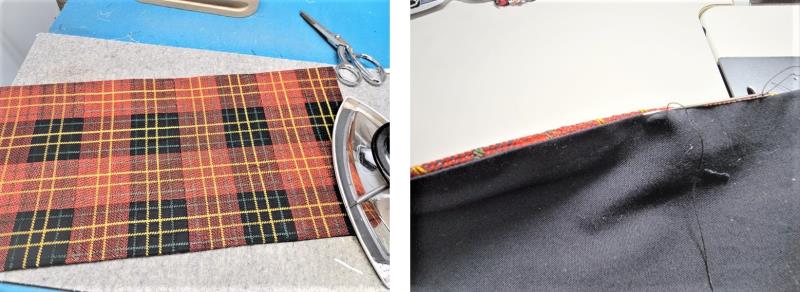
Step 14:
Understitch on the black fabric along both long edges.
(Click Image to Enlarge)
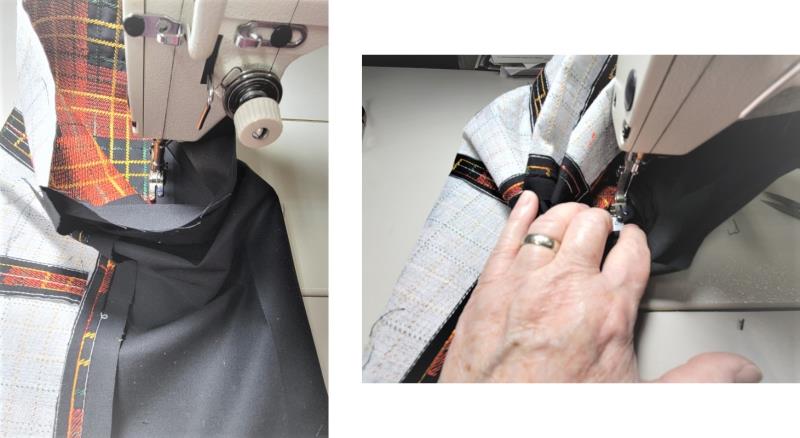
Step 15:
Wrap the outer edges at the short ends as shown. The seam line should not be right at the top, but about 1/16” toward the black fabric. By doing this, it gives room for the turn of the cloth and you’ll see toward the end what a beautiful corner is formed. Repeat for all four edges at the shorter ends; pin the fabric together along the short sides.
(Click Image to Enlarge)
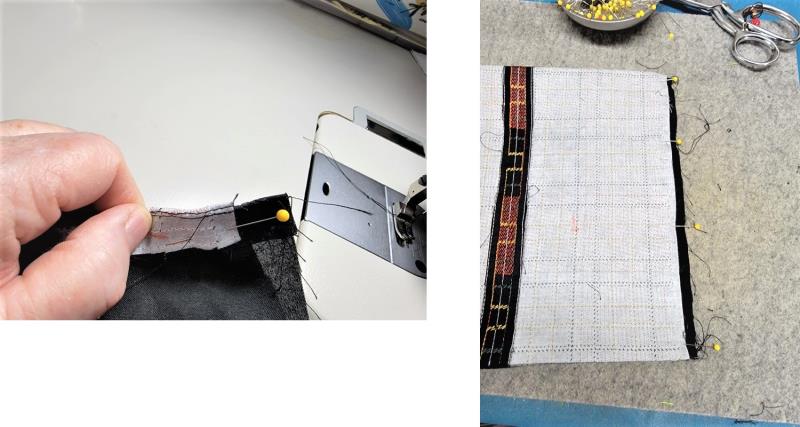
Step 16:
Stitch the short seam, following the white thread line as before. Leave an opening on one of the short sides for turning the piece. Trim the black fabric to match the plaid fabric edge.
(Click Image to Enlarge)
Step 17:
Press to set the short seams and then fold and press the seams toward the black fabric, using the clapper to help set the seams.
(Click Image to Enlarge)
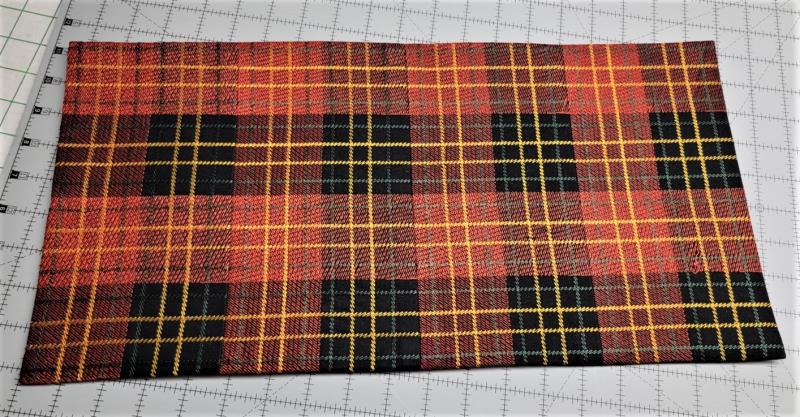
Step 18:
The piece should look like this. Cut a piece of fusible batting the same size as the table mat.
(Click Image to Enlarge)
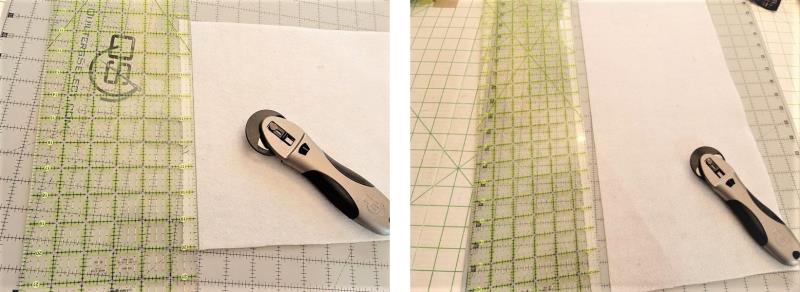
Step 19:
Trim ½” from one long edge and one short edge. This will make the entire piece of batting just a little bit shorter all around so there is no bulk near the seam edges and corners.
(Click Image to Enlarge)
Step 20:
Center the batting over the back of the plaid, fusible side down. Follow the directions on the batting to fuse the pieces together. If you don’t have a Teflon shoe on the iron like shown here, use a press cloth. Let the batting cool and then check all areas to make sure it is fused properly.
(Click Image to Enlarge)
Step 21:
Locate the opening on the side and turn the piece right side out through the opening, forming the corners well. Look at how beautiful the corners are. Press around all the edges of the mat.
(Click Image to Enlarge)
Step 22:
Press along the front, too. Turn in the edges of the opening and hand stitch closed.
(Click Image to Enlarge)
Step 23:
Congratulations! Once you’ve done this project, I think you’ll think of many ways to use just one design to create your own plaid fabric with thread. Consider using white fabric with pastel or bright colors, maybe some Christmas colors—have fun experimenting by sewing one panel in different colorways, and then creating your own projects.
(Click Image to Enlarge)
Step 24:
Thank you for purchasing the plaid design. I hope you enjoy sewing this project.
(Click Image to Enlarge)
Step 25:
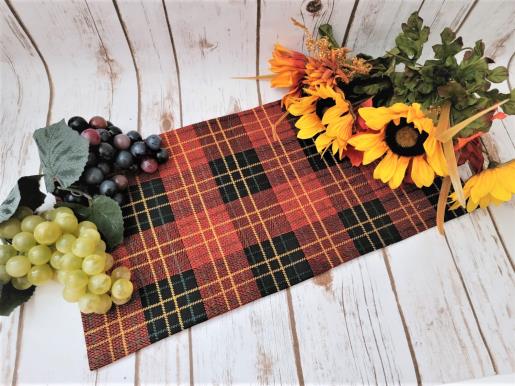
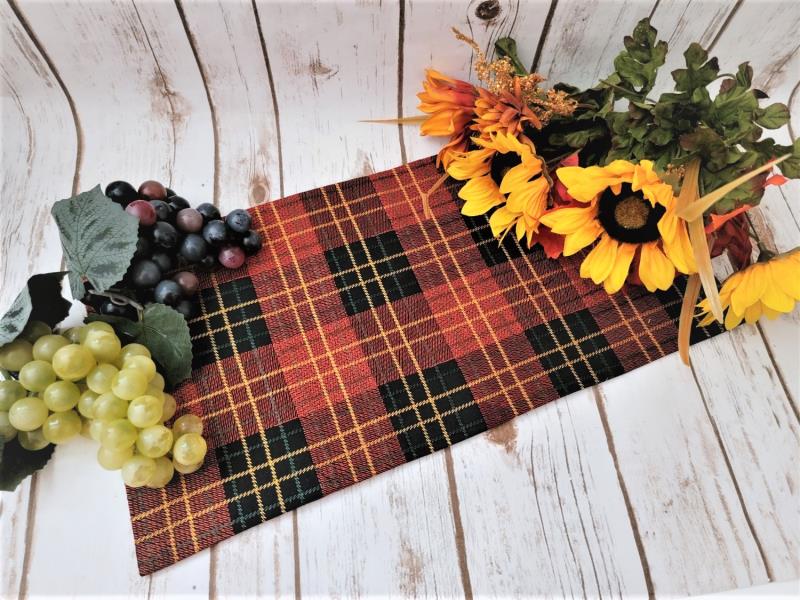
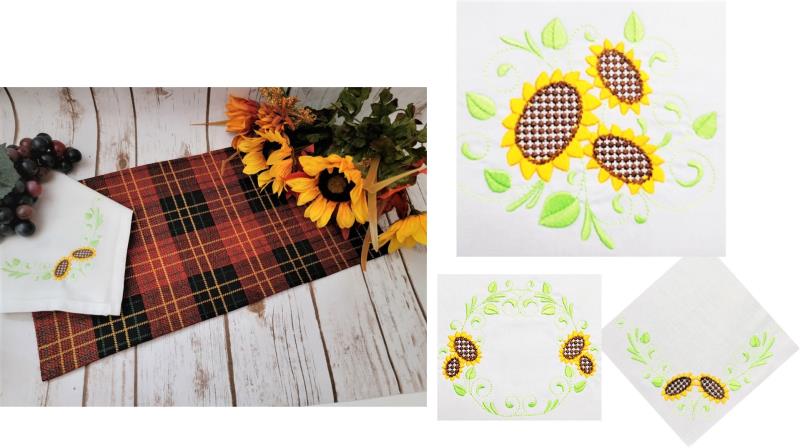
This plaid also pairs very nicely with the Sunflower designs; the links for these designs are listed in the “Related Product Links” section of the instructions.
Ramona Baird has been in the embroidery industry for over 23 years. She and her husband owned a commercial and retail embroidery store in Arizona for many years. She is an experienced digitizer having been mentored by award-winners Pat Williams and Lindee Goodall. Ramona is a contributor to “Creative Machine Embroidery” magazine having 5 covers to her credit. Ramona has worked for Wilcom America and served many years as Education Director for the American Sewing Guild. With a degree in fashion design, she is able to design and execute patterns which Pat Williams says are “out of the box” in creativity and application. Ramona likes to challenge the boundaries of embroidery and bring new and exciting designs, ideas, and projects to EmbroideryDesigns.com. She wants embroiderers of all levels to increase their skills and enjoyment in using their embroidery machine for gift-making and personal pleasure.