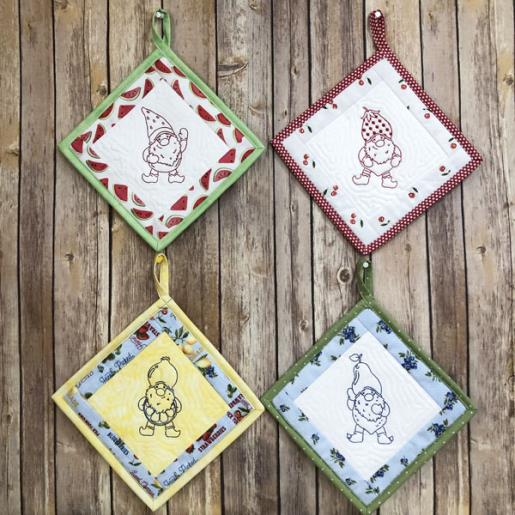
Fun Fruit Gnomes are embroidered with an on-point gnome are pieced and quilted in the hoop. The binding is added with your sewing machine so that this results in a true 8” x 8” potholder.
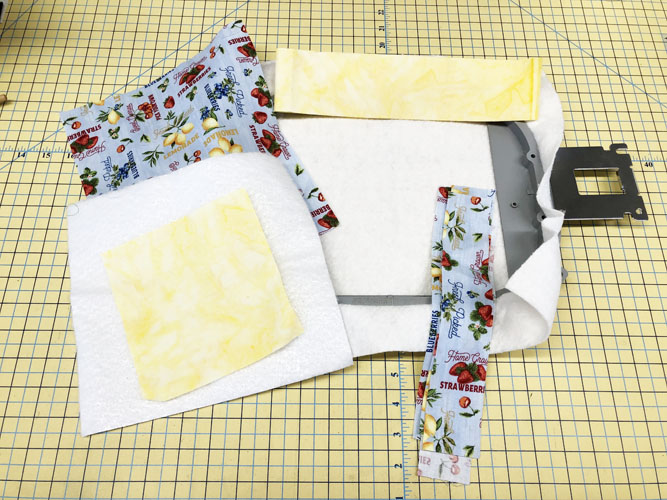
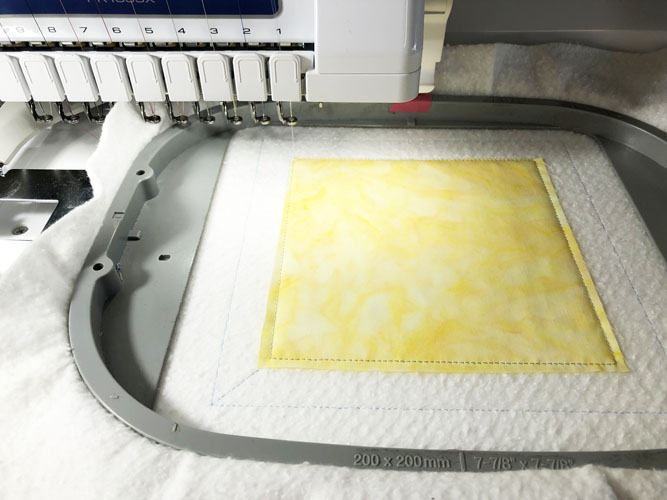
Cut a piece of cotton batting to fit your hoop. This batting is used as the stabilizer for this project. Cut a 9” square of Insulbrite®; a 9” square of your back fabric; a 6”square of the main fabric for the front; 4 1 ¾” x 9 strips of contrasting fruit print fabric; a 2 ½” x the width of the fabric strip for binding. Tautly hoop the cotton batting in your embroidery hoop.
(Click Image to Enlarge)
Step 2:
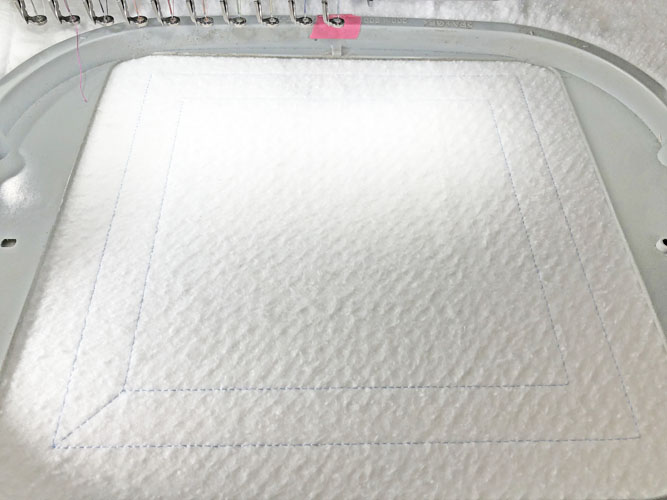
Run the 1st color stop (CS) as placement lines for your fabrics. This first run is stitched directly on the tautly hooped cotton batting without any additional stabilizer.
(Click Image to Enlarge)
Step 3:
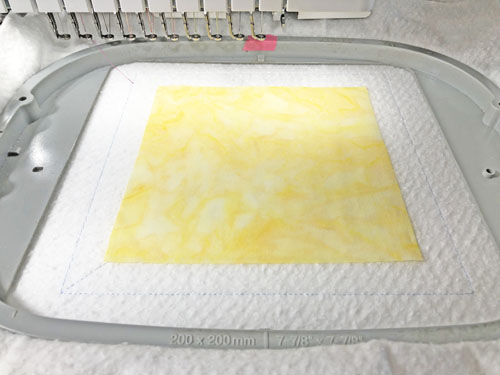
Spray adhesive on your center square fabric. Carefully align it in the center square of the placement lines. Place your center fabric accurately as the tack down stitches are only 1/8” fro, the edges of the fabric.
Step 4:
Run CS2 to tack down the center fabric.
(Click Image to Enlarge)
Step 5:
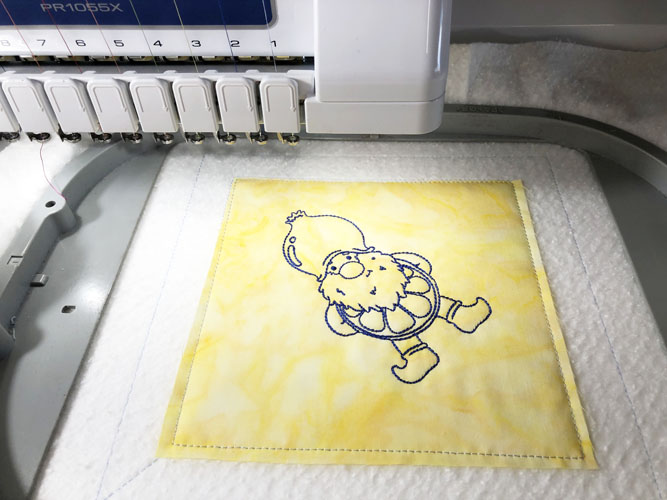
Change your upper thread color to the color you want for your Gnome. Run CS 3 to stitch the Gnome.
(Click Image to Enlarge)
Step 6:
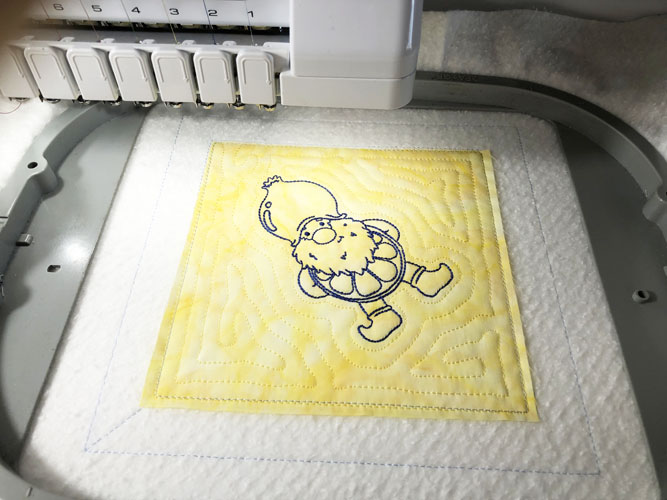
Change your upper thread color to the color you want for the quilting. Run CS 4 to stitch the quilting.
(Click Image to Enlarge)
Step 7:
(Click Image to Enlarge)
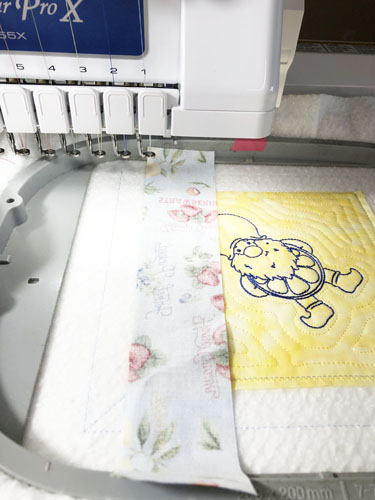
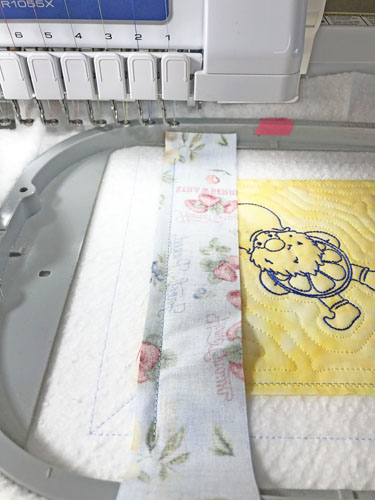
Lay one 1 ¾” x 9” strip of the fruit print face down on the left side of the center square. Align the left edge of the strip with the left edged of the center square. If you happened to have more than that 1/8” of fabric along that side of the square, place the left edge of the fabric even with the tack down stitches of the center block. Have the ends of the fabric strip extend beyond the outer placement lines by at least ½” on each end.
Step 8:
(Click Image to Enlarge)
Run CS 5 to stitch down the strip.
Step 9:
(Click Image to Enlarge)
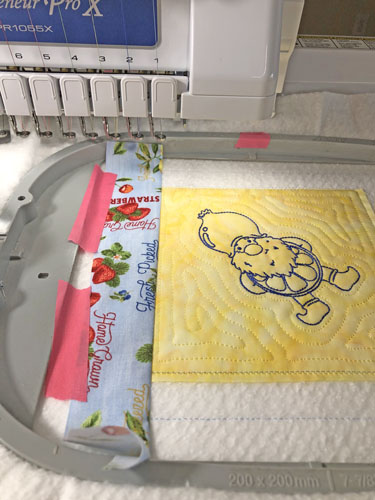
Fold the strip fabric right side up. Finger press or press the seam with an applique iron to get it folded back neatly. Tape the edges of it to the hoop.
Step 10:
(Click Image to Enlarge)
Following Step 7 through 9 lay, stitch and flip the strip at the top of hoop using CS 6 to seam the strip to the potholder.
Step 11:
(Click Image to Enlarge)
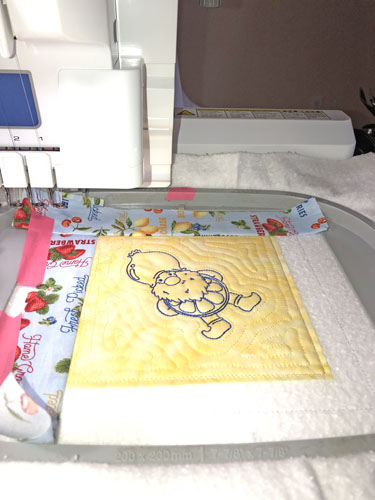
Repeating the same steps stitch, flip and tape the strip on the right side of the project using CS 7 to seam the strip to the potholder.
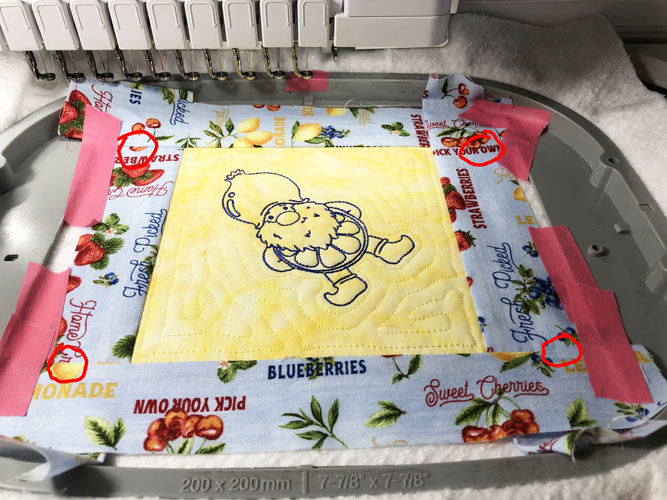
Step 12:
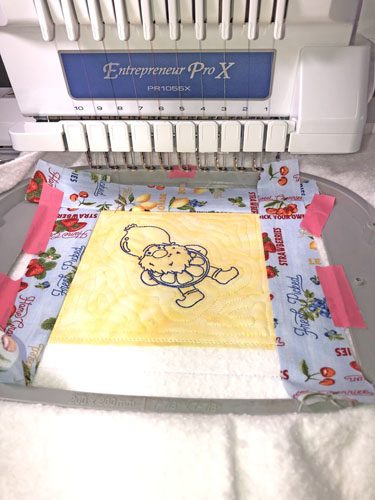
Repeat the steps one more time to attach the bottom strip to the bottom of the potholder using CS 8 to stitch the seam. Where each fabric strip is folded across a perpendicular strip there will be a little unstitched space. Adjust your tape so that each of those areas has the tape outside of the original placement lines, but close enough to the placement lines so that your presser foot will not lift or get caught in these spaces for the final stitching.
(Click Image to Enlarge)
Step 13:
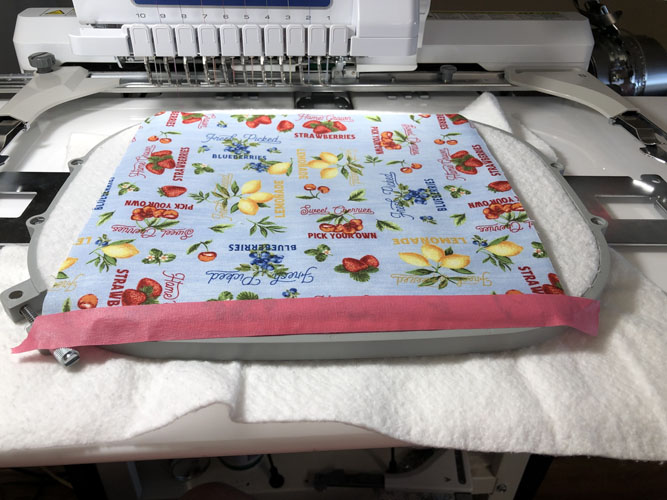
Remove the hoop from the machine, do not unhoop. Lay the hoop face down on a flat surface. Lay the Insulbrite® over the placement lines on the back of the hoop. Lay the back fabric over the Insulbrite®. Since a multi-needle machine was being used for this sample I taped the fabric and Insulbrite to the top edge of the hoop that would be going back into the machine. If using a single needle machine, you might want to tape the top edge of the hoop. Or, to play it save you can add tape to all edges. The point is you do not want any fabrics shifting or getting folded back when you return the hoop to the machine.
(Click Image to Enlarge)
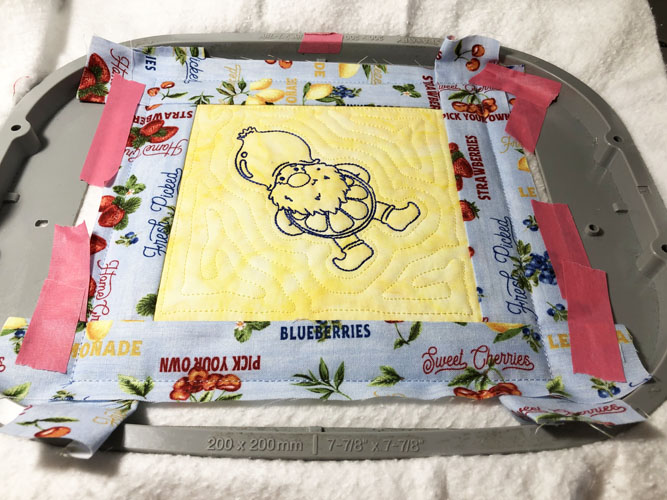
Step 14:
Return the hoop to the machine and run the final CS in a color thread to match or coordinate with the fabrics.
(Click Image to Enlarge)
Step 15:
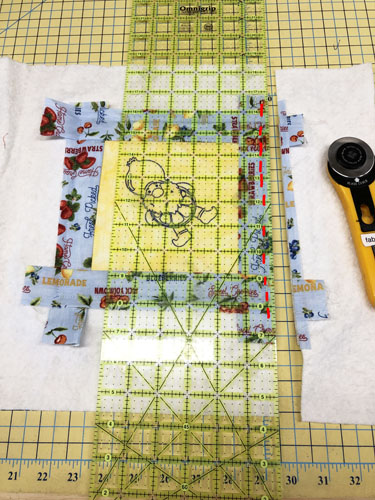
(Click Image to Enlarge)
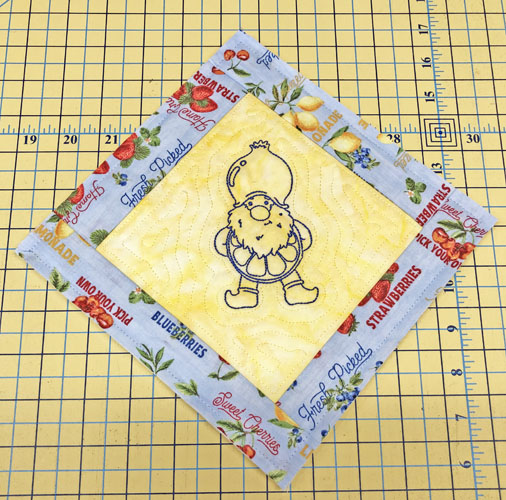
Remove the project from the hoop and remove all the tape. Lay the ¼” mark of a see-through ruler along the final tack down stitches and trim all sides to a ¼” seam allowance.
Step 16:
Your trimmed potholder will now look like this.
Step 17:
(Click Image to Enlarge)
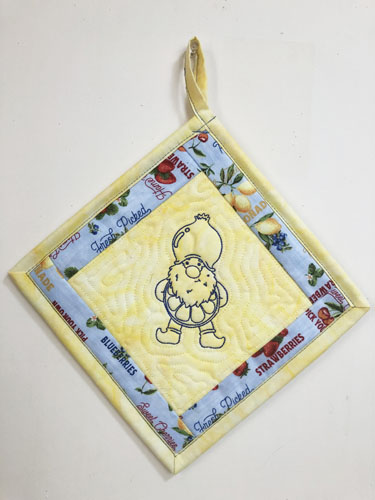
Stitch the binding to the potholder using your preferred method or see our article, “Binding an ITH Potholder with a Hanging Loop” Those instructions show the binding applied with a contrasting thread to make the Steps easier to follow.
Step 18:
These are so much fun to make and useful too! Make the whole set for you and your friends or craft fairs.
Award winning Digitizer, Embroidery Educator, Author and a Consultant to the Industry, Pat Williams has 30 years of experience in the embroidery industry. Pat has won multiple awards for her digitizing expertise including the 2007 Impressions Awards Grand Championship, Best of Show as well as the 1st and 2nd Place Awards. Pat’s love of digitizing has afforded her the opportunity to write numerous articles for Impressions magazine in the United States and Images Magazine in Europe. In 2001 Pat was named “Embroidery Educator of the Year.” For many years Pat taught digitizing seminars at the ISS Shows in Long Beach, CA and for Compucon software. She now resides in Tucson, AZ.