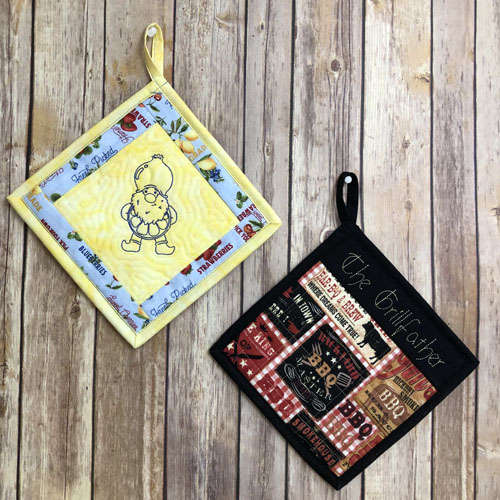
Binding potholders with a hanging loop is different than binding a mug rug. Contrasting thread is used in the pictures for this article to make it easier for you to follow the steps. Adding binding allows you to make a full 8” square potholder.
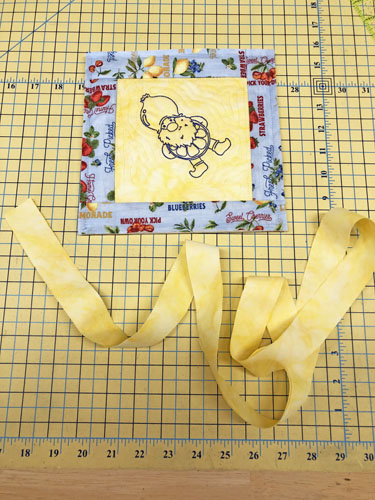
Complete your 7 1/2” ITH potholder block and cut a strip of fabric 2 ½” wide by the width of the fabric. Spray the binding strip with spray starch, fold in half lengthwise and press.
Step 2:
(Click Image to Enlarge)
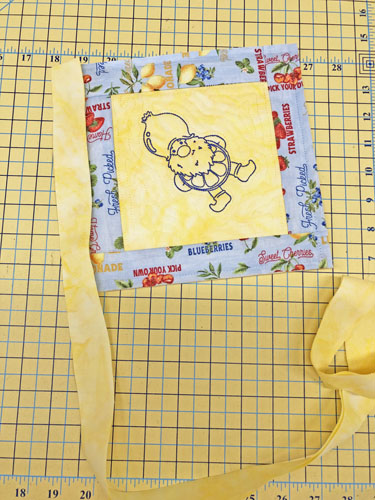
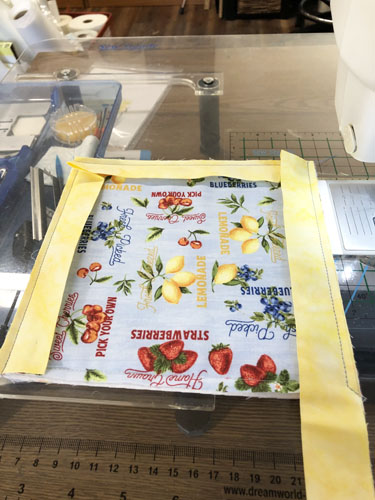
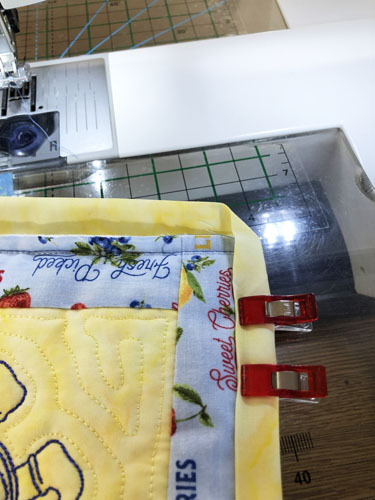
Determine in which corner of the potholder you want the loop. Lay the binding strip even with that corner.
Step 3:
(Click Image to Enlarge)
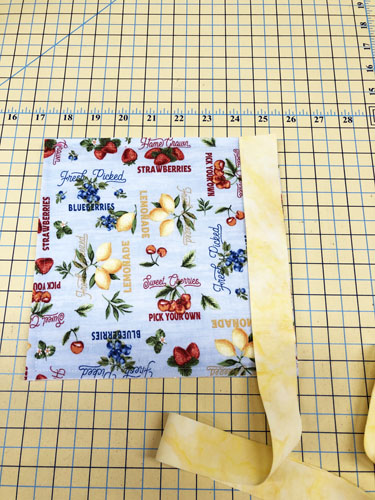
Turn the potholder over and place the top edge of the binding even with your desired starting corner on the back of the potholder. Align the folded raw edges of the binding with the outside edge of the potholder.
Step 4:
(Click Image to Enlarge)
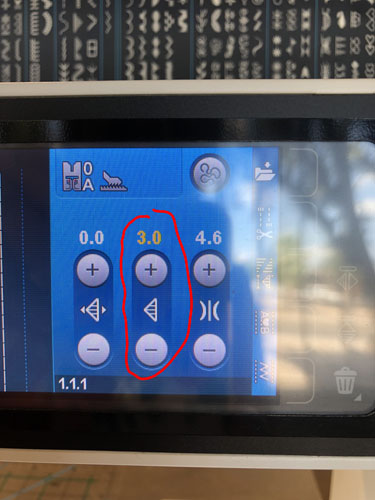
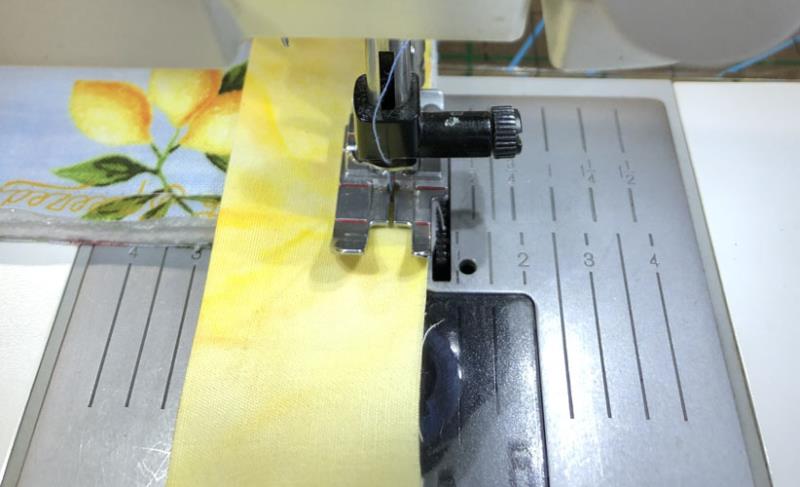
Due to the thickness of the potholder block, lengthen your running stitch length to 3mm.
Step 5:
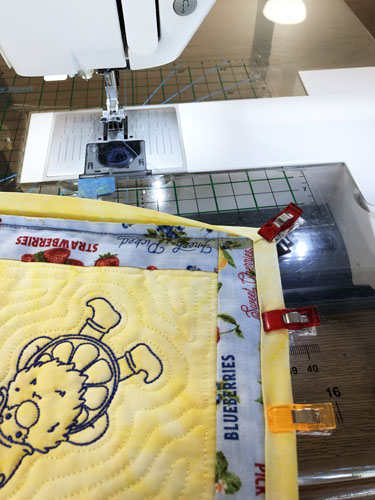
Using a ¼” foot stitch down the binding to ¼” from the bottom of the potholder. Leave the needle down ¼” from the bottom.
(Click Image to Enlarge)
Step 6:
(Click Image to Enlarge)
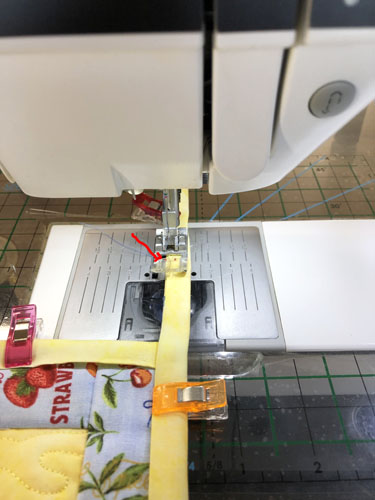
Pivot at that point and stitch off at the corner at a 45° angle. Cut your thread tails.
Step 7:
(Click Image to Enlarge)
Fold the binding strip away from the potholder forming a 45° crease in the corner. Finger press this crease.
Step 8:
Fold the binding over with the fold being even with the edge of the potholder and the binding strip aligned with the second side of the potholder.
(Click Image to Enlarge)
Step 9:
(Click Image to Enlarge)
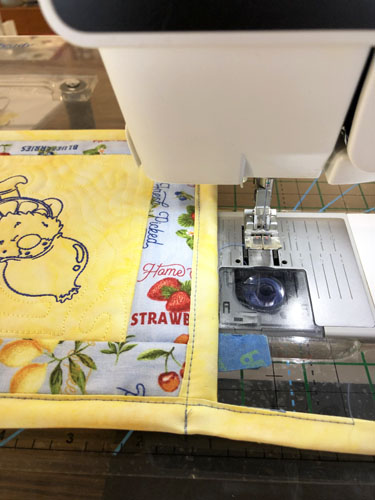
Stitch from the top edge of the potholder to ¼” from the bottom, needle down, pivot and stitch to off the corner of the potholder. Cut your threads.
Step 10:
(Click Image to Enlarge)
Repeat Steps 7, 8 and 9 to stitch the third side of the binding.
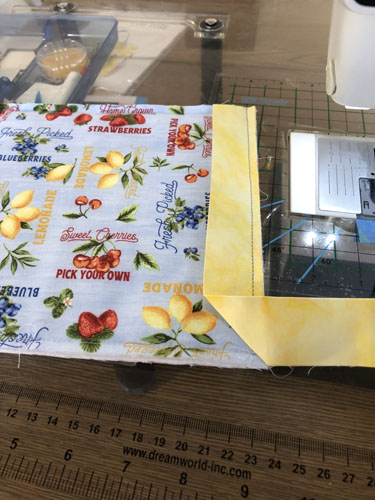
Step 11:
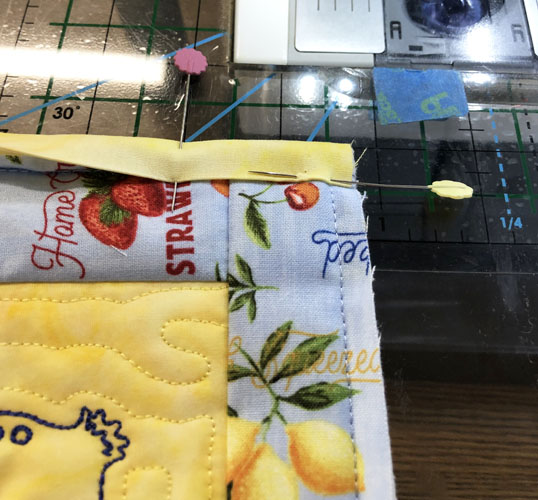
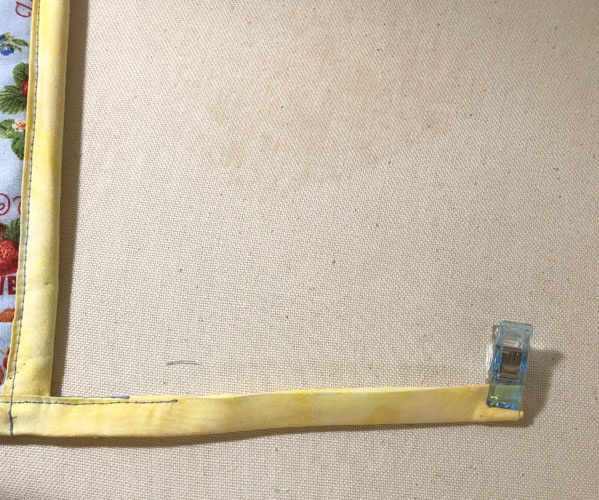
Before stitching the 4th side of the binding down, fold the beginning of the binding over to the right side of the potholder. Pin it as closely as possible to the folded edge of the binding. Add a second pin below the first to help the binding not flip up when it is stitched over in the next step.
(Click Image to Enlarge)
Step 12:
(Click Image to Enlarge)
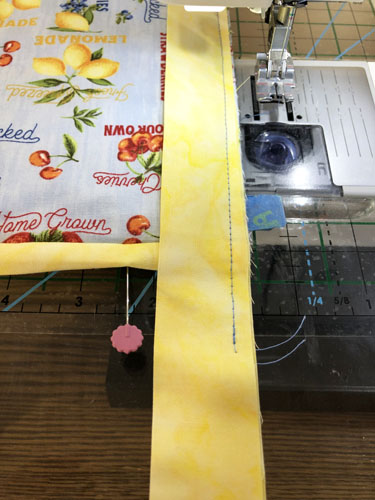
Fold the binding over that as before, but this time stitch the down the full length of the 4th side, sewing slowly so that the folded binding does not flip up at the end of the potholder. Stitch about 1” of the binding beyond the edge of the potholder.
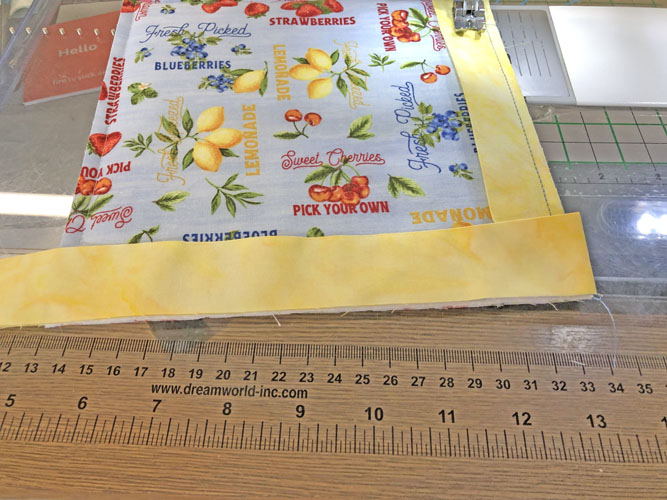
Step 13:
(Click Image to Enlarge)
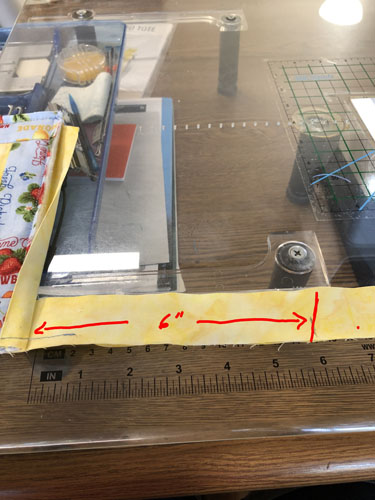
Measure 6” from the potholder down the excess binding and cut off at the 6” mark.
Step 14:
(Click Image to Enlarge)
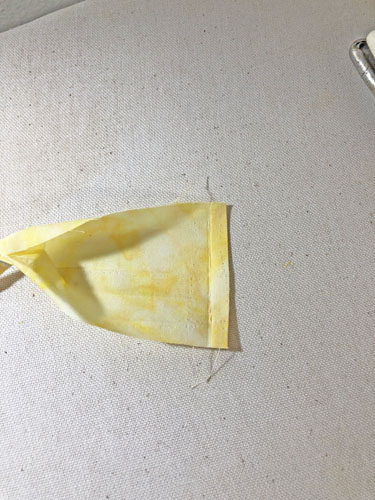
Open the end of the binding. Fold over the end raw edge ¼” to 3/8” and press.
Step 15:
Fold in the raw edges of the binding ¼” and press.
(Click Image to Enlarge)
Step 16:
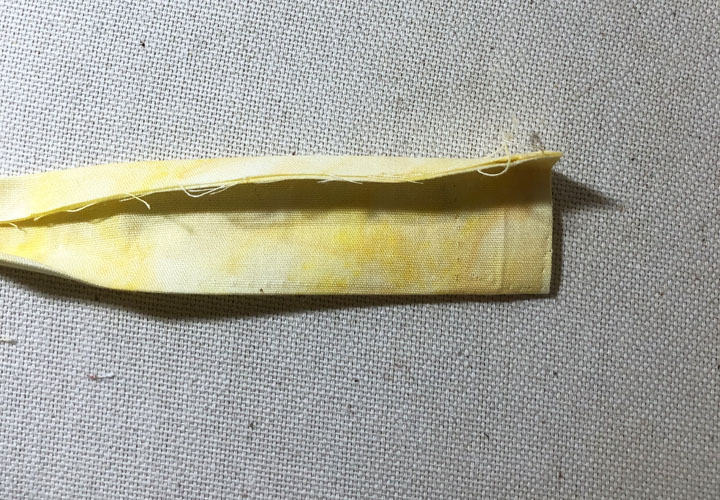
Fold the binding in half lengthwise and press.
(Click Image to Enlarge)
Step 17:
(Click Image to Enlarge)
Press the binding out away from the potholder.
Step 18:
(Click Image to Enlarge)
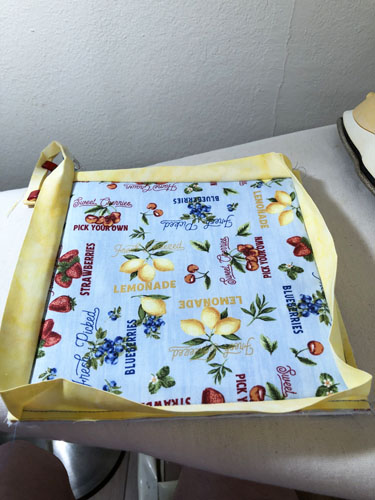
Fold the binding over to the front of the potholder.
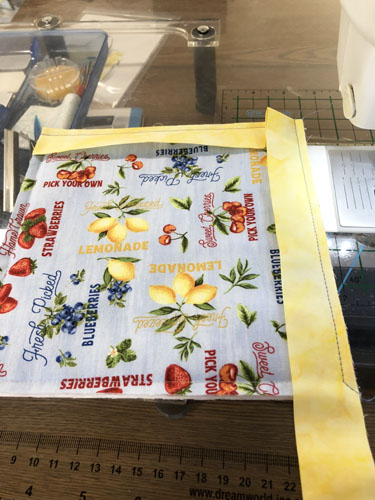
Step 19:
(Click Image to Enlarge)
Miter the binding at three corners that will not have the loop.
Step 20:
(Click Image to Enlarge)
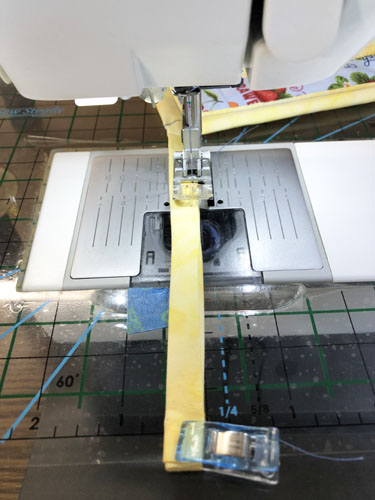
To edge stitch the binding to the potholder, switch to an open toe sewing machine foot, a clear one is great because something like the little red dot on this one will let you maintain a 1/8” distance from the edge of the binding. Start stitching about halfway down the loop towards the potholder.
Step 21:
(Click Image to Enlarge)
Continue stitching the binding down, pivoting at the corners, with a 1/8” seam allowance. When you finish the final side stitch completely off the end of the first side binding.
Step 22:
(Click Image to Enlarge)
Turn the potholder around to edge stitch the remainder of the loop. Start and backstitch from the point you had started the binding edge stitch and edgestitch the balance of the loop.
Step 23:
(Click Image to Enlarge)
Fold the end of the loop at a 45° angle to the corner. Stitch across the loop, backstitch across the loop and then stitch forward across the loop again.
Step 24:
Congratulations your binding of a potholder with a loop is complete!
Award winning Digitizer, Embroidery Educator, Author and a Consultant to the Industry, Pat Williams has 30 years of experience in the embroidery industry. Pat has won multiple awards for her digitizing expertise including the 2007 Impressions Awards Grand Championship, Best of Show as well as the 1st and 2nd Place Awards. Pat’s love of digitizing has afforded her the opportunity to write numerous articles for Impressions magazine in the United States and Images Magazine in Europe. In 2001 Pat was named “Embroidery Educator of the Year.” For many years Pat taught digitizing seminars at the ISS Shows in Long Beach, CA and for Compucon software. She now resides in Tucson, AZ.