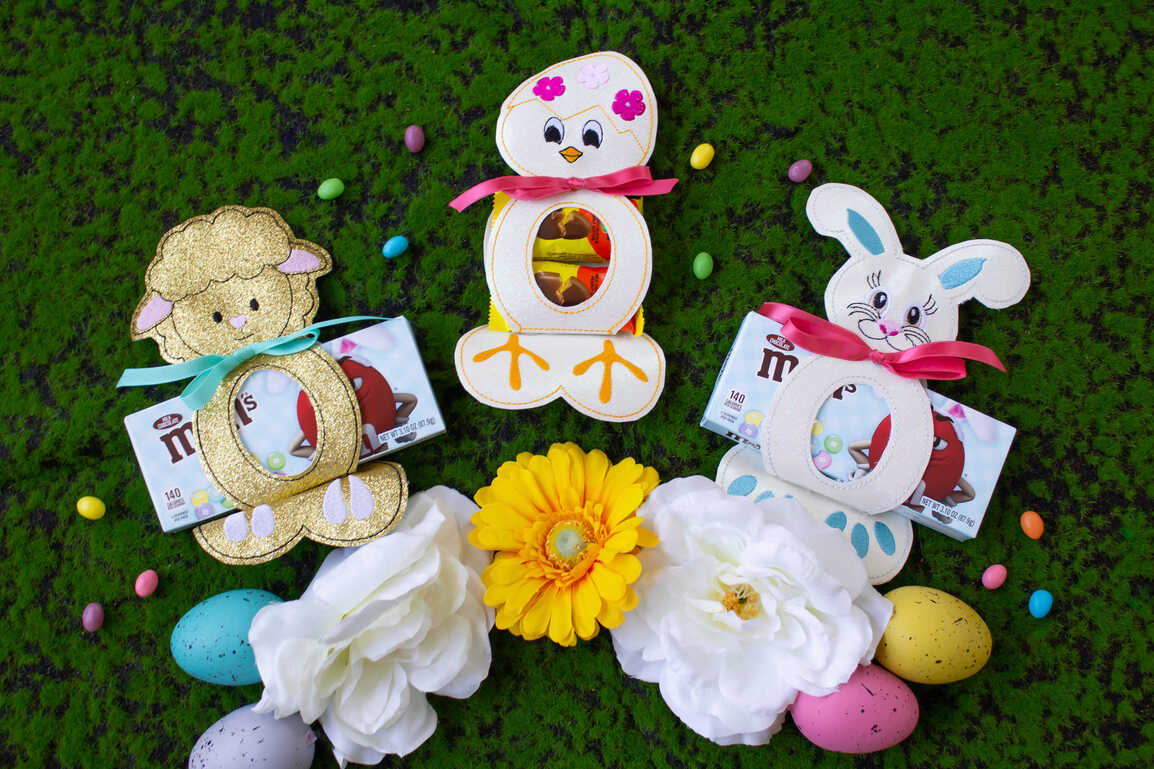
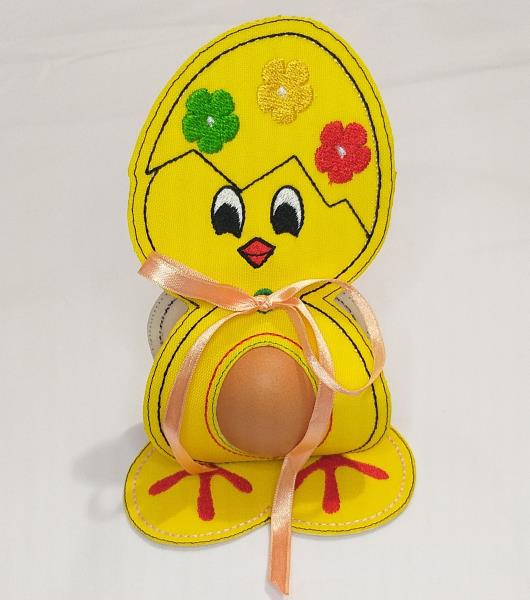
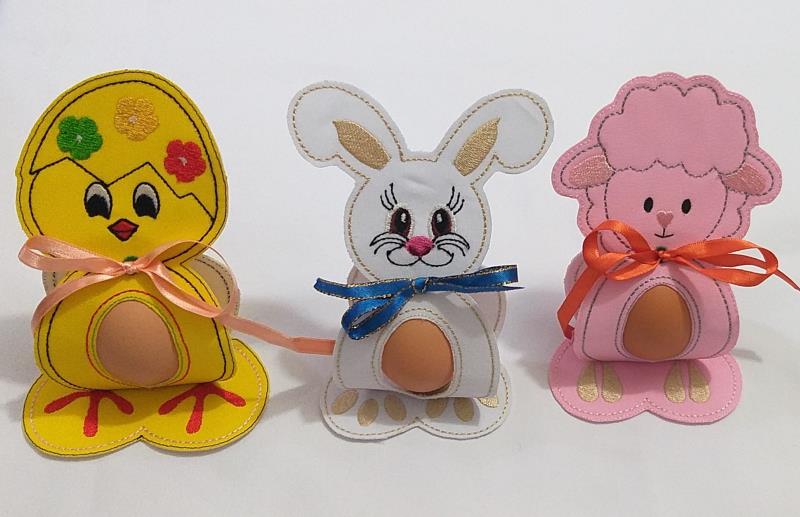
The best Easter decoration ever! Easter Egg Holders made with Felt, just take all the work out of the project. Make these in less than 30 minutes each.
This is a collaboration between ITH Boutique and Laura Workshop. The copyrights to the digitizing and some images belongs to Laura
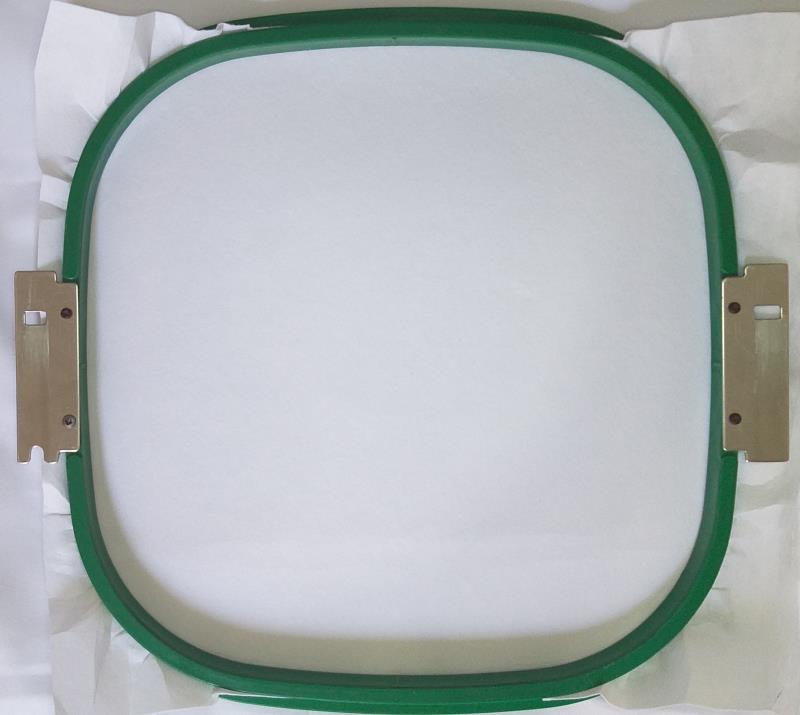
Step 1:
For the Bunny version tautly hoop 2.5-ounce cutaway stabilizer in your embroidery hoop.
(Click Image to Enlarge)
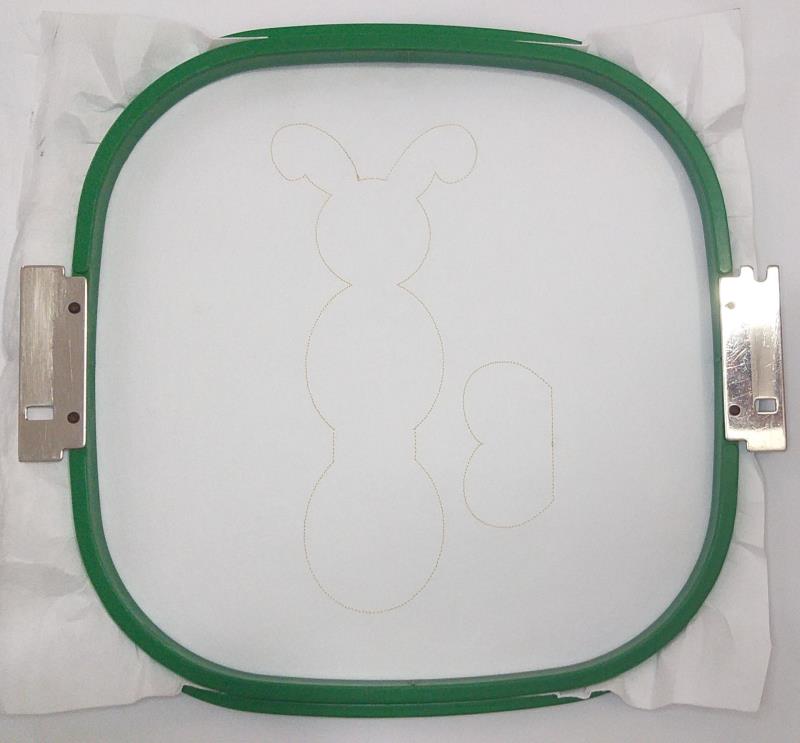
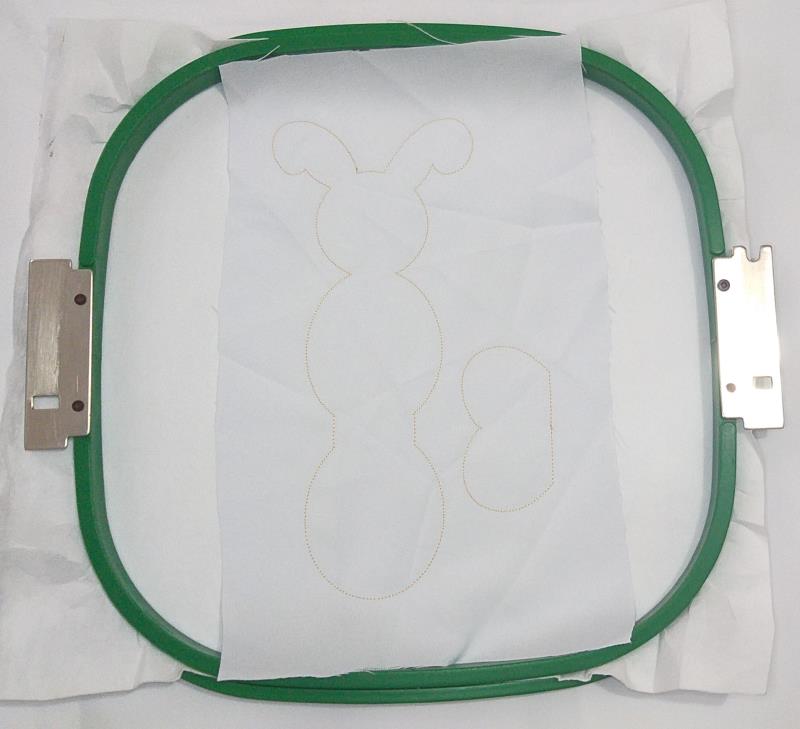
Step 2:
Run the 1st and the second color-stop as a placement line for the white felt.
(Click Image to Enlarge)
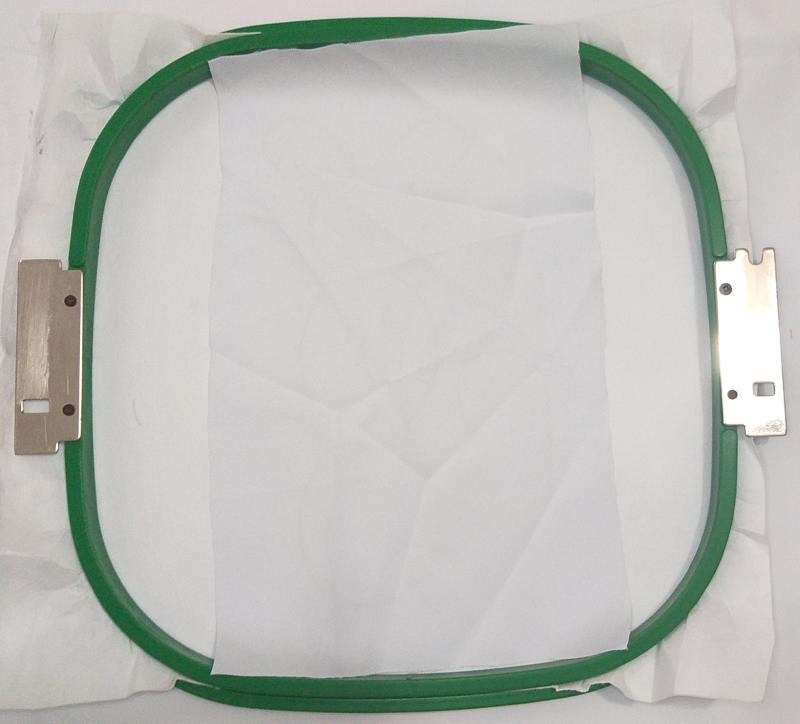
Step 3:
Remove the hoop from the machine, do not unhoop. Spray Repositionable adhesive on a rectangle of white felt and cover the placement line with it.
(Click Image to Enlarge)
Step 4:
Repeat color-stop 1 and run color-stop 2 to fix the felt.
(Click Image to Enlarge)
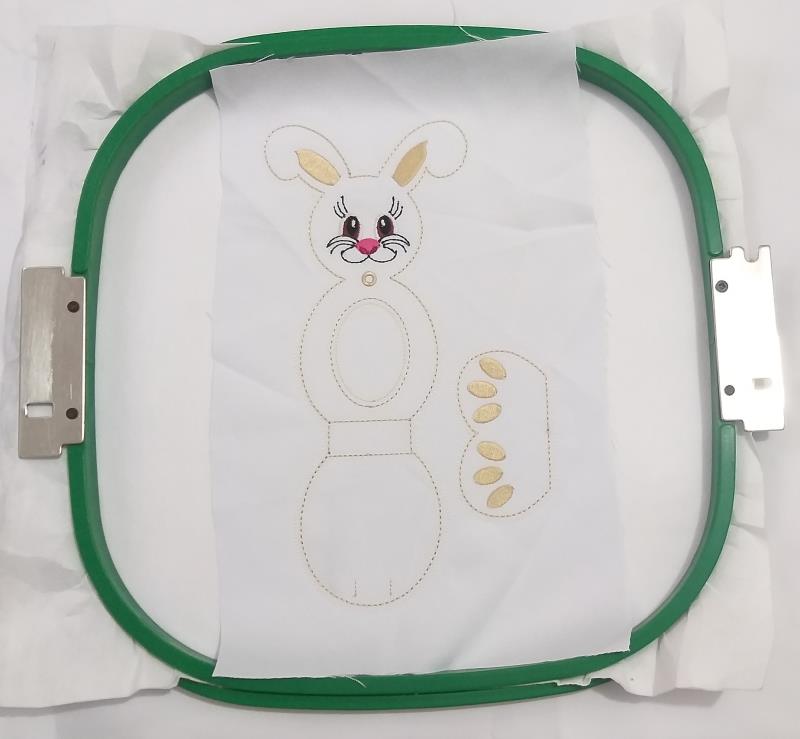
Step 5:
Run color-stop 3 through color-stop 15 to complete the embroidery.
(Click Image to Enlarge)
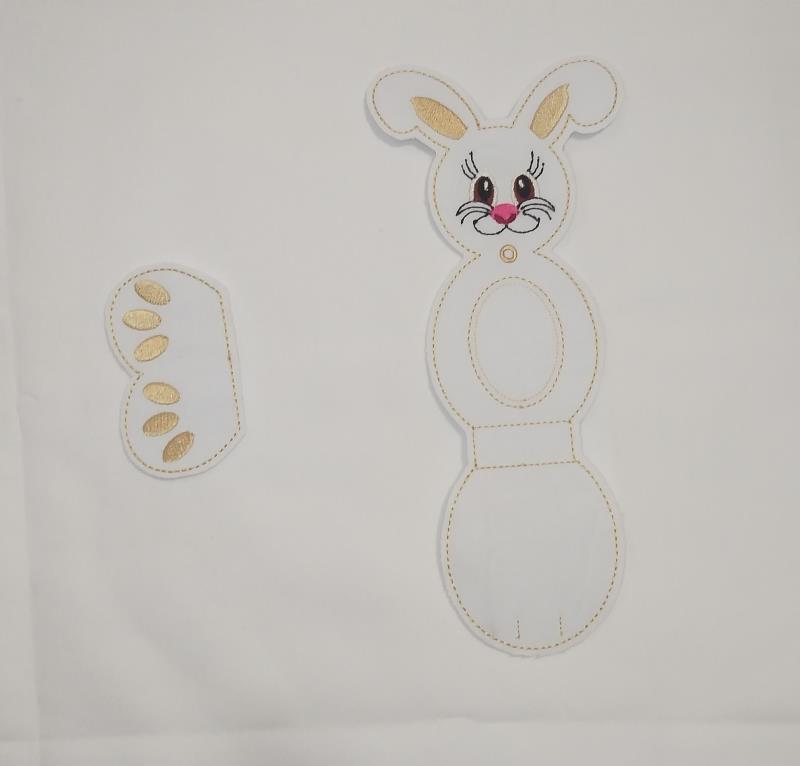
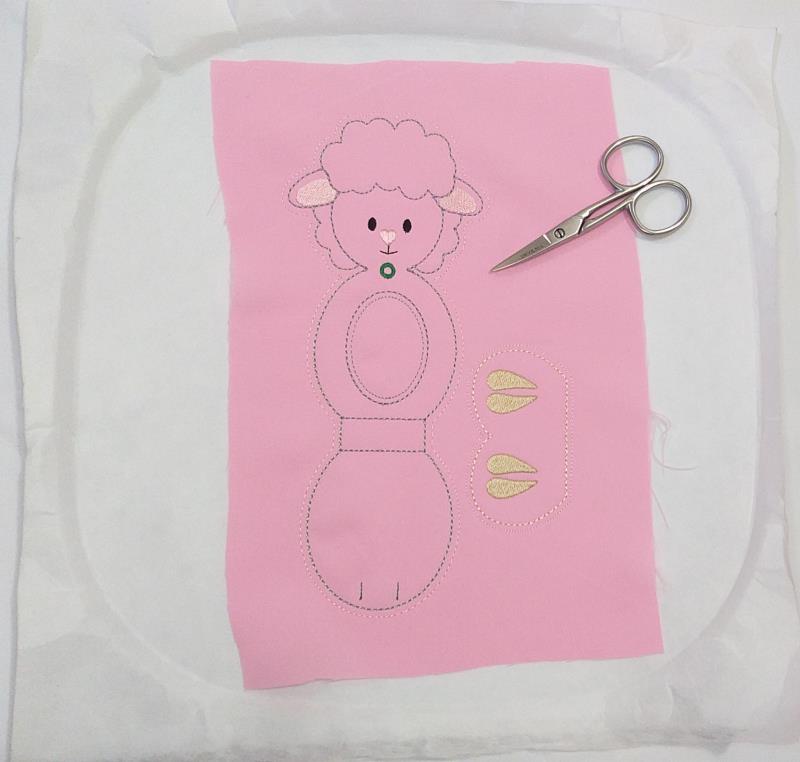
Step 6:
Remove the project from the hoop.
(Click Image to Enlarge)
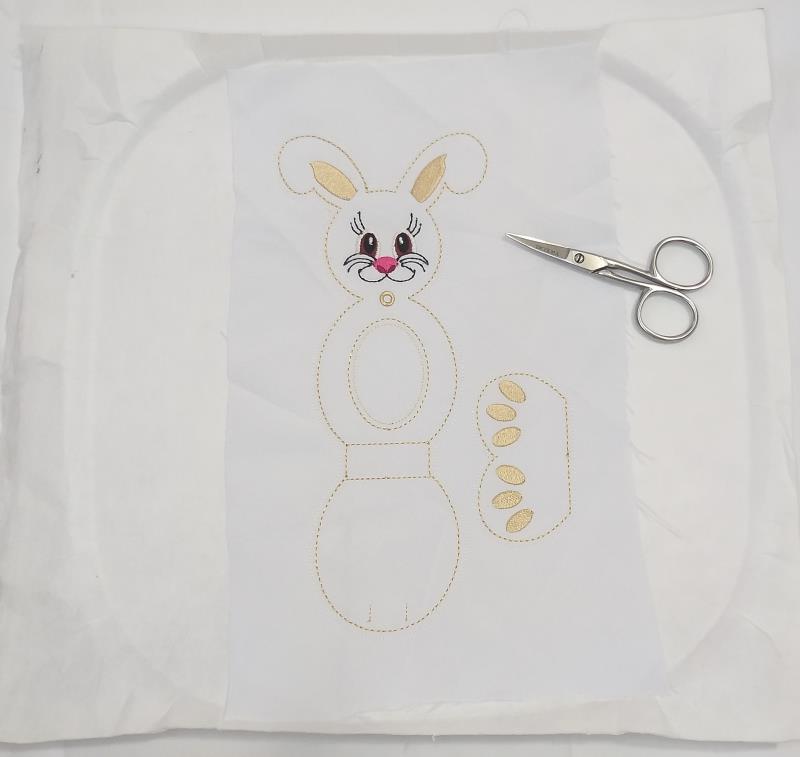
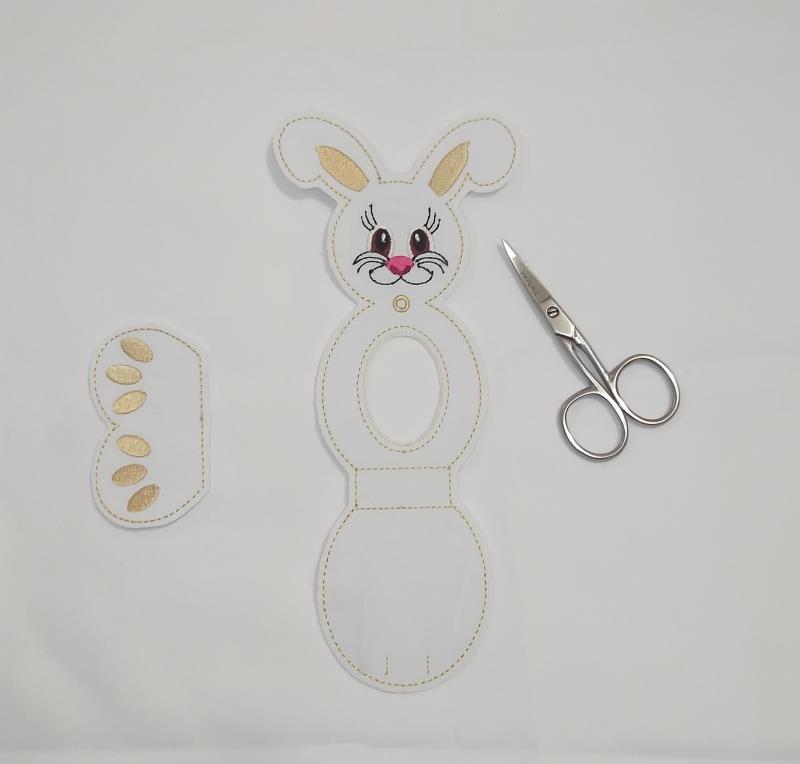
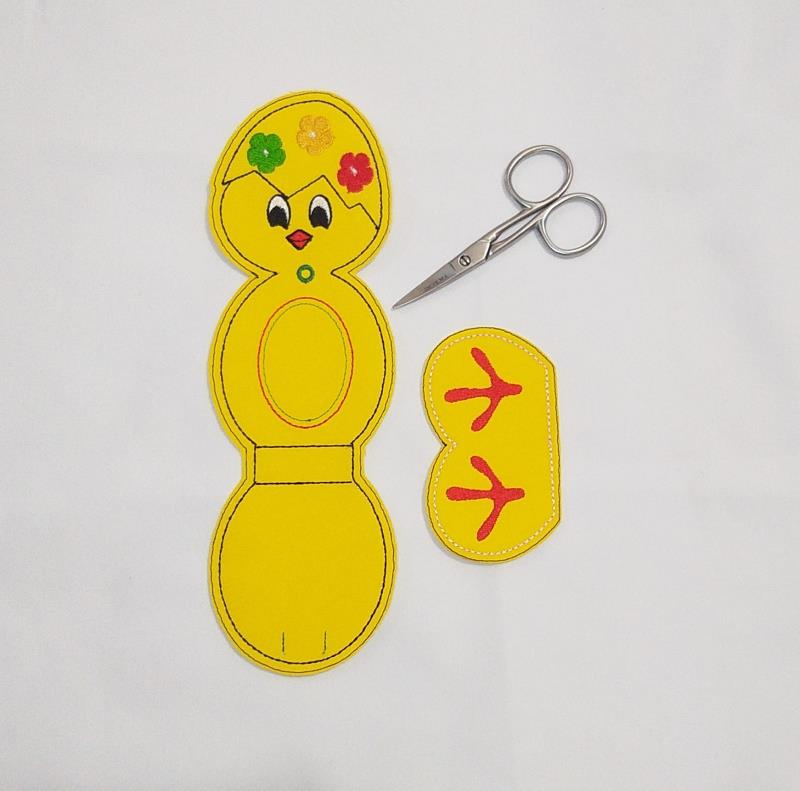
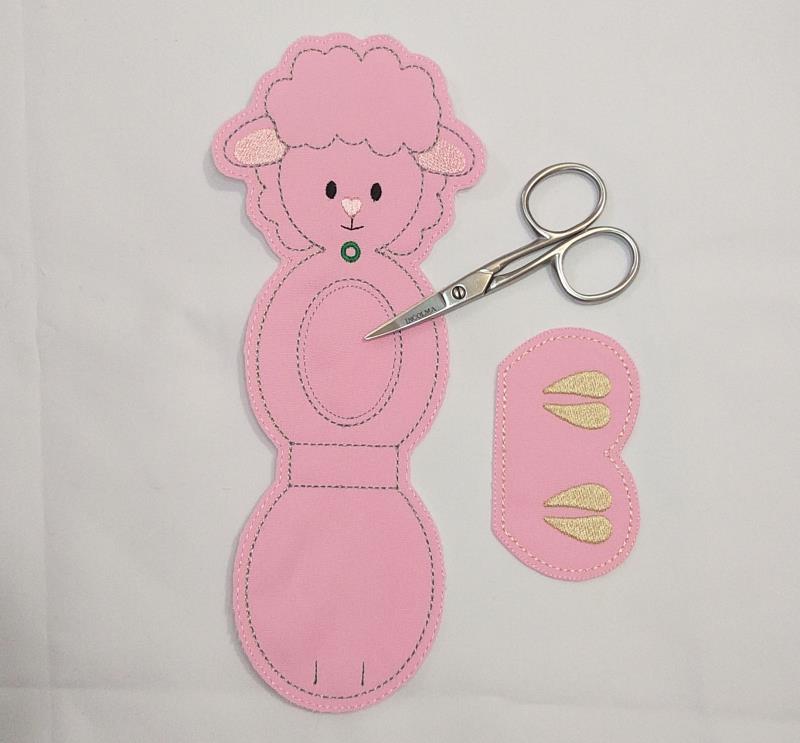
Step 7:
Cut out the outline of the design with sharp scissors, leaving a homogeneous margin.
(Click Image to Enlarge)
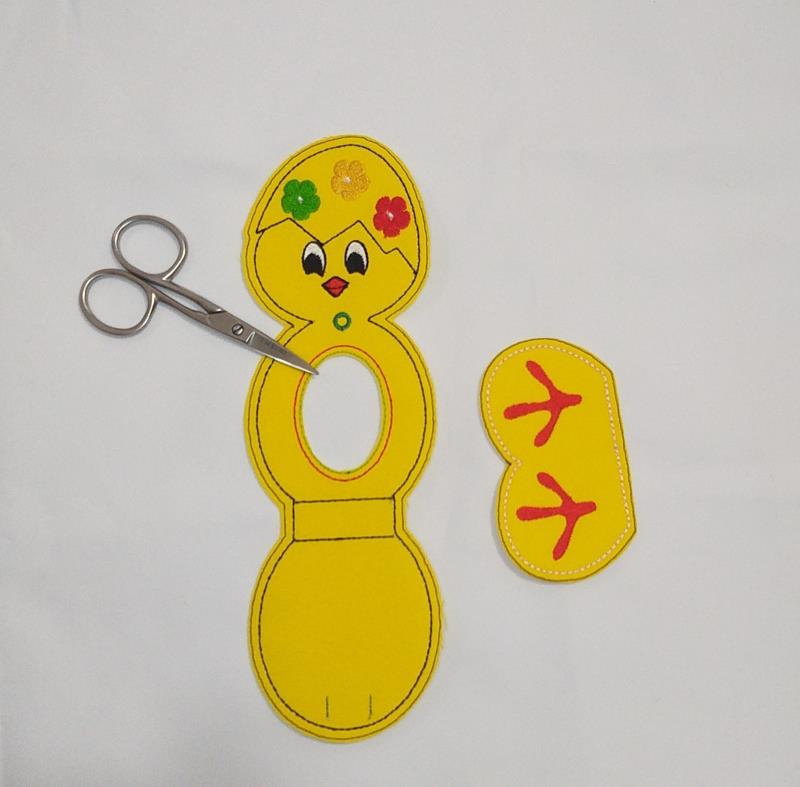
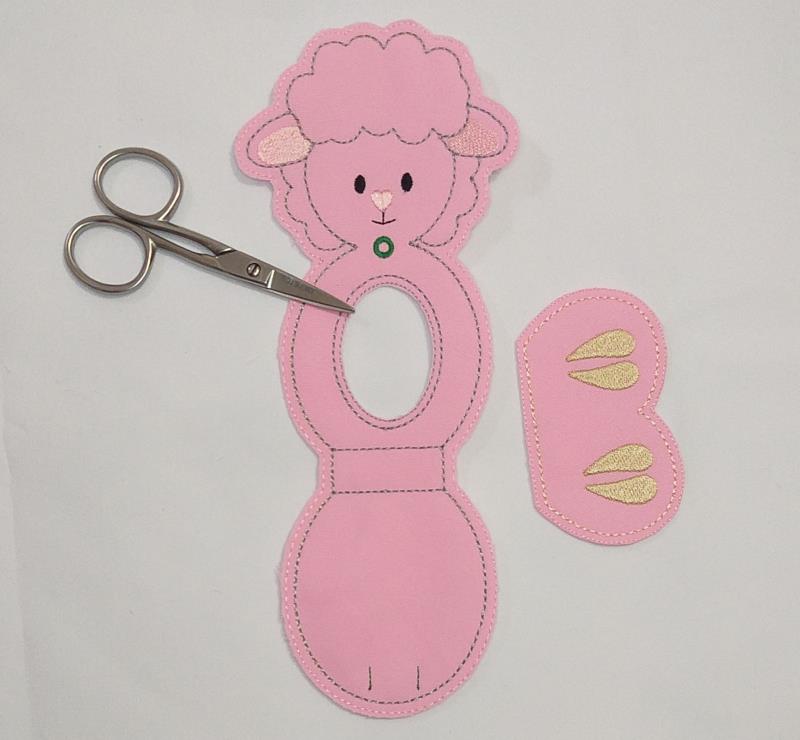
Step 8:
Cut a hole in the center of the felt following the outline.
(Click Image to Enlarge)
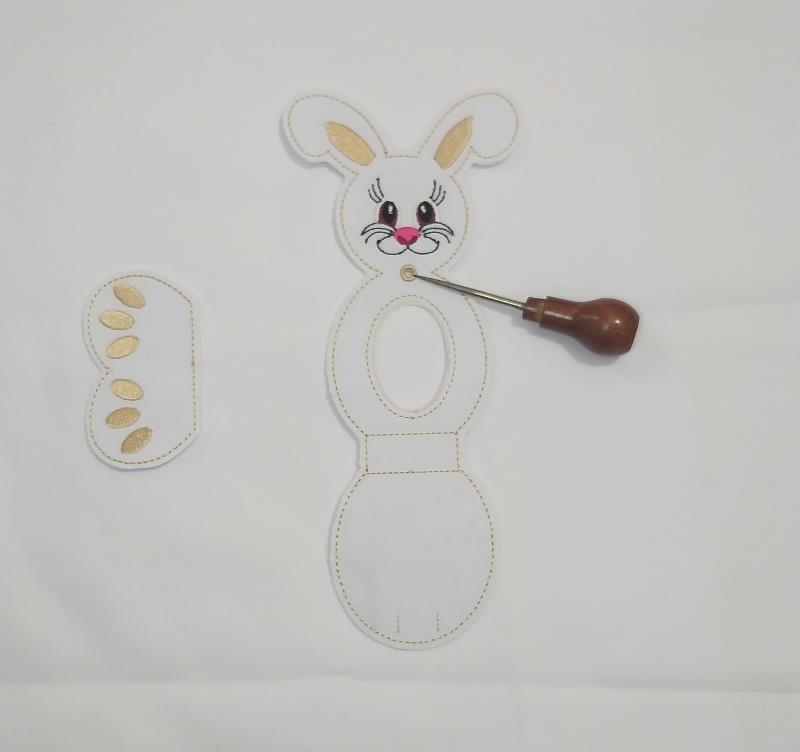
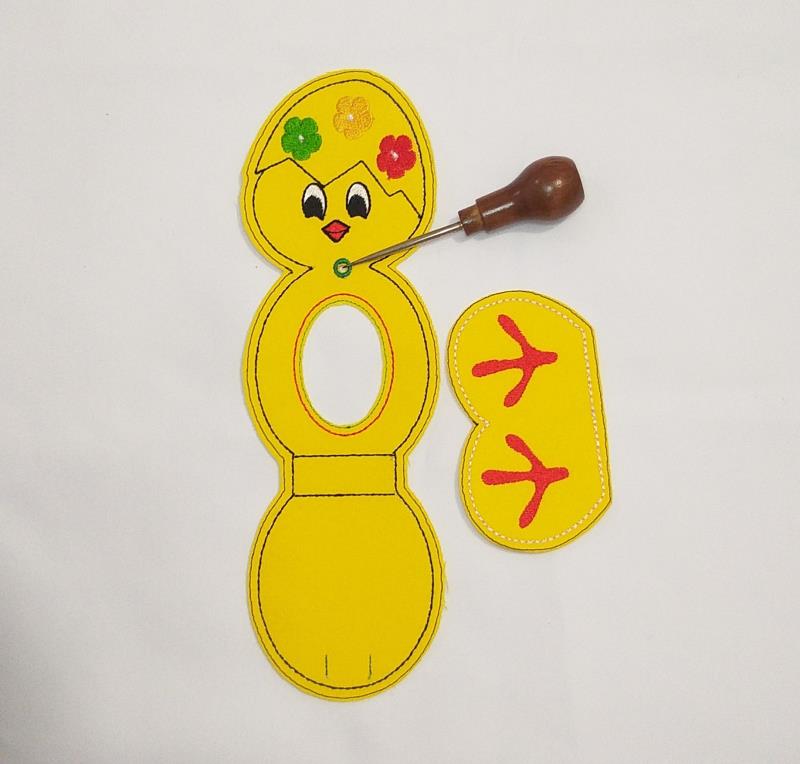
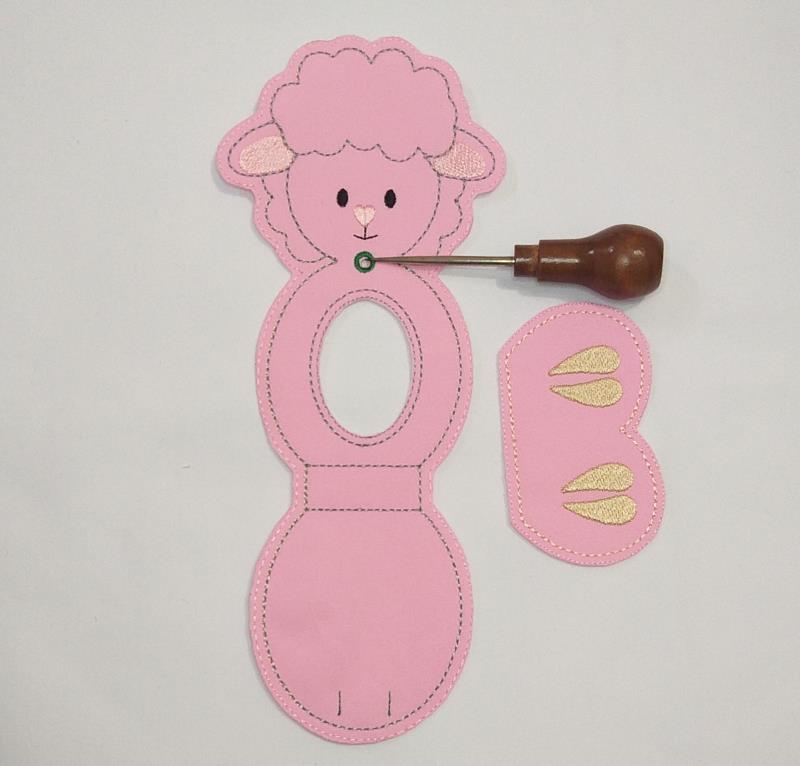
Step 9:
With the help of an awl, open a hole inside the embroidered ring indicated in the image.
(Click Image to Enlarge)
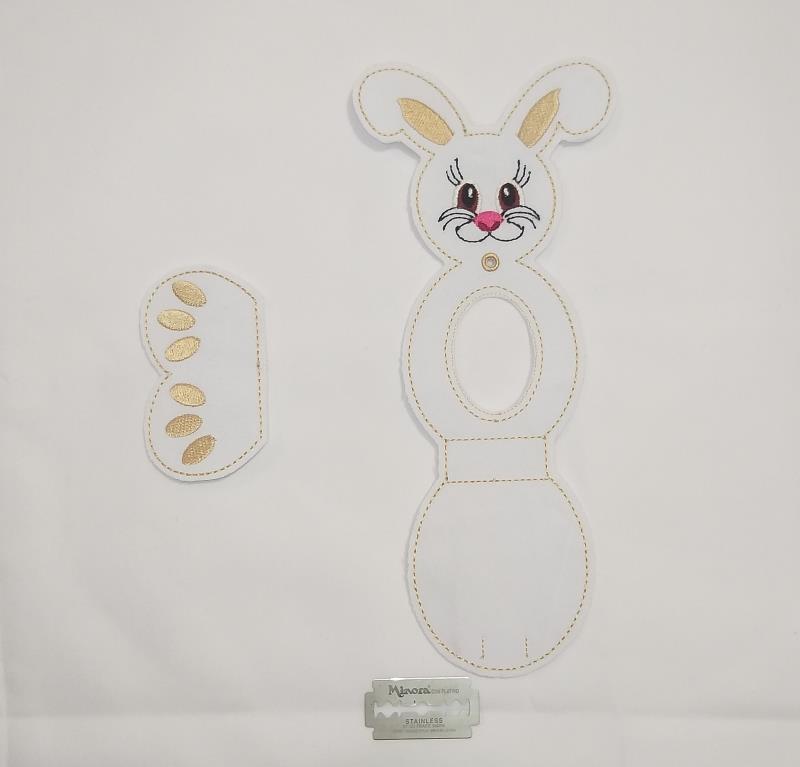
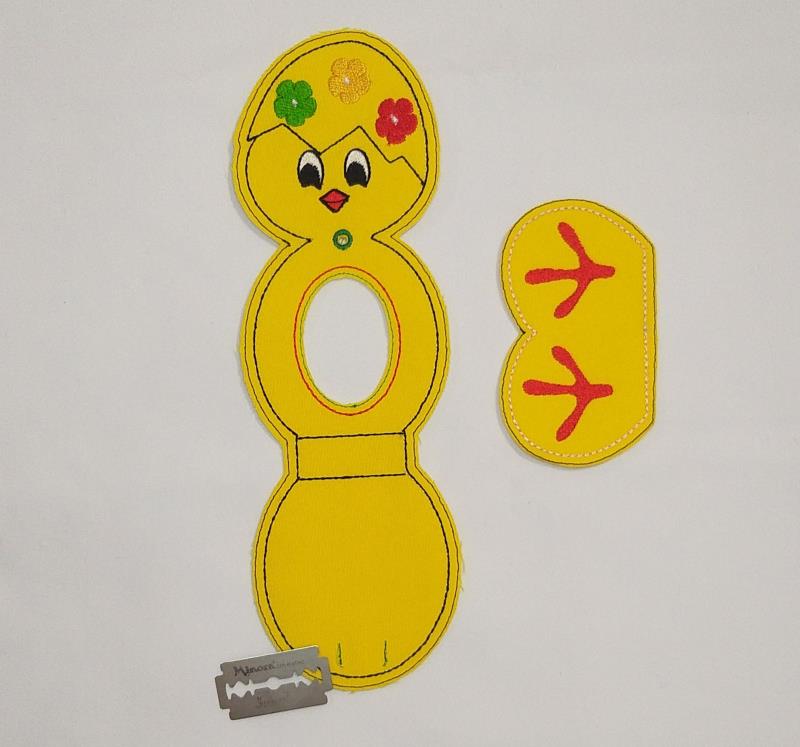
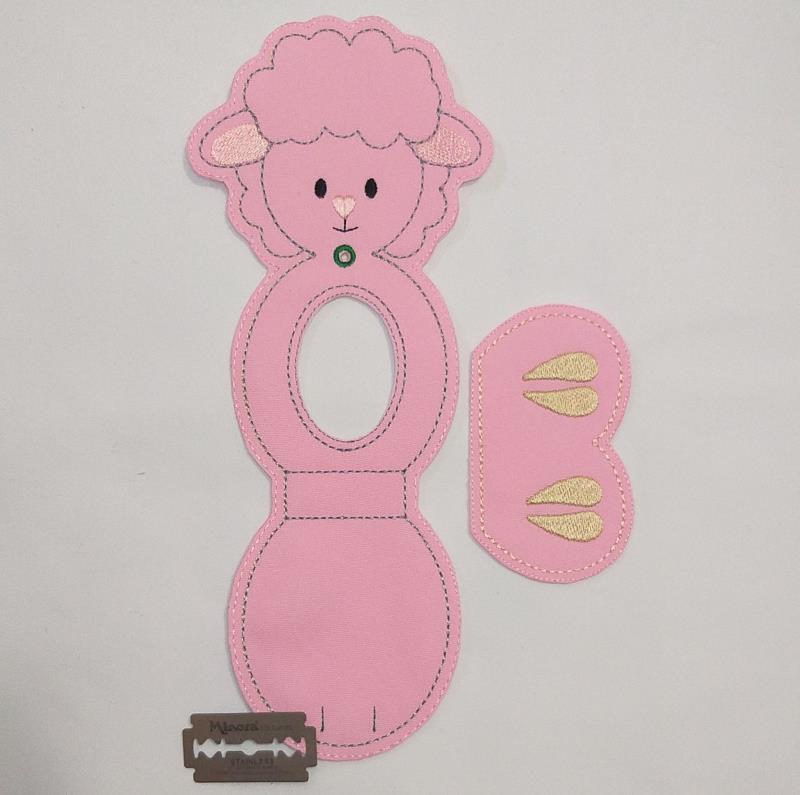
Step 10:
With the help of a cutter or a razor blade, cut through the indicated lines.
(Click Image to Enlarge)
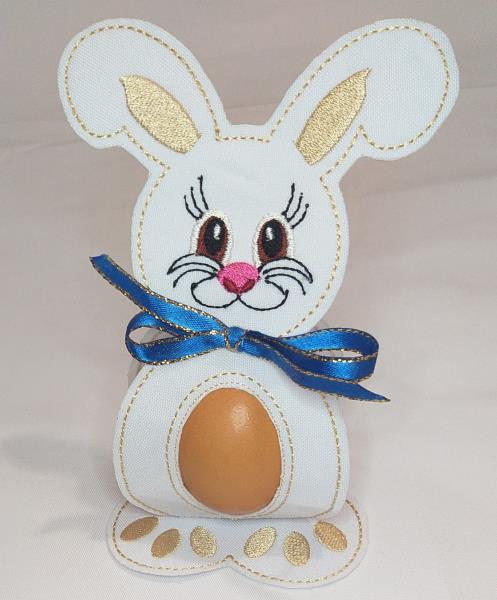
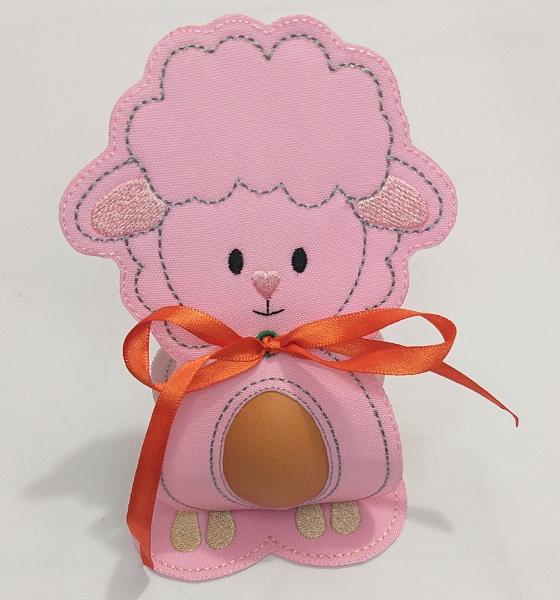
Step 11:
Fold the egg holder along with the middle outlines. Insert a ribbon through the incisions made with the cutter on the back.
Pull the ends of the ribbon through the hole made with the awl and secure it with a bow.
You can attach the feet to the top with the help of Silicone glue for crafts. And enjoy.
(Click Image to Enlarge)
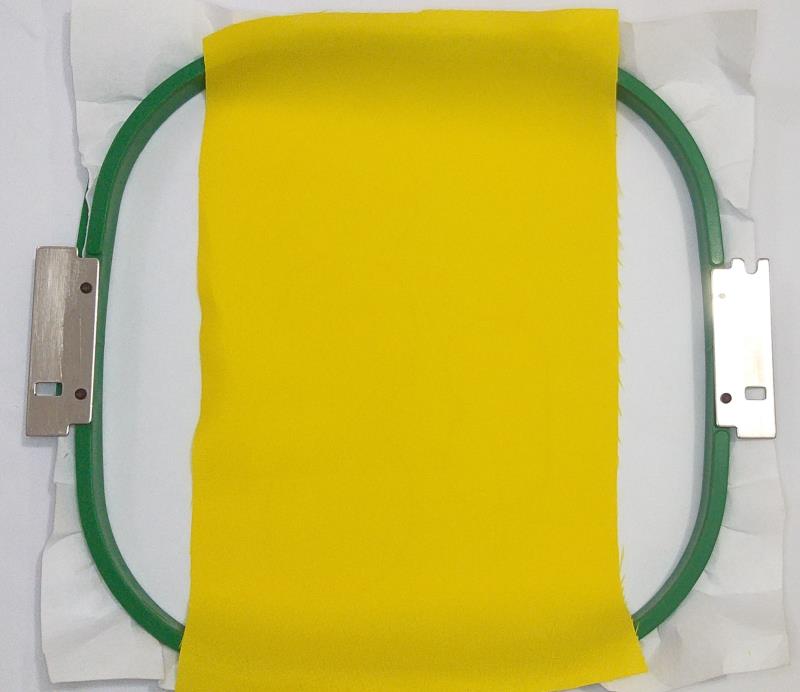
Step 12:
For the chick version tautly hoop 2.5-ounce cutaway stabilizer in your embroidery hoop. And follows the same instructions given between step 2 and step 4.
(Click Image to Enlarge)
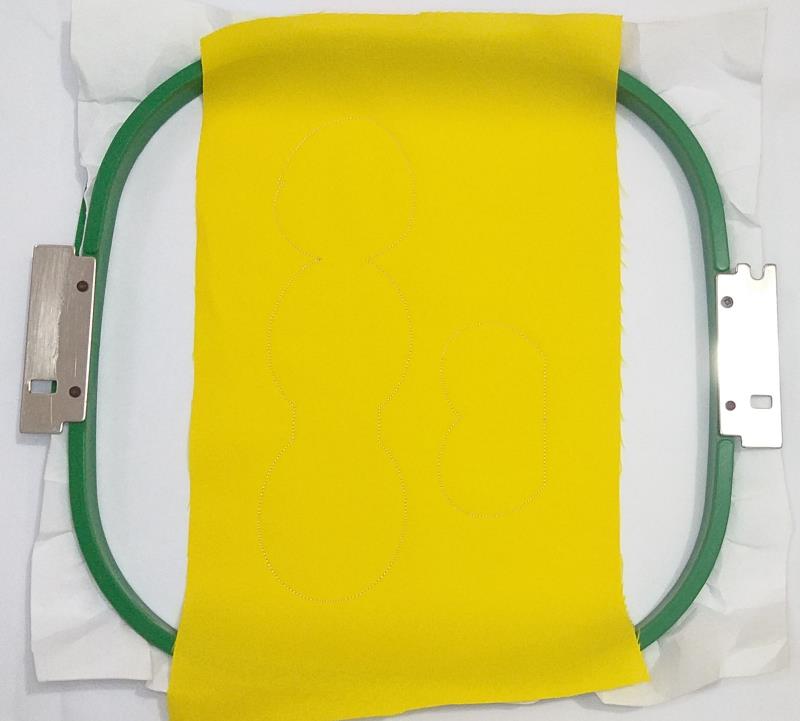
Step 13:
.
(Click Image to Enlarge)
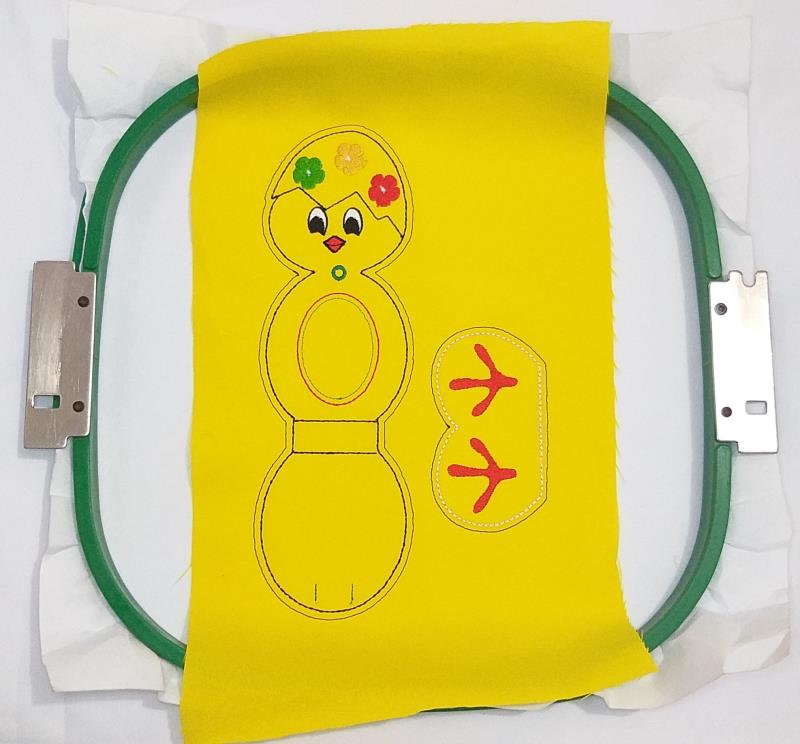
Step 14:
Run color-stop 3 through color-stop 15 to complete the embroidery.
(Click Image to Enlarge)
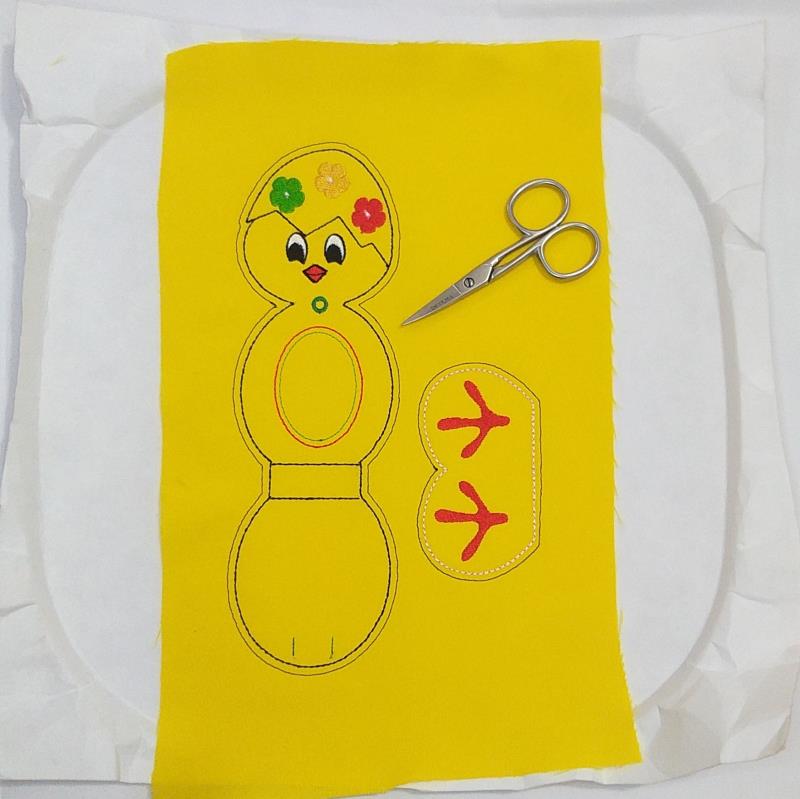
Step 15:
.
(Click Image to Enlarge)
Step 16:
.
(Click Image to Enlarge)
Step 17:
.
(Click Image to Enlarge)
Step 18:
.
(Click Image to Enlarge)
Step 19:
.
(Click Image to Enlarge)
Step 20:
Follow the same instructions given between step 6 and step 11 to finish this lovely egg holder.
(Click Image to Enlarge)
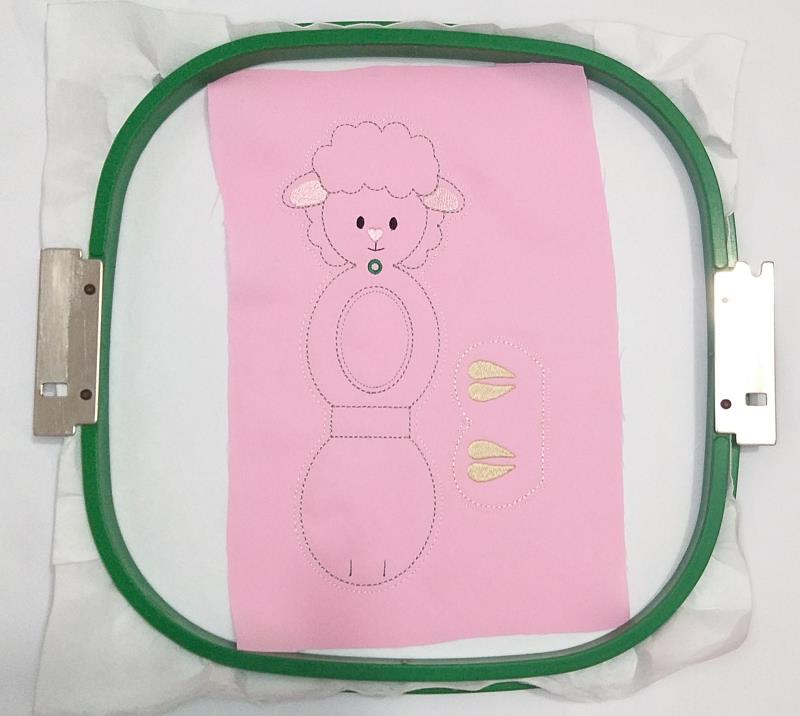
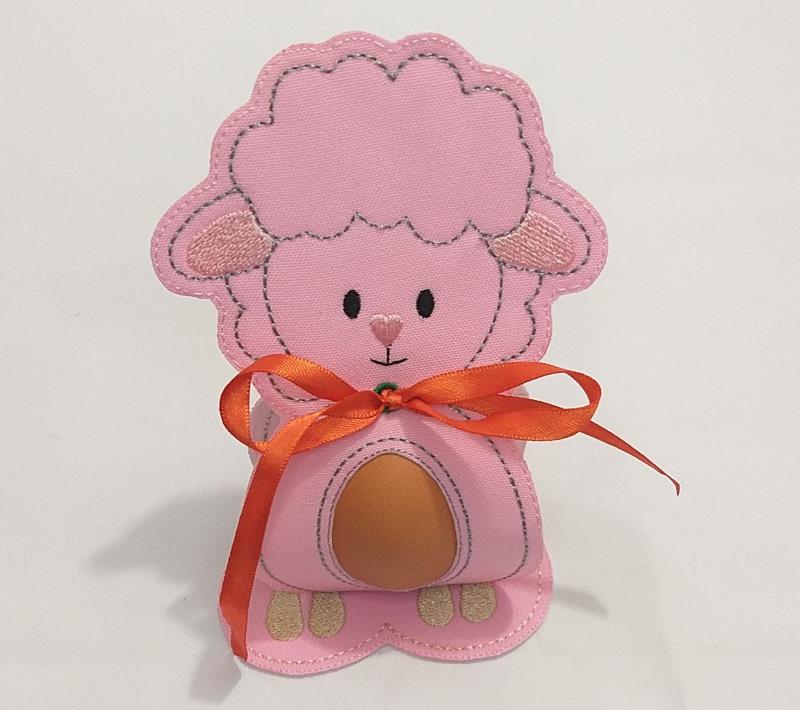
Step 21:
For the little sheep version tautly hoop 2.5-ounce cutaway stabilizer in your embroidery hoop. And follows the same instructions given between step 2 and step 4.
(Click Image to Enlarge)
Step 22:
Run color-stop 3 through color-stop 10 to complete the embroidery.
(Click Image to Enlarge)
Step 23:
.
(Click Image to Enlarge)
Step 24:
.
(Click Image to Enlarge)
Step 25:
.
(Click Image to Enlarge)
Step 26:
.
(Click Image to Enlarge)
Step 27:
.
(Click Image to Enlarge)
Step 28:
.
(Click Image to Enlarge)
Step 29:
Follow the same instructions given between step 6 and step 11 to finish this cute egg holder.