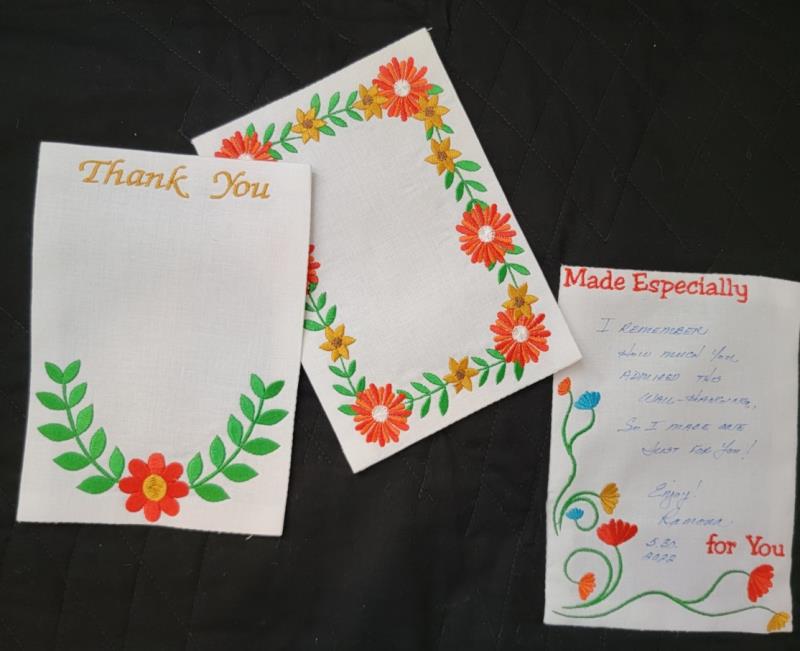
All projects from table runners to large quilts and everything in between should have a label affixed to it. The information contained in the label will let everyone who admires the project the person who made it, the event, the date, plus any other
Project Preview Video
Materials
For each quilt label:
1- white Kona cotton
1- poly mesh stabilizer or tearaway stabilizer
Embroidery thread as stated in color sequence—or to coordinate with fabric colors in the project
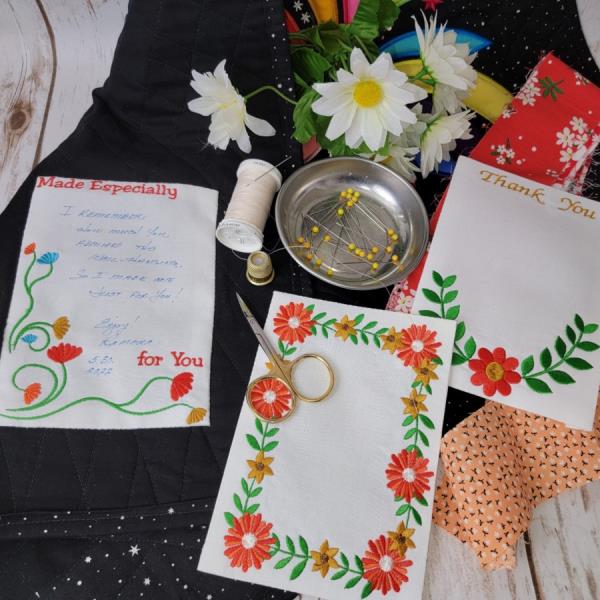
Read through the instructions thoroughly before beginning and assemble all the materials needed to complete the project. There are three summer quilt labels, stitch one or all of them. They stitch fast so you could do several in one stitching period and have them ready as needed when you finish projects.
(Click Image to Enlarge)
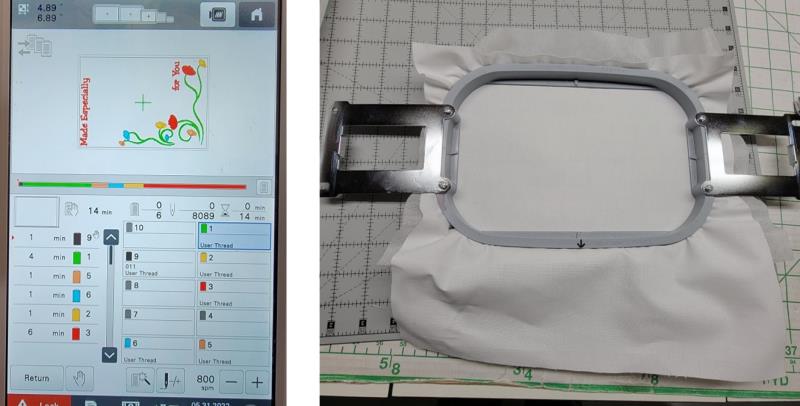
Step 2:
Load the chosen design on the machine. Starch, press, and hoop the fabric with a layer of stabilizer.
(Click Image to Enlarge)
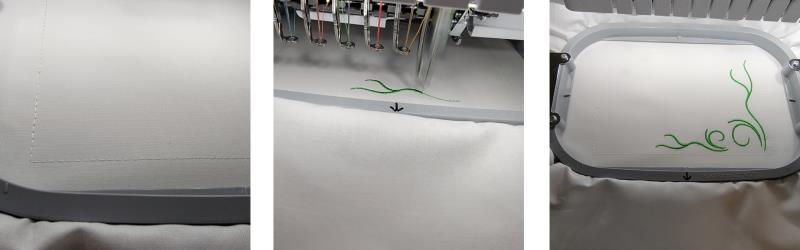
Step 3:
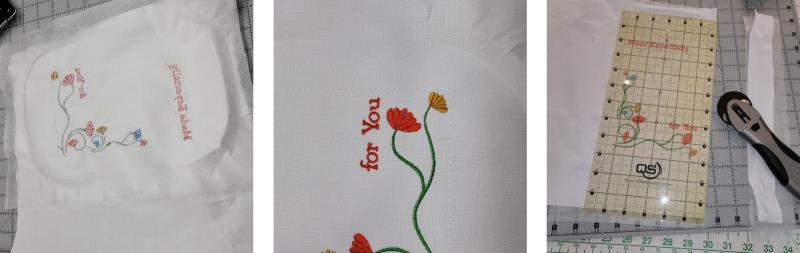
The first color to stitch is an outline that can be used for turning. If you’d like, you can skip this color. Stitch the design following the color sequence.
(Click Image to Enlarge)
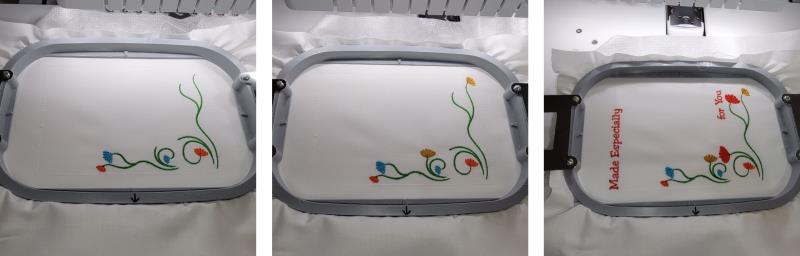
Step 4:
Choose embroidery thread colors that coordinate with the project you’ve stitched.
(Click Image to Enlarge)
Step 5:
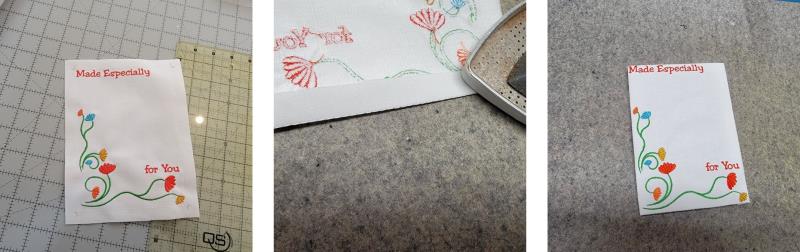
At this point, choose to remove or leave in the stabilizer. If the label is going on a dark fabric, you may wish to leave it in to act as a barrier to the darker color behind the label. Use the outline that was first sewn as a guide for cutting out the quilt label; for this label, ½” seam allowances were left all the way around for turning.
(Click Image to Enlarge)
Step 6:
Press the seam allowances back along the outline.
(Click Image to Enlarge)
Step 7:
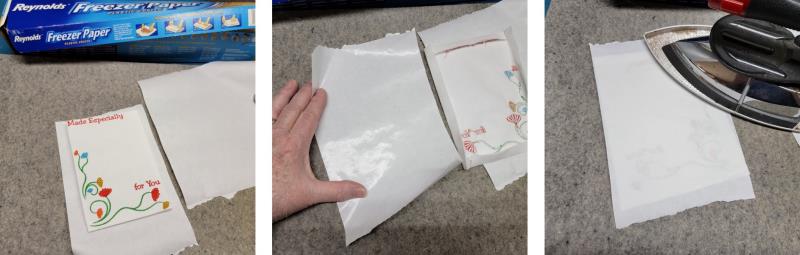
To help keep the fabric stable for writing on it, take a piece of freezer paper and press the waxy side to the back of the quilt label.
(Click Image to Enlarge)
Step 8:
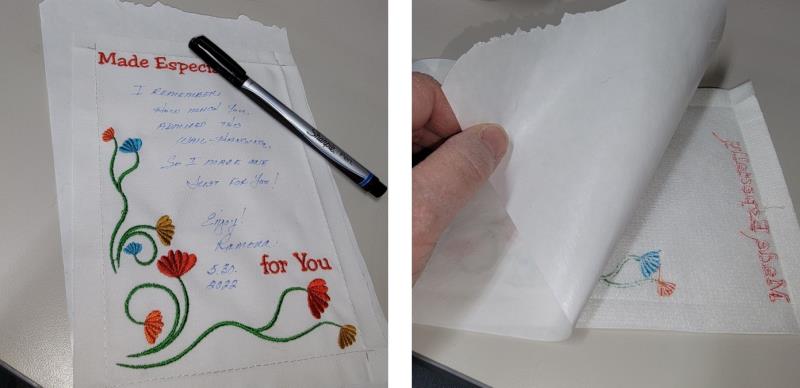
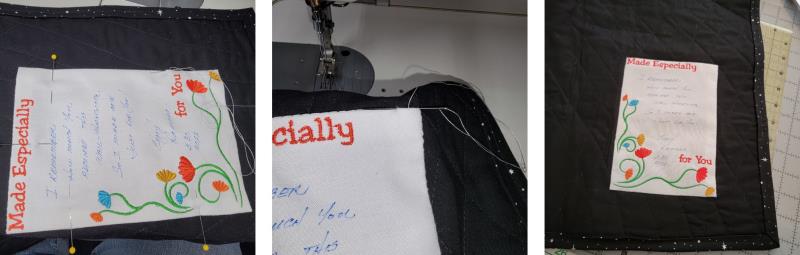
Use a fine point permanent fabric marker to write the message. Don’t forget to sign and place the date on the label. Remove the freezer paper.
(Click Image to Enlarge)
Step 9:
Turn back the seam allowances and pin the label to the project. Hand stitch the label in place.
(Click Image to Enlarge)
Step 10:
Stitch more labels so they’ll be ready when needed as you finish your projects.
(Click Image to Enlarge)
Step 11:
Thank you for purchasing the Summer Quilt Label designs. Those who admire your projects now, and years from now, will find it helpful to have the label information to identify the project maker and the event and year in which the project was made.
Ramona Baird has been in the embroidery industry for over 23 years. She and her husband owned a commercial and retail embroidery store in Arizona for many years. She is an experienced digitizer having been mentored by award-winners Pat Williams and Lindee Goodall. Ramona is a contributor to “Creative Machine Embroidery” magazine having 5 covers to her credit. Ramona has worked for Wilcom America and served many years as Education Director for the American Sewing Guild. With a degree in fashion design, she is able to design and execute patterns which Pat Williams says are “out of the box” in creativity and application. Ramona likes to challenge the boundaries of embroidery and bring new and exciting designs, ideas, and projects to EmbroideryDesigns.com. She wants embroiderers of all levels to increase their skills and enjoyment in using their embroidery machine for gift-making and personal pleasure.