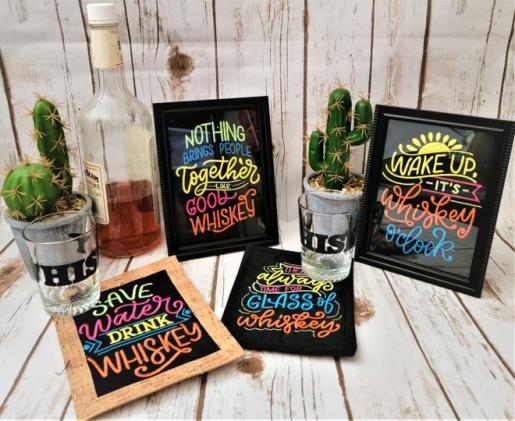
Read through the instructions thoroughly before beginning and assemble all the materials needed to complete the project. Press the fabric with spray starch. Choose which design you’d like to use for which kind of project you wish to do: framed, cork coaster, or bound mat.
(Click Image to Enlarge)
Step 2:
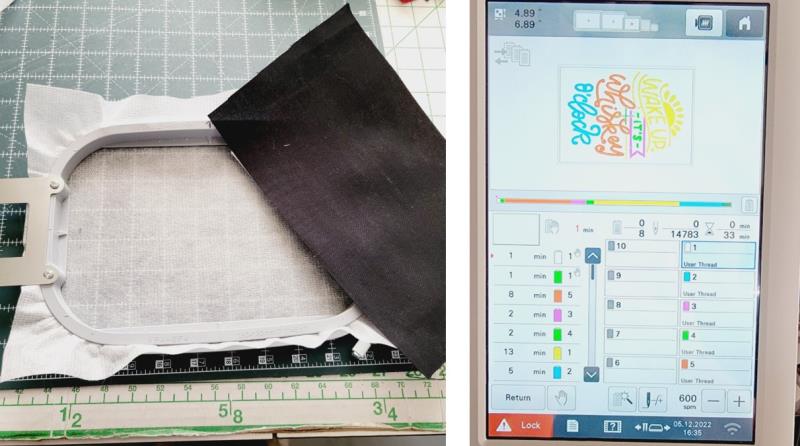
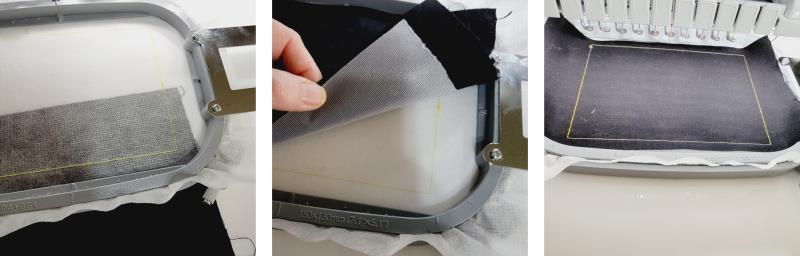
The first steps for each project are the same. Hoop one layer of poly mesh stabilizer and load the chosen design on the machine. Stitch Color 1, the placement line. Center the black Kona cotton over the placement line. Stitch Color 2, the tackdown line.
(Click Image to Enlarge)
Step 3:
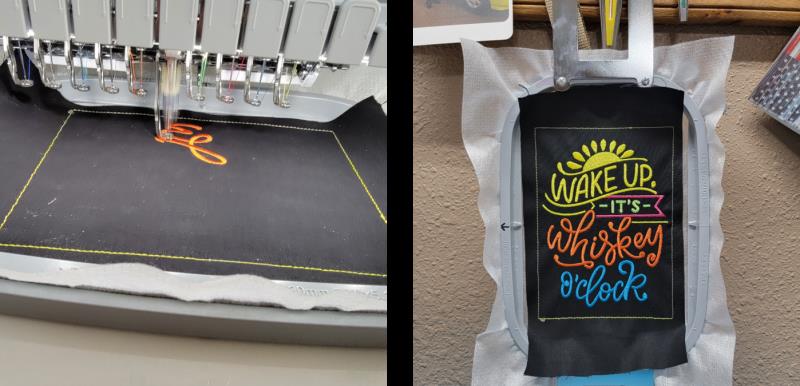
Continue following the color sequence to stitch the design. For the framed project, stop at this point and finish the project.
(Click Image to Enlarge)
Step 4:
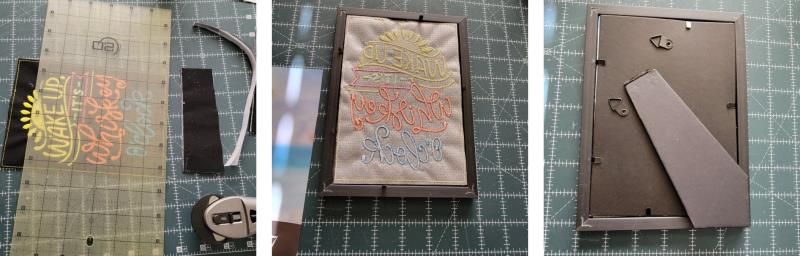
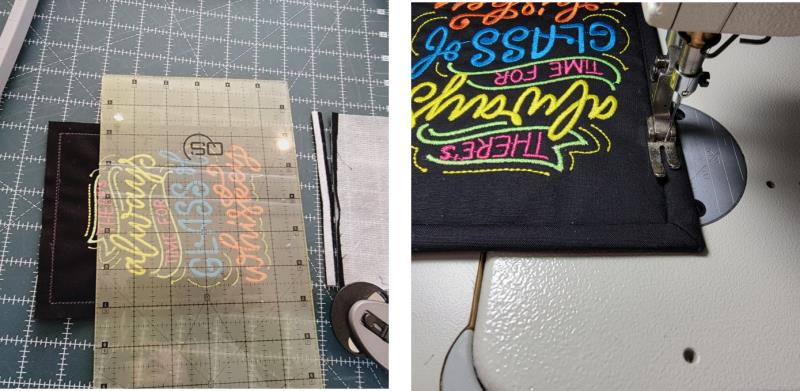
Remove the design from the hoop. Disassemble the picture frame. Center the glass over the embroidery and use a marking tool to draw around the glass.
(Click Image to Enlarge)
Step 5:
Using the marks, trim away the excess fabric. Place the glass back in the frame, place the design, face down over the glass, and then replace the back of the frame.
(Click Image to Enlarge)
Step 6:
For the mug mat project, load the design, stitch the placement line, tackdown, and design.
(Click Image to Enlarge)
Step 7:
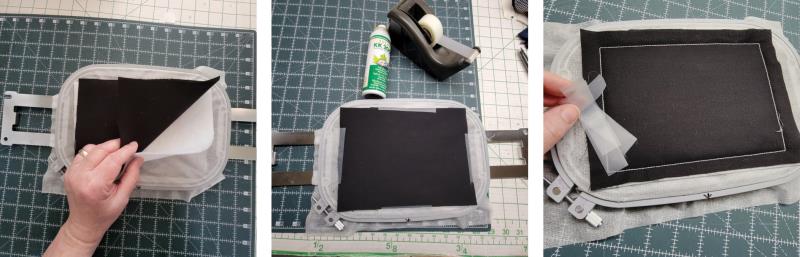
Remove the hoop from the machine. Flip the hoop over. Place down the batting over the back of the embroidery and then place down the second layer of black cotton. Use spray adhesive or Scotch tape to secure the fabric down. Place the hoop back on the machine and stitch the tackdown line. Remove the hoop from the machine. Remove the tape.
(Click Image to Enlarge)
Step 8:
Trim the piece, leaving ¼” seam allowances. Bind the piece with black binding.
(Click Image to Enlarge)
Step 9:
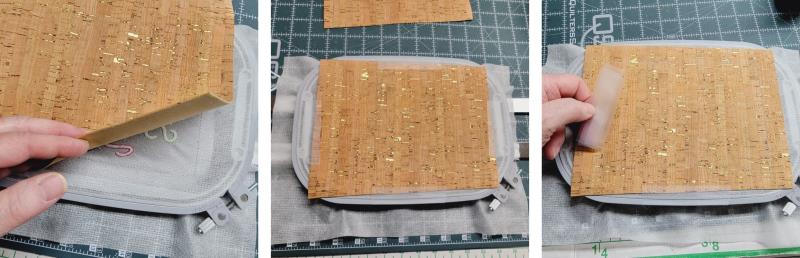
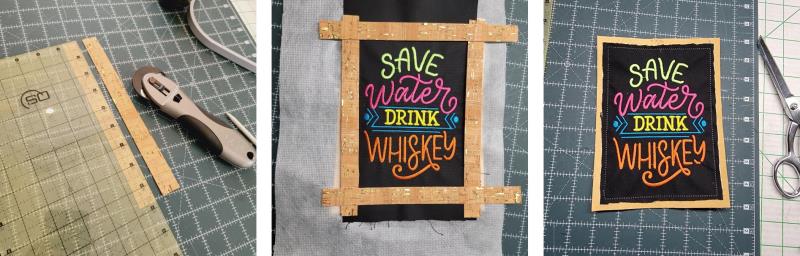
For the cork project, stitch the placement line, center the black fabric over the placement line and then stitch the tack down line; stitch the design. Remove the hoop from the machine. Flip the hoop over and place down the cork fabric, taping to secure. Place the hoop back on the machine and stitch the last color to tack all the layers together. Remove the hoop from the machine; remove the tape.
(Click Image to Enlarge)
Step 10:
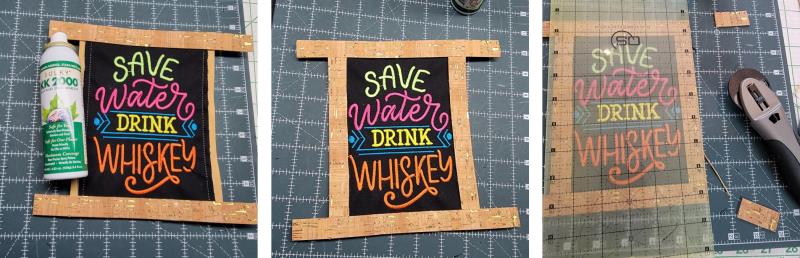
Cut the cork strips which will be positioned around the front of the embroidery. Trim the embroidery/back cork leaving ½” seam allowances. Further trim the black fabric so it will be inside of the strip pieces.
(Click Image to Enlarge)
Step 11:
Using spray adhesive, first place down the top and bottom pieces so the outer edges align with the bottom cork. Trim the side pieces to the length needed and spray glue them into place; trim and square up the strips along the outer edges.
(Click Image to Enlarge)
Step 12:
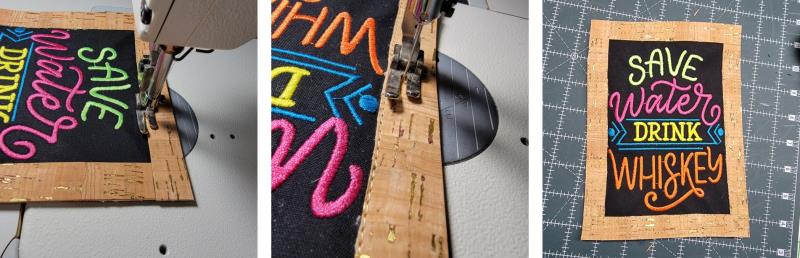
At the machine, use embroidery thread that closely matches the cork in the top and bobbin. Edge stitch around all the inner edges of the strips. Do a second row of stitching ¼” away, and the edge stitch around all the outer edges of the strips.
(Click Image to Enlarge)
Step 13:
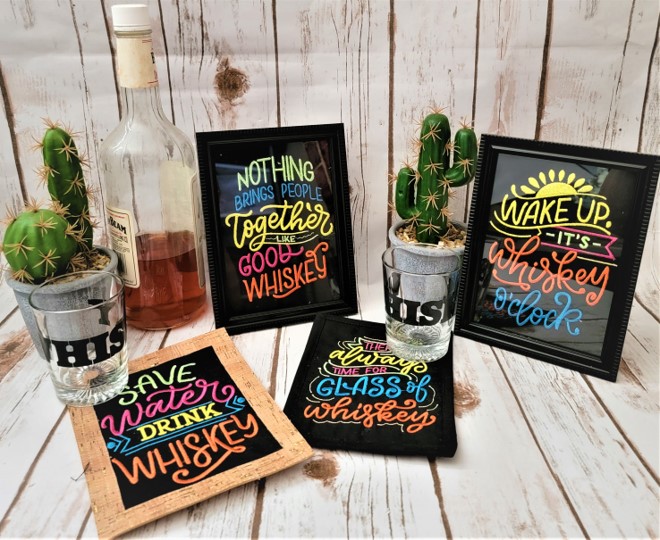
Thank you for purchasing the Whiskey Signs embroidery. These all stitch up and finish fast! If you’ve got a friend with a bar in their “cave”, they’ll appreciate a thoughtful gift to decorate the space either with coasters or framed art.
Ramona Baird has been in the embroidery industry for over 23 years. She and her husband owned a commercial and retail embroidery store in Arizona for many years. She is an experienced digitizer having been mentored by award-winners Pat Williams and Lindee Goodall. Ramona is a contributor to “Creative Machine Embroidery” magazine having 5 covers to her credit. Ramona has worked for Wilcom America and served many years as Education Director for the American Sewing Guild. With a degree in fashion design, she is able to design and execute patterns which Pat Williams says are “out of the box” in creativity and application. Ramona likes to challenge the boundaries of embroidery and bring new and exciting designs, ideas, and projects to EmbroideryDesigns.com. She wants embroiderers of all levels to increase their skills and enjoyment in using their embroidery machine for gift-making and personal pleasure.