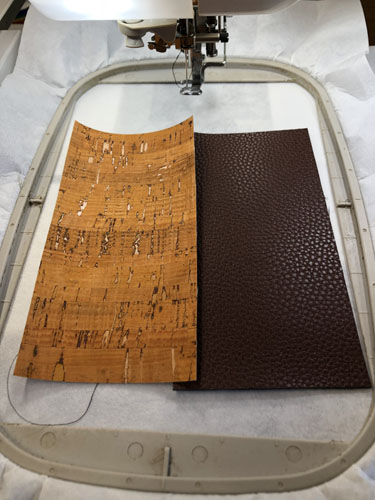
Cut a 3” x 6” piece of each of the cork and marine vinyl. Tautly hoop stabilizer in your hoop.
Step 2:
(Click Image to Enlarge)
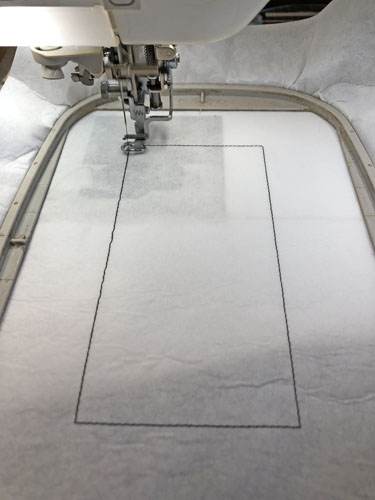
Run the 1st color-stop (CS 1) as a placement line for the vinyl.
Step 3:
(Click Image to Enlarge)
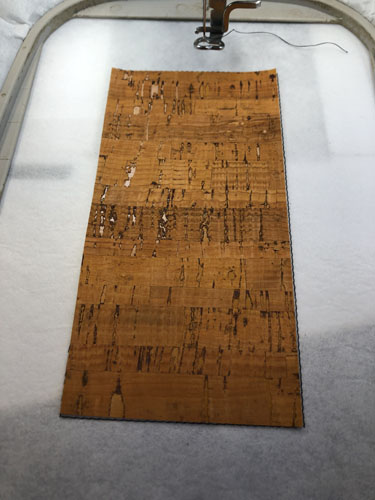
Spray adhesive on the back of the cork vinyl and position over the placement line. Make sure you position the vinyl so that it is very close to the top of the placement line as we do not have a lot of extra space up there.
Step 4:
(Click Image to Enlarge)
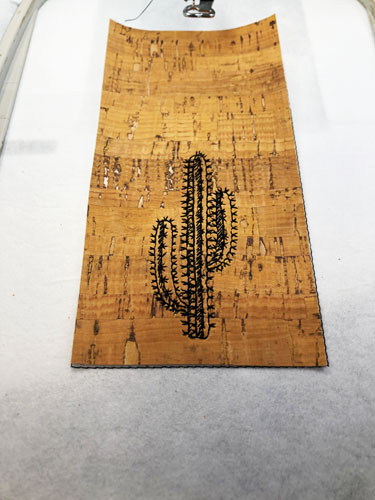
Run the next color-stop to stitch the cactus.
Step 5:
(Click Image to Enlarge)
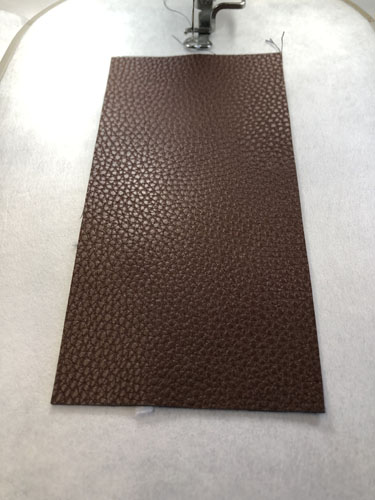
Remove the hoop from the machine. Turn the hoop wrong side up, spray the 3” x 6” marine vinyl and align over the placement lines on the back of the hoop.
Step 6:
(Click Image to Enlarge)
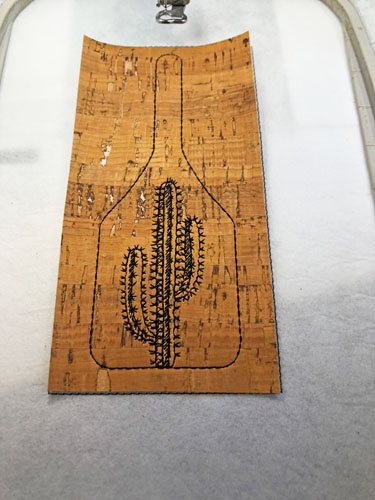
Return the hoop to the machine and stitch the last CS to seam the two layers of vinyl together.
Step 7:
(Click Image to Enlarge)
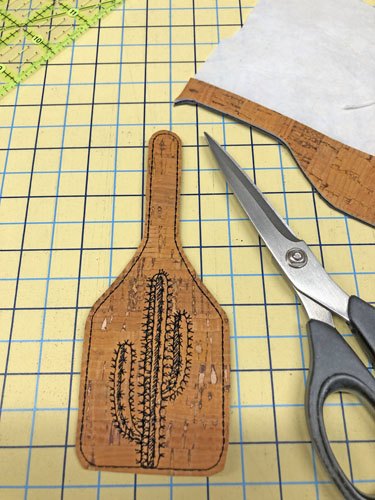
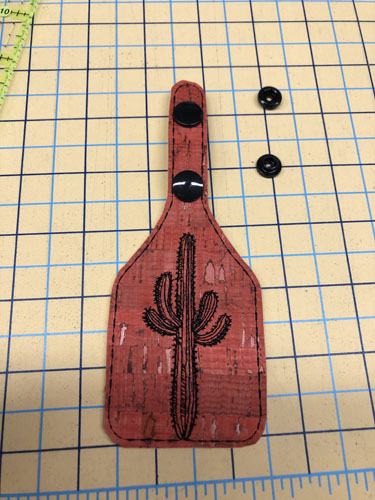
Trim the thread tails from the back of the key fob and trim around the key fob about an 1/8” outside the seam stitching.
Step 8:
(Click Image to Enlarge)
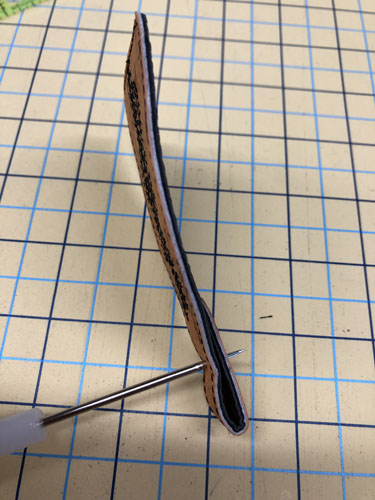
Fold the top tab of the key fob in half. With an awl poke a hole through both layers of the tab about 3/8” up from the end and in the center of the tab.
Step 9:
(Click Image to Enlarge)
Following the manufacturer’s instructions insert the KamSnaps® into the tab. The outside of both snaps will be on the front of the tab.
Step 10:
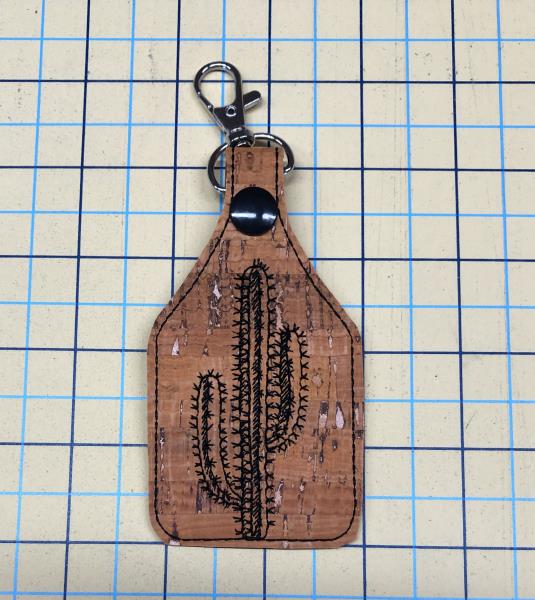
Insert a key ring and/or lobster clasp and snap the tab in half.
(Click Image to Enlarge)
Step 11:
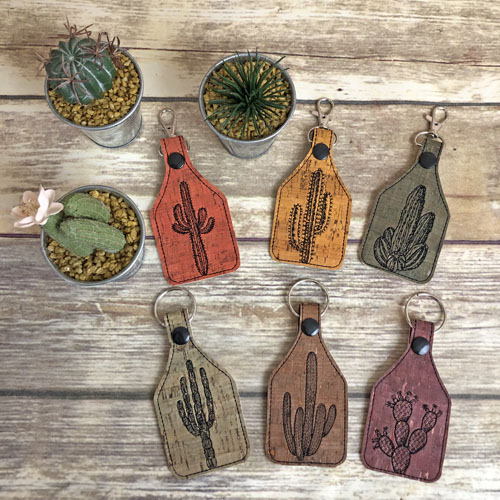
Congratulations your ITH Desert Chic Key Fob is complete! Make the complete set.
Award winning Digitizer, Embroidery Educator, Author and a Consultant to the Industry, Pat Williams has 30 years of experience in the embroidery industry. Pat has won multiple awards for her digitizing expertise including the 2007 Impressions Awards Grand Championship, Best of Show as well as the 1st and 2nd Place Awards. Pat’s love of digitizing has afforded her the opportunity to write numerous articles for Impressions magazine in the United States and Images Magazine in Europe. In 2001 Pat was named “Embroidery Educator of the Year.” For many years Pat taught digitizing seminars at the ISS Shows in Long Beach, CA and for Compucon software. She now resides in Tucson, AZ.